Sewing Glossary: How To Make And Attach Belt Loops
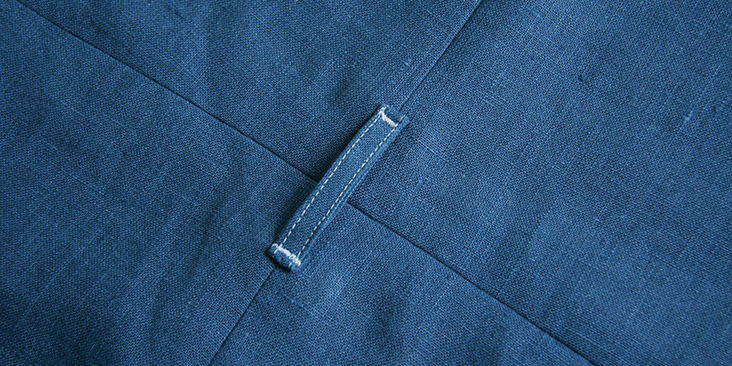
In today’s tutorial we are going to show you how to make and sew fabric belt loops, sometimes called belt carriers. It’s one of those construction details that you never think about making until you sew a pair of pants or a dress with a detachable belt and realize that it could really do with something to keep the belt in place.
Belt loops are not only functional, they can also be decorative. They can be different widths, topstitched or not, all depending on your sewing projects. Belt loops are usually made of the same fabric as the garment they are placed on, but could also add a touch of color and some interesting detailing if sewn in a contrasting fabric.
Belt loops are easy to construct and there are several ways to do it. You can add them to a garment that is already complete or insert them during the construction process. In this tutorial, we are going to show you two different ways of making and attaching belt loops to your homemade projects.
Materials & Tools
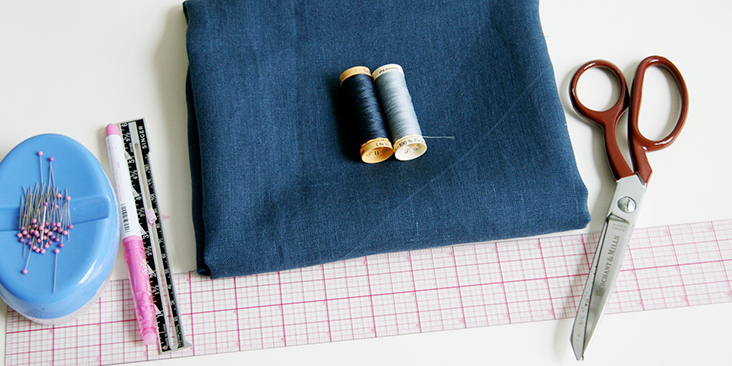
Fabric of your choice. In this tutorial we are using our IL019 INSIGNIA BLUE Softened Medium Weight Linen.
Matching sewing thread (to better demonstrate the technique we are using a slightly lighter shade of thread), ruler, sewing gauge, pins, scissors, fabric marker, sewing machine.
Difficulty
Beginner
Time
1/2 hour
How To Calculate The Loop Length & Width
First of all, you need to calculate the width and length of the fabric you’ll need to make a belt loop. To determine the length of each loop, you need to know the width of the belt you’ll be wearing or the width of your garment’s finished waistband. So the length is belt/waistband width plus two times your seam allowance. You’ll also need a little bit of ease to account for the thickness of the belt so you might want to add 1/8” to make your loop less tight. Let’s say that our waistband width is 2” and we are using 3/8” (1 cm) seam allowance plus 1/8” of ease. So for each belt loop, we’ll need a strip of fabric that is 2 7/8” long. As for the width, it’s up to you and depends on the look you’d like to achieve. The standard width of a finished belt loop is somewhere between 1/4”-1/2”. So you’ll need four times the amount of you finished belt loop which gives us the width of 1.5” for a finished 3/8”-wide belt loop.
Now, let’s see how many belt loops you’ll need. If you are adding belt loops to coats or dresses, then you’ll probably just need two on each side seam at the waist as the belt in this case usually has a decorative function. Pants and skirts will usually require 5 belt loops: one at center back, two at the side seams and two in the front.
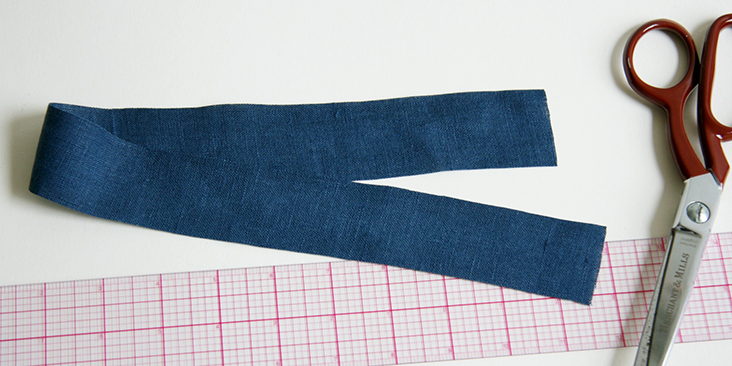
The easiest way to sew multiple belt loops is to start with one long strip of fabric that you’ll later cut into individual loops. So, calculate the width and length of each loop, multiply by the number of loops you are planning to make and cut your fabric.
How To Make Belt Loops
There are several ways to make fabric belt loops. You can either stitch your loop fabric right sides together and turn inside out, you can also fold the seam allowances in and then press and topstitch, or you can serge the raw edges and use fusible web to keep them in place. Here we will be showing you our preferred method that works best with linen and suits both wide and narrow belt loops.
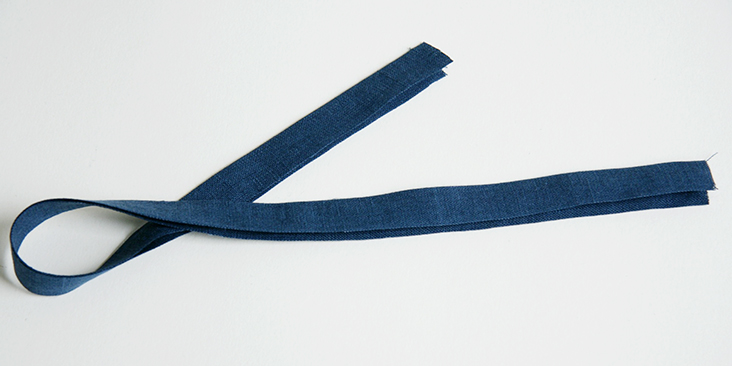
1. Fold your fabric in half lengthwise wrong sides touching. Press to mark the crease in the center.
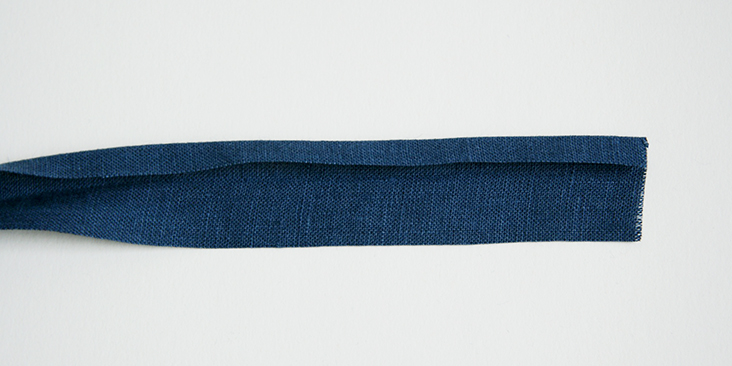
2. Unfold the fabric, then press each long edge into the center fold line.
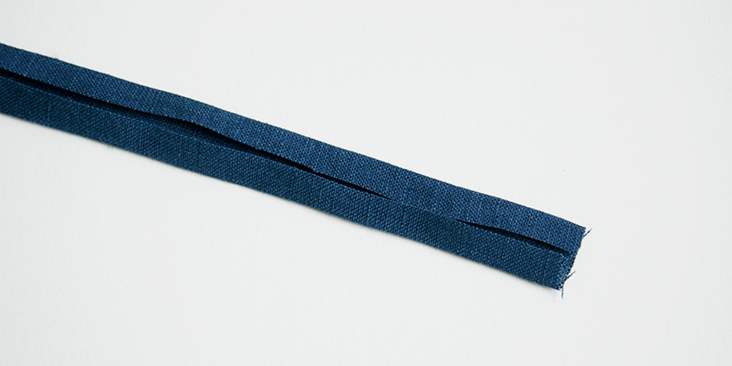
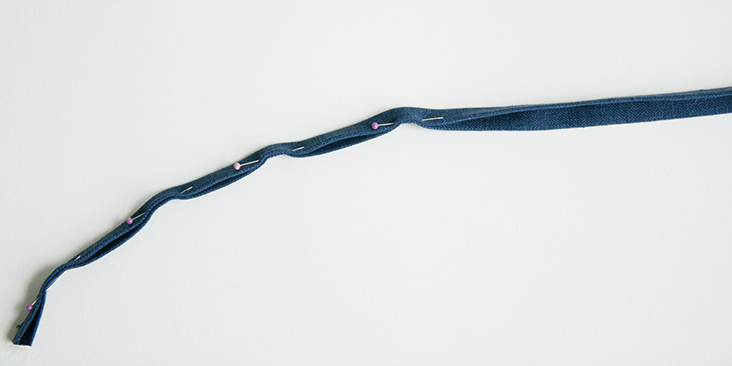
3. Fold in half again lengthwise, press and pin.
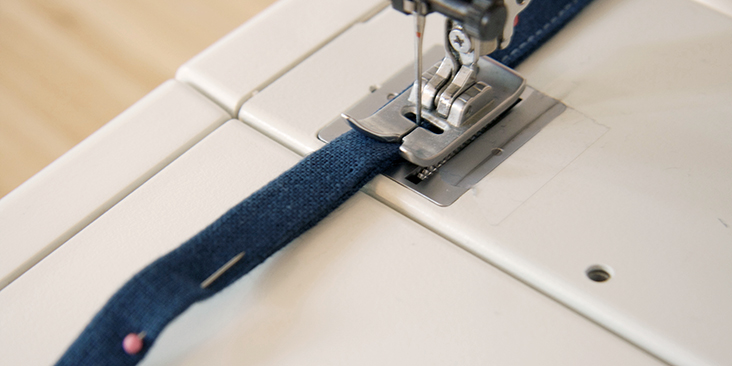
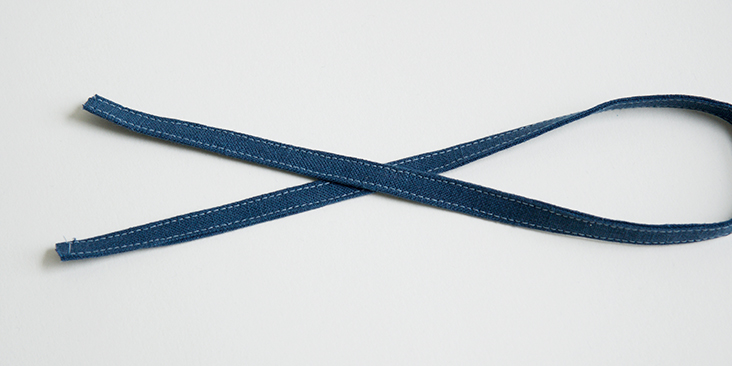
4. Edgestitch along the long edges of both sides of the strip to close the loop and create some decorative topstitching.
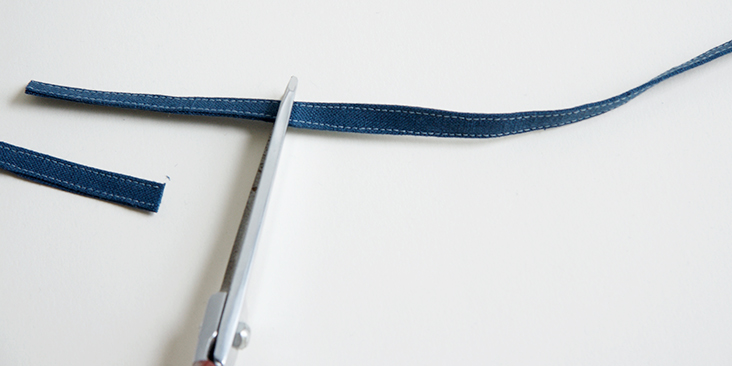
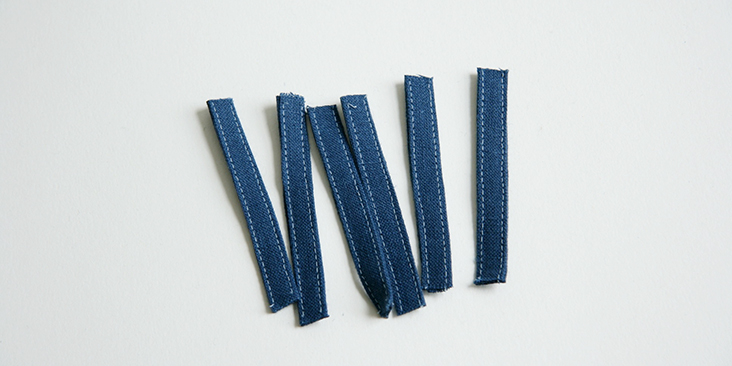
5. You can now cut your long strip of fabric to the needed lengths for all individual loops.
How To Attach Belt Loops To A Waistband
In this example, we will be showing you how to add belt loops during the construction of a garment. So before attaching the loops, follow your pattern instructions and construct your garment right up to the point where you are about to attach the waistband.
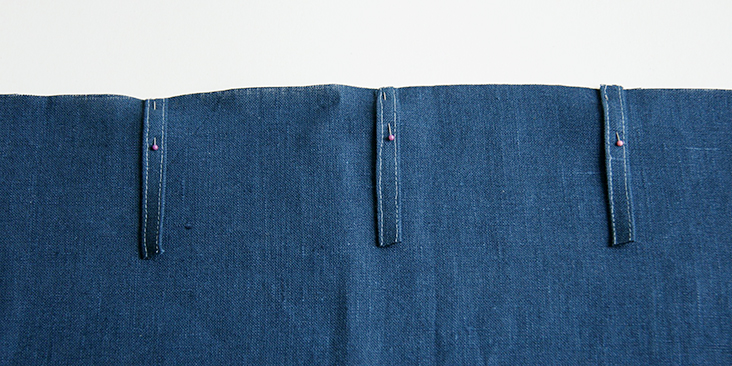
1. Position your belt loops at the indicated spots aligning the raw edge of each loop to top/waist edge of your garment, right sides together. Pin or baste to keep them in place.
Since the belt loops are flipped up after the waistband is attached and the side which is facing down will become the visible side of the belt loop, make sure to place the better/neater side of the loop down so that it touches the right side of your garment.
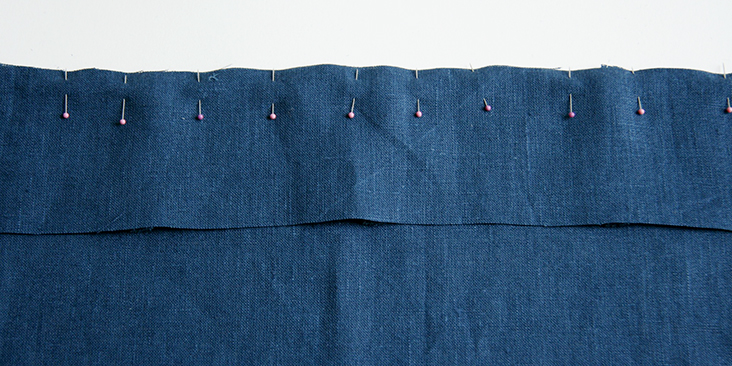
2. Take your waistband and place its long edge on top of your garment, right sides together, covering the loops and aligning the raw edges. Pin.
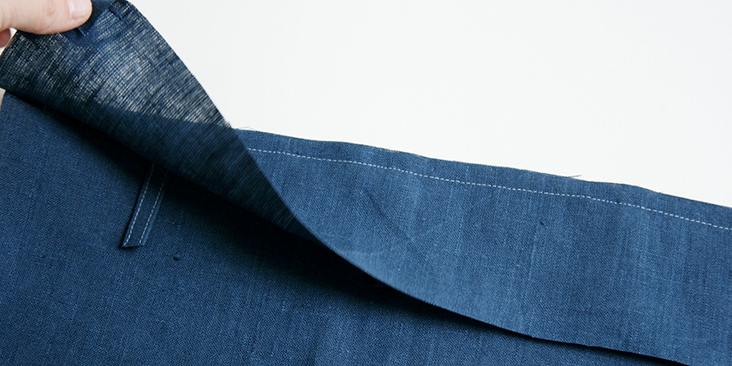
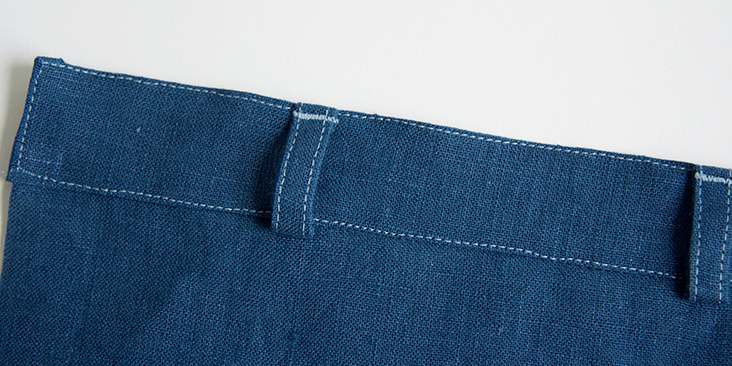
3. Stitch along the pinned edge, then press the waistband and the seam allowances up and away from the garment but keep the belt loops pointing down.
4. Attach the waistband as per the instructions provided in your pattern.
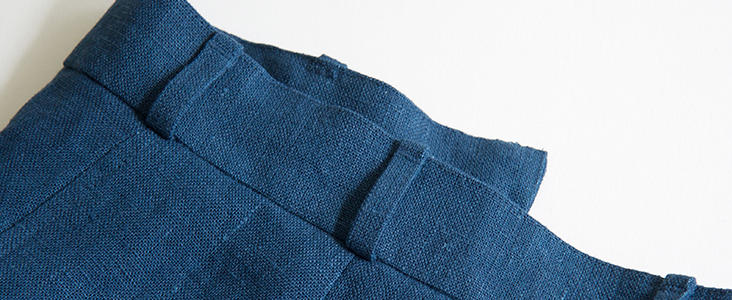
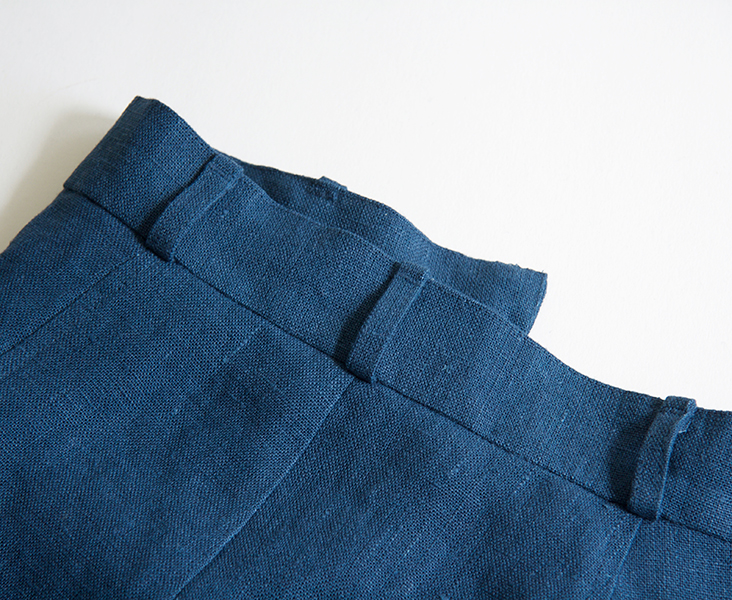
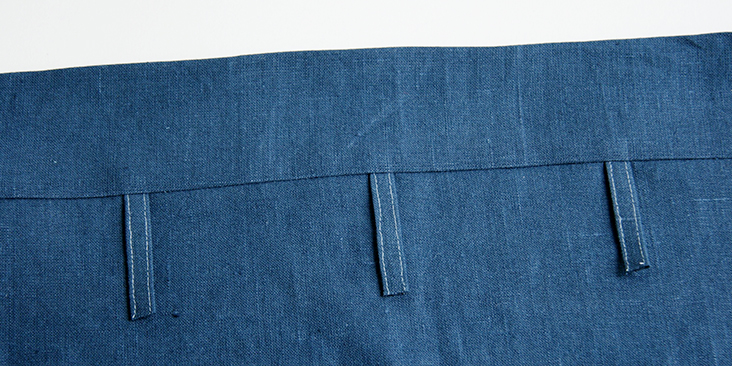
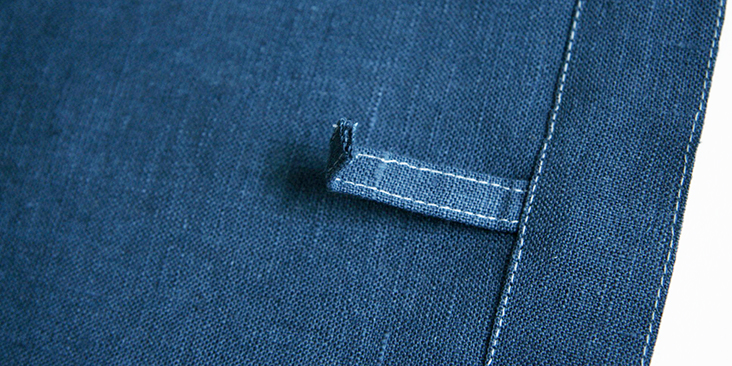
6. Now press your belt loops up, fold over about 1/4” at the top and use a narrow zigzag stitch to make a small bar tack that will secure the loop to the top of the waistband and reinforce the area. You could also use a regular straight stitch and backstitch back and forth a couple of times to make sure the loop is attached securely.
Try not to make your belt loop too tight and flat against the waistband. You’ll need a bit of room for the belt to slide in.
7. Trim any excess fabric from underneath the loop and you are all done!
How To Attach Belt Loops To A Finished Garment
You can add belt loops to a garment that’s already complete, or to a pattern doesn’t call for belt loops but could do with some. Adding belt loops to side seams of a dress or a blouse can give more versatility and practicality to a garment, especially if you are planning on wearing it with a belt.
To add belt loops to a finished garment you’ll need:
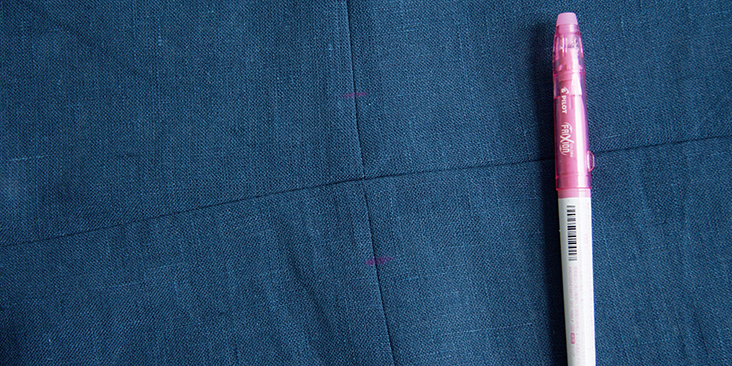
1. Mark the placement lines for the loops.
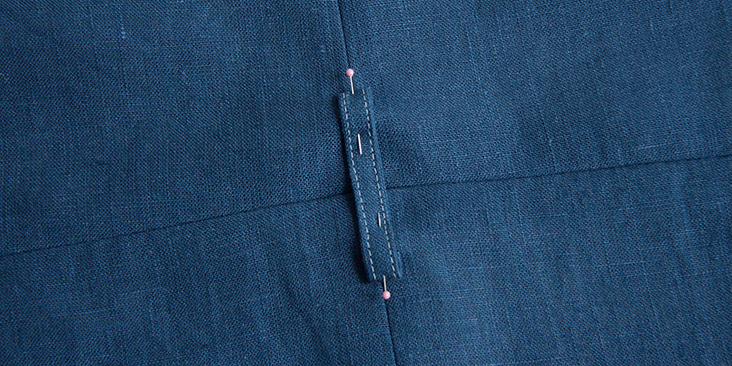
2. Fold each end of the belt to the amount of your seam allowance (3/8” in our case) and pin to your marks.
3. Stitch loops in place with a bar tack, a narrow zigzag stitch or reinforced straight stitch.
Same rule here: don’t make your loops to tight and flat against the garment, you need at least 1/8” of ease to insert your belt.
Now that you know how to make some functional and professional-looking belt loops, you can start adding them to all your beautiful homemade projects!














2 Comments
Pingback:
How to Make a Medieval Leather Belt Pouch: A Historical Crafting Guide – YouTalent® Educational BlogRenee Harris
Thank you for this tutorial. I have recently began sewing garments after years of quilting. I need refreshers.