Sewing Glossary: How To Install An Invisible Zipper Tutorial
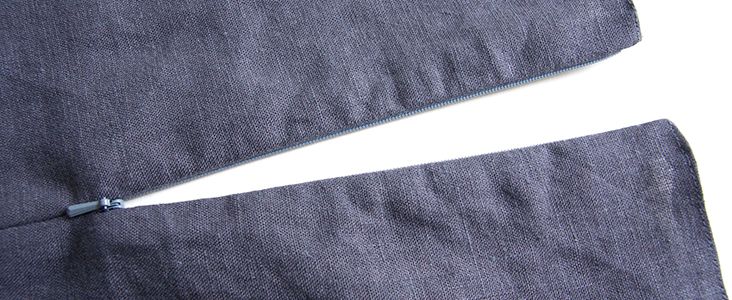
If the devil is in the details, an accurately installed zipper can give a handmade garment a professional finish. And when it comes to sewing zippers, the invisible zipper is the easiest one to insert.
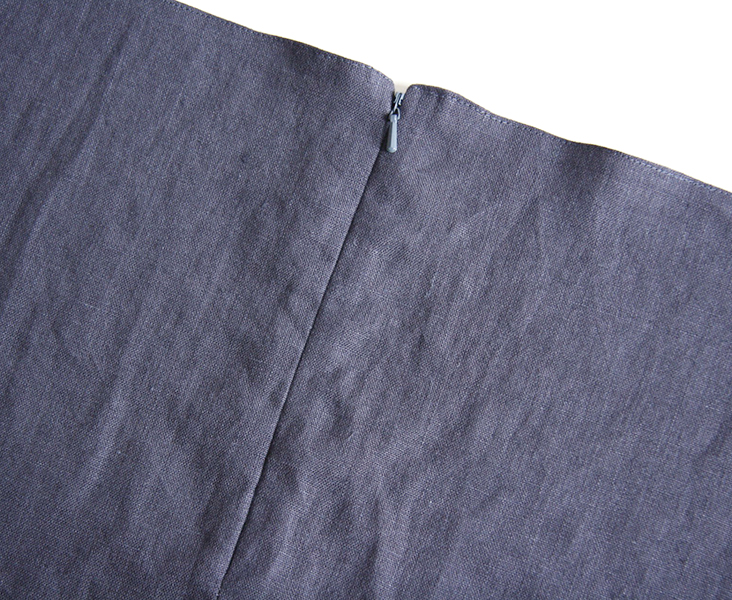
As its name suggests, an invisible zipper is a zipper that lies hidden in the seam with no machine stitching visible from the right side of the garment. So you don’t need to worry about perfect topstitching as all the action is happening behind the scenes. This is one of the primary reasons why invisible zippers are so popular and look so professional.
Invisible zippers can be found on a variety of projects, from garments to home furnishings. They are top pick for close-fitted garments such as dresses, tops, skirts and pants.
Today we are going to show you the traditional technique for installing invisible zippers. With a little bit of practice, you’ll be sewing perfectly invisible zippers like a pro!
Materials
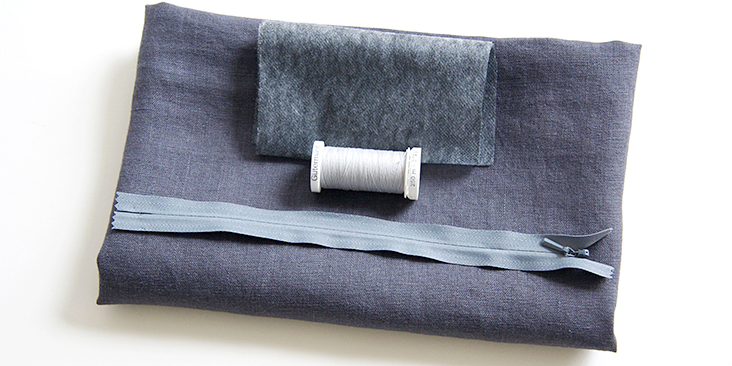
Fabric of your choice. For this tutorial we are using our IL019 NINE IRON Softened medium weight linen. Invisible zippers are perfect for light to canvas weight linen fabrics.
Matching sewing thread, fusible interfacing (optional) and of course an invisible zipper.
Choose a zipper that is a close match to the fabric you are using. We will be sewing using slightly different color shades of fabric, zip and thread for illustration. However, you’d want to choose the zip and thread that matches best to your fabric.
Your zipper should be at least 2-3” longer than the opening. However, if you can’t find the right length in the right color, you can always get a longer zipper and shorten it afterward. Just sew a few back and forth zig-zag stitches where you’d like to shorten and cut off the rest.
When choosing your invisible zipper you should also consider its weight and the weight of your fabric. Invisible zippers generally come in two weights: lightweight and medium weight.
Tools
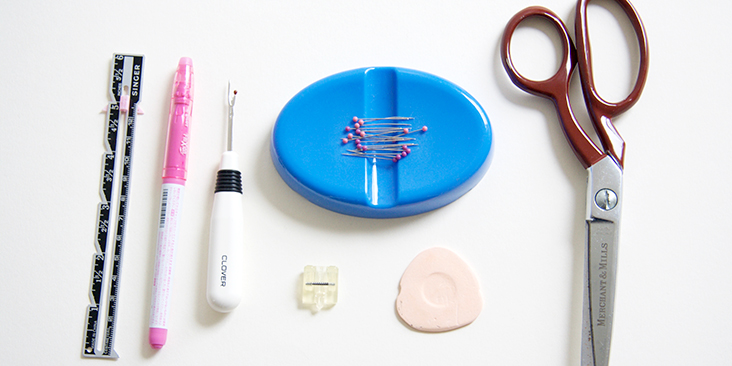
Scissors, sewing gauge, pins, chalk or fabric marker, sewing machine and invisible zipper foot.
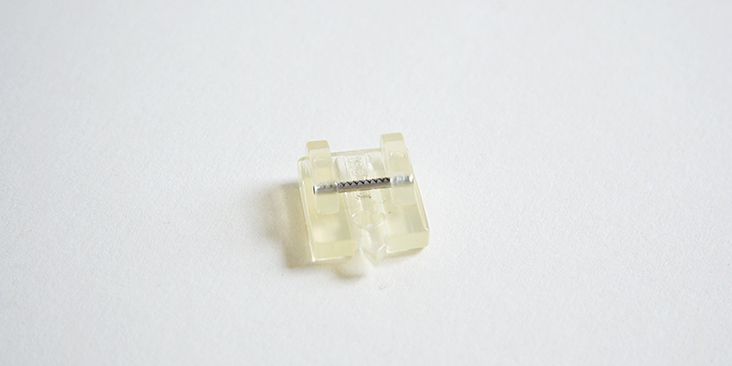
An invisible zipper foot (sometimes referred to as concealed zipper foot) makes the installation really quick and simple. The grooves underneath the foot line up with the zipper teeth and glide smoothly along the edge as you sew. If you don’t have an invisible zipper foot, it is still possible to use a standard zipper foot which comes with most sewing machines. However, if you plan to sew a lot of invisible zippers in the future, we recommend purchasing one since it will make the process so much faster and easier. Such foot will cost you about $10-$30 depending on your sewing machine brand but the time it’ll save is totally worth the investment.
Difficulty
Beginner
Time
1/2 hour
Preparation
The key to a successful zipper installation is all the prep work that is done before the actual sewing begins.
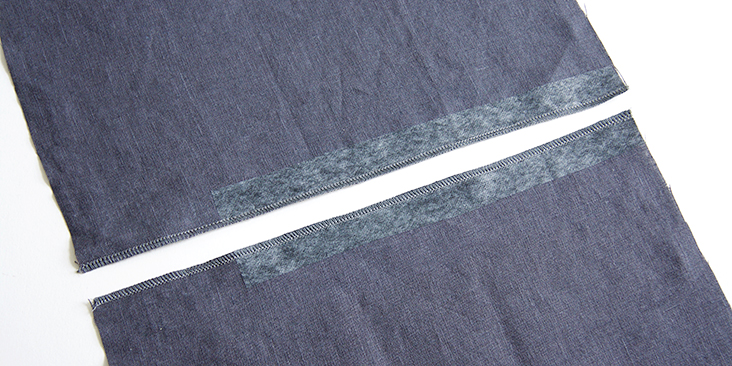
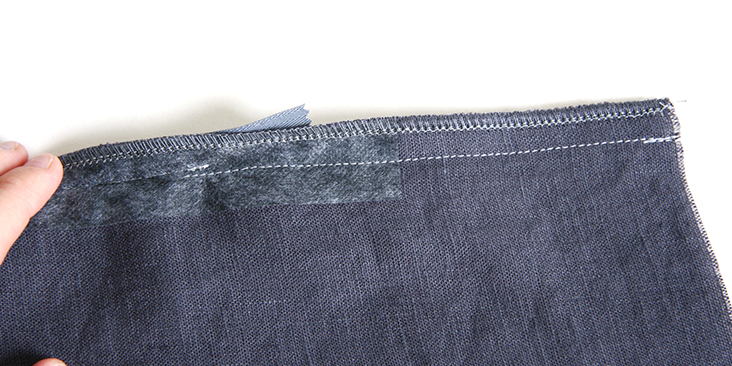
Before you get to inserting the zipper, it can be helpful to interface the area along the zipper opening, especially if you are working with lighter fabrics. It will provide more support and prevent the fabric from stretching. Your interfacing should be cut about an inch wide (or enough to cover the seam allowance plus an extra half of an inch) and an inch longer than the zipper opening.
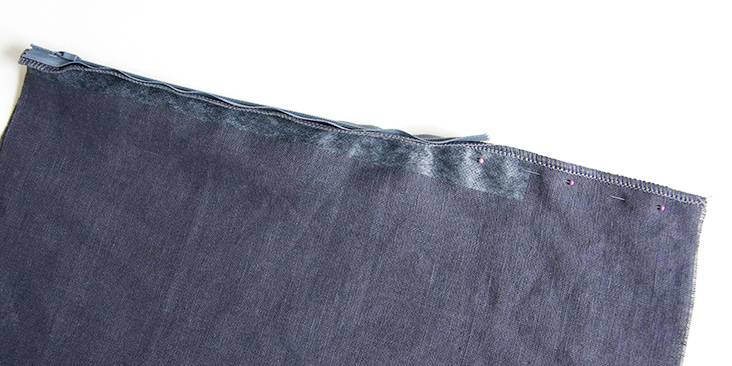
Apply fusible interfacing to the wrong side of your garment and clean finish the edges with a serger or zigzag stitch. If you decided not to interface the seam, just finish the raw edges using your preferred method. Make sure you don’t trim anything off as you are serging because you’ll need your seam allowances to stay intact.
Speaking about seam allowances, if your pattern calls for a seam allowance that is less than ½”, consider enlarging it to have enough fabric to work with.
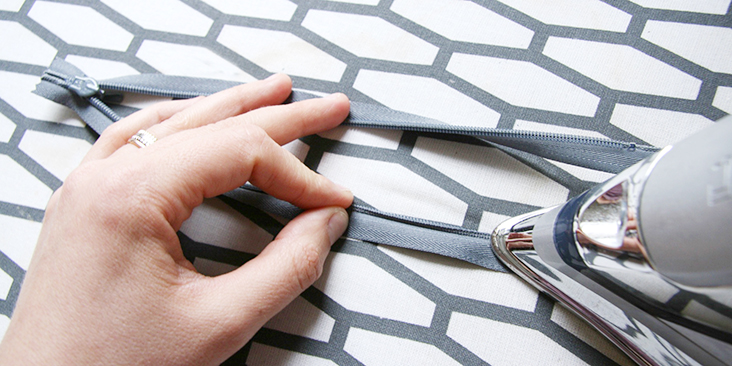
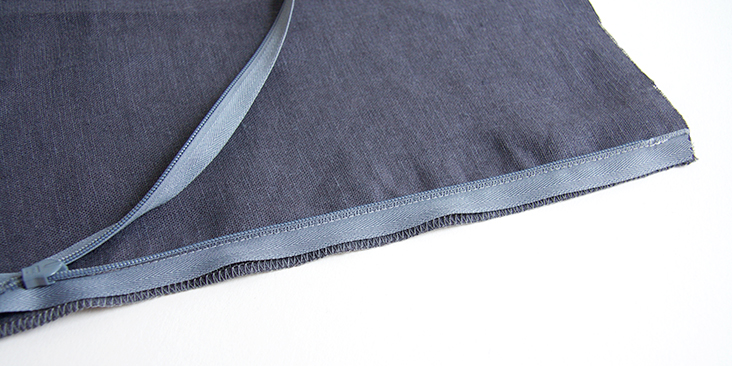
The second part of the preparation consists in pressing the zipper teeth away from the zipper tape, making it easier for you to get closer to the coils with your needle. Set your iron to a lower setting (it’s hard but possible to actually melt a zipper). From the wrong side of the zipper, roll the teeth out with the tip of your iron.
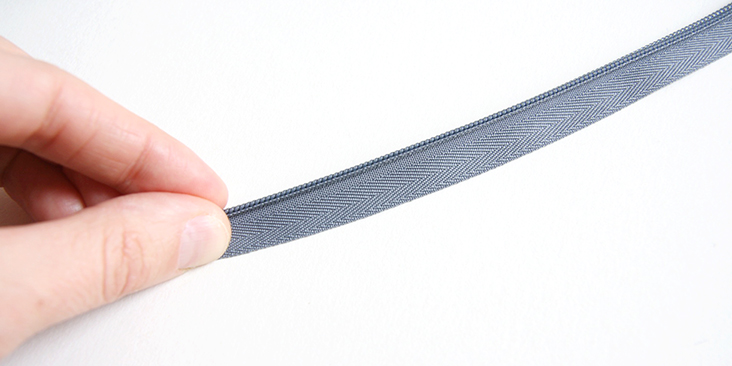
Now have a look at your pressed zipper. Do you notice that handy line on the tape, close to the coils? This line is a good guide for you to follow with your needle as you attach the zipper to the fabric.
Now that the preparation is over, let’s start sewing!
Steps
Note: Prewash your fabric and tumble dry it until it is still slightly moist, dry at room temperature. Iron the fabric so it is easier to work with.
Keep in mind that an invisible zipper is inserted before you sew the seam below the zipper. It is also important to note that the invisible zipper application is done from the right side of the project contrary to all other zipper types.
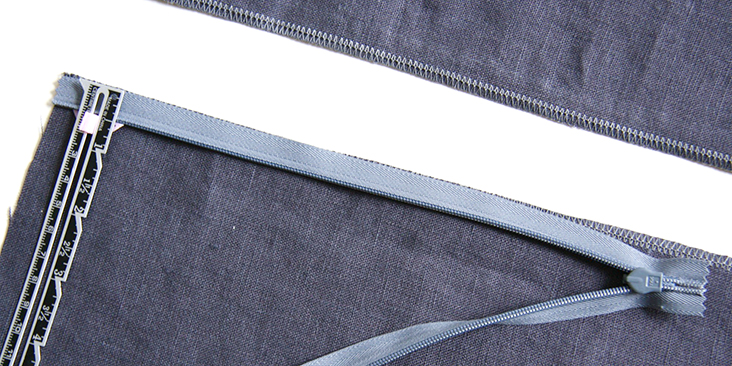
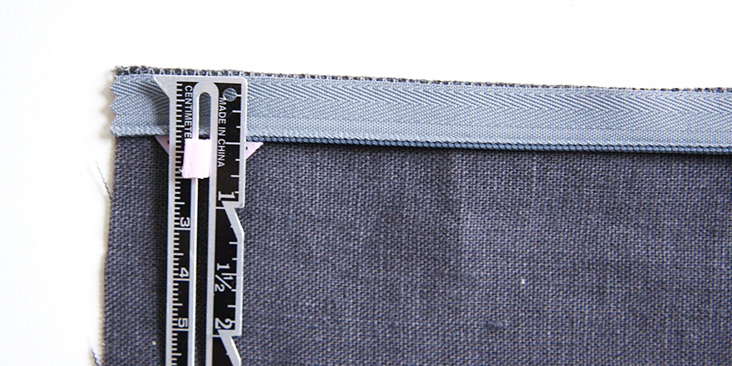
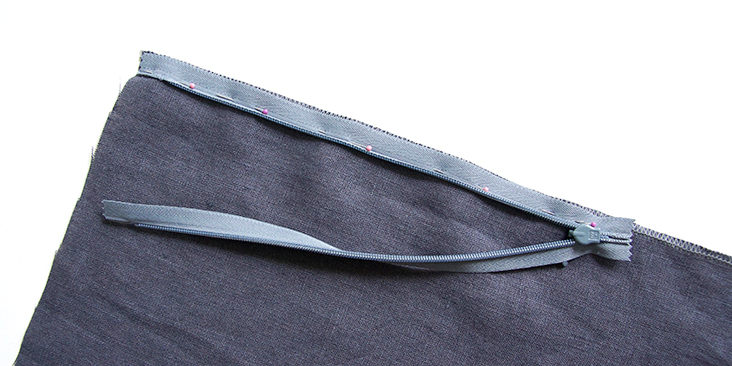
1. Put your fabric right side up, facing you. With the zipper opened, place one side of the zipper (it doesn’t matter which side is pinned first) face down on the fabric. The right side of the zipper is the side where the zipper pull is facing towards you. You want your zipper teeth to land right on the edge of your seam allowance. So if your pattern calls for ½” seam allowances, you’ll line your teeth ½” from the raw edge. If you wish, you can even mark the seam allowance line with chalk or fabric marker and use this line as a guide. In this example, we are using ½” seam allowance. Measure the top/horizontal seam allowance (top edge of the fabric) and position the clear zip stopper at the top the zip on this line. Pin the zip in position with the point of the pins facing the top of the zip, this will make the pins easier to remove when sewing.
If your fabric is stable and not too slippery, then pinning should be enough. If you fear that your fabric might shift during stitching, you can hand baste the zipper to keep it in place.
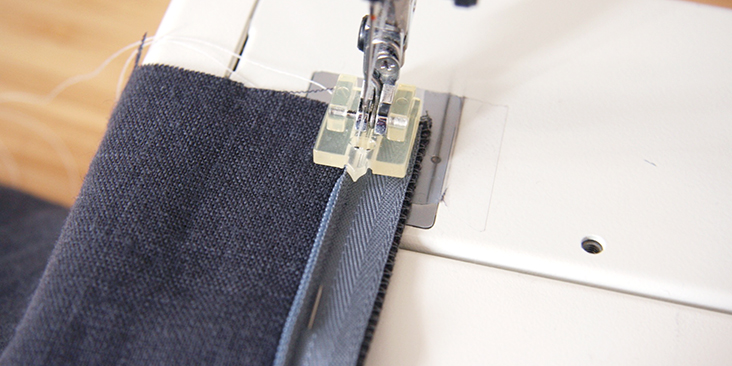
2. Change your standard foot to the invisible zipper foot. (or use a standard zipper foot if you don’t have the invisible one).
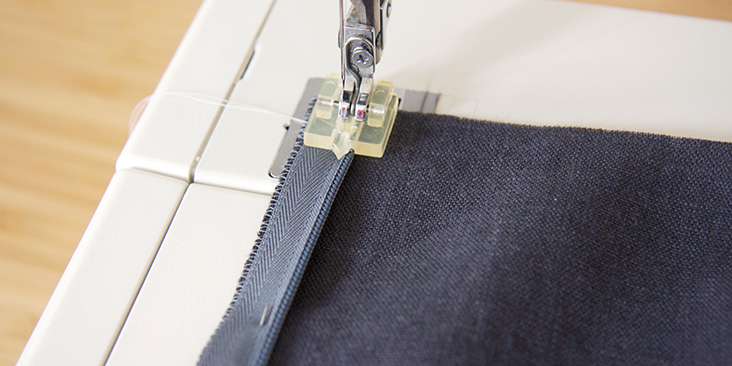
3. Uncurl the zipper teeth with your fingers and lower the foot down onto the zipper. Make sure that the zipper coil is in the left groove of the foot (when sewing to the right of the teeth) to allow your needle to get as close to the teeth as possible.
4. Start your seam at the top of the zip with a backstitch to secure and continue stitching slowly down, removing your pins as you go, and stop when you reach the mark indicating the end of the zipper opening or when the foot touches the zipper pull (as you will not be able to sew past the pull anyway). Backstitch to secure.
Before attaching the other side of the zip, close it to check that it will fasten. If it doesn’t, you’ll need to unpick your stitching and start again. But if you sew too far from the zipper teeth, it’ll make it visible from the right side once closed. So try to get as close to the teeth as possible, but not too close as you might compromise the fastening. The best thing to do is to follow that handy line on the tape as your guide.
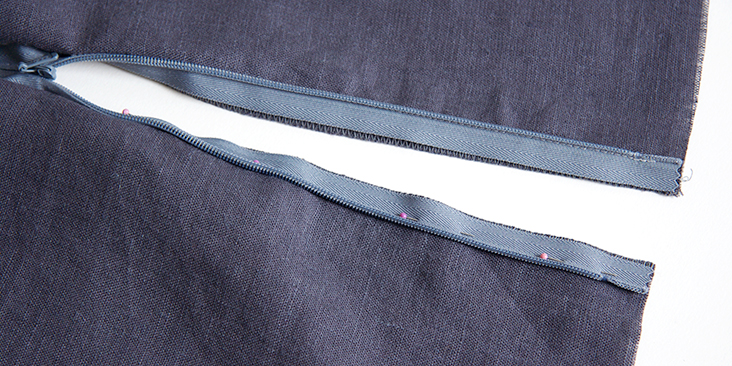
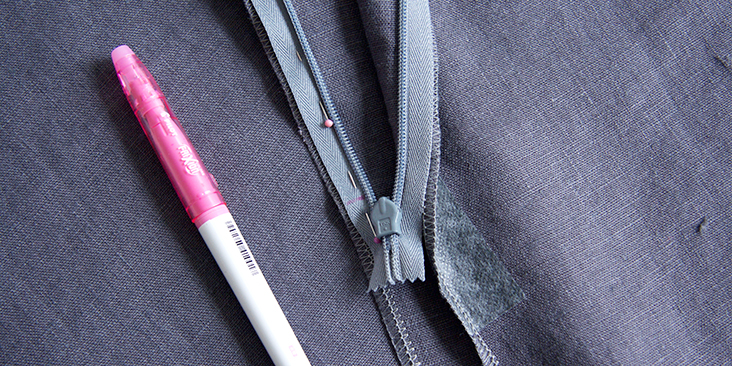
5. Position the other side of the remaining zipper tape against the right side of the fabric in the same manner as before and pin in place. It will look a little bit backwards but that’s just how it goes in place. Compare both sides of the zipper together to make sure that they start and end at the same level. Using a fabric marker or a pin, make a mark across from the last stitch – this will show you where to end your stitches on the side that you are about to sew.
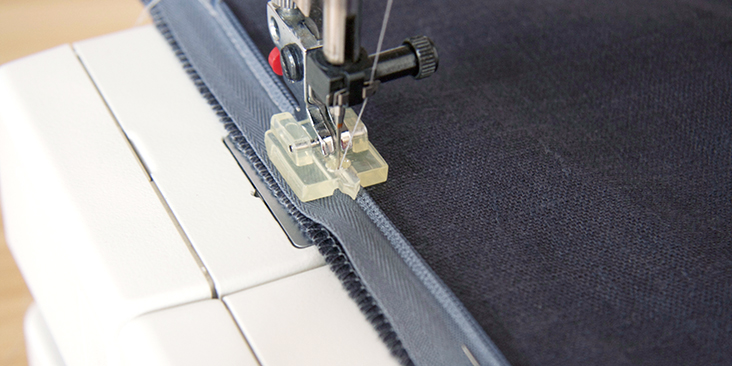
6. Position the teeth of the zipper in the right groove (as you are now sewing to the left of the teeth) and stitch from the top down to the mark in the same manner, backstitching at the beginning and end of your seam.
Once again, close the zip and check if it fastens. If it doesn’t, you know what to do – unpick and start again.
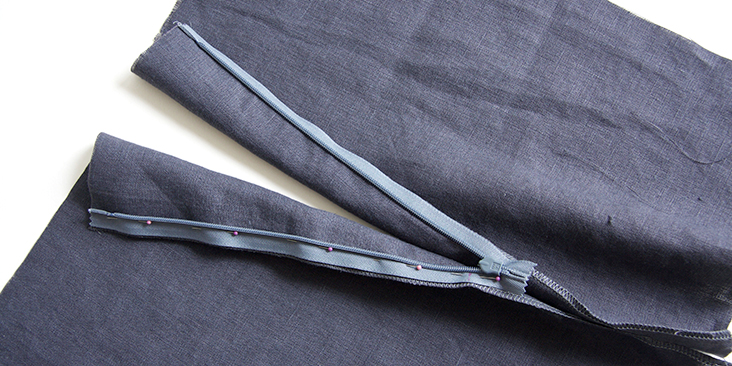
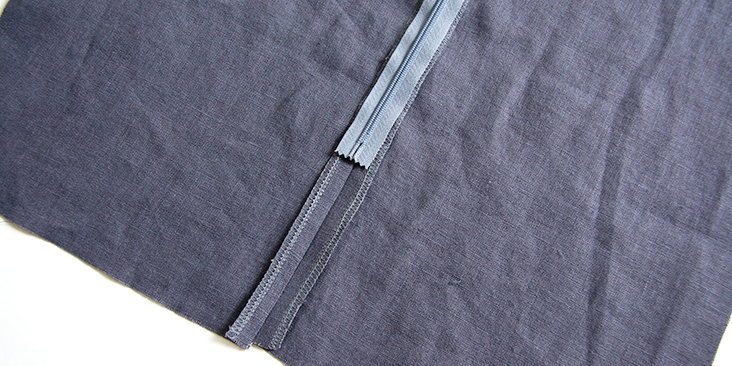
7. With your zipper in place, it’s time to sew up the seam below the zip. Switch to a regular zipper foot or your standard presser foot for ease and pull your zipper closed. Pin down the rest of the seam.
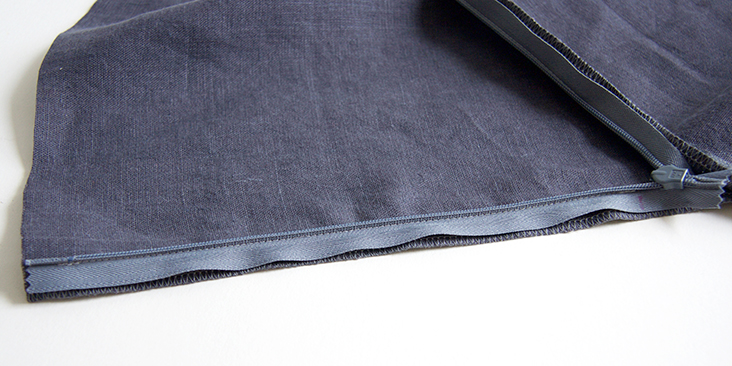
Pushing the tail of the zipper out of the way, stitch the seam starting about ¼” above the last stitches at the base of zipper, backstitch and sew the rest of your seam at the indicated seam allowance. It’s hard to get really close to the end of the zipper as it’s pretty bulky. Just stitch as closely as you can and even if you have a bit of space in between the two seam lines, it’s okay, your zipper will still look good from the right side.
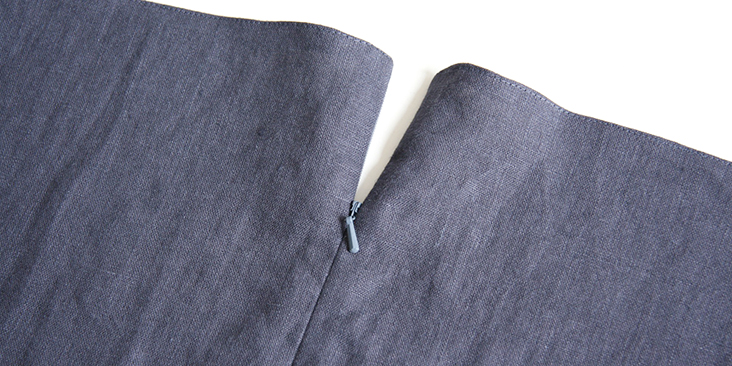
8. Press the zipper seam lightly and side seam open.
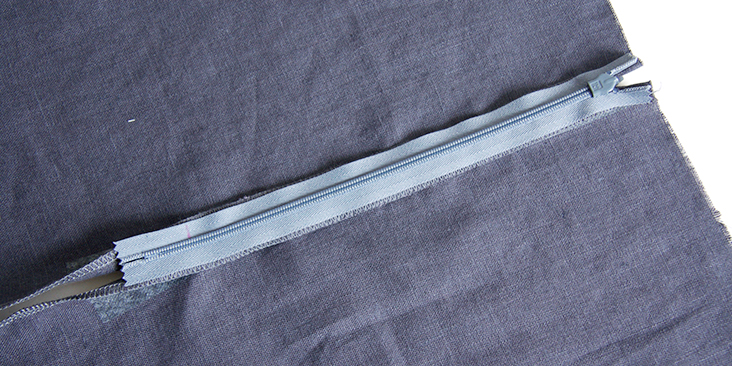
9. Complete the top of the zipper as instructed in your pattern (normally with a waistband or a facing) and you are all done! A perfectly finished invisible zipper!
With a little bit of practice, you’ll see how easy it is to install an invisible zipper and how great they make your finished projects look.




3 Comments
Lisa Bentz
Thank you for an excellent tutorial with good photos! I wondered, too, if a pintuck foot would work so thank you to Elaine for confirming that, since I don’t have a foot specifically for invisible zippers. It’s these details that confound me when sewing garments. Buttonholes, zippers, pintucks … all those things that make a garment shine when done well.
Rainey D'angelo
Thanks for such a good explanation of how to insert an invisible zipper.
Elaine Rutledge
Excellent tutorial! Older machines may not have the presser foot shown. For years I used a pintuck foot to install my invisible zippers. With a newer machine in my studio, and the from-the-factory invisible zipper foot, the process is even easier.