Beau Pleated Shirt Tutorial and Pattern
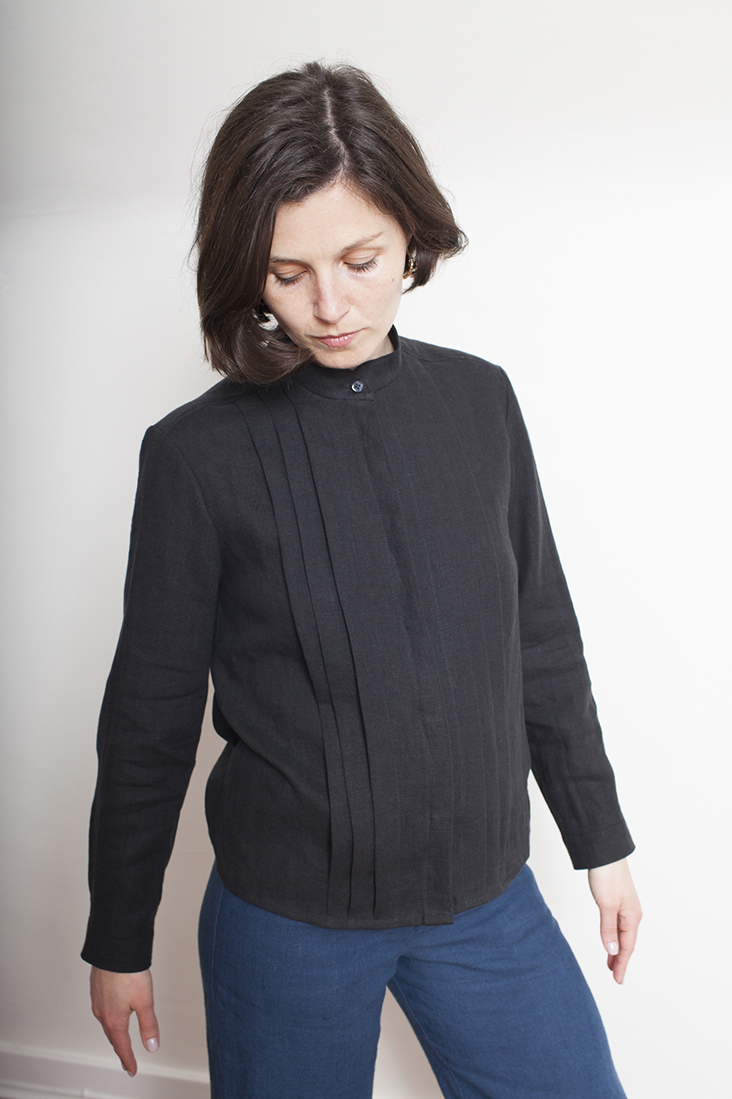
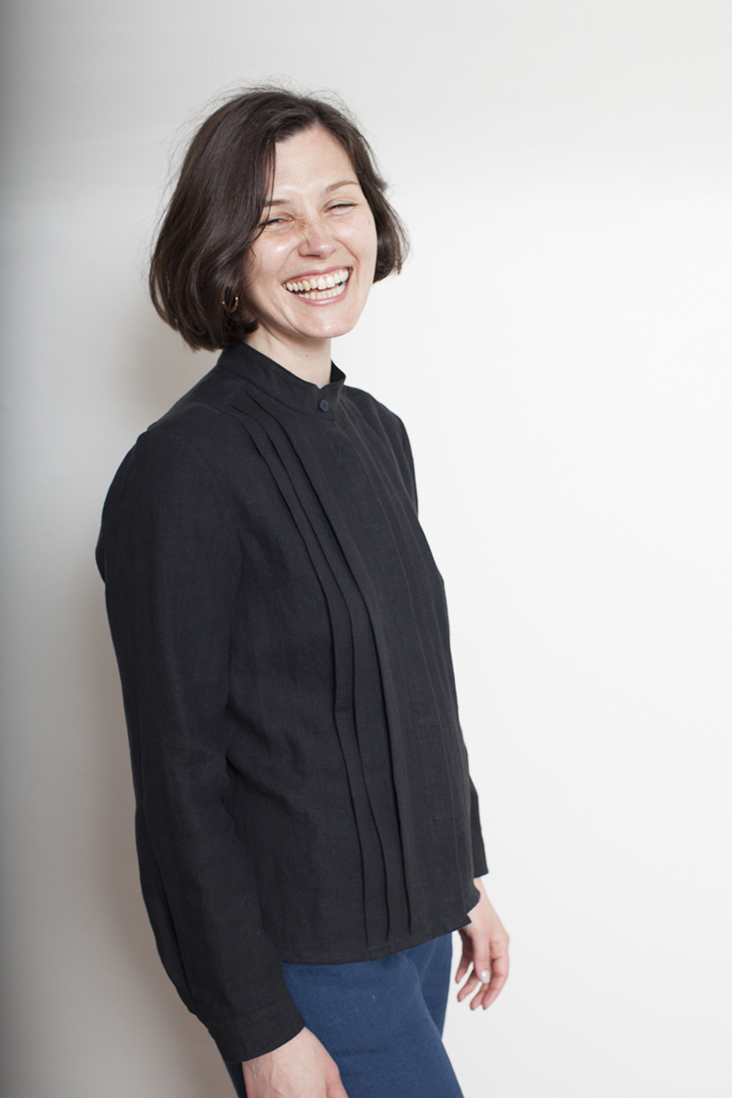
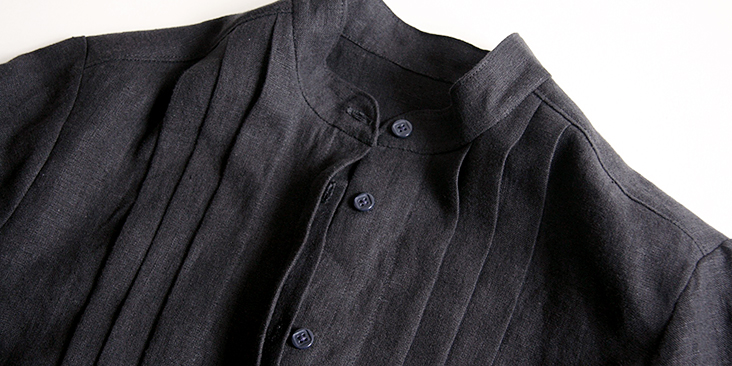
Inspired by the formal tuxedo shirts, our Beau shirt pattern is a feminine take on the classic menswear style. The delicate pleating and relaxed fit give this casual tailored shirt a unique character.
Between the concealed button placket and the front tucks, there is surely a lot of pleating involved, but some good markings and a bit of patience should see even beginners safely through and the end result is simply stunning. Effortlessly elegant, this shirt might become your everyday favorite!
Materials
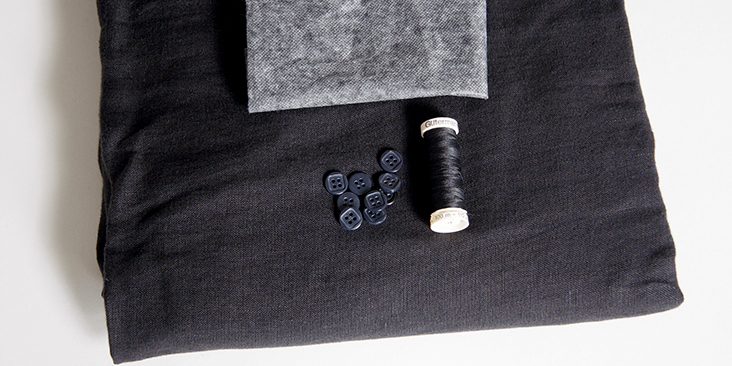
2 yards of IL019 BLACK FS Signature Finish Medium Weight Linen
Matching sewing thread, medium weight fusible interfacing, 9 buttons (3/8”-1/2” wide)
Tools
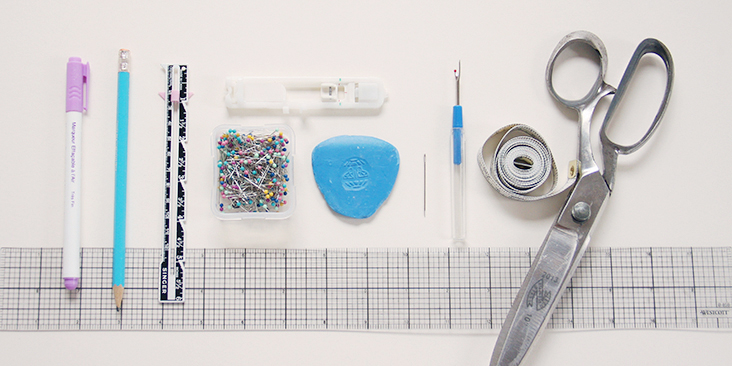
Scissors, pins, ruler, seam ripper, fabric marker, chalk, buttonhole foot, measure tape, needle, sewing machine
Difficulty
Intermediate
Sewing Time
6-7 hours
Pattern
You can access the multi-sized printable PDF pattern by following this link HERE. All seam allowances are included. The model is wearing US size 6.
Remember to transfer all the notches onto your fabric.
Steps
Note: Prewash your fabric and tumble dry it until it is still slightly moist, dry at room temperature. Iron the fabric so it is easier to work with.
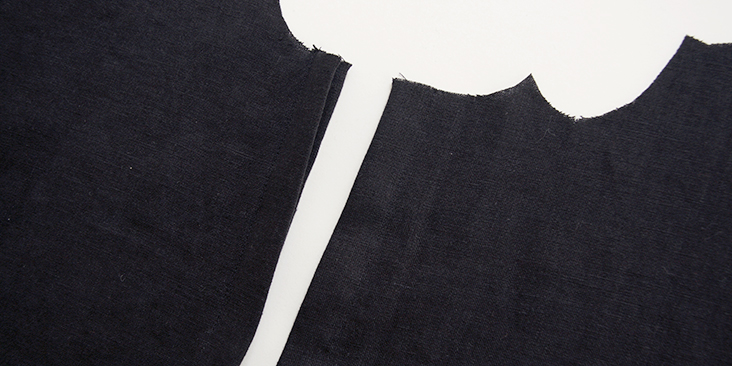
1. Sew the concealed front button bands following the instructions in this step-by-step tutorial. Fold the fabric as explained in the tutorial along the notches.
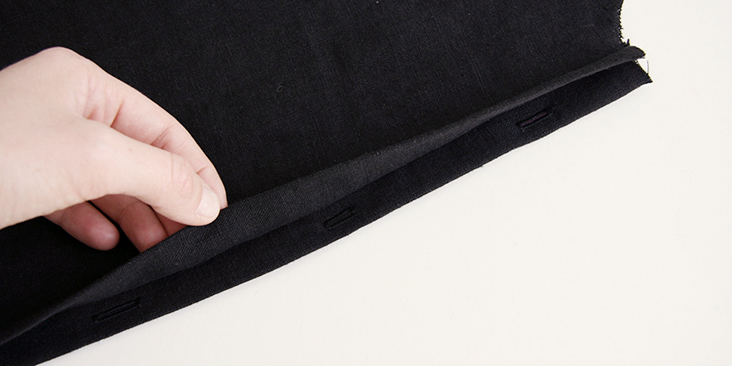
2. Stitch six buttonholes on the right front band starting 1.5” away from neck edge and spacing the remaining five 3” away from each other. If you need help with sewing buttonholes, please check our tutorial HERE.
As for the buttons, you can attach them later after your shirt is complete.
Time to do some pleating!
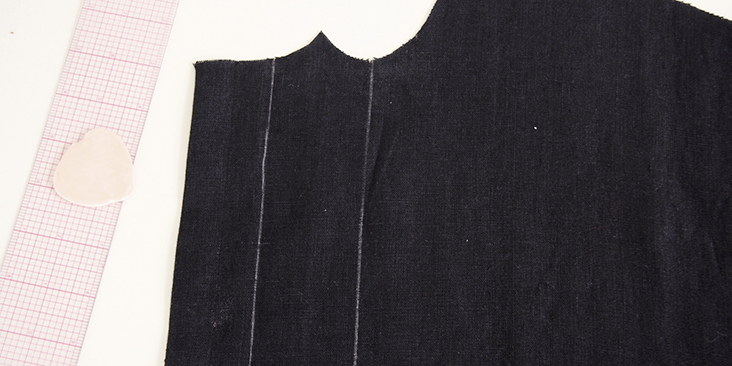
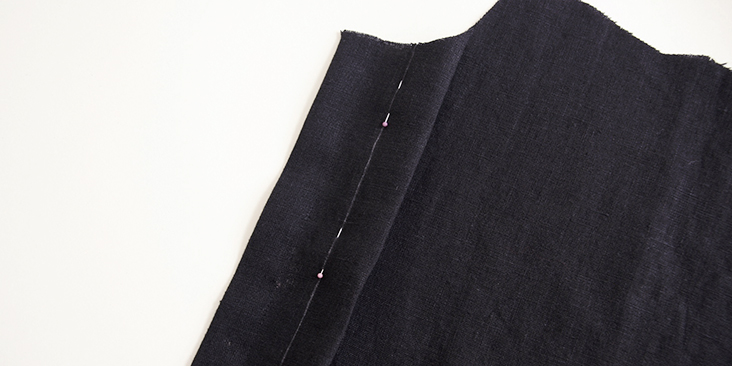
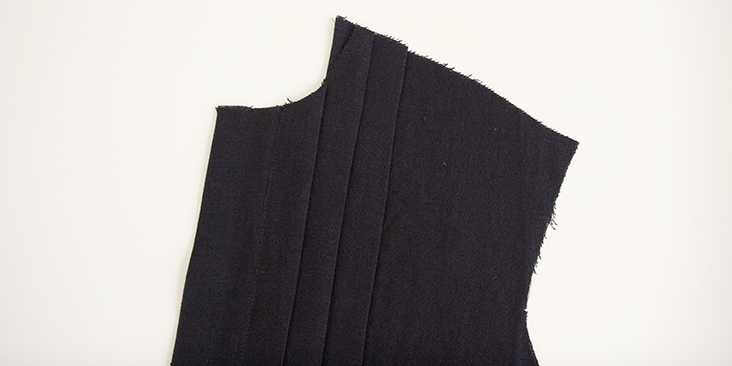
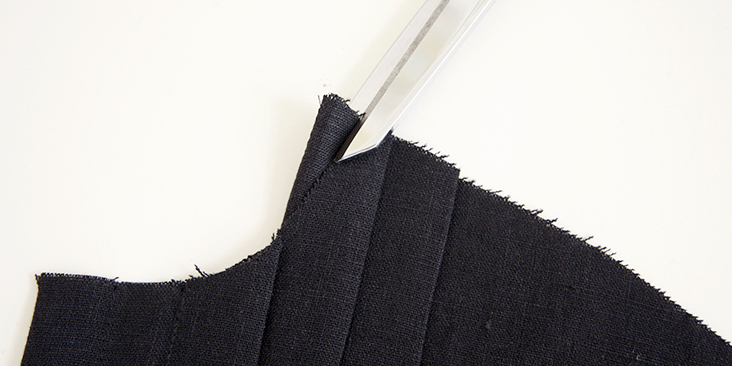
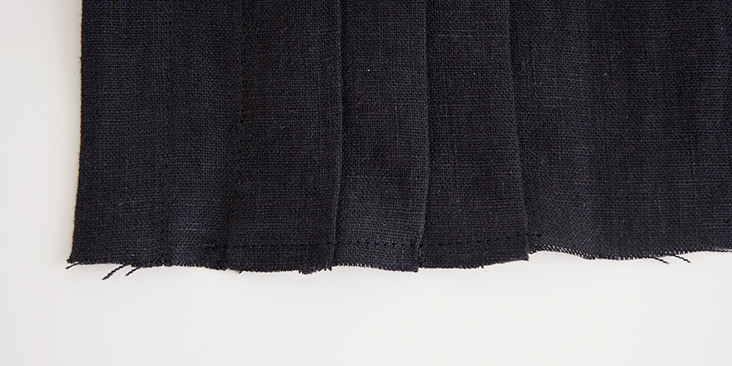
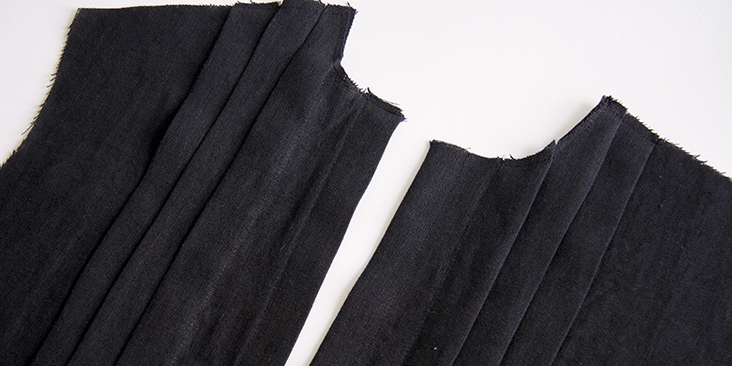
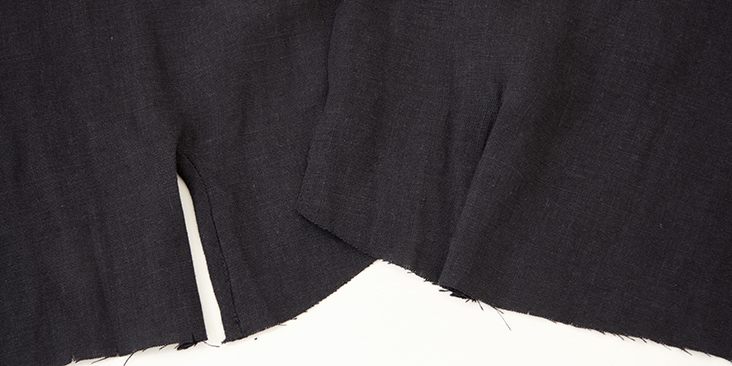
3. Right and left fronts have three 1”-wide pleats each. To create the pleats, you need to refer to the notches and directional arrows on the pattern. Match the first notch to the second and press the fabric away from center front. It might be helpful to draw straight lines from notches at neck/shoulder seams to the corresponding notches at the hem using a washable pencil or fabric marker. Match the two lines and pin together.
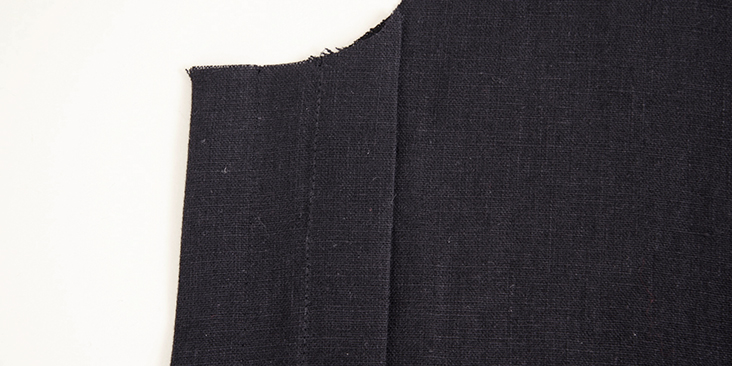
4. Now stitch on top of your drawn lines creating a 1”-wide tuck.
5. Do the same with the remaining pleats.
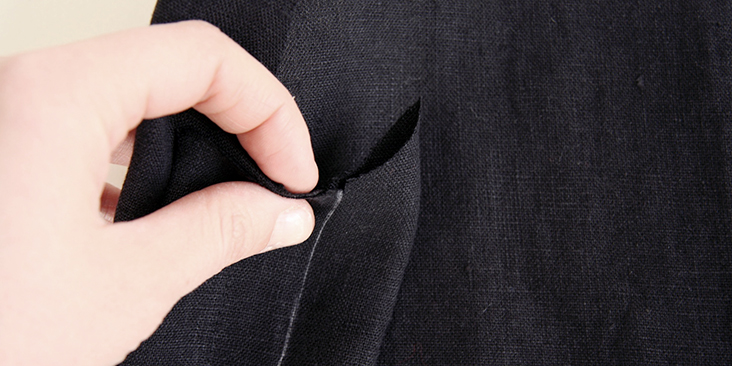
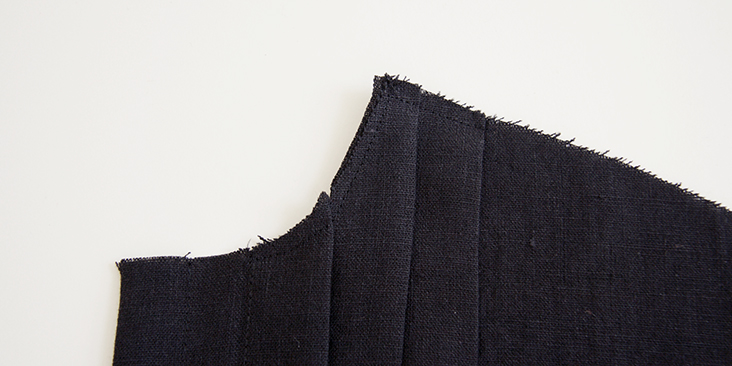
6. Once you’ve folded all your pleats, you’ll see that there’s a little excess fabric at the neckline edge. Just trim it with scissors.
7. Baste your pleats in place ¼” from top and bottom edges.
8. Now pleat the other front panel.
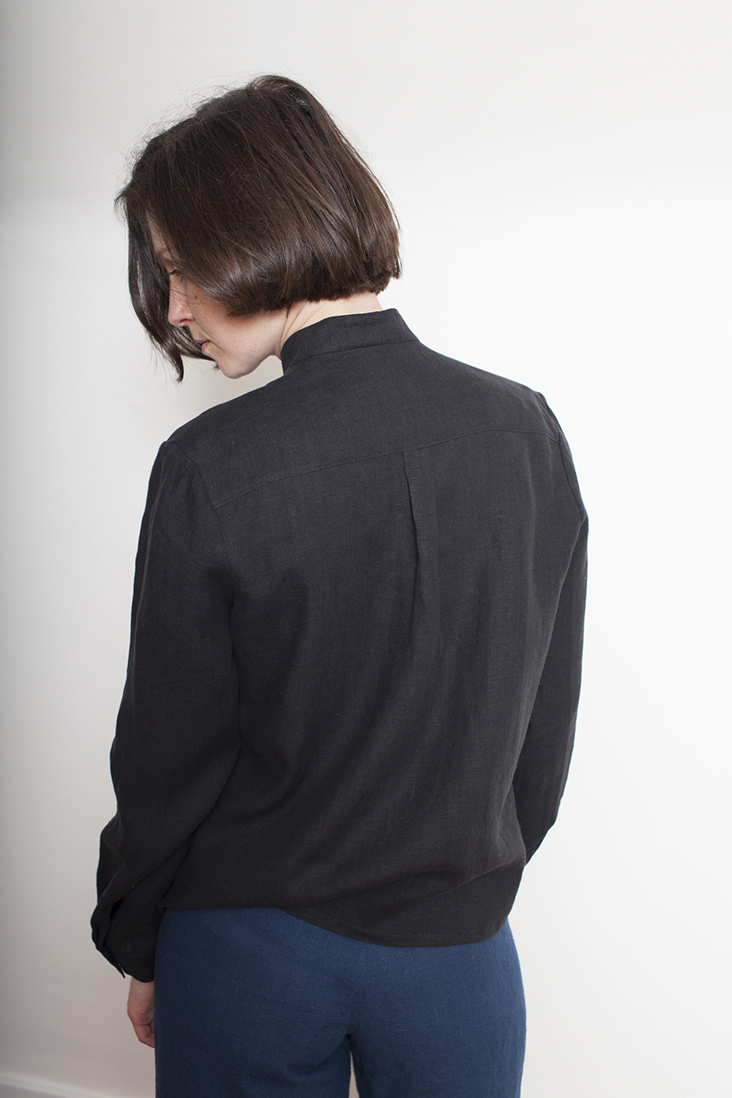
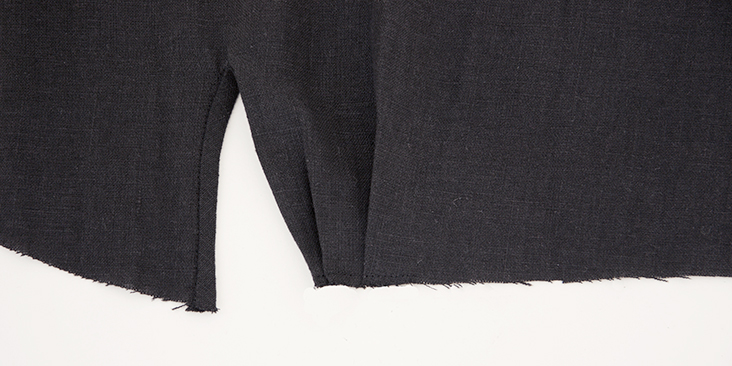
9. Take your back panel and create a 1”-wide box pleat. Match the two notches, press lightly in the middle to create a box pleat and baste it in place ¼» away from the edge.
Now that the preparation is over, we can finally assemble the back and the fronts of the shirt with a yoke.
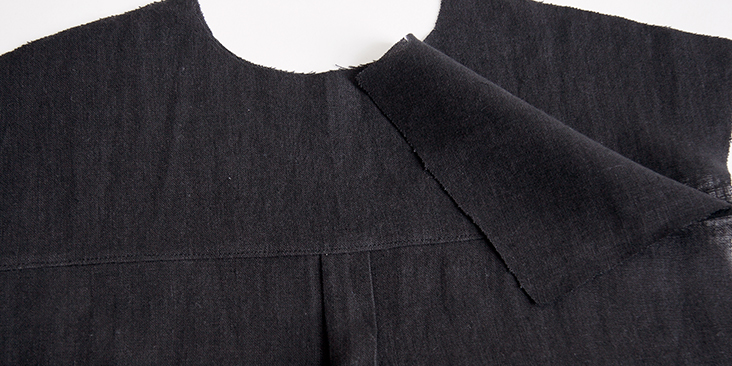
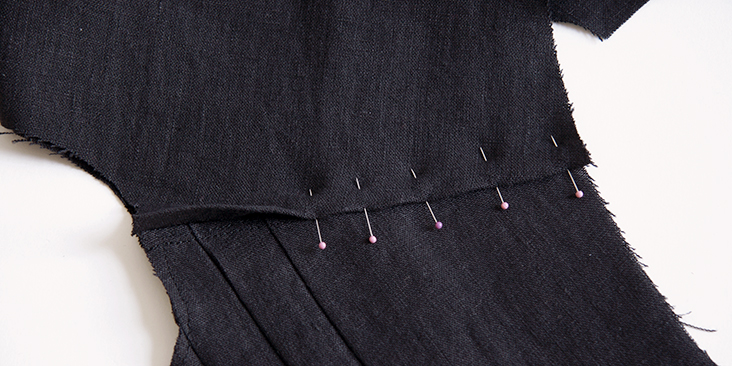
10. You’ll find the detailed instructions on how to attach the yoke in this step-by-step tutorial.
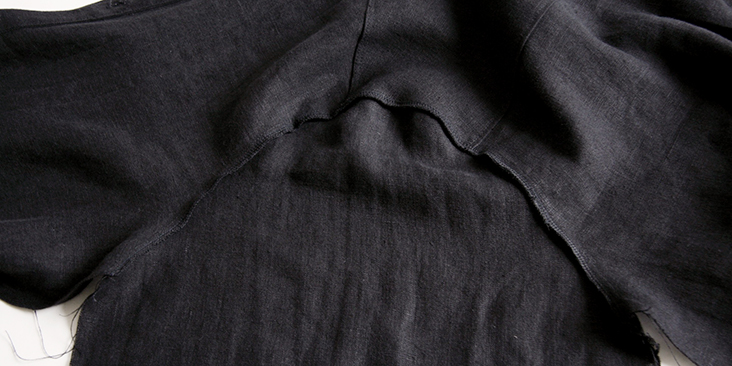
Attach the yokes to the lower back:
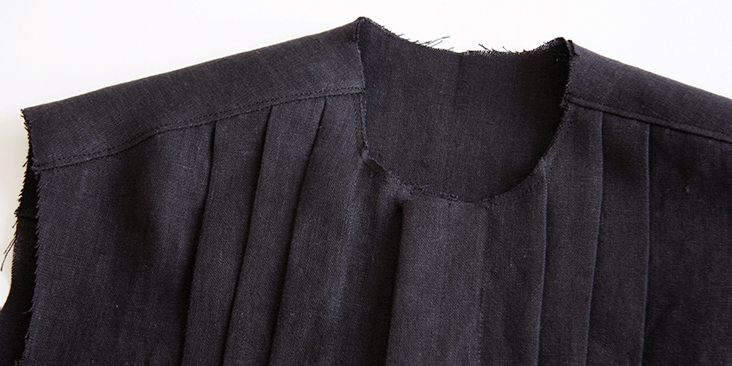
Then the shoulder seams:
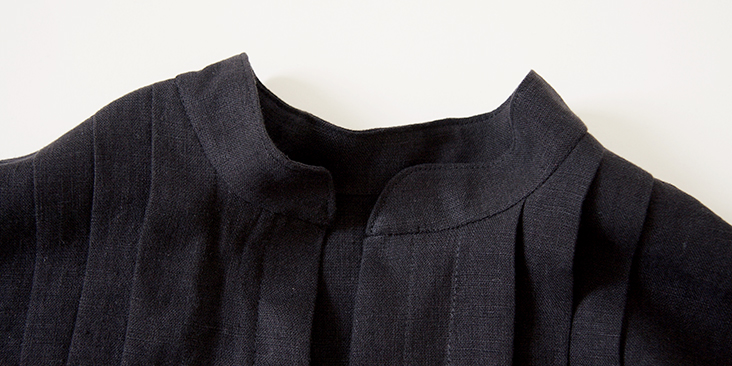
11. Time to sew and attach the collar. You’ll find the step-by-step instructions in this tutorial.
Next up – the sleeves!
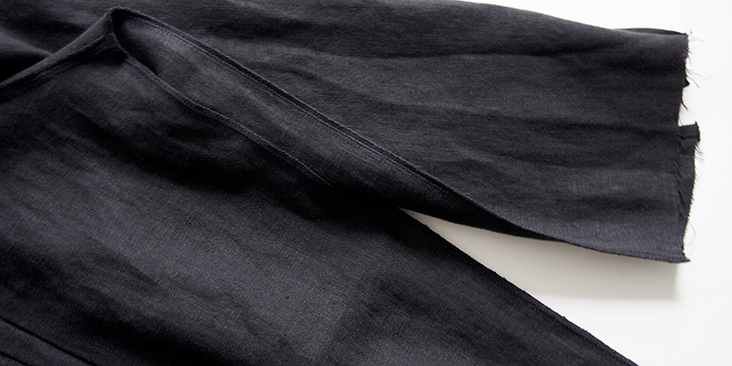
12. Before attaching the sleeves, sew the continuous bound plackets on each sleeve following this tutorial (steps 1-11).
13. Working from the right side, form two pleats at cuff edge following the arrows printed on the pattern. Baste the pleats and the front placket (turned to the underside) in place 1/4″ from the edge.
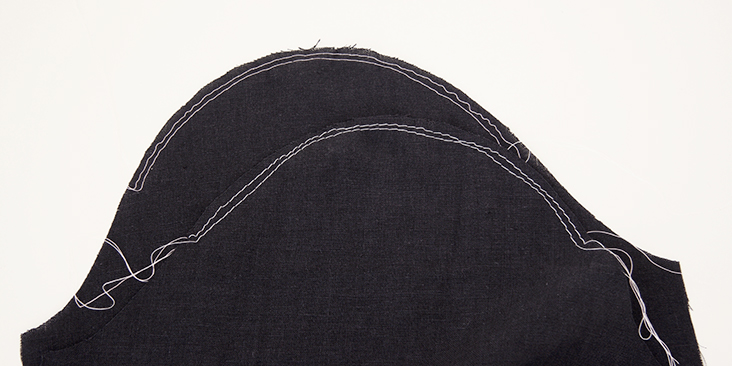
14. The sleeves have a little bit of ease around the shoulder area. Run two lines of basting stitches on each sleeve cap, 1/2″ away from back armhole notch to 1/2″ from front armhole notch. If you don’t know how to gather, please check our detailed tutorial HERE.
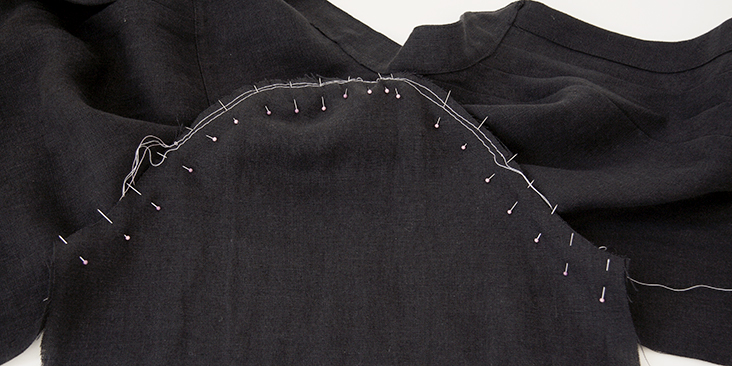
15. Pin sleeves to corresponding armholes right sides together and matching the notches. Pull basting threads to gather sleeve cap ease.
16. Stitch the sleeves to the bodice at a 3/8” (1 cm) seam allowance, remove basting stitches and finish the raw edges with a serger or a zigzag stitch. Press seam allowance towards the sleeve.
17. Pin the side seams and the underarms and stitch right sides together all in one seam. Grade and serge/zigzag the raw edges together. Press the seam allowances towards the back.
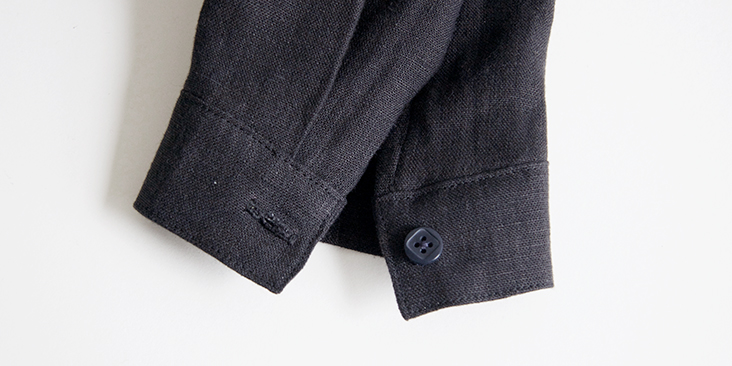
18. Following the same tutorial, sew and attach the cuffs to each sleeve. Stitch a buttonhole and attach a button.
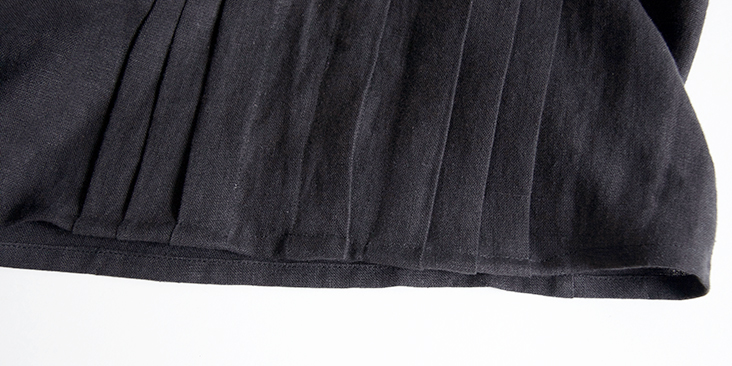
19. Finish the hem with a rolled hem. Fold the fabric twice to the wrong side (1/4” to 3/8”), pin and stitch in place.
20. Lastly, sew the buttonholes on the collar and attach the buttons.
Overlap the shirt and place a pin into the center of each buttonhole. This is where you’ll need to attach the button.
21. Give your shirt a good last press and you are all done!
We love seeing what you make! Don’t forget to share your pictures and tag your creations with #FabricsStoreBeauPattern hashtag.






One Comment
Dawn Nolt
I made a muslin, so cute! To clarify step 3, when making the pleats, are you folding with wrong sides together and then ironing away from center? It’s hard to tell on the photos. Thanks in advance.