How To Make A Linen Scrunchie Tutorial
If you need something soft and cute to tie your hair back or are just feeling nostalgic for the 1990s, then you’ll love this tutorial! Scrunchies are making a comeback and some of the top fashion websites are offering a whole plethora of these retro accessories in all fabrics and colors! But why buy if you can make?
Scrunchies are super easy to make, so easy in fact, that they make a perfect first sewing project for kids. It is a great way to use up all those scraps of fabric that you have in your stash and they make a fabulous little gift for a loved one. Plus, scrunchies are actually good for your hair. They are so soft and gentle compared to a traditional elastic.
Follow this easy tutorial and make your perfect throwback hair scrunchy from any color you like!
Materials & Tools
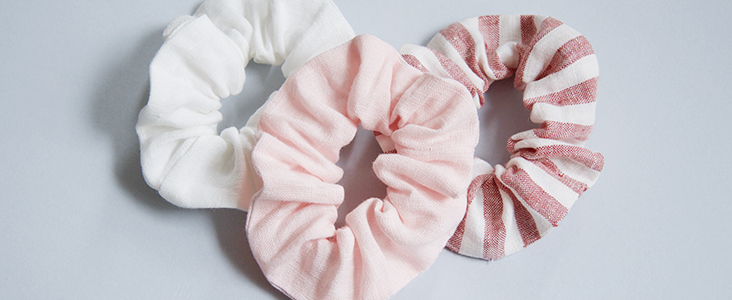
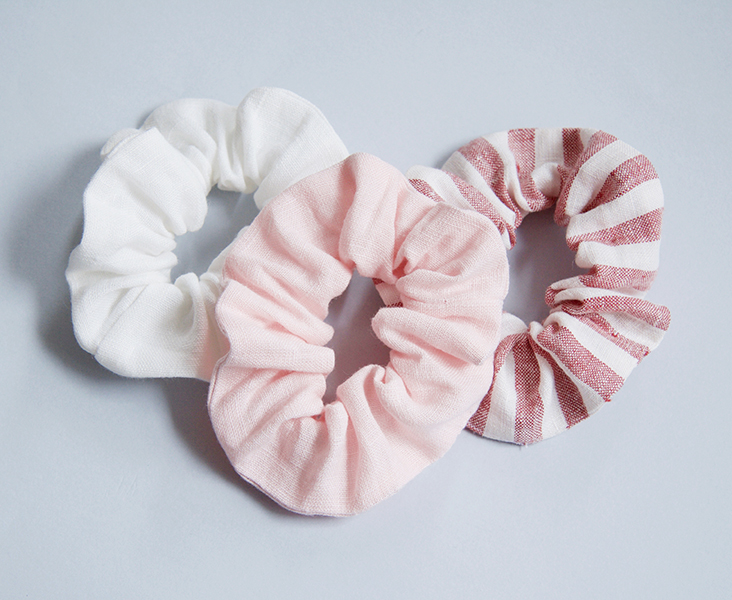
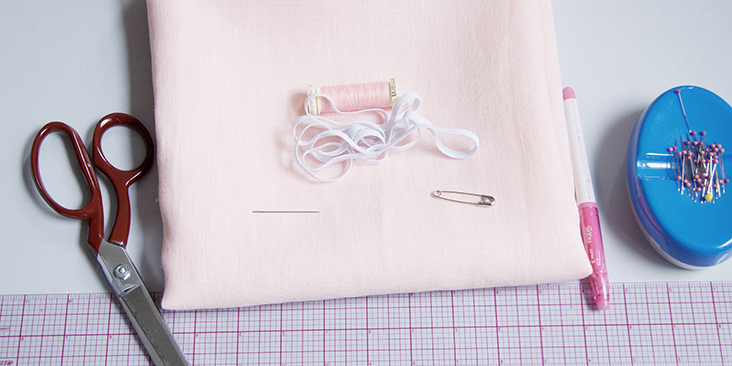
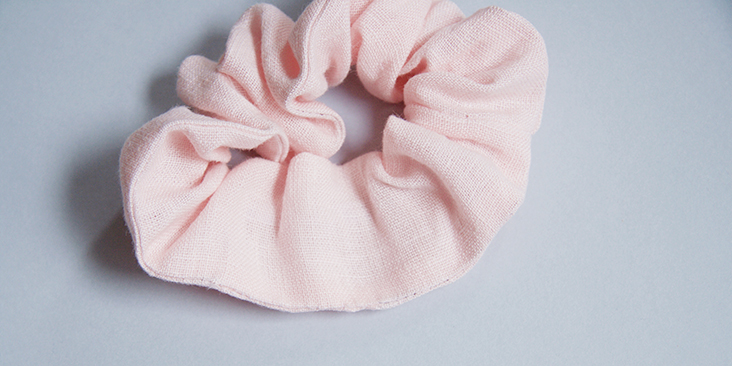
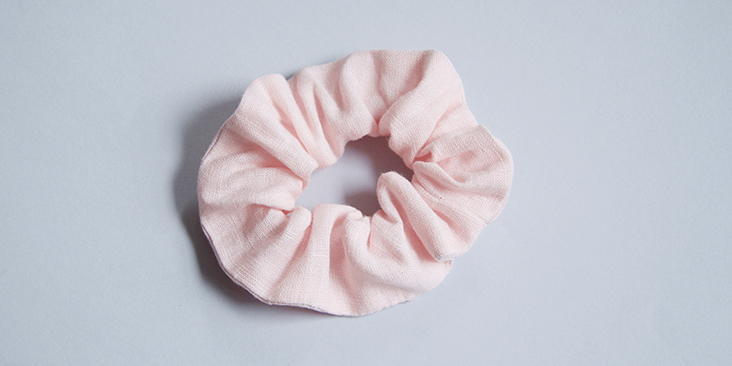
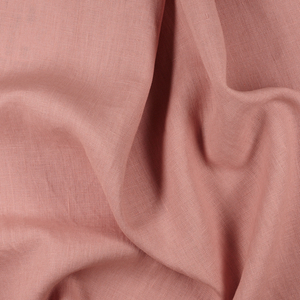
Fabric scraps. In this tutorial we are using our IL019 SOFT PINK Softened Medium Weight Linen.
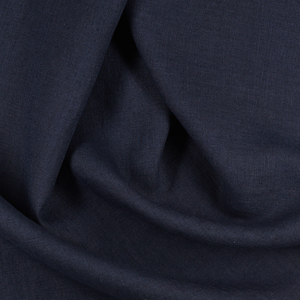
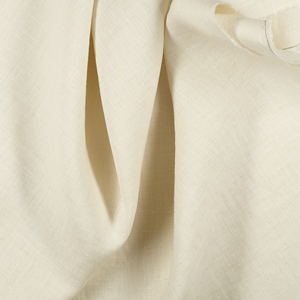
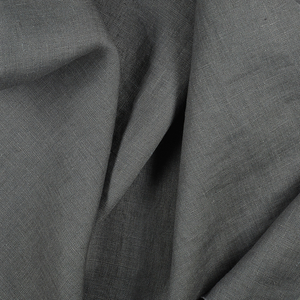
Other colors pictured are IL019 Bleached Softened and IL044 716
Matching sewing thread, 1/4”-wide elastic
Scissors, pins, ruler, fabric marker, safety pin, needle, sewing machine.
Difficulty
Beginner
Time
1/2 hour
Pattern
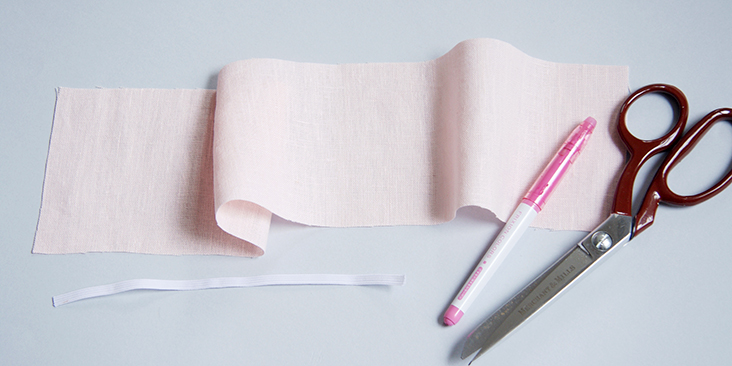
To make a pattern you need to decide how big or small you want your scrunchie to be. It really is a question of preference. You can use one of your elastics as a guide or measure your wrist to cut your elastic (just remember to add a little extra to join the ends) and cut a rectangle 2-3 times longer than your elastic measurement. A longer rectangle will make a fuller scrunchie and vice versa.
In this tutorial, we will be cutting a strip of fabric that is 18” long and 4” wide, and the elastic will be 8” long.
Fabric is usually cut on the straight grain, but if you are working with striped or checked fabric, you can experiment with the fabric grain and cut your fabric on the bias to add an interesting pattern.
Steps
Note: Prewash your fabric and tumble dry it until it is still slightly moist, dry at room temperature. Iron the fabric so it is easier to work with.
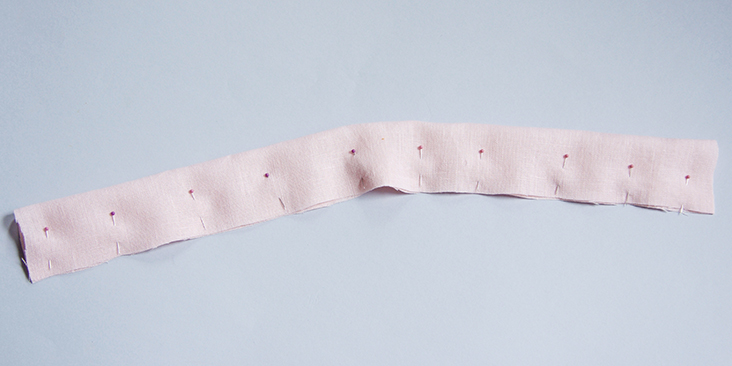
1. Take your fabric and fold it in half lengthwise right sides together matching the raw edges. Pin.
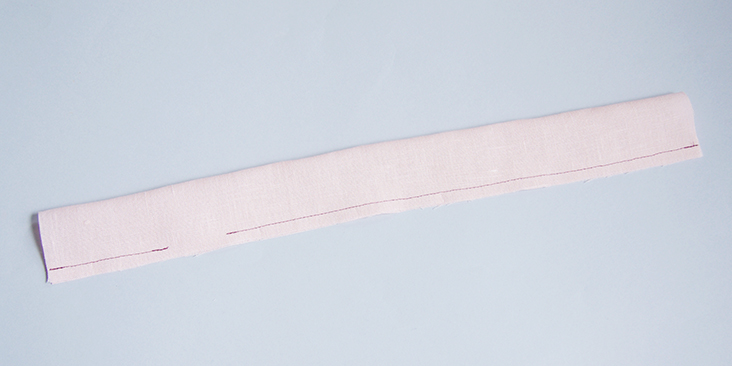
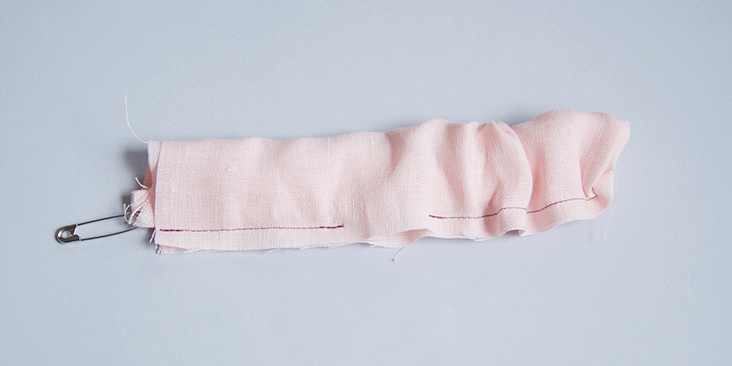
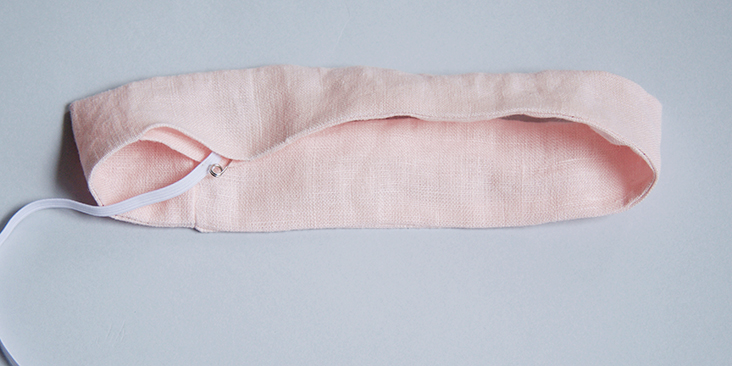
2. Now we are going to stitch the pinned edges at a 3/8” seam allowance but leave a small gap (1” – 1 ½”) for the elastic. The gap should be approximately 3” away from one end of the fabric.
To better demonstrate this step we decided to use contrasting thread but you’ll want to use a matching color thread.
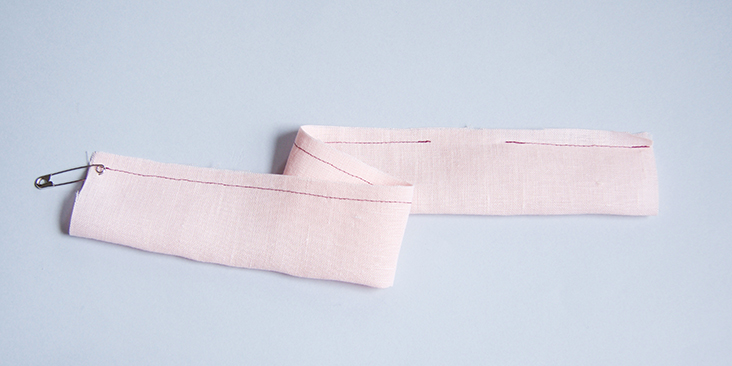
3. Attach a safety pin to the end farthest from the gap and turn your fabric right side until it reaches the other end.
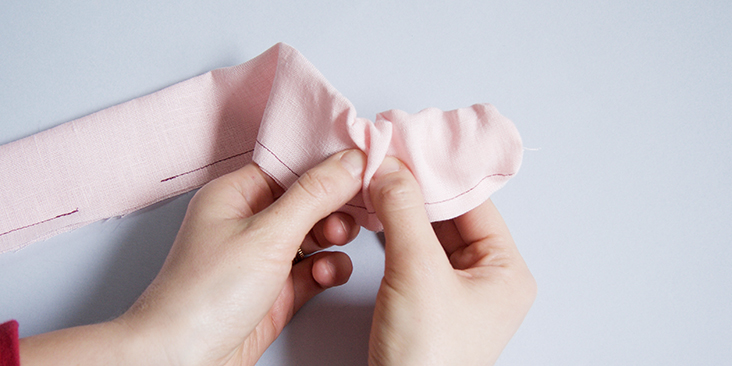
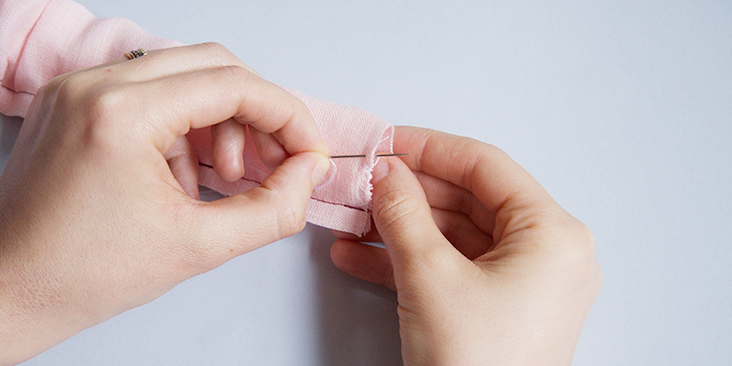
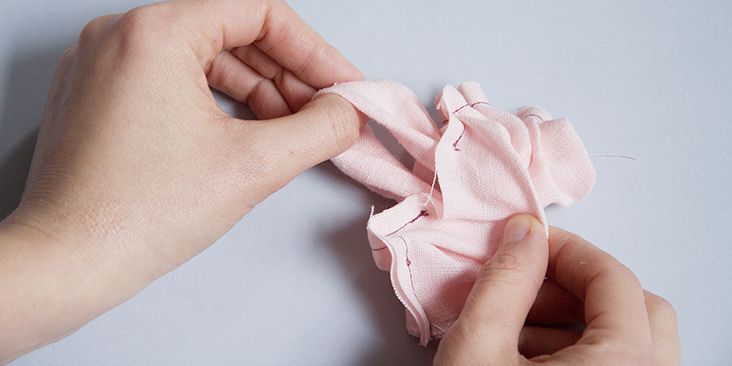
4. Now that you’ve turned the tube halfway, join the two ends right side together matching the seam and aligning the raw edges.
Since the tube is pretty narrow, it will be too hard to stitch the seam with a sewing machine. So your best option here is to hand stitch the two ends with a needle.
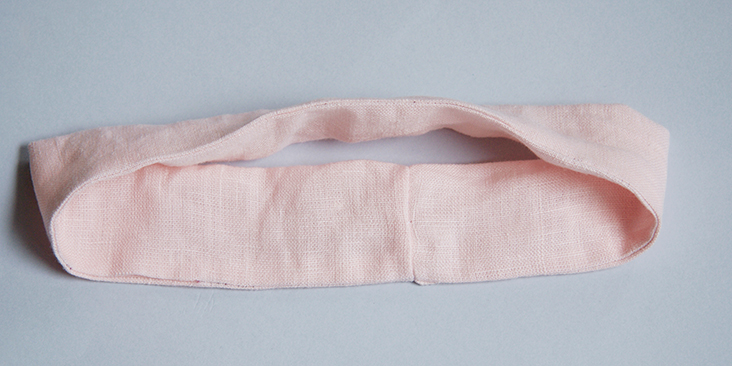
5. Turn your fabric right side out through the gap.
Press.
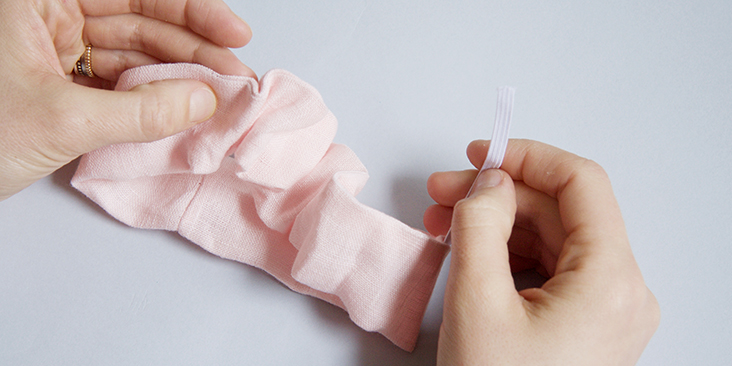
6. Attach a safety pin to one end of your elastic and thread it through the tube. Be careful not to twist your elastic and try not to lose the other end inside.
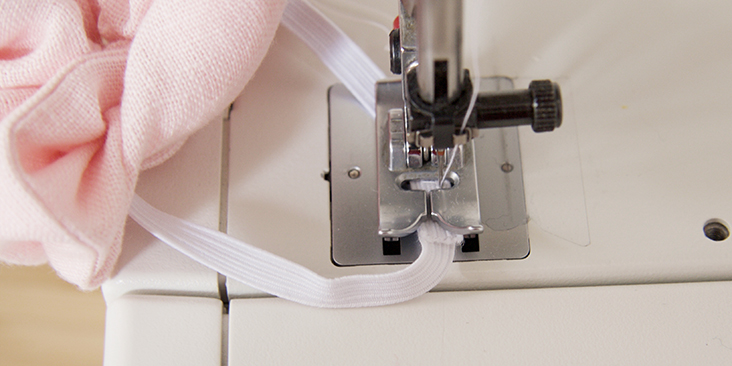
7. Lap one end of the elastic on top of the other and zigzag stitch the two together and backstitch a few times.
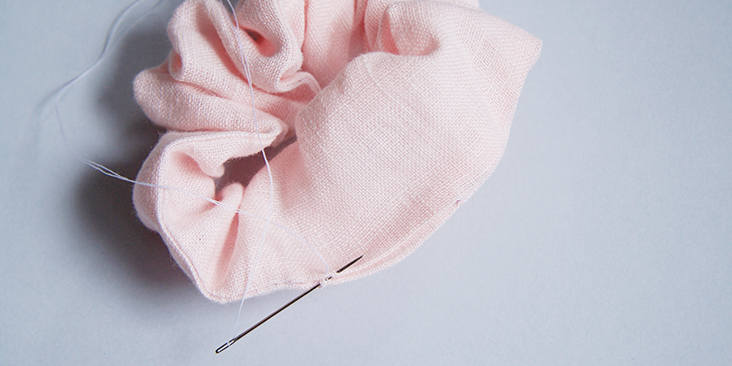
8. Lastly, close the gap with an invisible stitch. Or you can simple edgestitch the gap closed 1/16 away from the edge.
And here you have your pretty little scrunchy! Now you can practically make one to match every outfit!
Be sure to share pictures of your finished scrunchies, we would love to see what you come up with!
Happy sewing!












One Comment
Pingback:
10 Finest Suggestions To Make A Scrunchie – 123gite.com