Sewing Glossary: How To Draft And Sew An All-In-One Facing
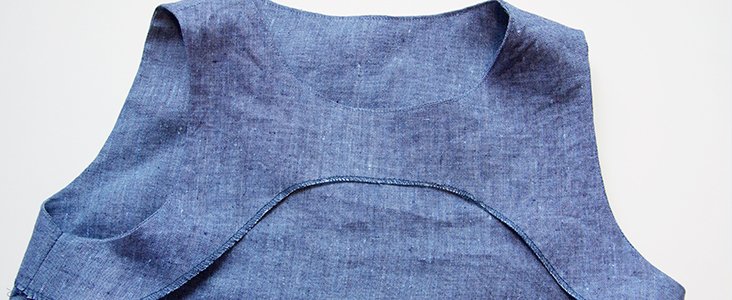
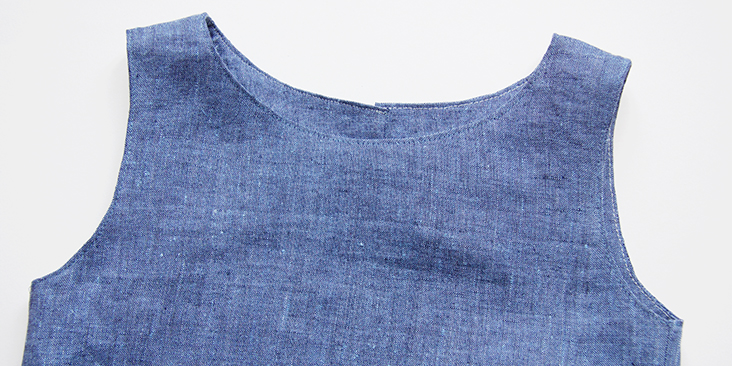
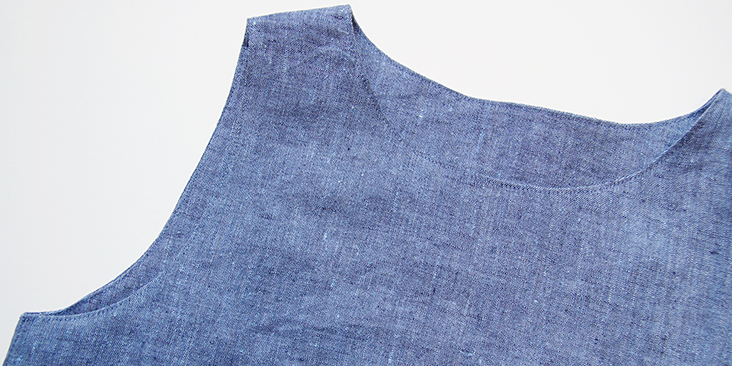
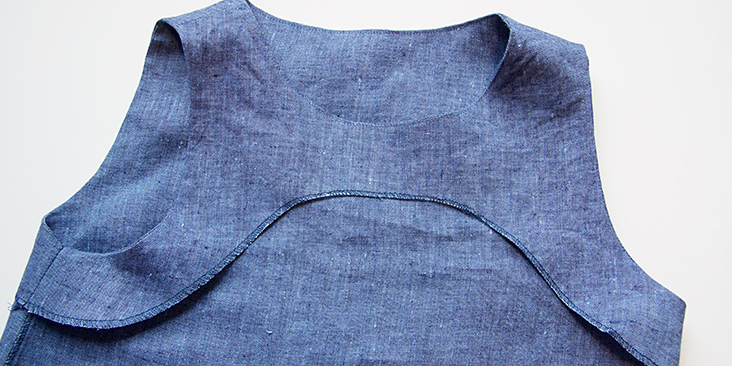
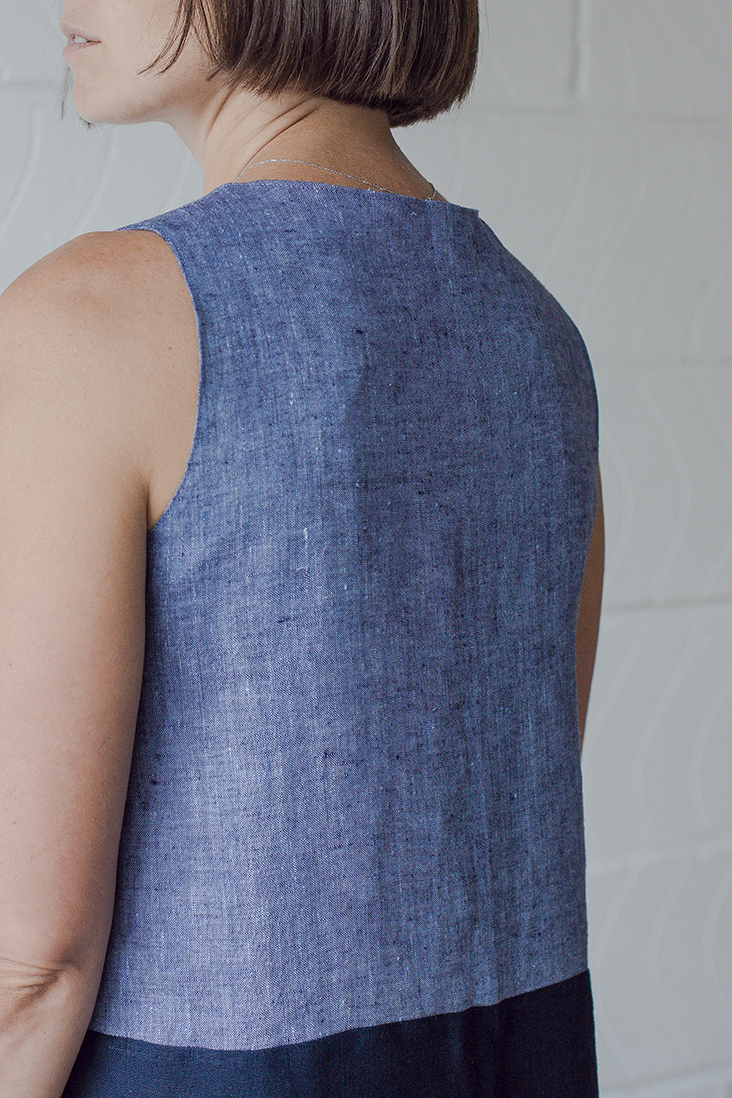 An all-in-one facing (also known as a combined neck and armhole facing) is a clean and simple finish for a sleeveless garment. It creates a neat and supportive finish at the neckline and the armhole edges.
Many sleeveless dress and top patterns call for separately faced neckline and armholes. However, in some cases, especially when working with lighter fabrics, facing armholes and neckline individually can result in saggy edges that flap out and wrangle after laundering. Installing an all-in-one facing is a great way to avoid all this hustle since it finishes all edges at once leaving a nice finish that doesn’t budge. This technique is also often used in garments with narrow shoulders where, if cut separately, the two facing pieces would overlap at the shoulders.
In this tutorial we are going to show how to draft and install a non-flipping all-in-one facing in a garment with a front or back opening and in a basic pull-on garment that goes on over the head. It is sure to give you a really beautiful and clean finish, as well as leave you feeling pretty impressed with your sewing skills!
Materials & Tools
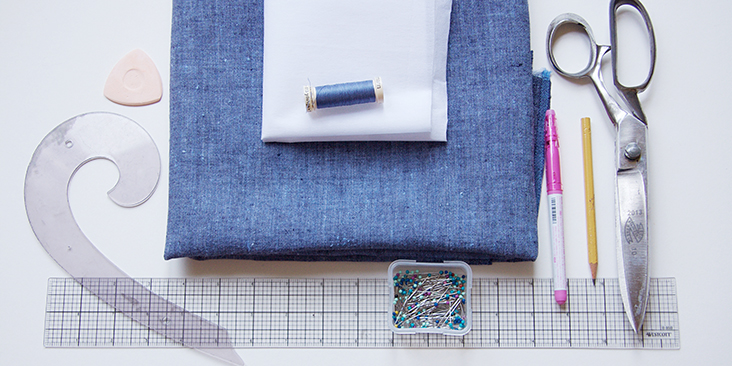
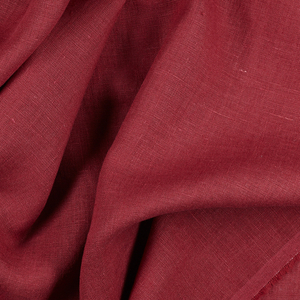
Fabric of your choice. For this tutorial we are using our IL042 908 FS Premier Finish Medium Weight Linen
Matching sewing thread, fusible interfacing, pattern paper, pen, ruler, French curve ruler, scissors, pins, chalk, measuring tape, sewing machine
Difficulty
Beginner
Time
2 hours
Drafting The Pattern
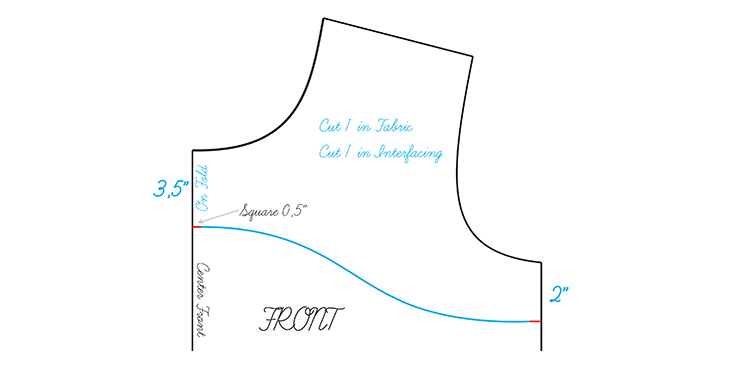
If the pattern you’re using doesn’t include an all-in-one facing, it’s easy to draft the facing pattern yourself. To begin with, you will need your front/back bodice pattern pieces, paper, pen and two rulers: a normal ruler and a French curve.
1. Take the bodice front pattern piece and trace around the neck, shoulder and armhole, and a couple of inches down the side seam.
2. Take your regular ruler and measure 2” down from the bottom of the armscye.
3. Measure 3.5” down from the center front neckline.
4. Then take your French curve and draw a smooth curve to connect your two marks, making sure it meets at a right angle at the center front fold. Otherwise you’ll get an ugly corner at the CF and you don’t want that.
5. Now repeat these steps to create the facing pattern for the back bodice.
6. Add seam allowances if your original pattern doesn’t have any. Since the facing will be attached to the main fabric at the neckline and armhole edges, you need to make sure that both your main fabric and facing pieces have seam allowances around all edges including the shoulders!
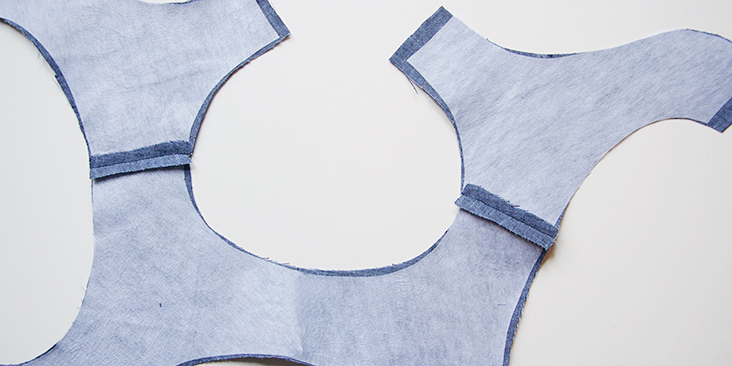
7. Cut both facing pieces out of your fabric and interfacing and fuse the two (wrong side to wrong side). Interfacing the facing pieces will provide them with additional body and support.
Sewing Steps
There are two methods for sewing an all-in one facing depending on wherther the garment has a back or front opening or simply pulls on over the head.
We are going to show you both methods that you could later use depending on your project’s design.
Attaching An All-In-One Facing To A Garment That Has An Opening:
In this example we will be showing you how to face a garment that has a back opening but the same process works for designs with a front opening.
The first step is to attach the bodice front and back pieces at the shoulder seams.
1. Pin the garment front and back pieces at the shoulder seams right sides together and stitch at your usual seam allowance (3/8” or 1 cm in this example).
2. Press the seam allowances open.
3. Do the same with the facing pieces (Don’t forget to interface your facing pieces first).
4. Finish the bottom edge of your facing with a serger or a zigzag stitch to prevent it from fraying in the future.
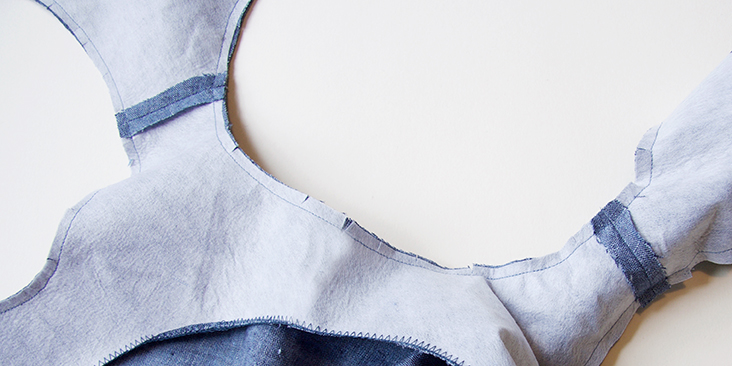
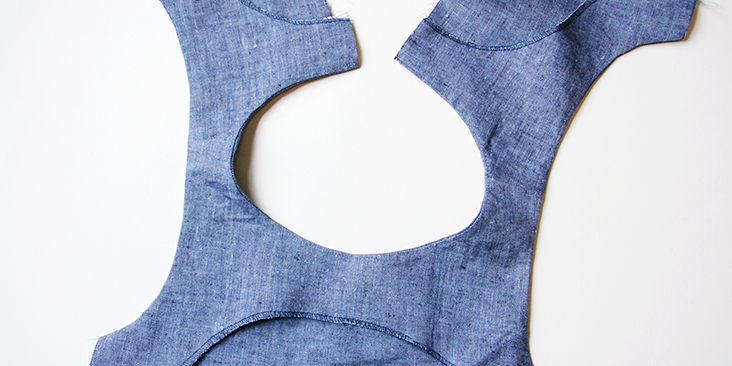
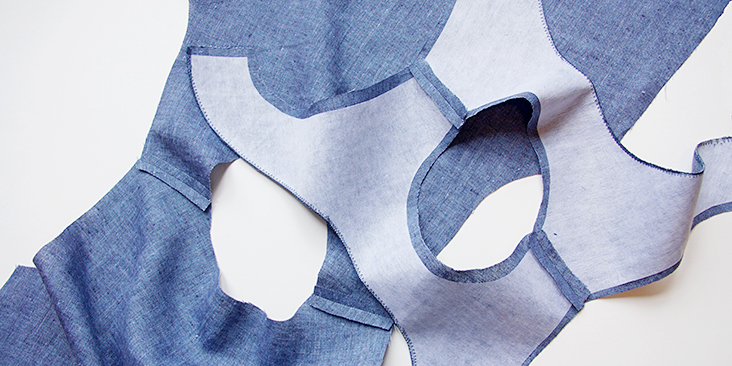
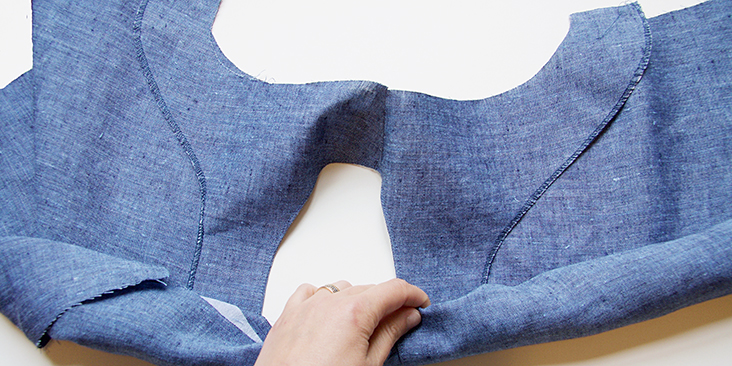
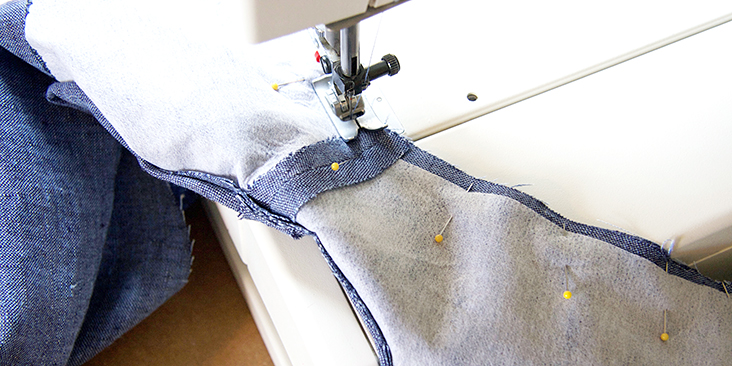
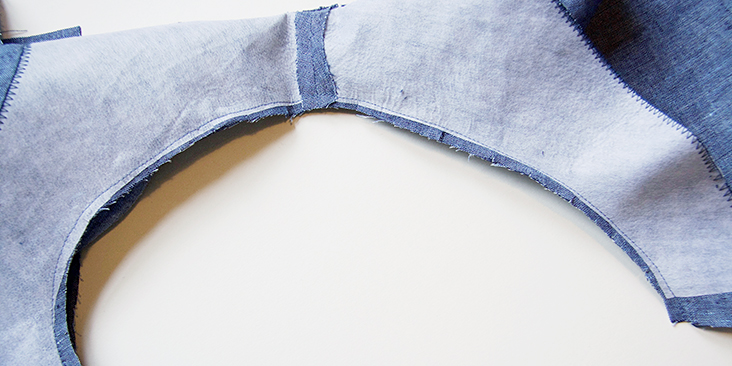
5. Lay your facing on top of your garment right sides together and pin around neckline and armhole edges. Then stitch along pinned edges with the indicated seam allowance. Trim and clip the raw edges to reduce bulk and release any tension along the curves.
Now you need to turn the garment right side out.
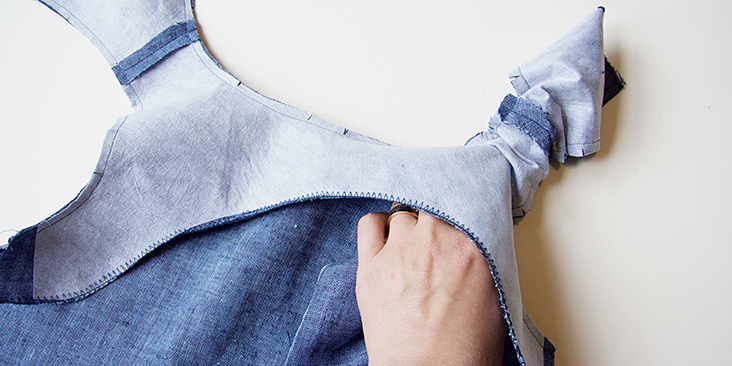
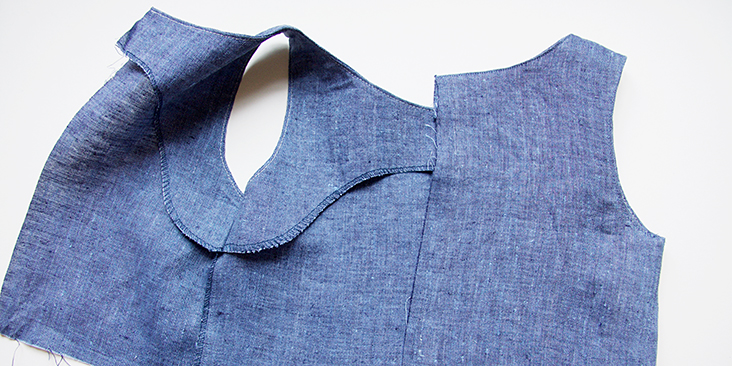
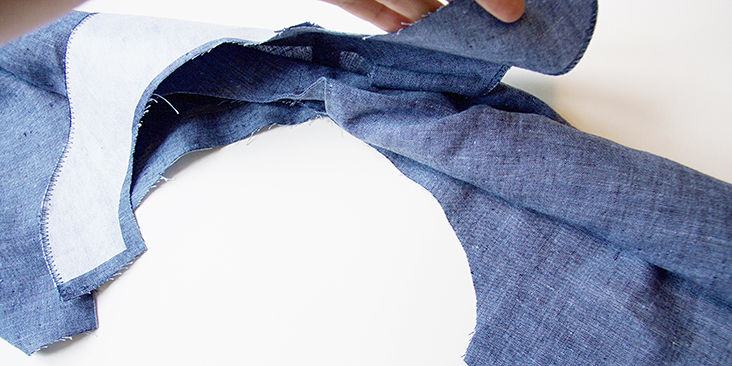
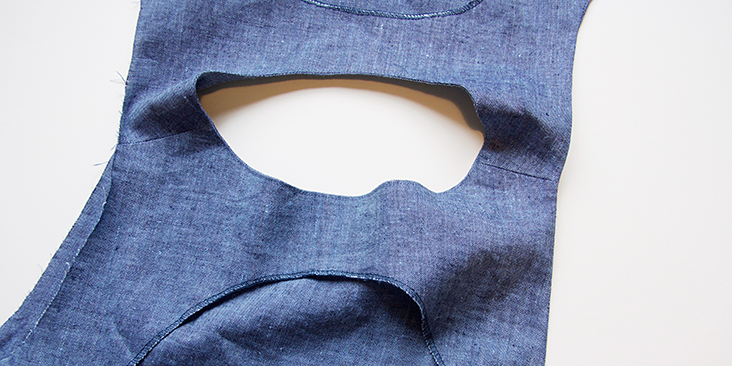
6. From the front, insert your hand into the tunnel between the main fabric and the facing…
…and gently pull the back section through the shoulder on one side.
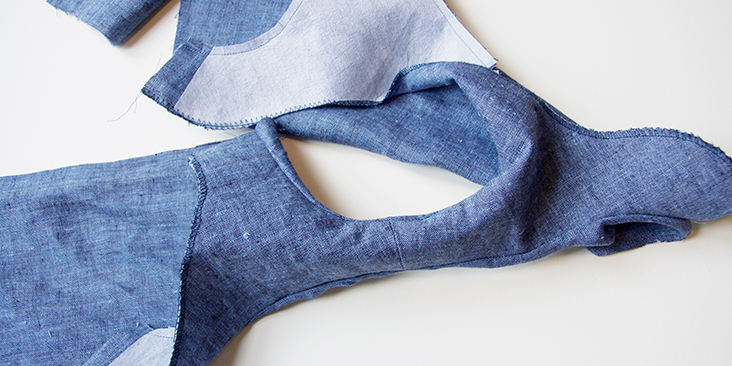
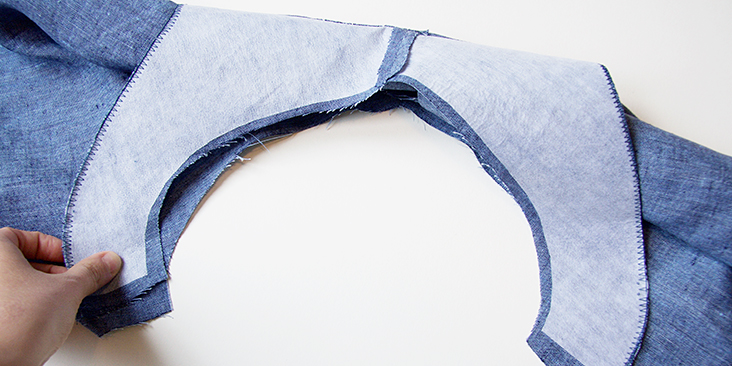
7. Repeat the same steps for the other armhole.
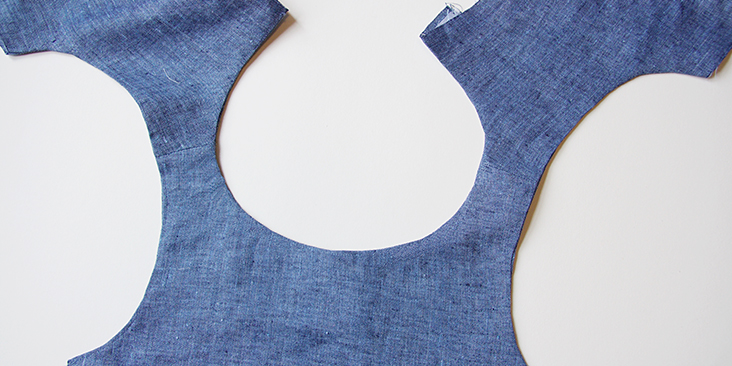
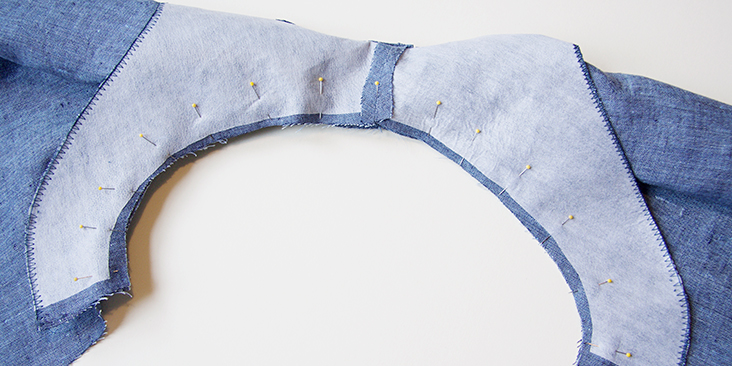
8. Press your edges flat rolling the seam slightly to the wrong side of your garment to hide it inside.
8. Pin and sew the sides seams in one pass from the bottom hem of your garment to the serged/finished edge of your facing at your usual seam allowance and finish using your preferred method (serge or zigzag the raw edges together). Press.
9. Lastly, topstitch around the neckline and armhole edges to keep the facing in place.
10. Follow your pattern instructions and close the opening (normally by installing a zip or a button placket).
Attaching An All-In-One Facing To A Pull-On Garment:
Facing a garment that doesn’t have an opening is a little bit different since you can’t simply turn the fabric right side out. What you do instead is you roll your fabric like a burrito.
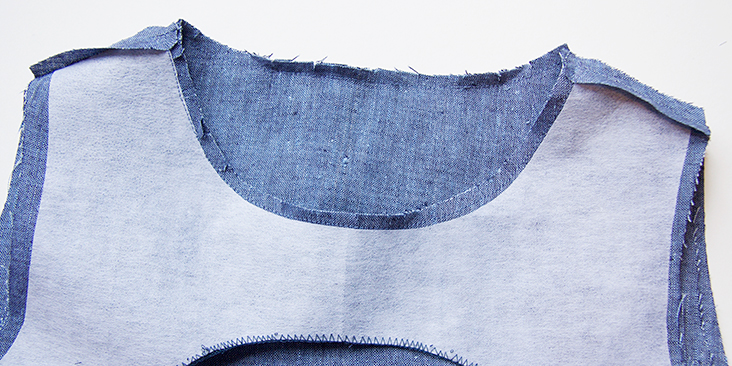
1. Just as with the previous method, the first step is to sew the garment and the facing front and back pieces right sides together at the shoulders and press the seams open. Don’t forget to interface and finish the bottom edge of your facing.
2. Now sew the facing to the garment at the neckline right sides together. Trim and clip the seam allowance.
3. Turn the facing to the wrong side, press flat and topstitch around the neckline edge.
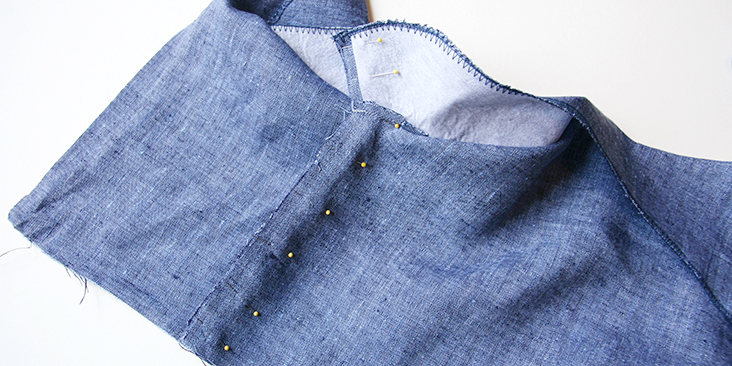
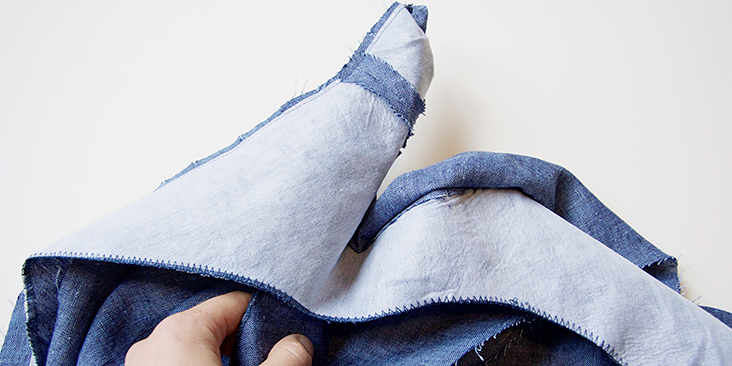
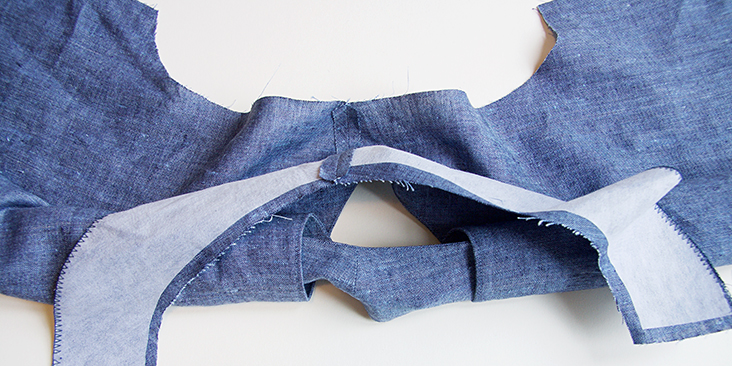
4. Lay the garment flat, facing side up, and tightly roll right side of the garment towards the opposite edge.
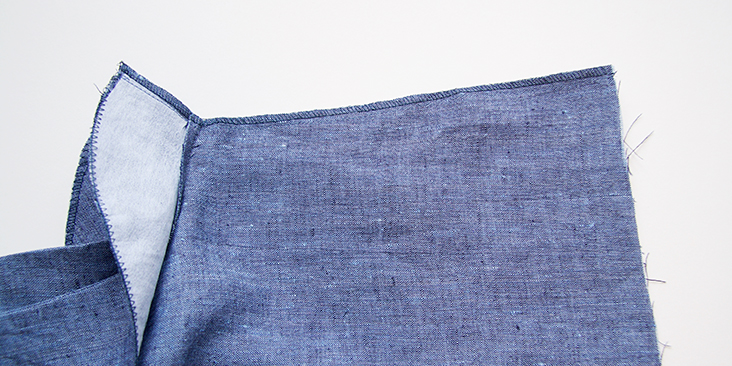
Then take your left/unrolled facing armhole edge and wrap it around the roll so that it meets the left armhole edge of the garment. Basically, you are enclosing the right side of the garment between the left facing and left garment fabrics like a burrito.
5. Align the raw edges of your left armhole and pin the two right sides together.
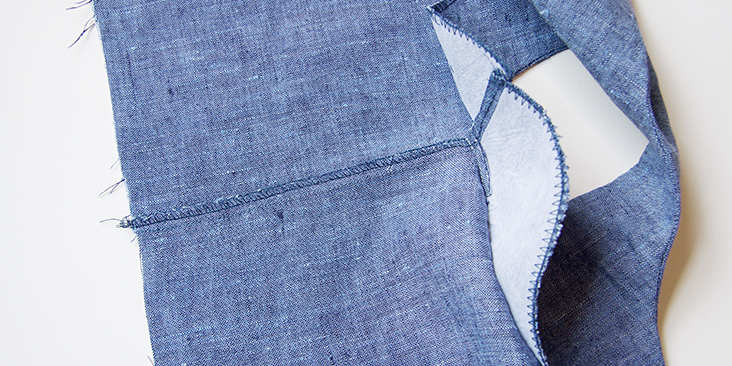
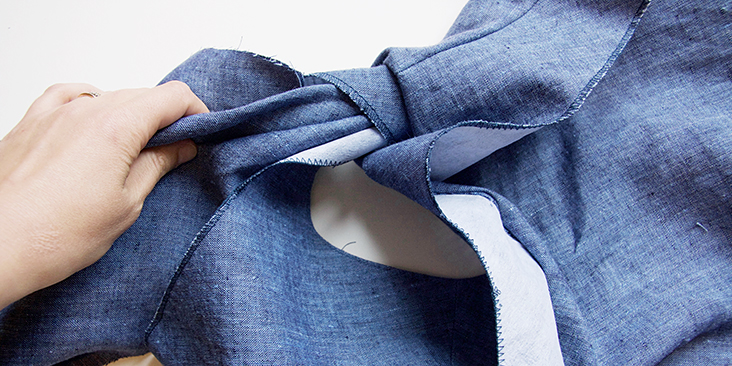
6. Sew the armhole seam right sides together at your usual seam allowance taking care not to catch the rolled up fabric. Trim and clip your seam allowance.
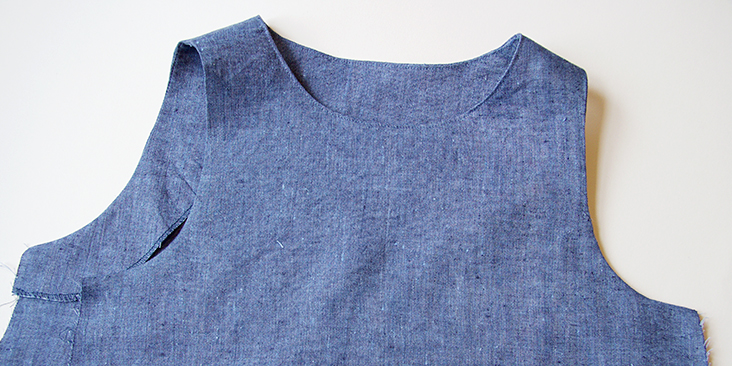
7. Gently pull the rolled garment right side out.
8. Flatten your garment and repeat the same process for the other armhole.
Press your edges flat.
9. Pin and sew the sides seams in one pass from the bottom hem of your garment to the serged/finished edge of your facing at your usual seam allowance and finish using your preferred method (serge or zigzag the raw edges together). Press.
10. Lastly, topstitch around the neckline and armhole edges to keep the facing in place.
11. Follow your pattern instructions and complete your garment.
This is the fastest and easiest edge finish, and is appropriate for many sleeveless garments.













8 Comments
Lynda Williams
Hope this works on Jersey knit. I want to make a sheath dress (no buttons or zippers )but need help with finishing the neck and arms. It’s my first dress ????
Pingback:
New Look 6459 Cropped Top, woven and knit – sooz.madeTaryn
I always wondered how this would be done for a pull-on garment! Great tutorial and clear instructions. Thank you once again! Keep the informative tutorials coming.
Rima Khusainova
Really appreciate your feedback Taryn!
Annie
Yes…this is great..thank you …
Rima Khusainova
Thanks Annie!
Karen
Excellent tutorial on the burrito method and how to make your own facings. Very clean instructions.
Rima Khusainova
Thank you so much Karen!