Hayden Sleeveless Blazer Dress Tutorial and Pattern
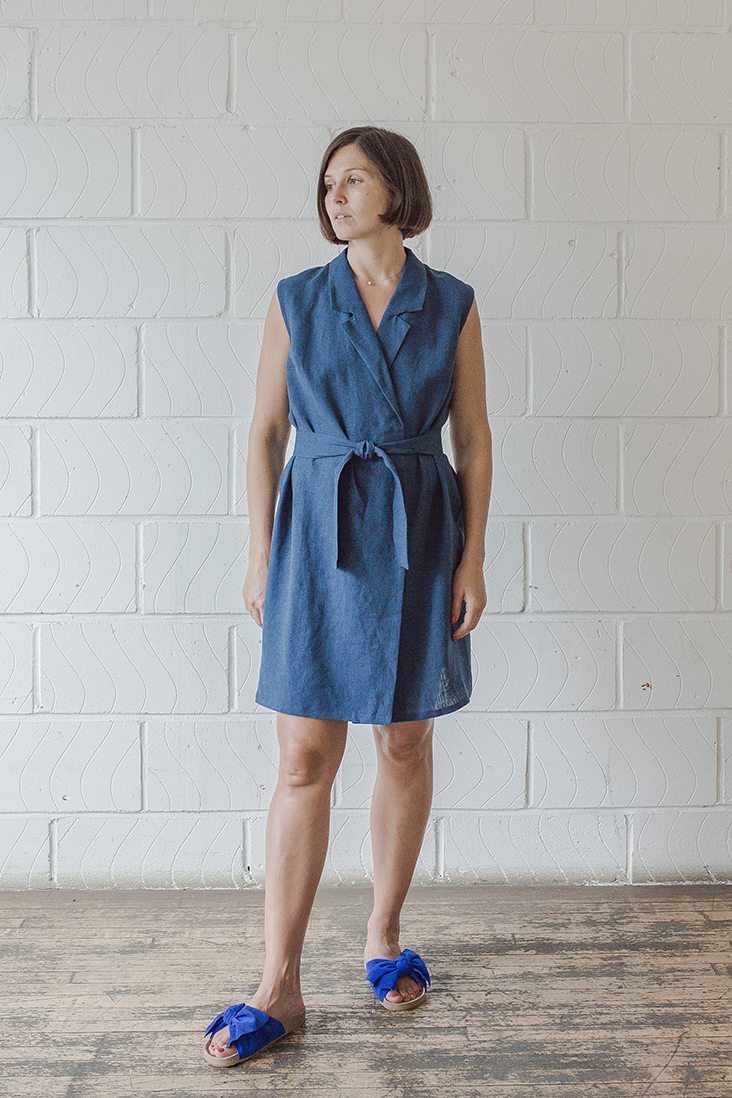
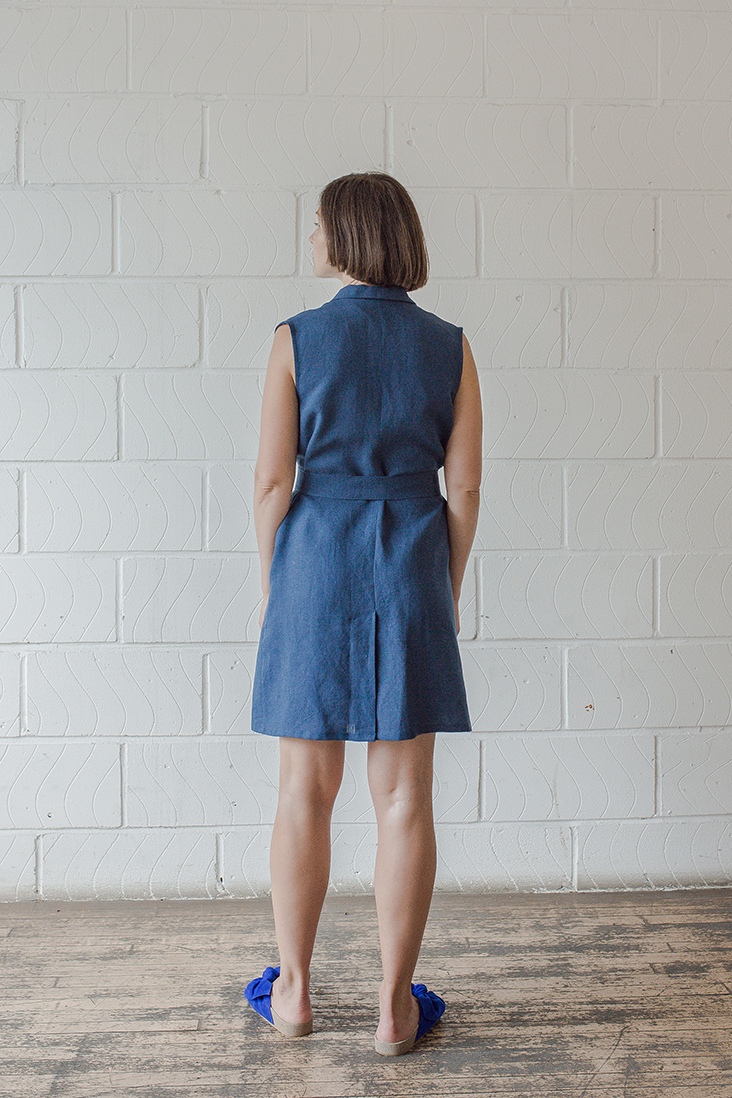
 Meet our new pattern, the Hayden Sleeveless Blazer Dress that embodies simplicity and class. This style has a more fitted silhouette with an open, notched collar, hidden front button closure, two bust darts, back vent for movement and a flattering belt that ties at the waist.
Could be worn closed as a dress or open as a long vest ideal for layering. It’s one of those pieces that feels laid-back while looking put-together!
Materials
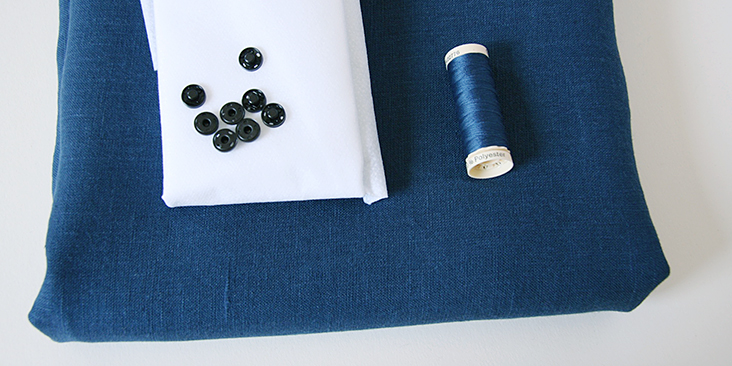
For US size 6 pictured in this tutorial: 2 yards of IL019 INSIGNIA BLUE Softened Medium Weight Linen. For larger sizes, please refer to the yardage table in the PDF pattern.
Matching sewing thread, fusible interfacing, 8 medium snaps
Tools
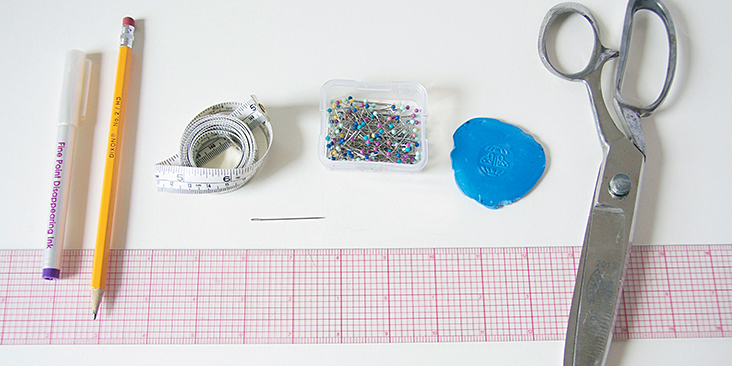
Scissors, pins, ruler, chalk, fabric marker, measuring tape, needle, sewing machine
Difficulty
Intermediate
Time
5-6 hours
Pattern
You can access the multi sized printable PDF pattern by following this link HERE. All seam allowances are included. The model is wearing US size 6.
If you need help adjusting the pattern for a fuller bust, we have a great Full Bust Adjustment tutorial HERE.
Steps
Note: Prewash your fabric and tumble dry it until it is still slightly moist, dry at room temperature. Iron the fabric so it is easier to work with.
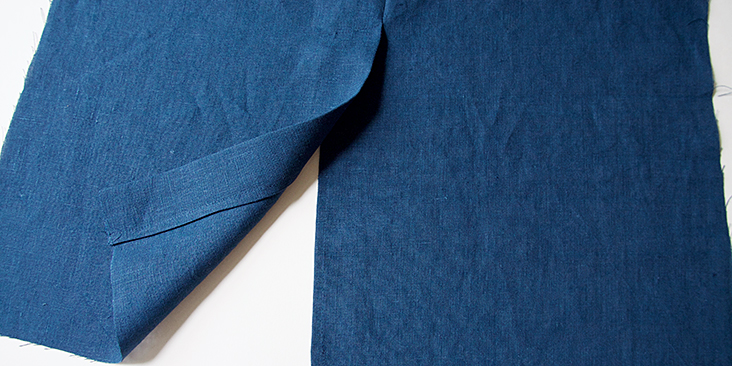
1. Let’s start with the back. Assemble the two back pieces right sides together, sew the back vent and finish the center seam with a serger/zigzag stitch. We have a great vent tutorial HERE that will guide you through all the steps (just don’t hem the pieces yet, we’ll hem the entire garment at the end).
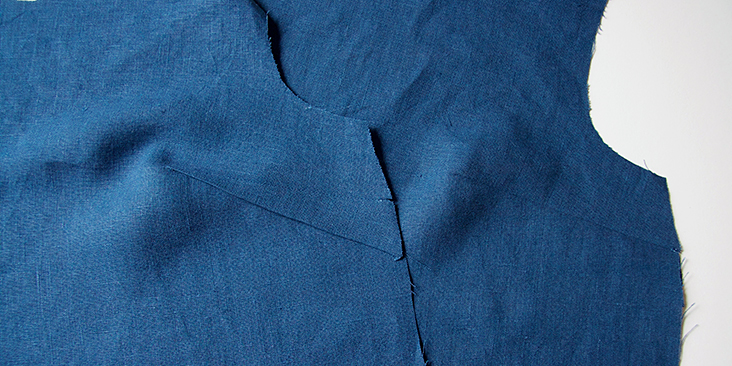
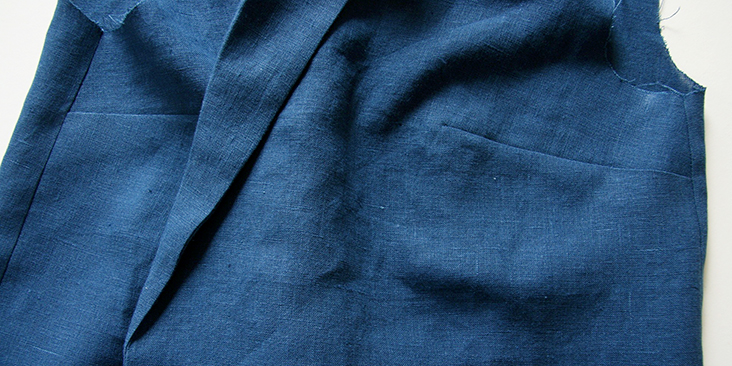
2. Now take your two front panels and sew the darts. Carefully fold the darts with right sides together, pin and stitch in place. Leave long tails at the apex of your dart and tie little knots to secure. Press the darts downward.
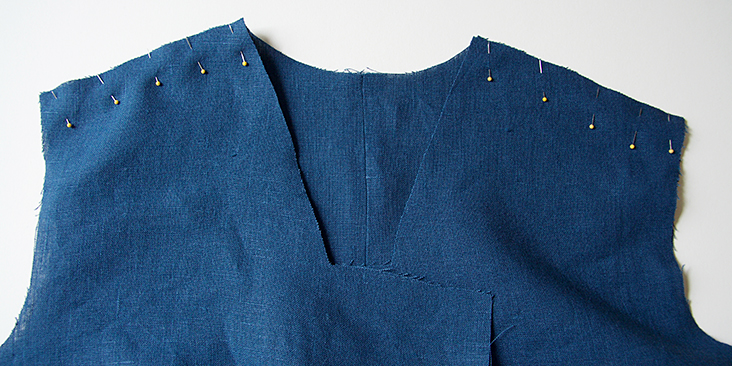
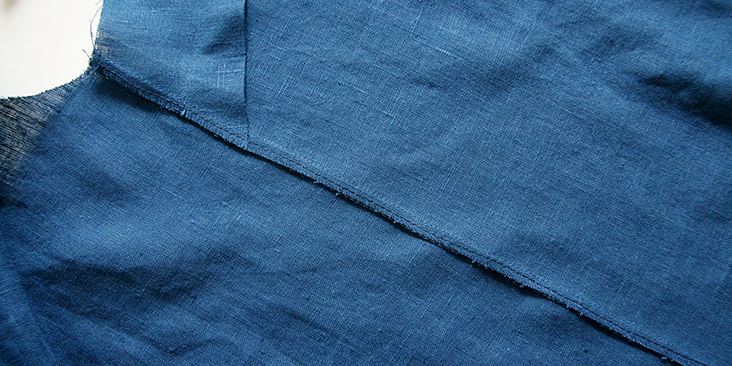
3. With right sides together, pin the front and the back of your dress at the shoulder seams.
4. Sew at a 3/8” seam allowance and finish the seams with a serger or a zigzag to prevent the fabric from fraying. Press the seams flat folding the serged/zigzagged edges towards the back. Remember to backstitch at the start and finish of the seams.
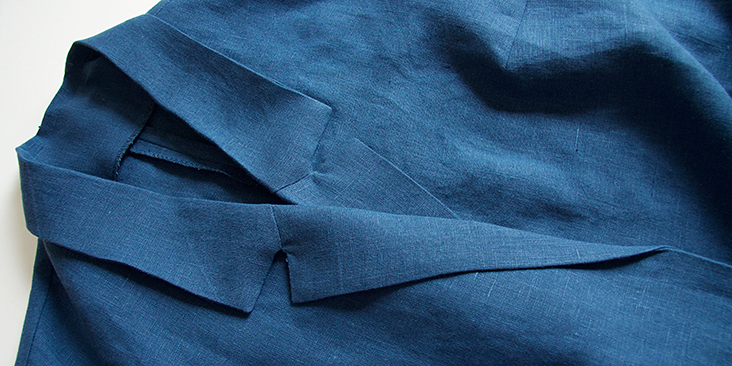
5. Now that you’ve assembled the body of your dress, it’s time to sew the collar and finish the front opening with the facing. To guide you through the process as best as we can, we have prepared a very detailed tutorial on how to sew a notched collar. Follow the steps and complete your notched collar and front opening.
Notice how the facing is shorter at the bottom than the front fabric. We intentionally made it shorter in order to avoid bulky corners when hemming.
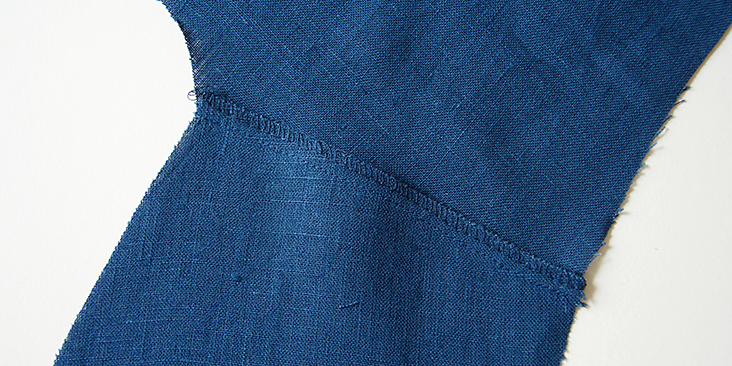
6. Pin and sew the side seams right sides together at the usual 3/8” (1 cm) seam allowance. Then trim the raw edges and finish with a serger or a zigzag stitch. Press towards the back of the dress.
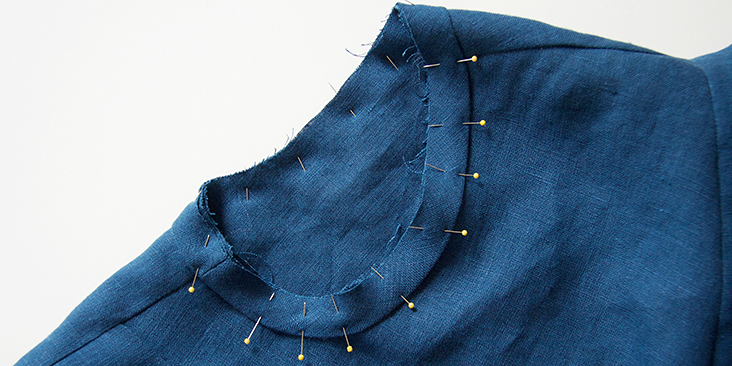
7. Bind the armholes following this detailed tutorial.
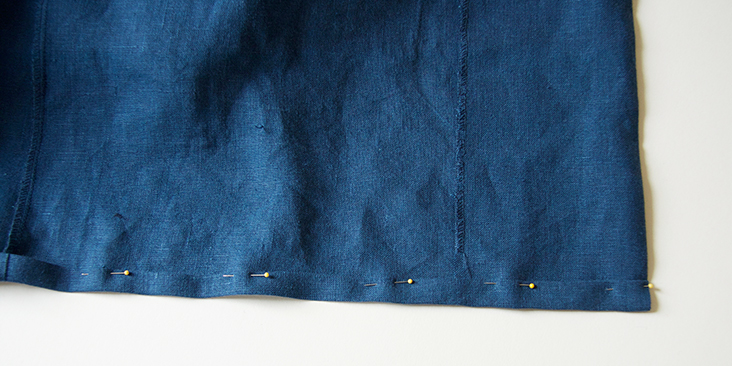
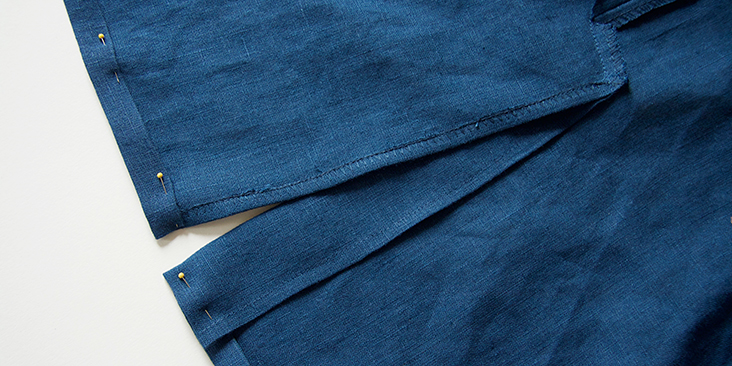
8. Hem the bottom of the dress: fold the fabric twice to the wrong side (3/8” to 1/2”), pin and press. Fold your hem over the facing and pin.
As for the vent, you need to unfold it and hem exactly as the rest of the bottom edge, just make sure that your two flaps are even.
9. Stitch 1/8” from the folded edge. Remember to backstitch and press when you’re done.
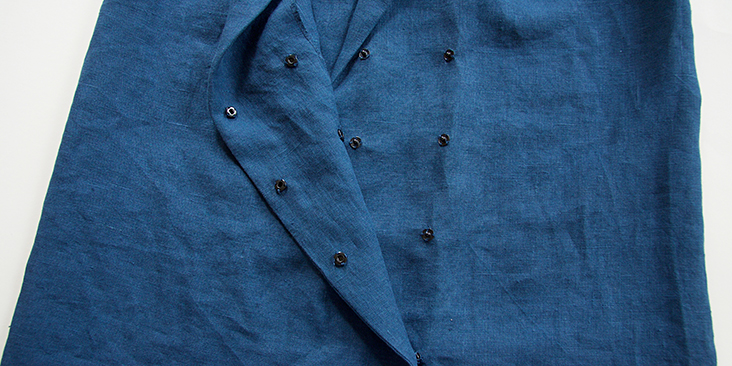
10. Sew on 8 snaps on the inside of the dress, where the fabric overlaps. 4 rows with 2 snaps in each row. Basically, you’ll be sewing the snaps onto the facing fabric, but we strongly advise to run a couple of invisible stitches through the main fabric as well to secure the facing and keep it in place. If you’ve never sewn snaps before, we have a great tutorial about that HERE.
Invisible from the right side:
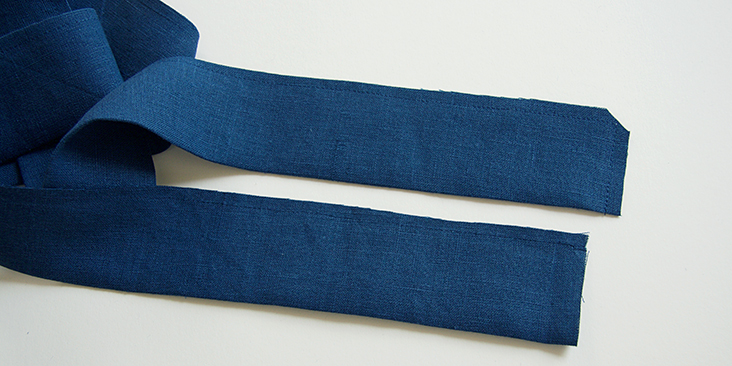
11. Lastly, to sew the detachable belt, fold your fabric in half lengthwise with right sides touching. Leaving one end open, stitch along the long edge (1/4” away from the raw edge) and then pivot at the end corner and finish the end. Backstitch at the start and finish of the seam. Clip the corner.
12. Turn the belt right side out, use a sharp tool or a chopstick to turn the corners and press.
13. Tuck in the raw edges into the opening, then stitch along the perimeter of your belt 1/8” from the edge to close the opening and prevent the belt from twisting in the future.
Give your finished dress a good press and you are all done! Wear it open or closed, belted or loose, this dress feels laid-back while looking put-together.
We love seeing what you make! Don’t forget to share your pictures and tag your creations with #FabricsStoreHaydenPattern hashtag.






Leave a comment