Linen Maxi Tote Bag Tutorial
With spring finally on our doorstep and summer knocking on the door, it’s time to start thinking ahead to all the holidays, weekend getaways and get-togethers. To help you get ready for your next vacation we thought of this easy beginner project – our maxi tote bag!
For this bag we chose a striped heavyweight linen that reminds us of country living in Provence and added a lining for extra support and a clean finish. Go on a weekend, carry your laundry or do grocery shopping – there are so many great ways to use it every day!
Materials
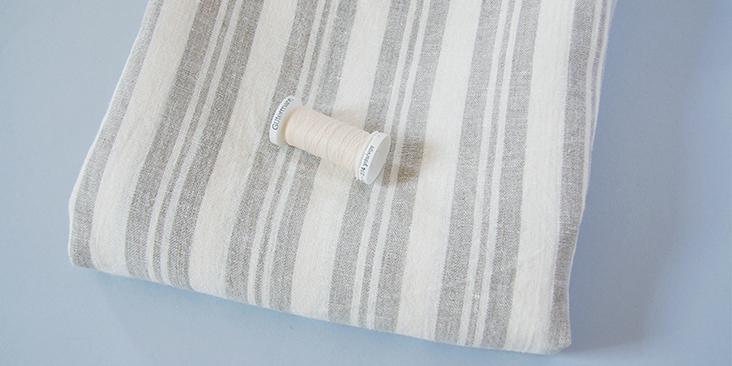
2 yards of IL078 938 FS Premier Finish
Matching sewing thread
Tools
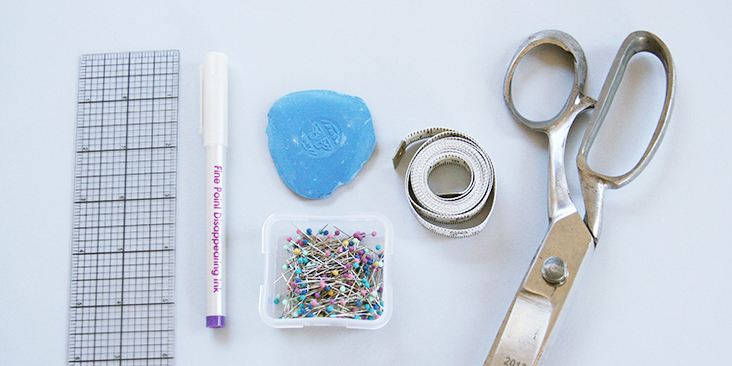
Scissors, pins, ruler, chalk, measuring tape, fabric marker, sewing machine
Difficulty
Beginner
Time
A couple of hours
Pattern
You can access the diagram with all the measurements needed to create this tote bag HERE. Note that all seam allowances are included and all pieces are cut on the grainline.
If you wish, you can alter the measurements to make the bag smaller or larger.
Steps
Note: Prewash your fabric and tumble dry it until it is still slightly moist, dry in room temperature. Iron the fabric so it is easier to work with.
Let’s start with the main (outer) fabric.
1. Fold your long and short bag pieces in half to find the center of your panels. Pinch to leave a mark. Match the center of your long panel to the center of the short panel and pin right sides together. Note that at this point your stripes should be all vertical.
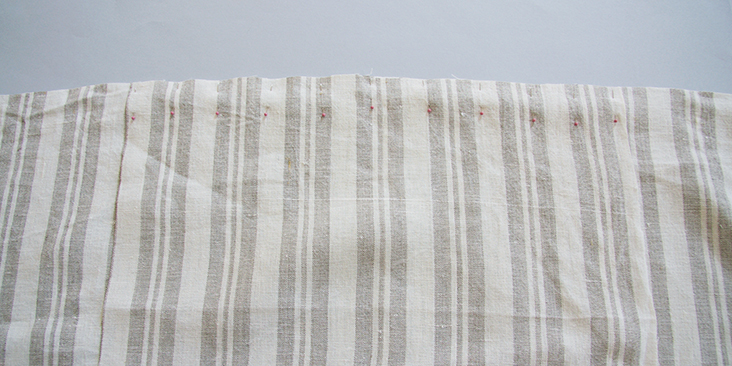
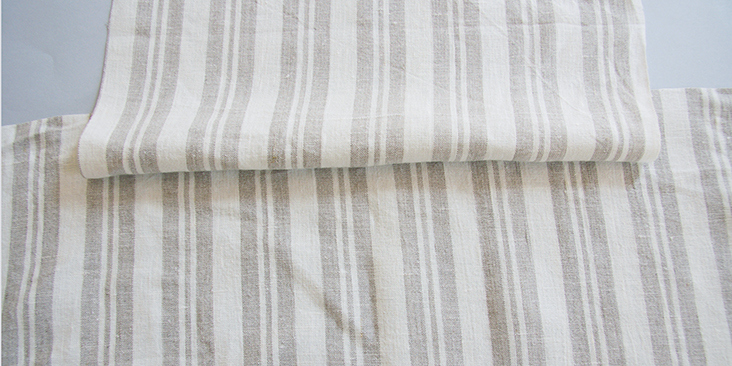
2. Staystitch the pinned edges right sides together at a 3/8” (1 cm) seam allowance, starting 3/8” (1 cm) away from one end and stopping 3/8” (1 cm) before the other end. If you wish, you can even mark a point with a fabric marker at the spot where the two seam allowances meet to know exactly where to start/stop. Remember to backstitch at the beginning and the end of your seam.
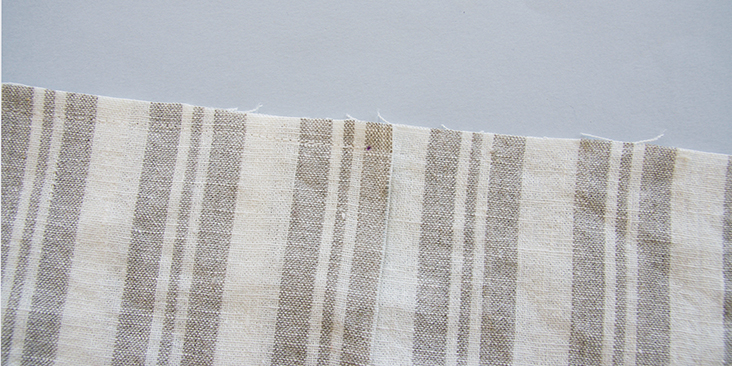
3. Press the seam open (no need to finish your seams as they will later be hidden between the outer fabric and the lining).
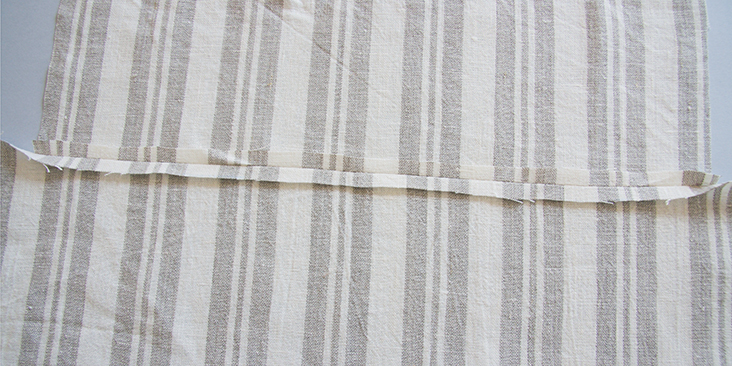
4. Repeat the same steps and attach the second square panel.
5. With right sides together and raw edges aligned, match and pin the side edges of your square panel to the raw edges of your long rectangle panel. Make sure you pin carefully at the corners and don’t leave any gaps.
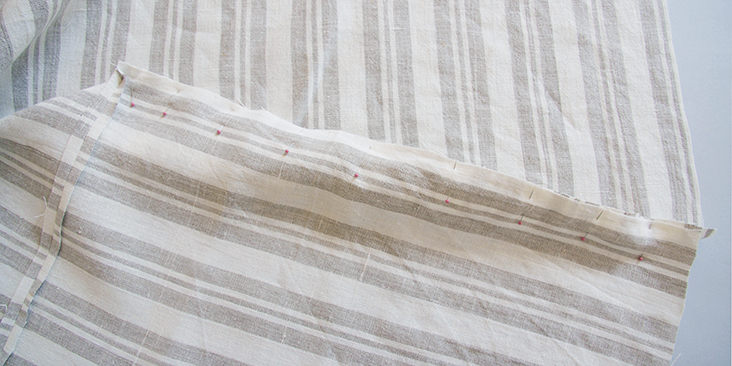
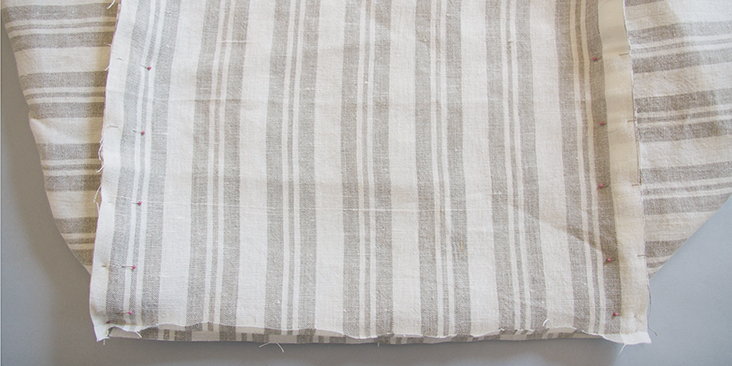
6. Stitch right sides together at a 3/8” (1 cm) seam allowance. Insert your needle at the very point where you stopped sewing your previous seam and stitch all the way until you reach the top edge of your bag. Remember to backstitch and press the seams open.
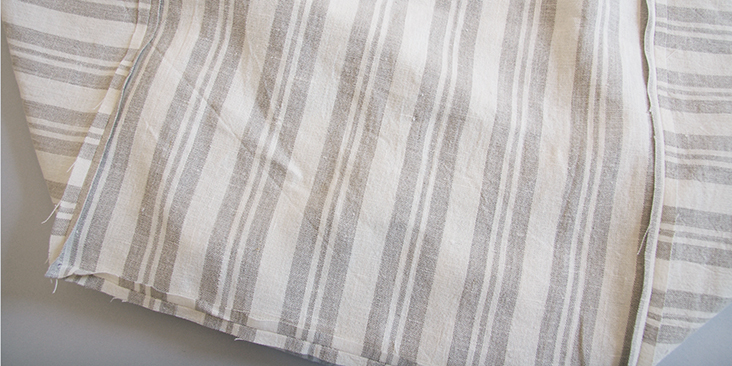
7. Your main bag is now assembled but there’s one more thing to do: press the raw edge of your tote 3/8” to the wrong side. We do it now because it’ll make it easier to pin it to the lining later.
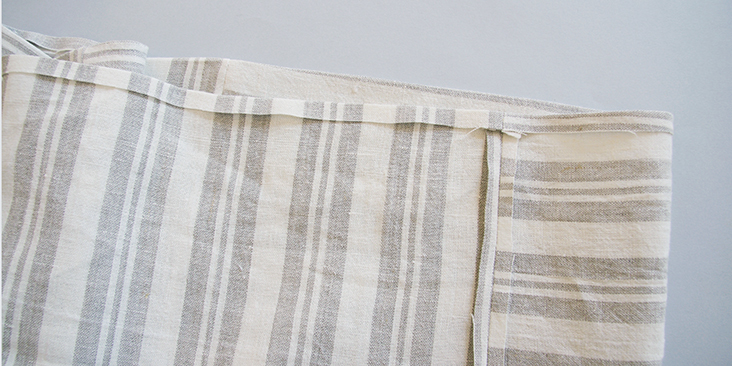
8. Take your lining pieces and repeat steps 1-8 to assemble it together. Because we want our lining to be slightly smaller than the outer bag in order for it to fit nicely inside, we ask you to sew the lining edges with a ½” (1.3 cm) seam allowance.
When you reach step 3, make sure you start stitching 1/2″ from the raw edges and stop 1/2″ before the end.
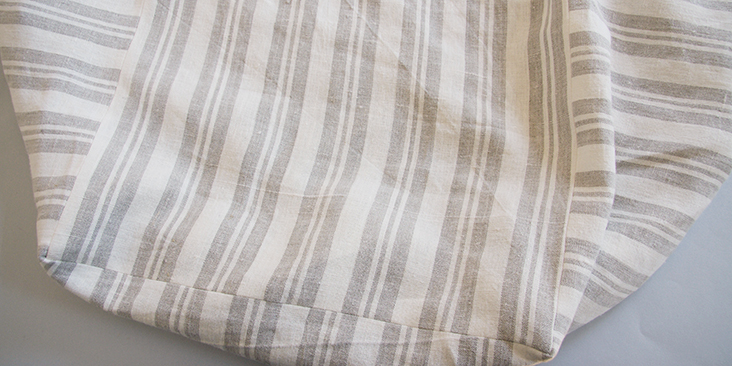
Next up – straps.
10. Pin and stitch two long edges right sides together at a 3/8” (1 cm) seam allowance,
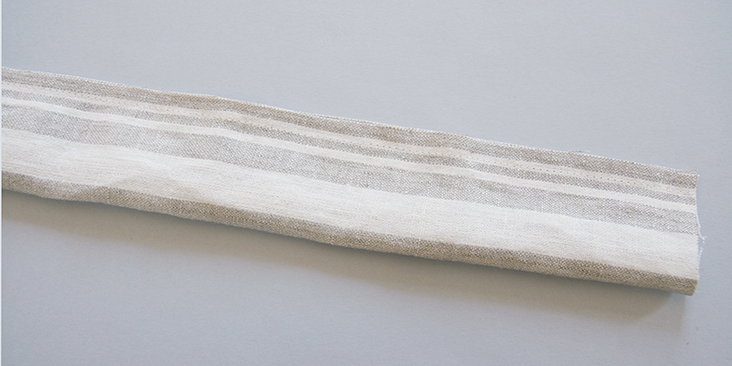
11. Finger press your seam allowances open and turn your straps right side out and press. Run two vertical lines of topstitching along both long edges of each strap 1/8” (3 mm) from the edges to prevent the fabric from shifting in the future.
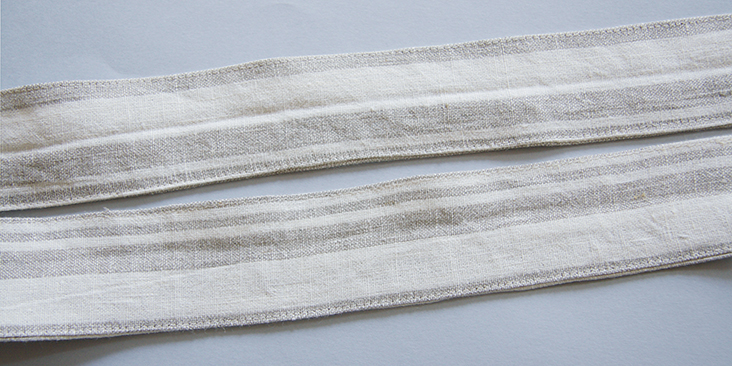
12. Pin the ends of your handles to the right side of the lining. Place each end 3” away from the seam and stitch at a 3/8” seam allowance.
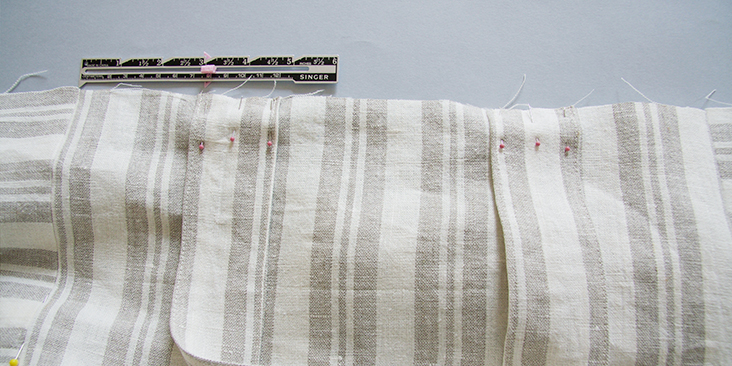
13. Insert lining into main fabric with wrong sides touching. Match corners and align side and bottom seams. You can pin both layers together to prevent the fabric from moving while you manipulate it.
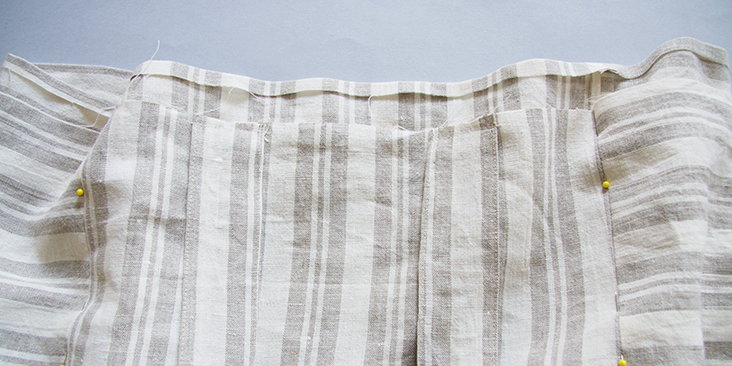
Note how your outer bag is sticking out from inside the lining.
14. Fold down the extension of the outer fabric over the lining and handles and stitch in place 1/8” from the bottom fold.
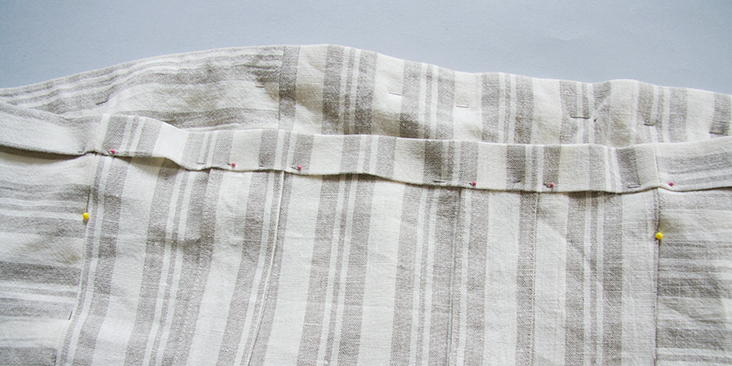
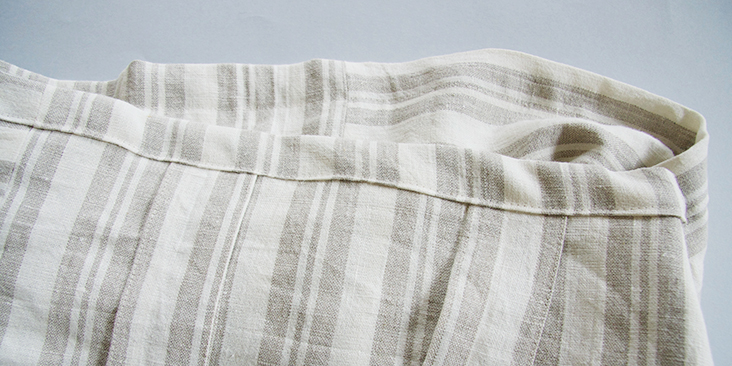
15. Pull your straps up and run another line of topstitching along the top edge of your bag (1/8” from the edge) securing your straps in place.
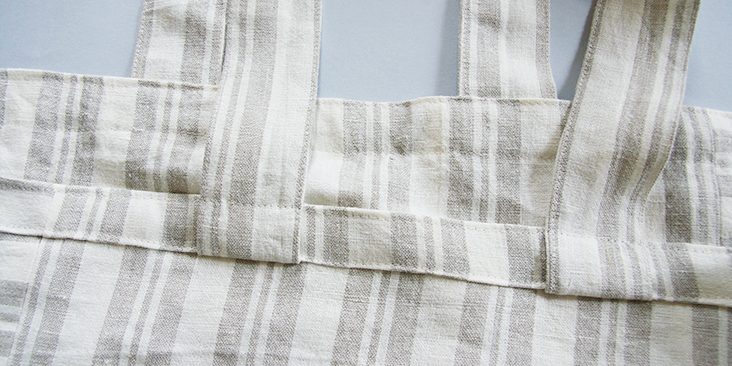
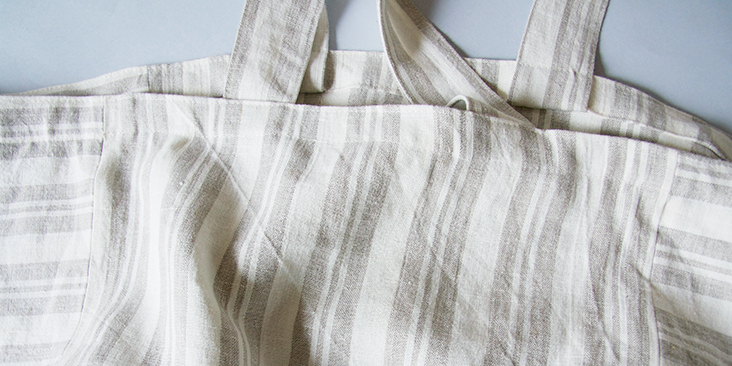
16. Give your bag one last good press and admire your beautiful work inside and out!
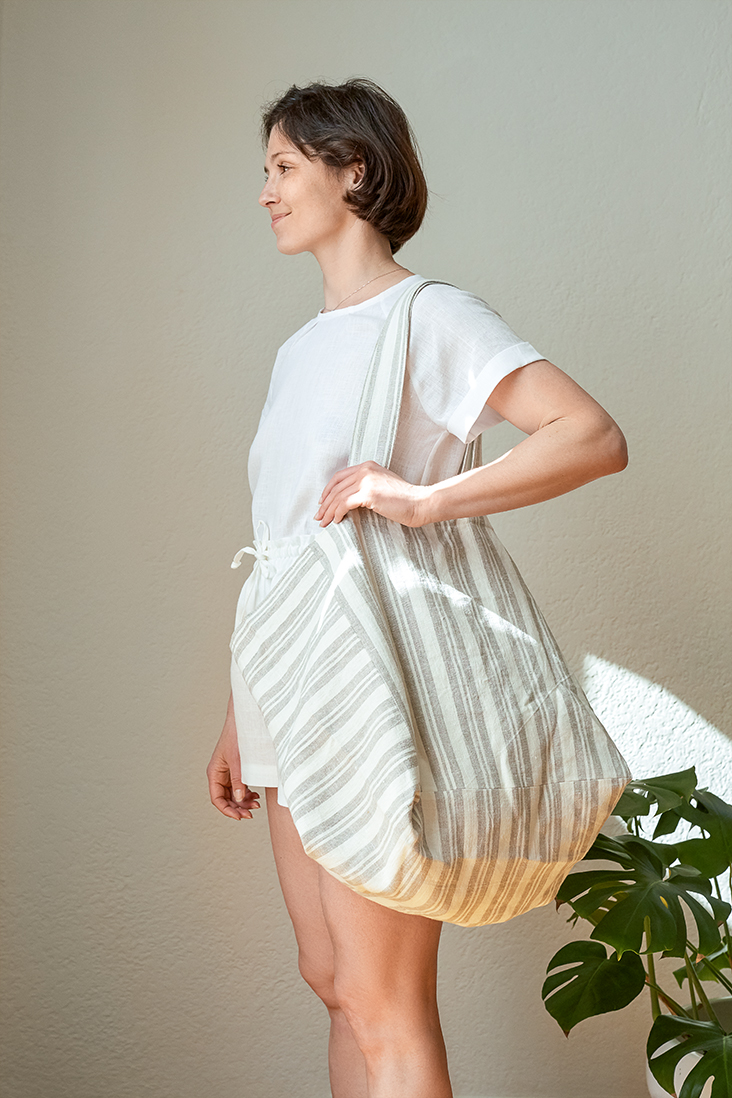
Remember that you can always adjust the dimensions of the bag and make it even bigger or smaller, as well lengthen or shorten the straps!











3 Comments
JAB
I always use mock-fell seams in heavy fabrics because the lumps of true flat-fell seams catch wear and grind through the fabric. Since linen ravels easily, I always use three rows of top-stitching instead of the usual two. I have yet to have a pair of linen bike knickers fail at the seams.
Karen Alexander
Nice LOOKING bag, but French or flat felled. seams would sure make that bottoms sturdier if you were truly going to put groceries of something heavy in it! This is made like a dress! Even just folding the seams to one side for a faux French seam would provide a lot of extra strength! I’ll use my 5 thread safety stitch and top stitched to the side… A beautiful fabric!
Rima Khusainova
Thanks for the tip, Karen!