Sewing Glossary: How To Draft And Sew A Vent Tutorial
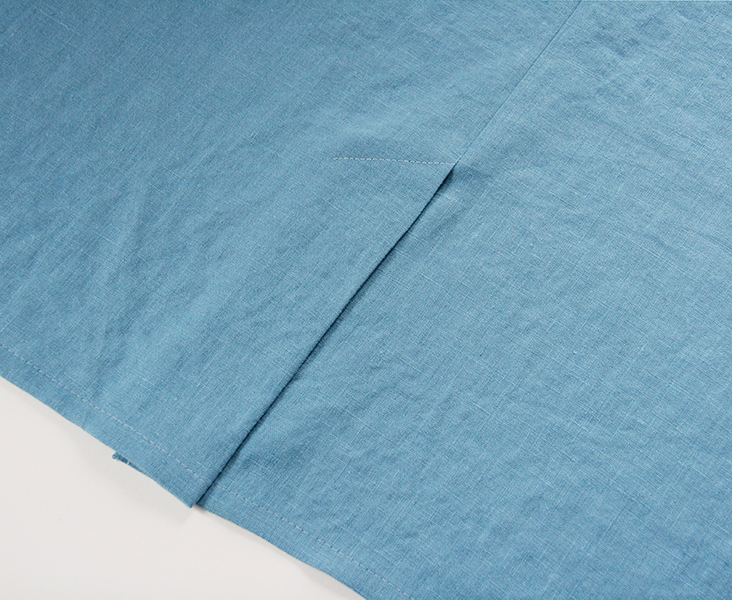
Today we are going to show you how to sew a vent (sometimes called a split). It is a part of functional design that allows for the ease of movement (walking or sitting) within a garment.
All vents are positioned in the seams and are most commonly seen at the back of classic style skirts, coats and tailored jackets. Often, these slits are secured at the top (also called the release point) with decorative reinforcement stitching to prevent the fabric from tearing up with time.
Vents are not only used to ease movement but also to create decorative style. Learn how to draft, sew and finish a vent and you will soon be able to add it to other sewing projects for a more professional and tailored look!
Materials & Tools
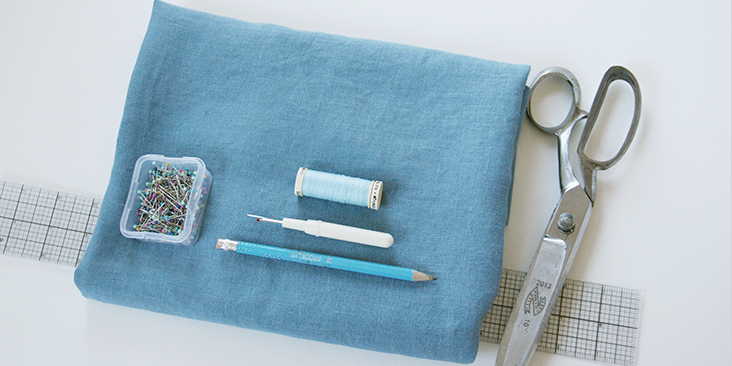
Fabric of your choice (we are using our IL019 BLUE HEAVEN Softened medium weight linen)
Matching sewing thread, pins, ruler, scissors, pen, seam ripper, chalk, sewing machine
Difficulty
Beginner
Time
1-2 hours
Drafting a Vent Pattern
If you are working with a pattern that features a vent, it would tell you all the measurements and where to place your vent. But even if your pattern doesn’t call for it, you can always draw your own vent and add to any seam. What you’ll need to do is to add the vent extensions to both vertical seam allowances of your pattern.
The extensions’ vertical edges are parallel to the seam allowances, with the lower horizontal edges continuing to the hem edge. Make the upper extension edges at a 45-degree angle to the seam.
Vent extensions are typically 1 – 2 inches wide (plus the seam allowances), whereas its length varies depending on the length of your garment, the width of the stride of the wearer or simply your desired design. As a rule of thumb, it should be long enough to reach from the hem to just above the knee.
Here, we wanted our vent to be 10” high and 2” wide. So we’ve marked 10” up from the bottom edge of our pattern on the center back seam, and then drew a 2” wide perpendicular line at the bottom edge and a 45-degree angle at the upper extension. Connect the two horizontal lines, add your usual seam allowances (3/8” (1 cm) in our case) and you are all done!
Copy the garment pattern, adding the planned kick-pleat extensions to both seam allowances. Or, cut two extensions from paper strips and tape them to the pattern edge.
Note: If you are working with a slippery or a lightweight fabric, consider interfacing the bottom vent extension with fusible interfacing.
Steps
Note: Prewash your fabric and tumble dry it until it is still slightly moist, dry in room temperature. Iron the fabric so it is easier to work with.
1. Neaten the raw edges of your fabric with a serger or a zigzag stitch.
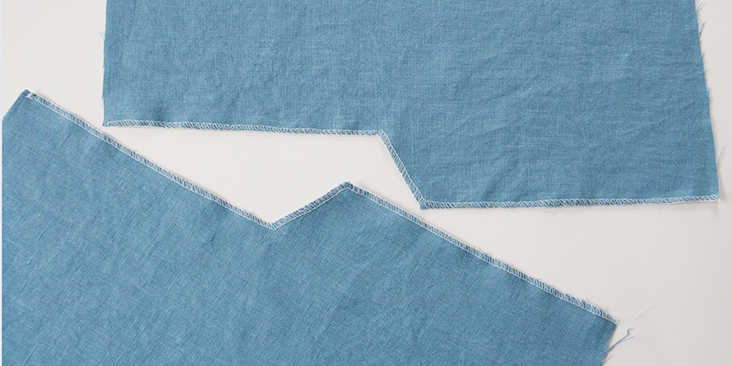
Before we start sewing the vent, there is one important thing to consider: the hem. You can either hem your garment after the vent is completed, but we believe that it gives a neater finish to hem the project before sewing the actual vent. So in this tutorial, we’ll start by hemming our project.
2. Fold the hem twice along the hemline on both pieces. Press and pin.
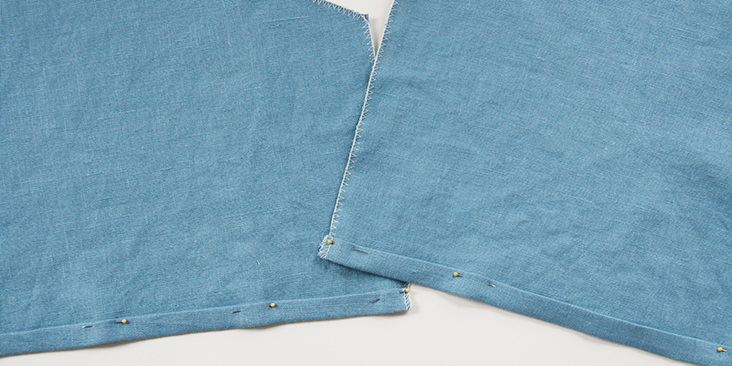
3. Stitch as close the inner folded edge as possible.
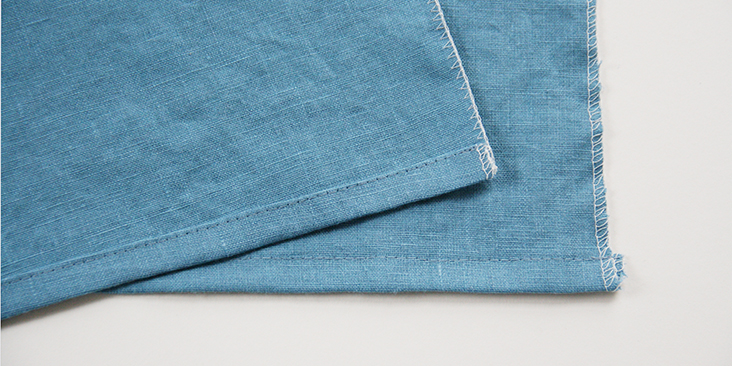
4. Press the serged/zigzagged edges of the vent extension to the wrong side and over the stitched hemline and stitch in place.
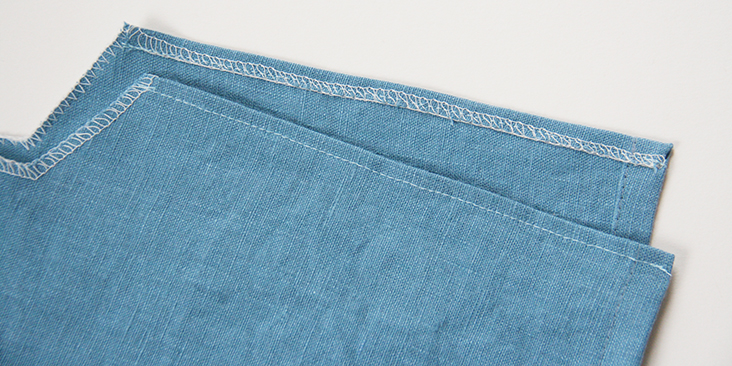
5. Now press your left overlap extension along the seam line to the wrong side of your garment to mark the fold.
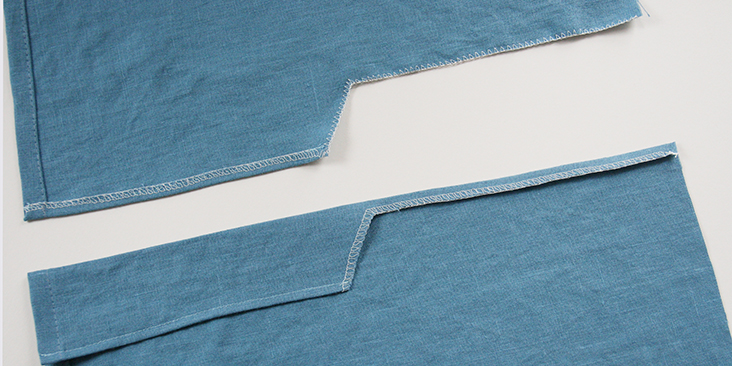
6. Pin the two pattern pieces right sides together aligning the edges and mark the pivot point (the top of your vent).
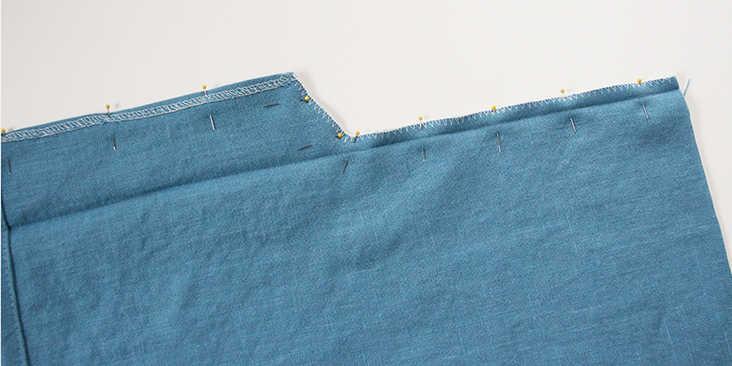
7. Sew the pieces right sides together in the crease that you’ve just pressed starting from the top of your garment and up to the pivot point. Then make a couple of back stitches and with your needle in the fabric, pivot the project at the point and run a line of stitching (backstitch at the beginning and the end) diagonally to the end of your vent extensions.
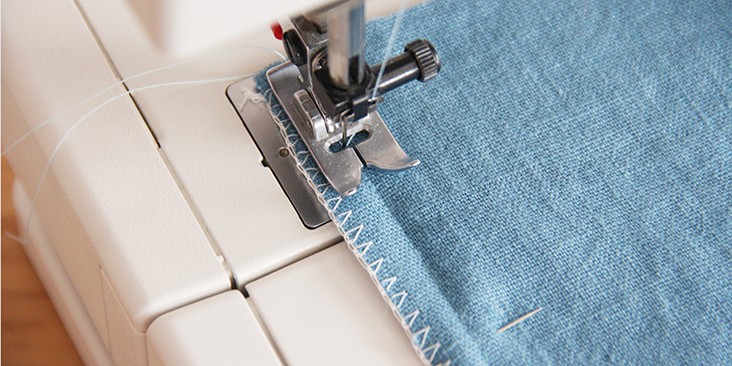
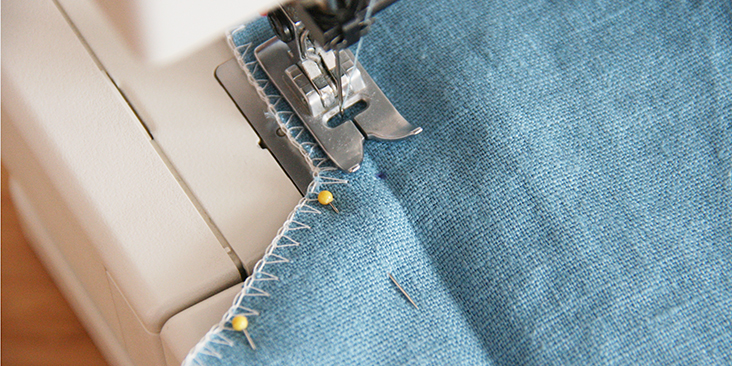
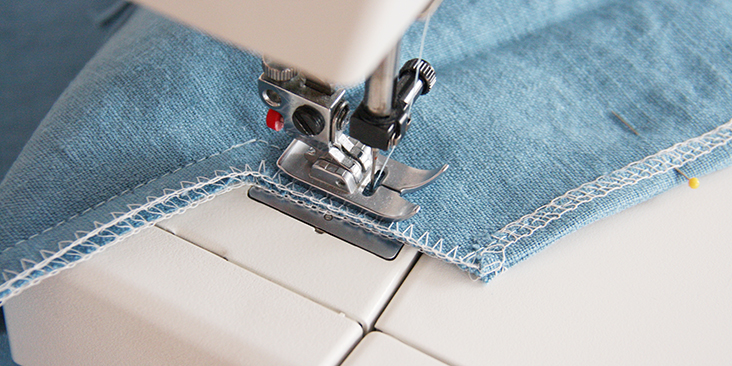
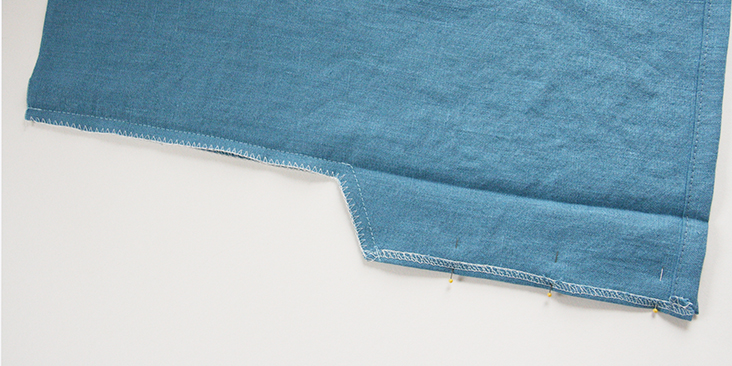
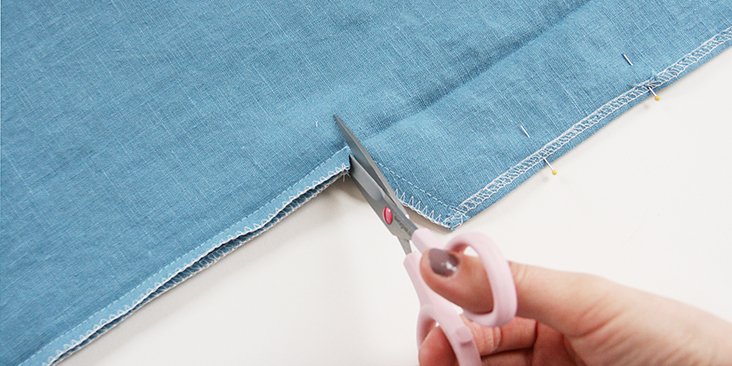
8. To release the tension and avoid puckering, snip into the corner of the vent at the seam allowance but be careful not to cut the stitching.
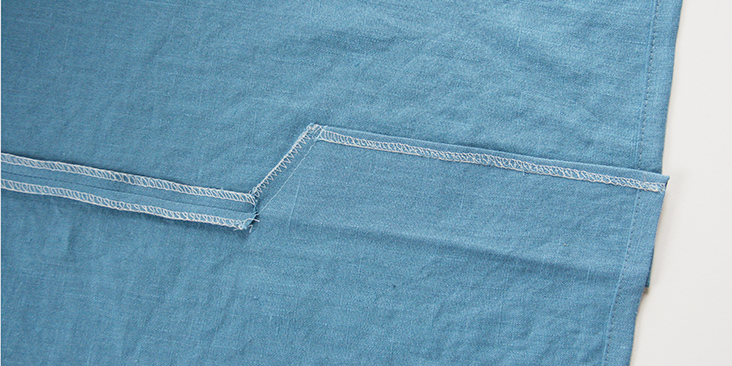
9. Press the center seam allowances open and the vent extensions to one side (normally, to the right).
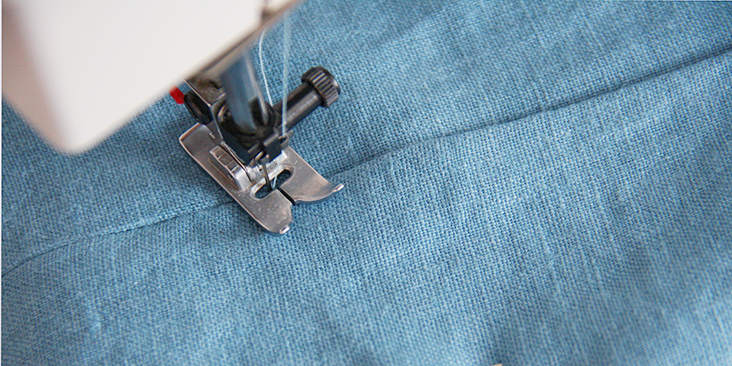
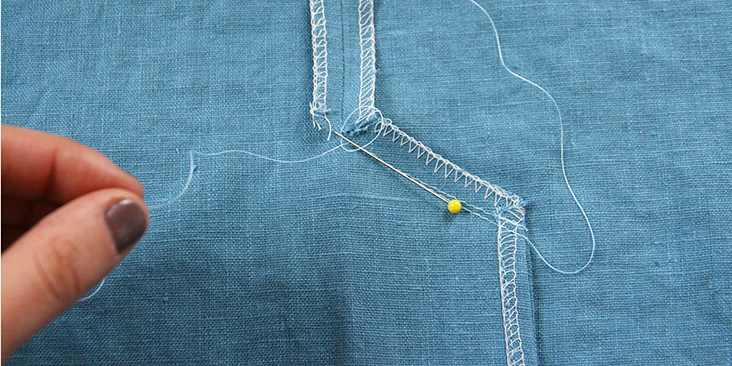
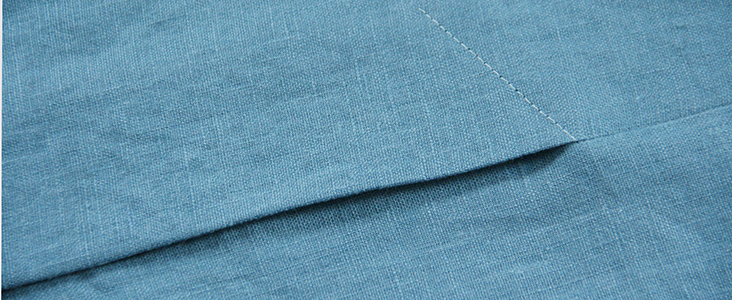
10. To secure the vent and prevent it from moving around, you’ll have to run another line of stitching from the right side of the garment. Stitch diagonally from the pivot point (insert your needle directly into the seam) to the end of the vent extension (you can feel where it ends with your fingers). Do not backstitch as we want a nice and neat finish.
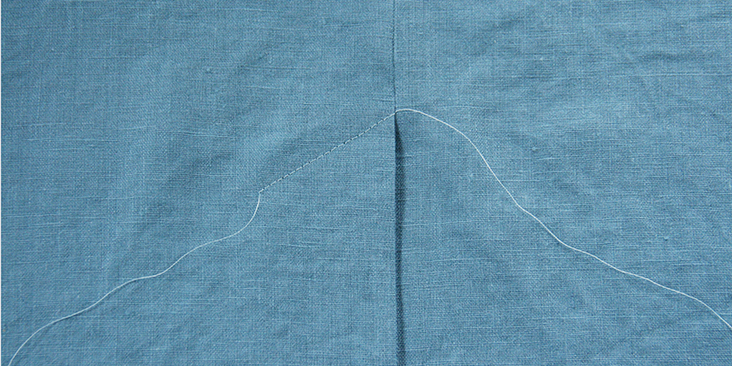
11. Now turn your work to the wrong side and pull the thread slightly to create a loop. Pull the other thread’s end to the wrong side and tie a few knots. Cut the excess.
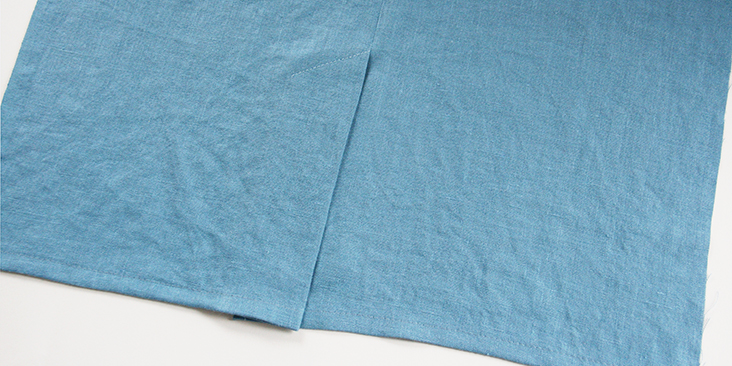
And there you have it! A completed vent that looks nice and clean!




Leave a comment