Patchwork Open Jacket Tutorial
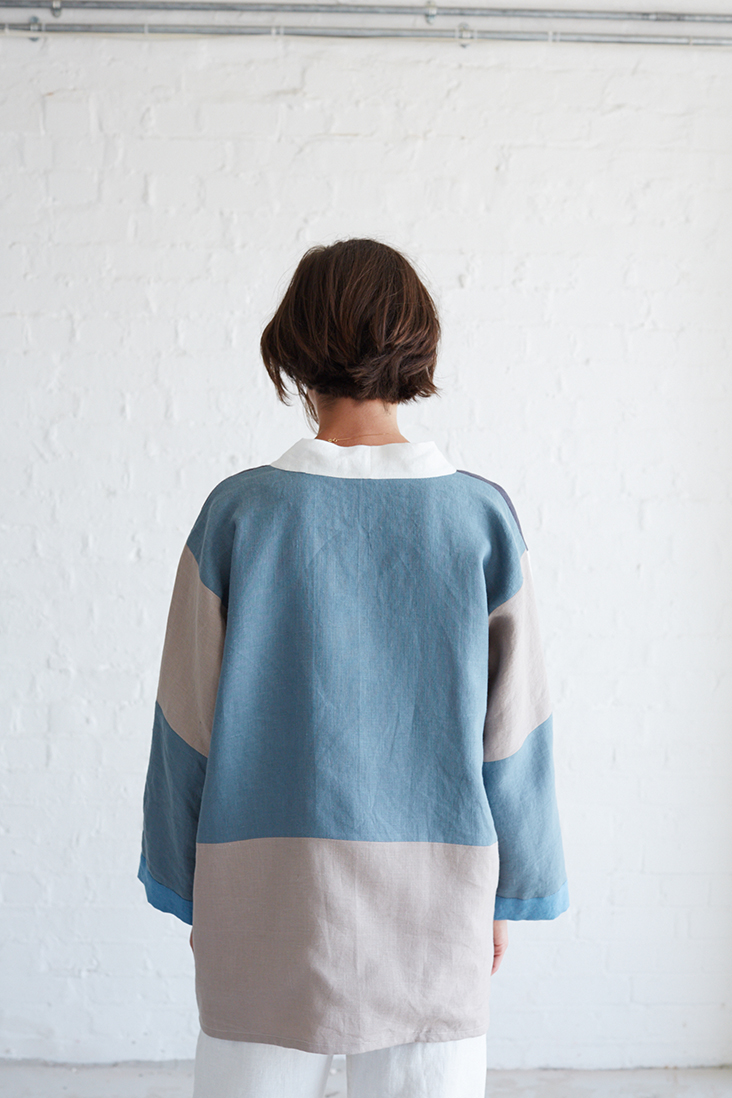
This ultra trendy patchwork open jacket is a fun way to play around with your imagination and utilize some scraps of fabric to create something totally unique.
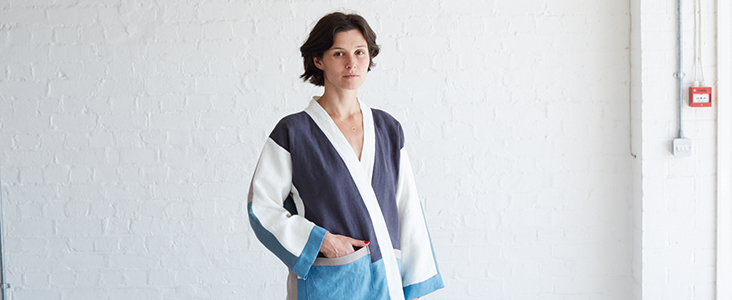
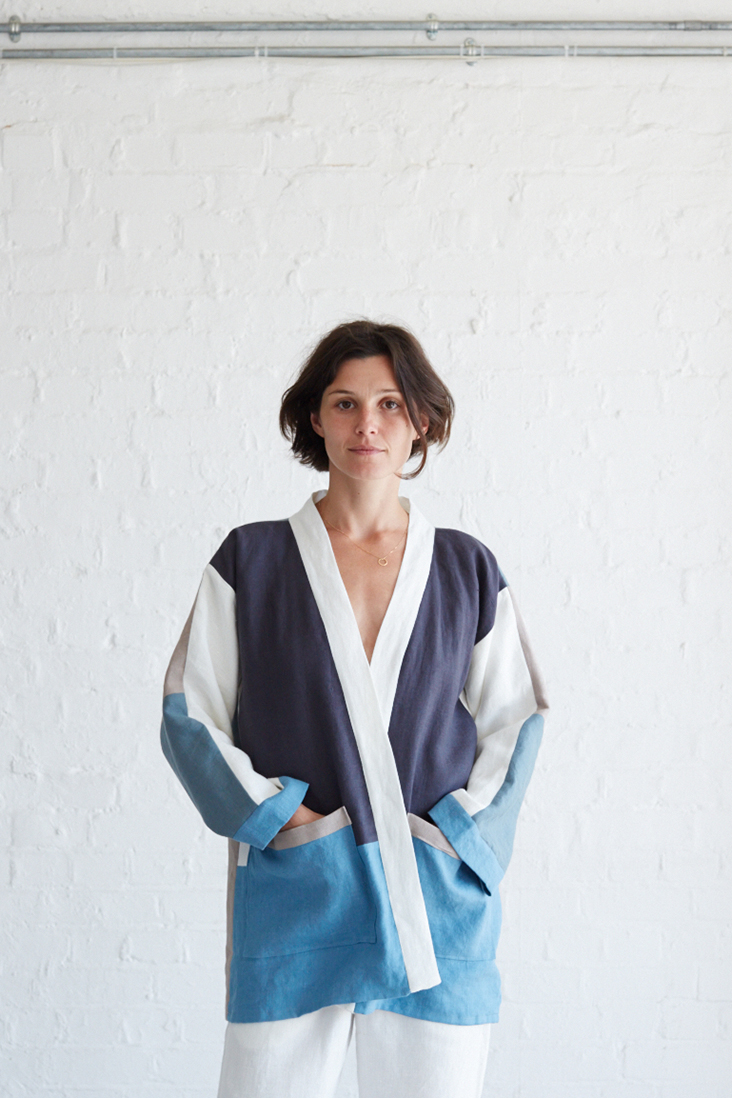
Made entirely out of linen, this versatile piece features a kimono-inspired silhouette with an open front, loose sleeves and a lining that hides all the raw edges for a neat, professional look.
There’s quite some cutting and assemblage involved, but the result is simply stunning! Wear it with anything you want, this jacket will make any outfit look special!
Materials
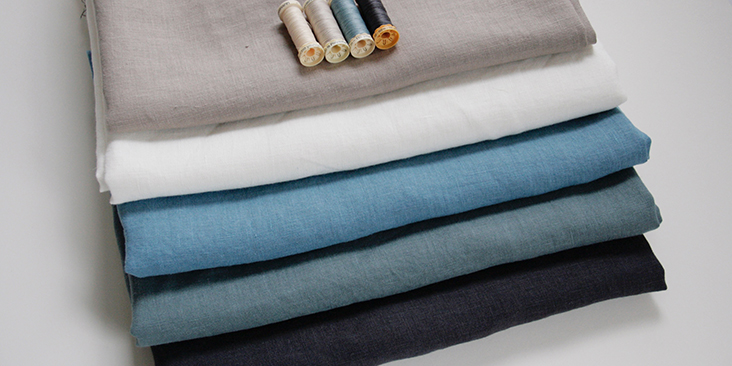
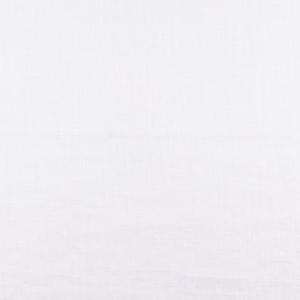
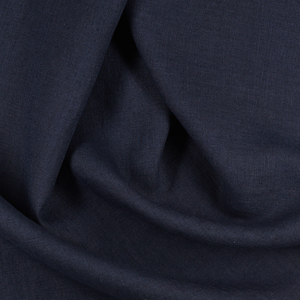
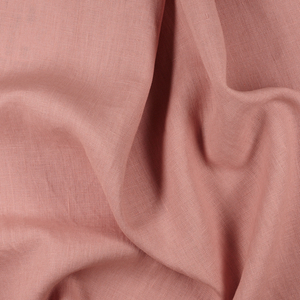
We’ve used 5 different colors from our selection of medium-weight linen and matching sewing threads.
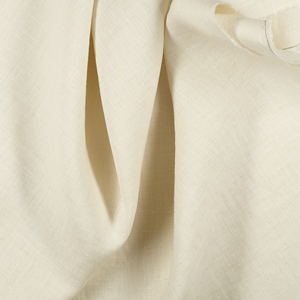
Lining/ front sleeves/collar band: 2.5 yards of IL019 BLEACHED FS Signature Finish
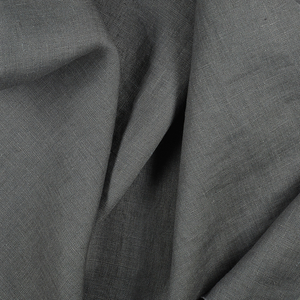
Front bodice panels: 0.5 yard of IL019 NINE IRON Softened
Pockets/front bottom panels/ sleeve cuffs: 0.5 yard of IL019 BLUE HEAVEN Softened
Back bodice panel/back sleeve panels: 1 yard of IL019 BLUE BAYOU Softened
Back bottom panel/back sleeve panels/pocket trim: 0.5 yard of IL019 ATHMOSPHERE Softened
You can always choose your own color combination from our plethora of linen fabrics or add some leftover scraps of fabric from your previous projects!
Tools
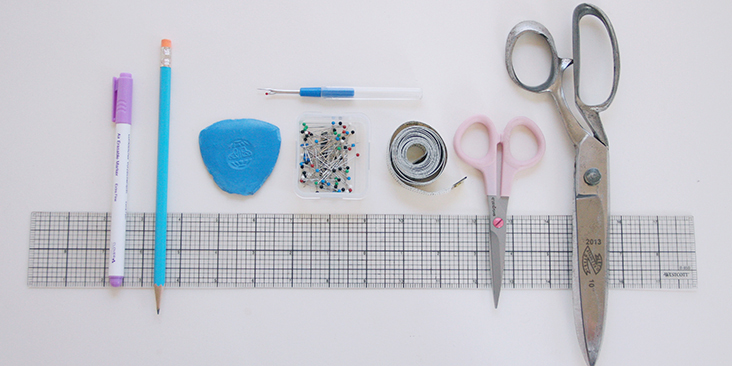
Scissors, pins, ruler, measuring tape, chalk, fabric marker, pen, seam ripper, pattern paper, sewing machine
Difficulty
Intermediate
Time
6-7 hours
Pattern
You can access the pattern by following this link HERE. Remember to add seam allowances as indicated in the pattern.
Please note that the jacket is intentionally oversized so it fits sizes XS – M. If you need a larger size, then we’d recommend adding a couple of inches to the sides of the front and back panels and some extra volume to the sleeves. If you need help grading your pattern, please follow this tutorial.
Cutting instructions
The front and back pieces are identical for both outer jacket and the lining. So the pattern will give you all the measurements on the lining pieces and since the outer fabric is cut into several pieces to create this patchwork effect, we ask you to draft another full pattern piece for the outer jacket and then cut into pieces using the measurements provided in the diagram.
To make sure that your lining fits properly inside the main jacket fabric, you’ll need to cut it a bit smaller. In the diagram, we ask you to add 1/4 ” seam allowances to the lining piece. But when you sew, use our usual 3/8” (1 cm) seam allowances. This way your lining will be slightly smaller than the main fabric and will fit perfectly when assembled.
For the collar band, cut two 38” x 4,5” strips of fabric on the grainline (all seam allowances included) that we will later assemble together to get one long collar band. You could also cut just one continuous 76” x 4,5” strip if you have enough fabric left.
For the cuff bands, cut two 20” x 4,5” strips of fabric on the grainline (all seam allowances included).
Note: If you are working with one of our linens or any other fabric that is 57 or more inches wide, then you can cut the back lining piece on fold and save yourself some extra work. If not, add 3/8” seam allowance to the back center line and cut 2 mirror pieces which you will later need to sew right sides together.
Steps
Note: Prewash your fabric and tumble dry it until it is still slightly moist, dry at room temperature. Iron the fabric so it is easier to work with.
Before you start sewing, you can serge/zigzag the raw edges (all edges except the bottom hem, sleeve openings and the open front + back neckline as they will be enclosed with collar/sleeve bands and a rolled hem) to prevent the fabric from fraying. However, since all the edges will be enclosed between the outer fabric and the lining, this step is recommended but optional.
Let’s start by assembling the outer jacket pieces together.
1. Pin the center front top and side sleeve pieces (#1 and #2 in the diagram) right sides together.
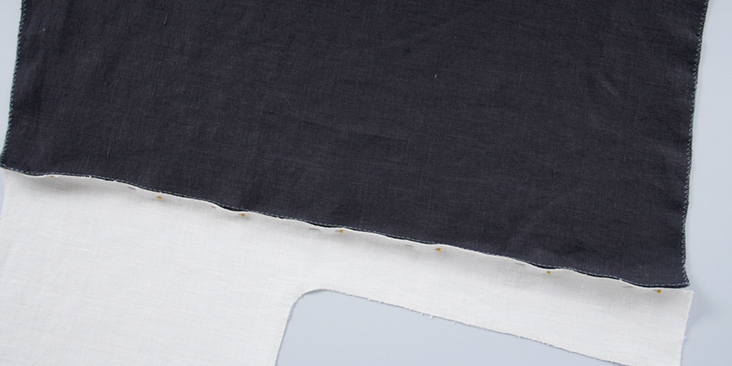
2. Sew at a 3/8” seam allowance.
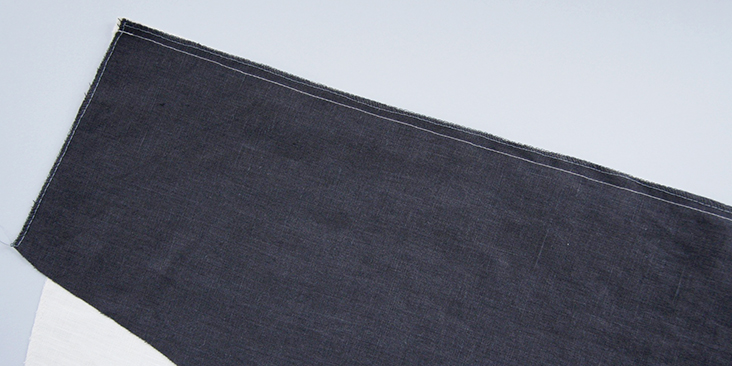
3. Press the seam allowances open.
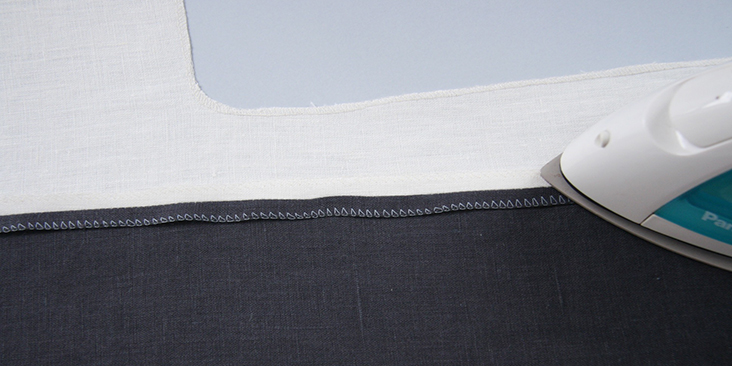
4. Pin the bottom front panel (#3) to the pieces that you’ve just assembled and sew at a 3/8” (1 cm) seam allowance right sides together. Press open.
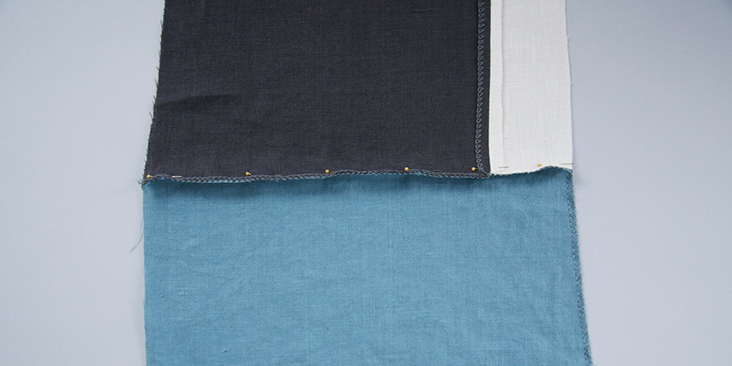
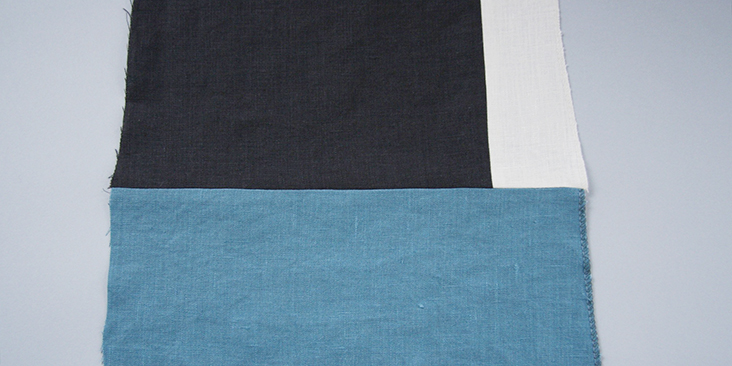
5. Repeat for the other front side.
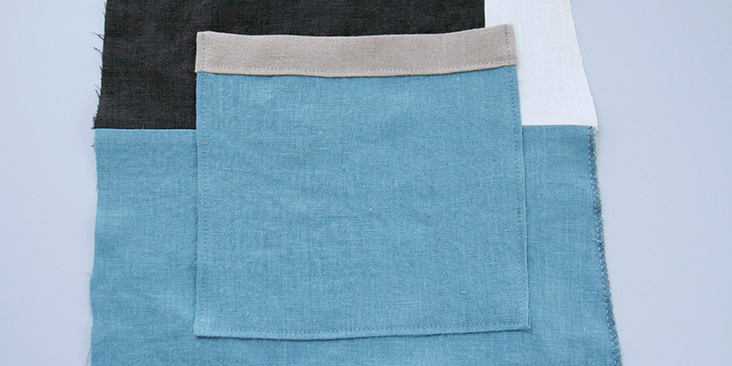
Before we move onto the back piece, let’s sew and attach the patch pockets.
6. Press the raw edges (all except the top edge) of your pocket pieces 3/8” (1 cm) towards the wrong side.
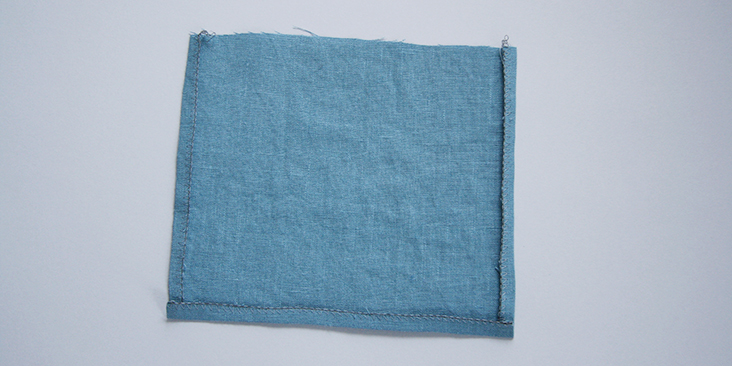
7. Now take your decorative pocket yokes in a different fabric and fold and press them in half lengthwise. Press two long seam allowances 3/8” (1 cm) towards the wrong side.
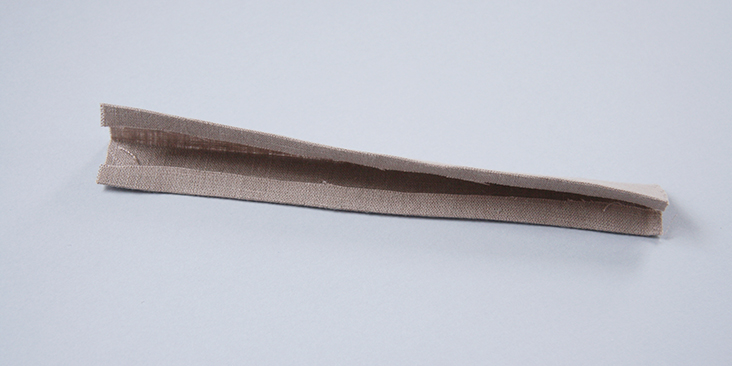
8. Sandwich your pocket inside the yoke, tuck in the raw edges, pin and sew close to the edge (all layers at once) using a matching thread.
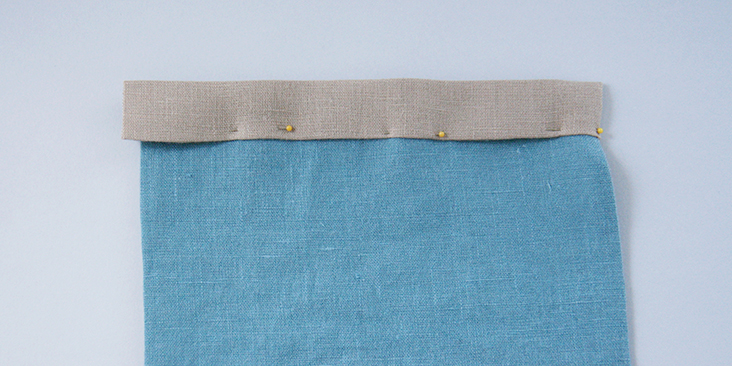
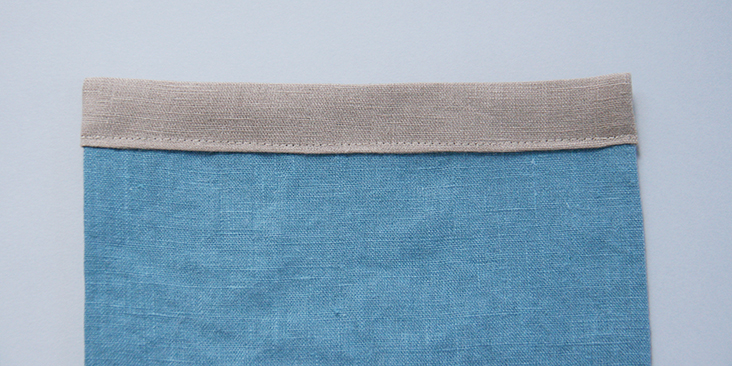
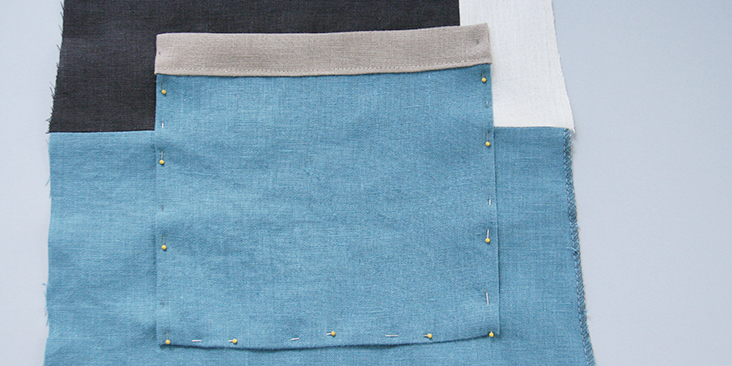
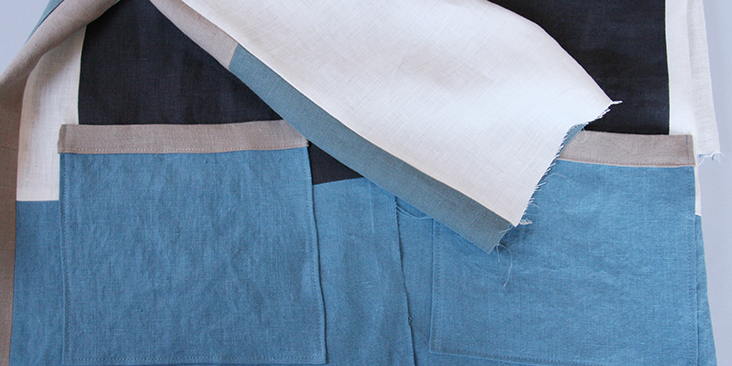
9. Finally, attach the pockets to the front pieces by topstitching the side and bottom edges close to the fold. Remember to backstitch.
Place them asymmetrically as shown in the picture below to enhance the patchwork effect:
Ok, time to assemble the back.
10. Let’s start with the sleeves. Pin the two sleeve panels right sides together (#4 and #5 in the diagram), sew and press the seam allowances open just like you did in steps #2 and #3.
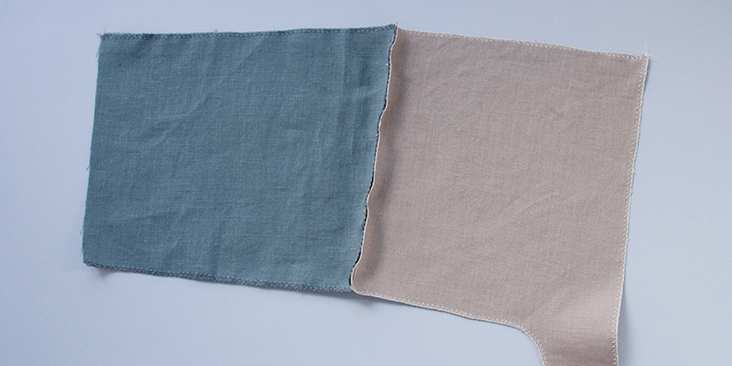
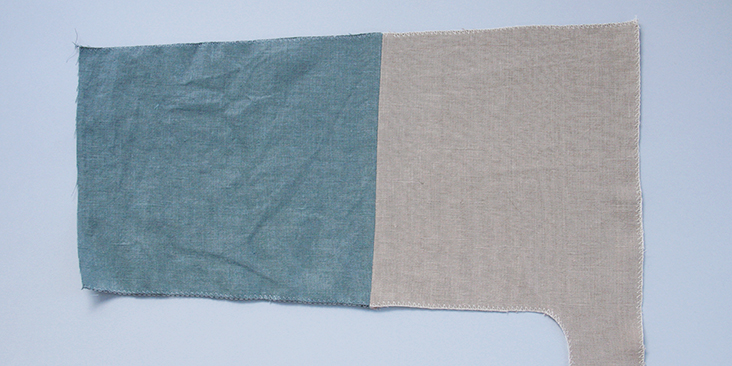
Repeat with the other sleeve.
11. Attach the assembled sleeves to the top back panel (#6).
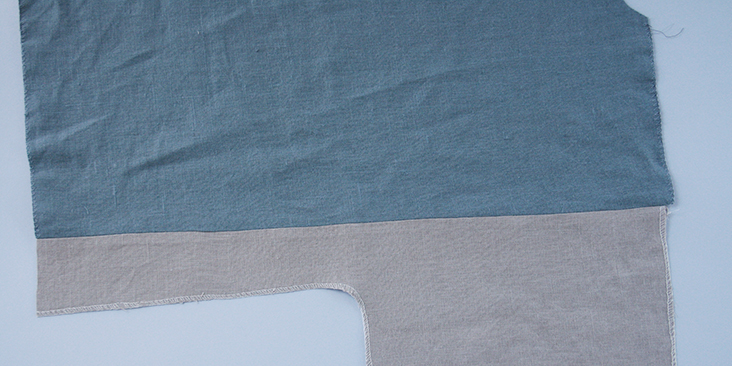
12. Lastly, attach the bottom panel (#7) and press the seam allowances open.
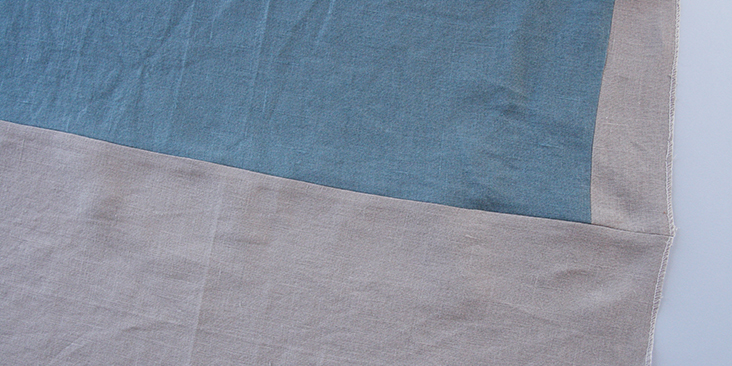
13. Now that all the pieces are in place, let’s assemble the front and the back by pinning the pieces at the shoulders and underarm/side seams right sides together.
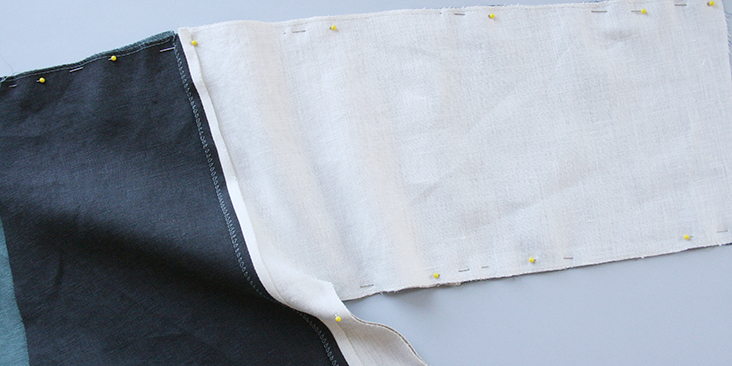
14. Sew the pinned edges at a 3/8” (1 cm) seam allowance and press the seams open.
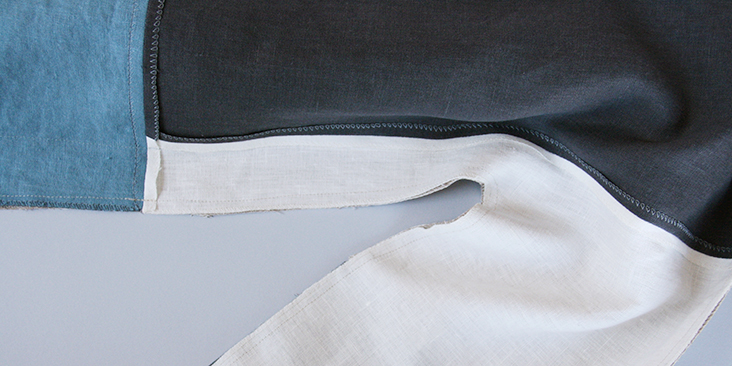
Your outer jacket is now complete.
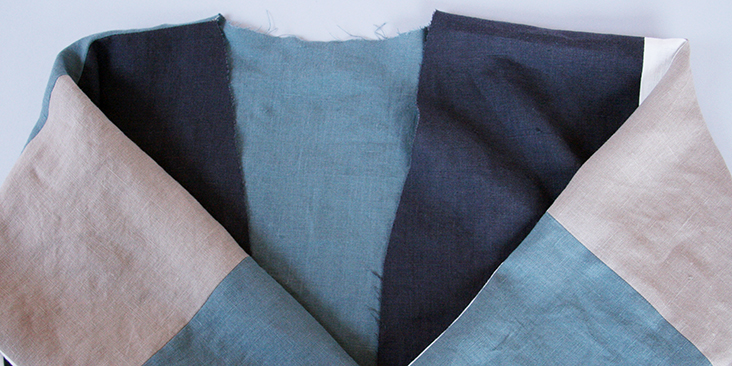
Let’s assemble the lining.
15. Just as you did with the outer fabric, assemble the lining’s back and front right sides together (example in steps #13 and #14).
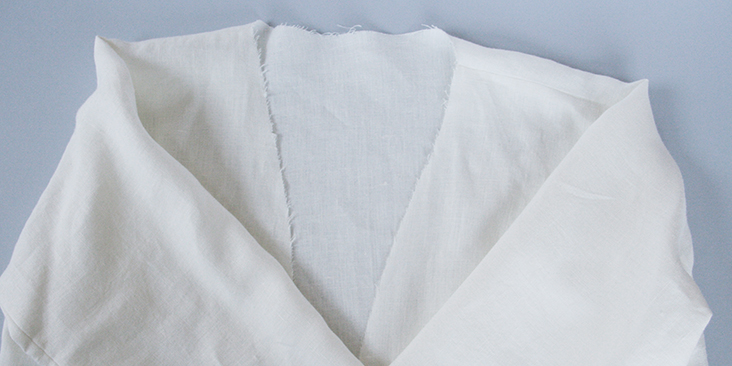
16. Slip the lining into the outer fabric wrong sides together and enclosing all the seams within. Align the shoulder and underarm/side seams and place some pins to keep the fabrics together and make sure that nothing shifts. Flatten out any pleats or bulk.
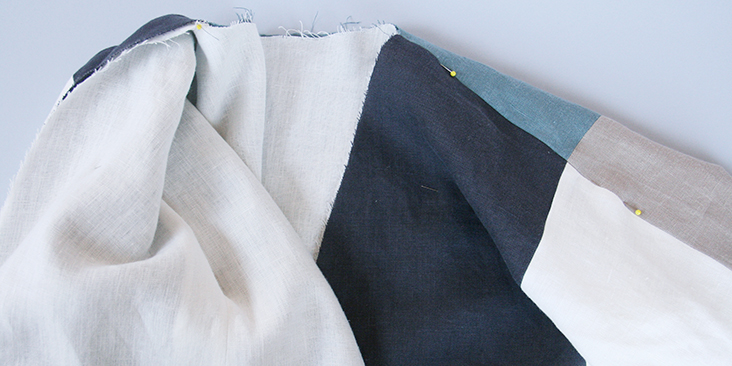
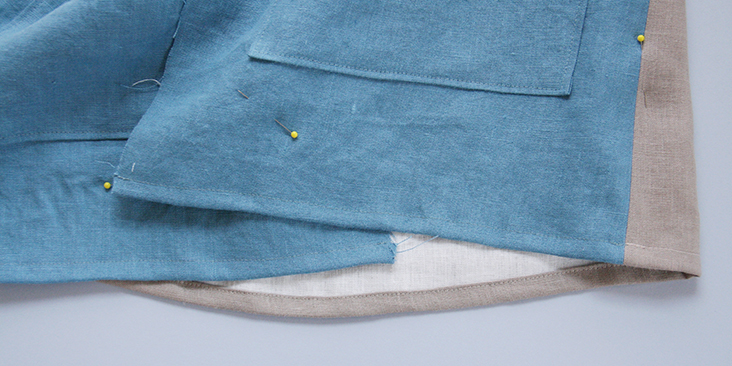
17. Finish the bottom hem with a rolled hem: fold twice the outer fabric (3/8” to 1/2”) towards the wrong side, press and pin to the lining making sure that the lining’s raw edge is hidden under.
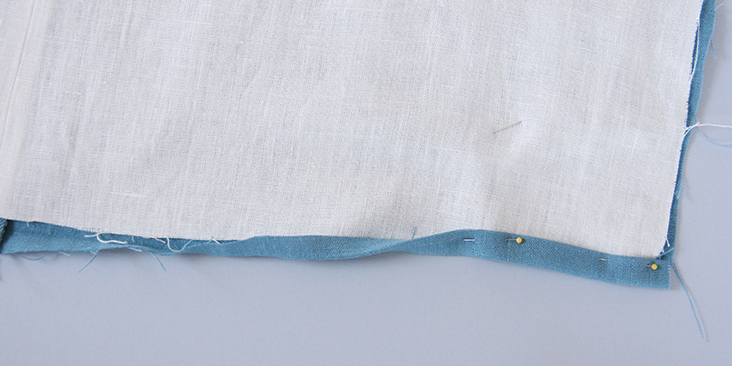
18. Edgestitch the folded edge in place. Consider changing the color of your thread to match your contrasting panels and remember to backstitch.
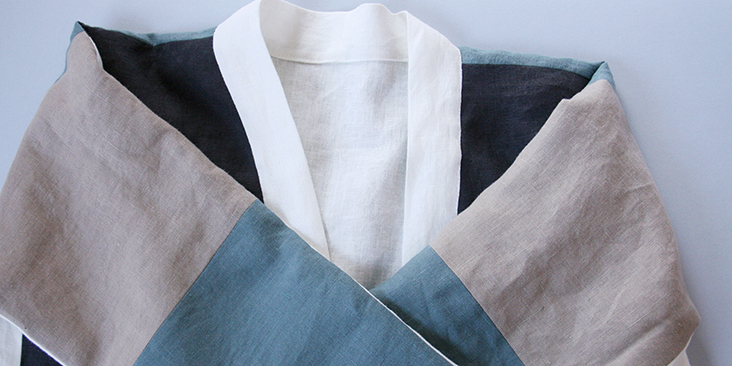
It is time to assemble and attach the collar.
19. Pin and sew the two collar band’s short edges together. Press the seam allowances open.
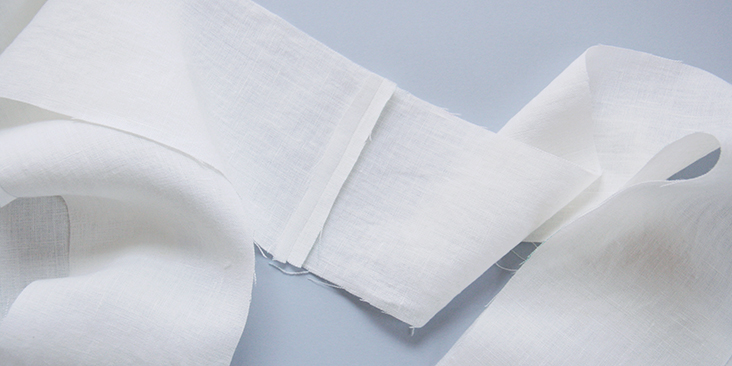
20. Press the long raw edges 3/8” to the wrong and then press the band in half.
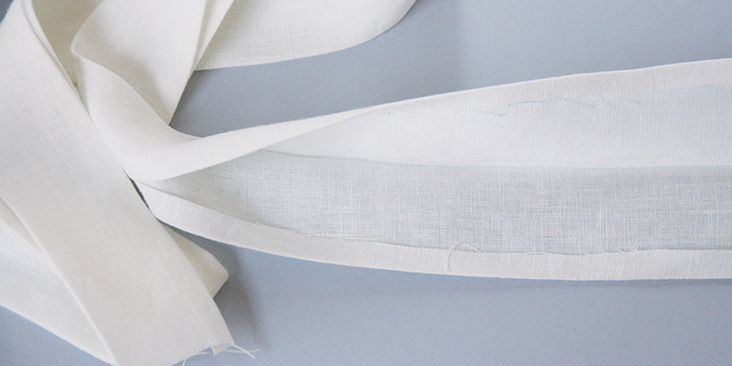
21. Match the collar’s center seam to the center back of your jacket and start pinning one folded seam allowance to the left and to the right of the jacket 3/4” from the jacket’s raw edge.
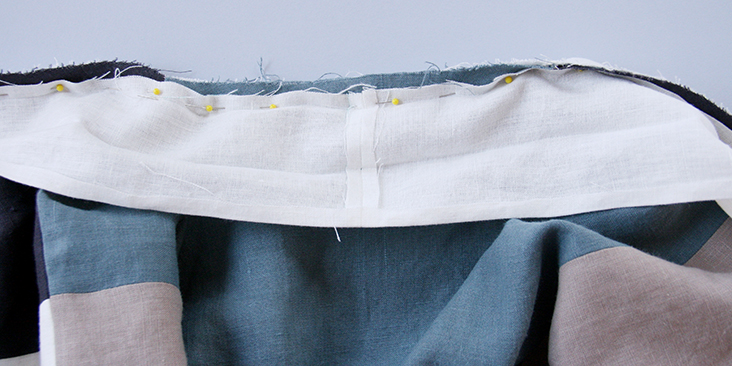
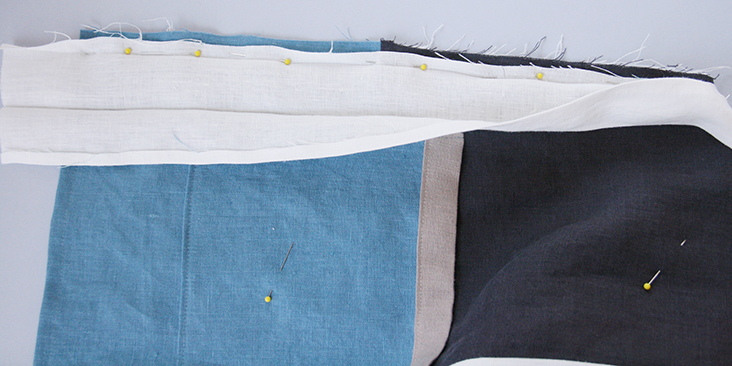
22. Using your fabric marker, mark the spots where the collar band ends meet the rolled hem of your jacket. Unpin the ends a little and sew the short edges right sides together. Cut the excess fabric, finger press the seam allowance open and pin back to the jacket.
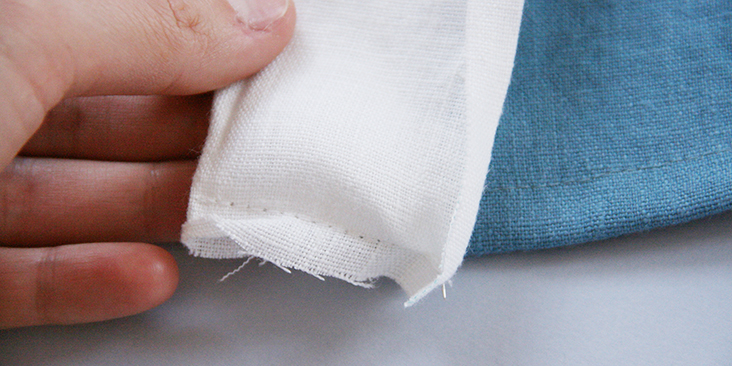
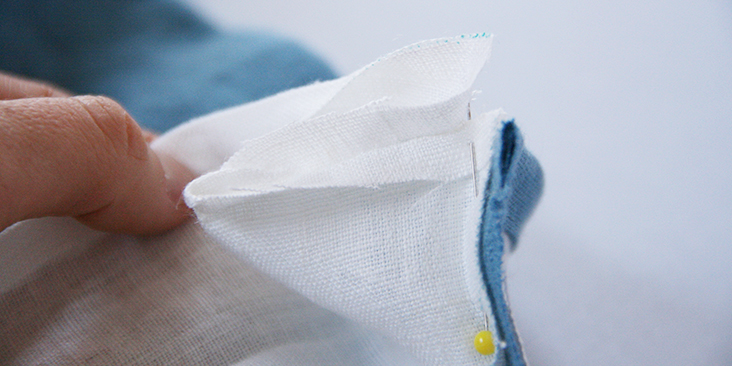
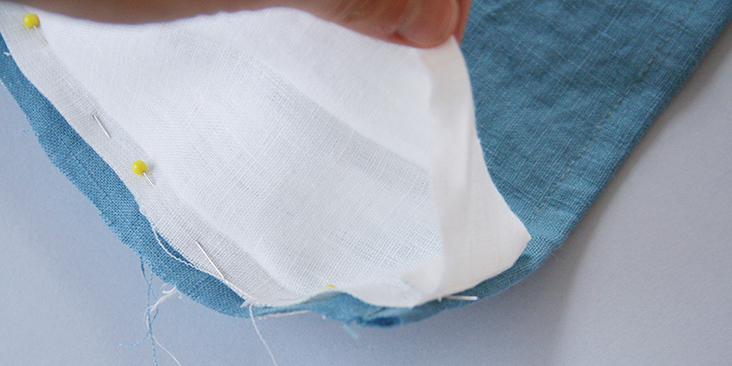
23. Stitch around the entire neckline opening in the inner crease of the collar band. Trim the seam allowance down to 1/4″.
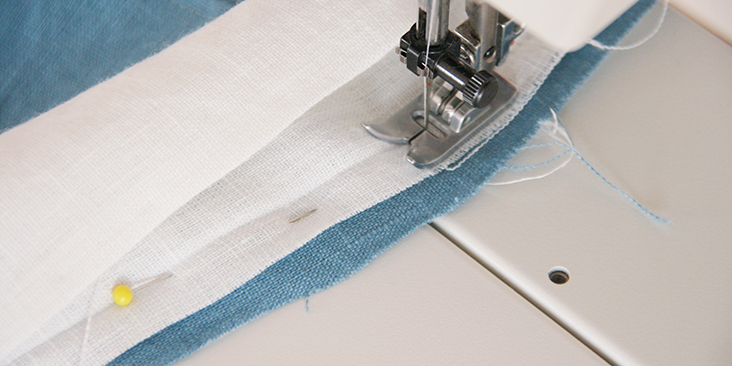
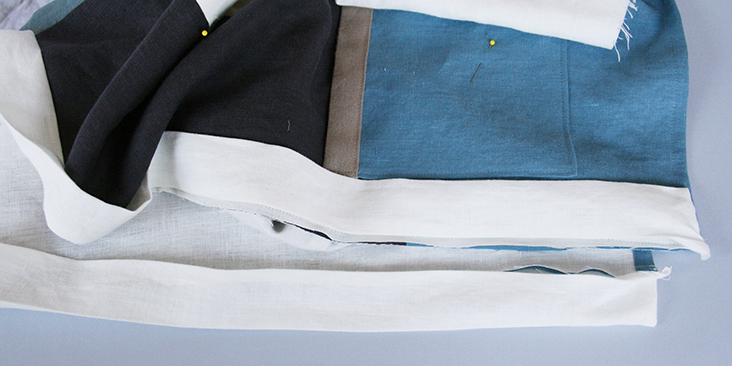
24. Press the collar band away from the jacket.
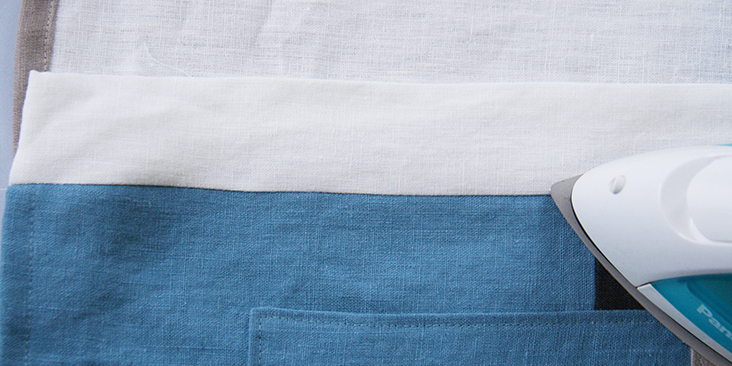
25. Turn the collar band to the other side of the jacket. Pin it in place making sure that that you cover the line of stitching as you go.
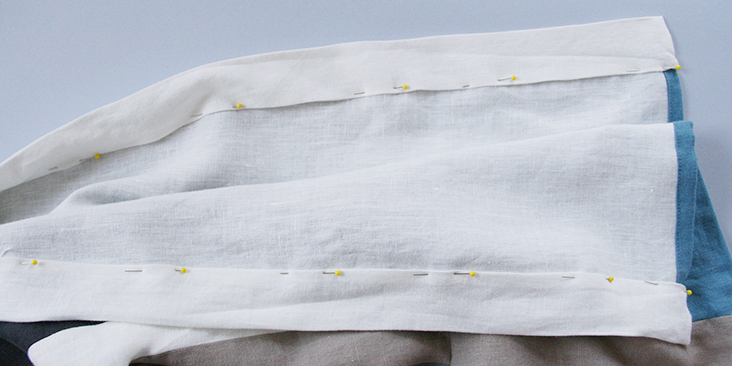
26. Working from the right side of your jacket, topstitch the other collar edge in place in the ditch of the existing seam line. Make sure that the back is caught when you sew.
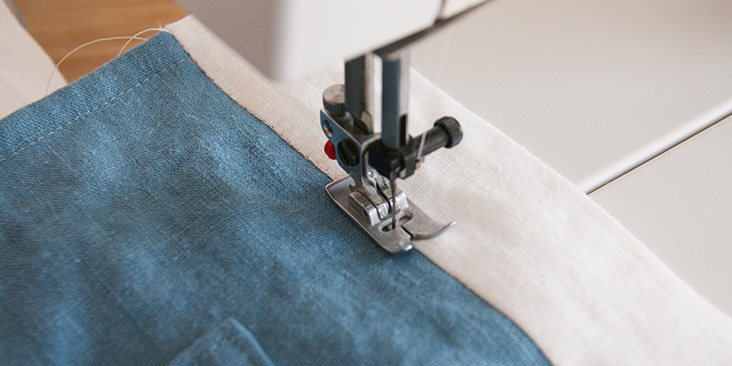
Press the collar one more time and you are done! Time to attach the sleeve cuffs.
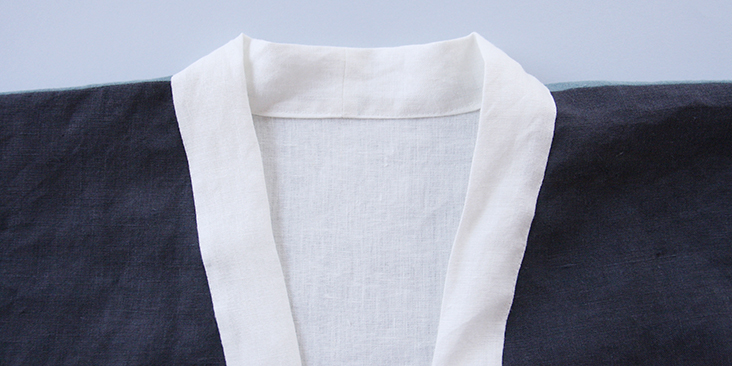
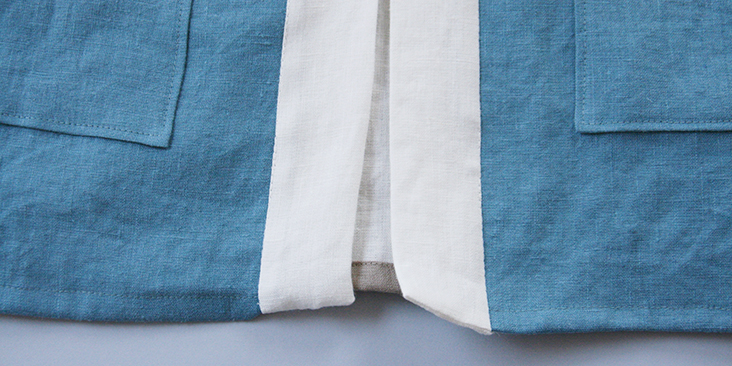
27. Press the long raw edges 3/8” to the wrong and then press the cuff in half as you did with the collar in step #20.
28. Stitch the short ends right sides together matching it up with the underarm seam. Trim the excess fabric and finger press the seam open. Pin one long edge of the cuff to the right side of your sleeve 3/4” from the raw edge.
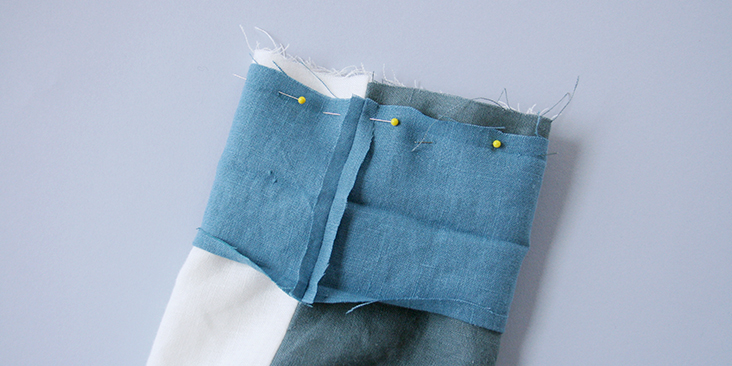
29. Repeat steps 23 – 26 and attach the cuffs to your jacket.
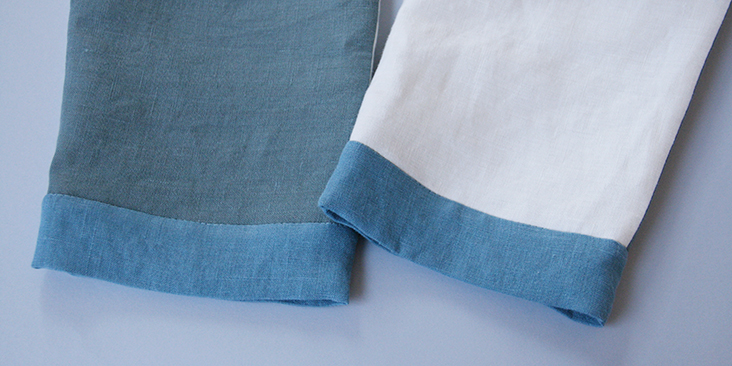
30. Give your jacket a good last press and you are all done!










7 Comments
Courtney Davila
Hi! I am a medium and I was wondering what are the finished dimensions of the jacket? I want it to fit loose so I don’t know how much room to add.
Judith Janes
Thank you, thank you, thank you! Great job with the pictures of this project, views from all sides of finished project as well as construction! I’m your subscriber who complained about the previous photos not showing views of the project, so we could actually see what the item should look like. Well done!
Rima Khusainova
Hello Judith! So pleased to hear that you like the photos and the project! We did take your comments into consideration and tried to do better! 🙂
JUDY
100 pages to print the pattern and at least 30 pages are not even used. Not sure if the cost at a copy shop would be worth it either. Decided to download the picture and draw the pattern by the given dimensions even though XS-M doesn’t fit too many women that I know. Still it is different from the normal kimono jacket and I downloaded the pattern grading instructions several months ago.
Rima Khusainova
Thanks for your comment Judy! Yes, the idea here is to use the measurements in the diagram to draw your own pattern. This pattern can be very easily modified for larger sizes. We’d recommend adding a couple of inches to the sides of the front and back panels and some extra volume to the sleeves.
Cynthia
I love this! Thank you. What size are these instructions for?
Rima Khusainova
Dear Cynthia, this jacket is intentionally oversized so it fits sizes XS – M. If you need a larger size, then we’d recommend adding a couple of inches to the sides of the front and back panels and some extra volume to the sleeves. If you need help grading your pattern, please check this tutorial – https://blog.fabrics-store.com/2015/06/01/how-to-grade-a-pattern-tutorial/