Sewing Glossary: How To Draft And Sew Concealed Button Bands
In one of our recent posts we have showed you how to draft and sew button bands the classic, shirtmaking way. So now that you got the hang of the basic techniques, we thought we’d take you step farther and show you how to make a concealed button band.
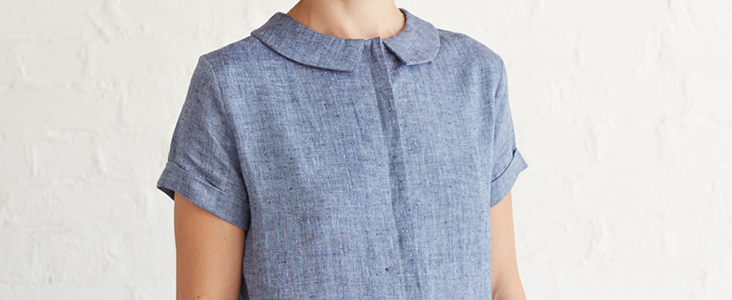
As its name suggests, a concealed button band is a type of placket where the buttons are hidden by the top layer of the placket and are invisible when it’s buttoned up. This type of button band can be used on a variety of garments- shirts, skirts, dresses and pants. It offers a more minimalist, cleaner look than a regular button band.
It may sound tricky, but is actually quite easy to make and such a great skill to add to your sewing repertoire since a well-made button opening shows off good dressmaking skills even if you can’t really see it.
Materials & Tools
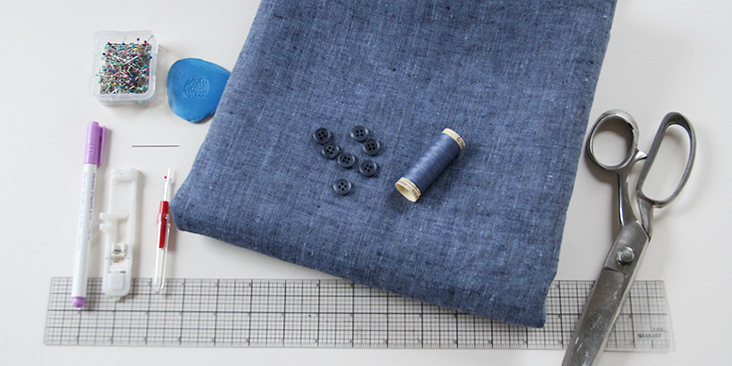
Fabric of your choice (we are using our medium weight IL042 908 FS Premier Finish Linen), matching sewing thread, buttons
Pattern paper, scissors, ruler, pins, chalk, fabric marker, pen, buttonhole foot, needle, seam ripper, sewing machine
Difficulty
Advanced Beginner
Time
1-2 hours
Drafting the Pattern
The process for drafting this pattern is quite similar to drafting classic button bands (which we showed you HERE). The major difference is that you’ll need to add some extra width to one side of your opening to create the fold that will conceal the under layer and the buttons.
If you are working with a pattern that has a simple rolled-up-twice or sewn-on button bands, you need to find the center front/back line and adjust your front/back piece. And even if your pattern doesn’t feature a button front/back, it’s pretty simple to modify front/back styles to include a concealed button band.
Before you get started drafting, you need to decide how big you want your finished concealing panel to be. The bands on store-bought clothing are usually ¾” -1 inch (2- 2,5 cm) wide but you can always make them smaller or larger to go with your design and your buttons. The rule is that the button bands should be wide enough to support your buttons.
Another important point to consider is the position of the buttons/buttonholes. Tradition puts men’s buttons on the right band and buttonholes on the left. With women’s clothing it is the opposite: buttons left, buttonholes right.
Here, we will be showing you how to create a 1″ placket for a women’s shirt, so we’ll be adding some extra width to the right side of the placket. Consider switching sides for menswear. Please note that these instructions rely on you having traced off a pattern piece for a shirt with no seam allowance/facing.
For the right (buttonhole + concealed placket) placket side, first add a 1/2″-wide line to your right pattern piece to create a 1″ overlap. Then add another 1″-wide section. These two 1″ sections will later be transformed in the top part of your placket that hides the buttons. Then add two slightly smaller sections 3/4″-wide. The reason why these two bottom sections need to be slightly smaller is because we want to make sure that when folded they are fully hidden underneath the top fold. Finally, add your usual seam allowance (we are using a 3/8″ (1 cm) seam allowance).
For the left placket side (where you’ll be attaching the buttons), the fold sections should also be smaller than your finished placket width for the same reasons – to make sure that the buttons are fully hidden underneath the left placket fold. So first you add half of 3/4″(3/8″) to create the overlap, and then another 3/4″ and finish off by adding your usual seam allowance (3/8″ in our case).
Here’s a little diagram to illustrate the drafting process:
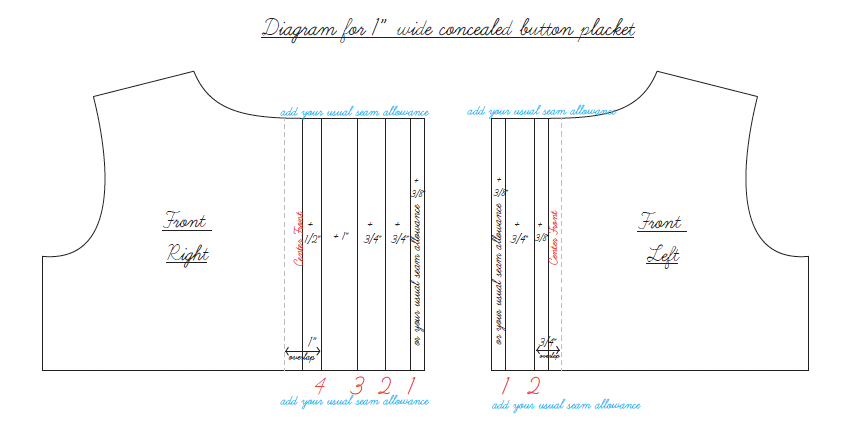
So, we’ve added 3 3/8″ to the right side and 1 7/8″ to the left side of your front shirt.
Now add seam allowances around top (neckline) and bottom (hem) edges and cut your pattern pieces in fabric accordingly.
Note: If you are working with lighter fabrics, you might want to interface one or both hidden placket panels and the buttons panel to stabilize the area and keep it from stretching.
Ok, let’s start sewing!
Steps
Note: Prewash your fabric and tumble dry it until it is still slightly moist, dry at room temperature. Iron the fabric so it is easier to work with.
Please note that we’ll be making a women’s shirt so if you are making a men’s shirt, inverse the left/right instructions.
Let’s start with the right front side, the one that has more fabric for the concealed button placket. If this is your first time sewing this type of placket, we recommend transferring all the markings to the wrong side of your fabric using a disappearing ink pen. If you feel confident that you can fold accurately using a ruler or a gauge to measure the folds, then skip this step.
1. Take your front right pattern piece and fold the extension to the wrong side along lines 1 and 2 (the 3/8″ seam allowance and the 3/4″ inner placket), and press. To make the instructions easier to follow, we’ll be demonstrating the folding process on a sheet of paper.
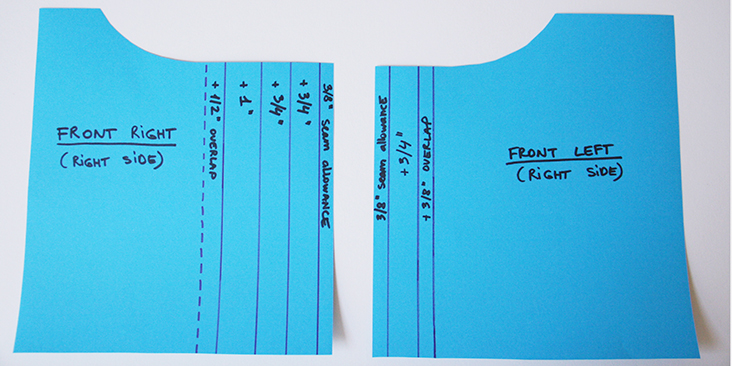
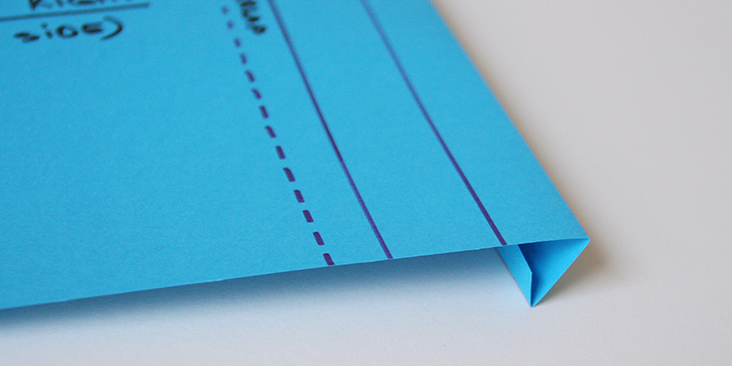
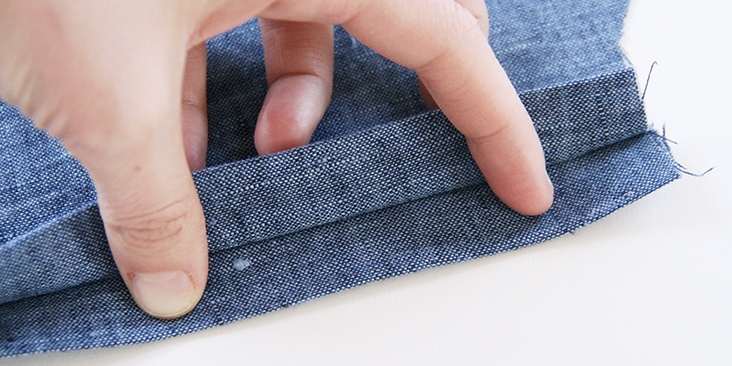
3. Accordion-fold the top part of your placket: fold along line 3, right sides together, then line 4, wrong sides together. Press.
Here’s a side view that hopefully will make folding easier:
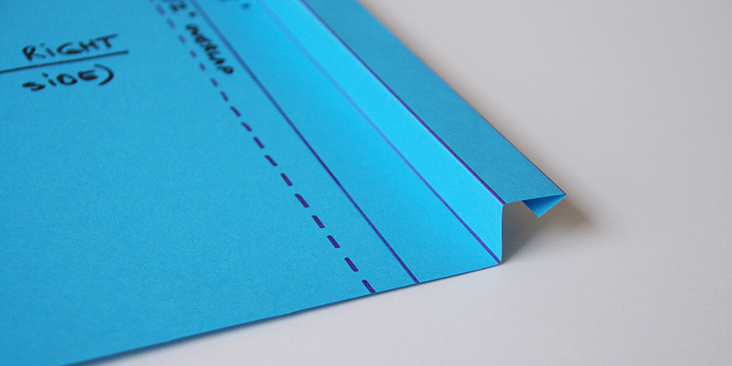
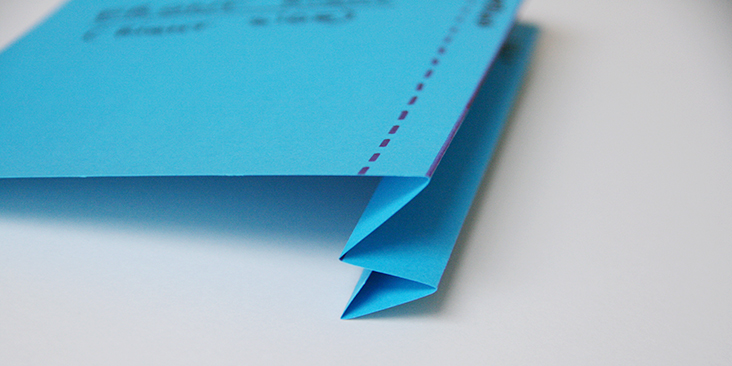
Note how the underneath placket part is completely concealed under the top part since we cut it a bit smaller. So when it’s sewn, it won’t be poking out and will always stay hidden.
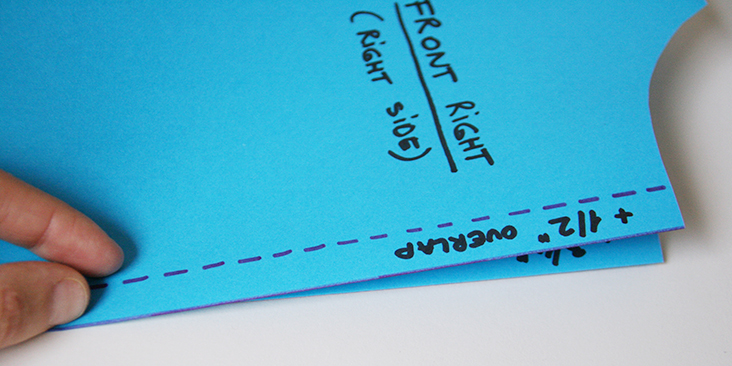
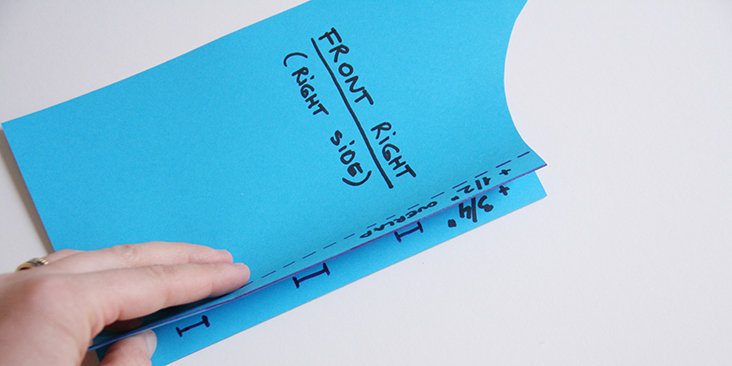
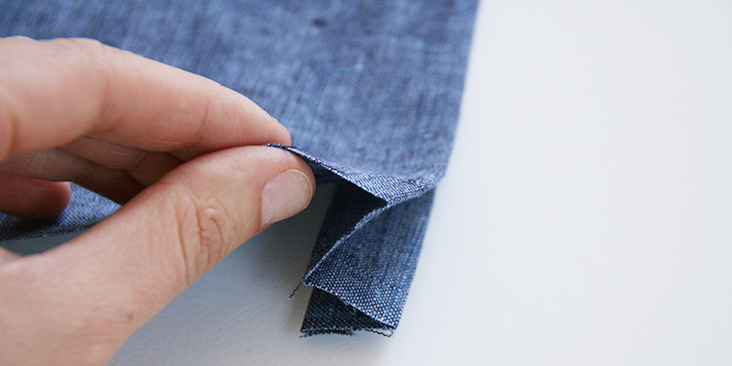
4. Pin the fold in place (all layers).
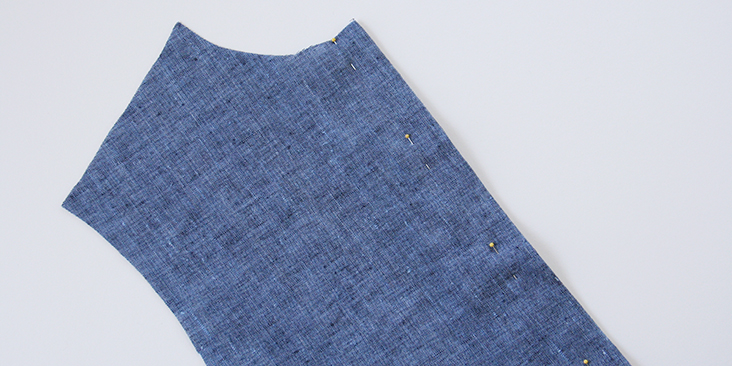
5. Working from the garment’s right side, run a line of stitching about 7/8″ front the center front edge making sure to catch the underneath placket’s edge in the stitches. This will secure the folds in place.
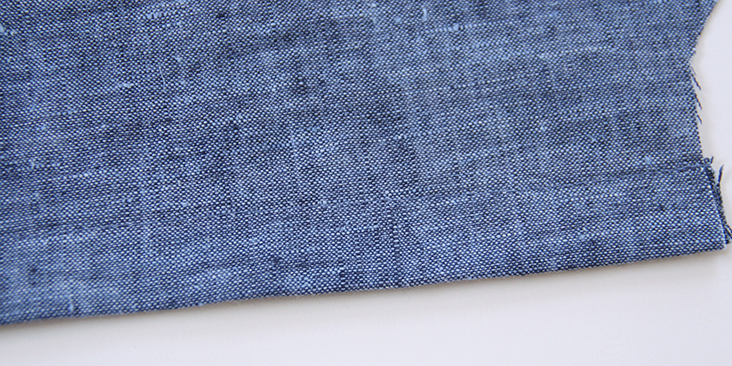
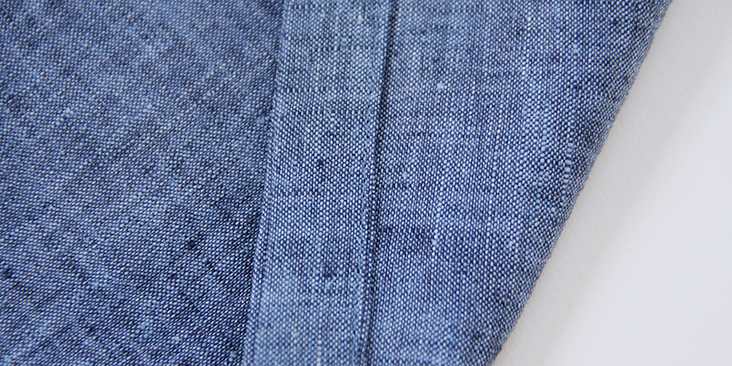
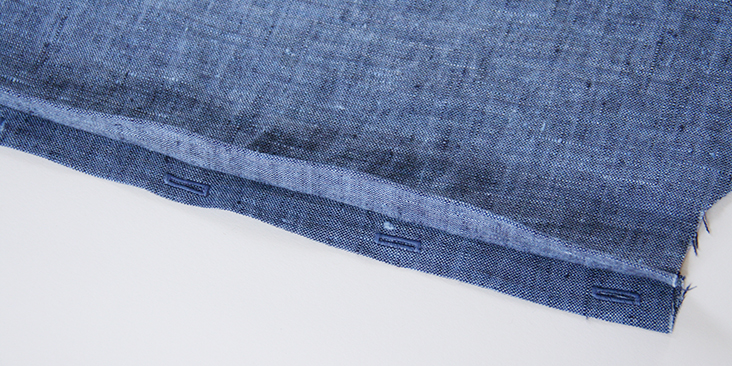
6. Now is the good time to sew the buttonholes to the bottom placket. Follow the instructions in your pattern or place them as you wish but remember that you still have top and bottom seam allowances so don’t sew them right at the edge.
7. Take your left pattern piece and fold the fabric twice to the wrong side along line 1 and 2.
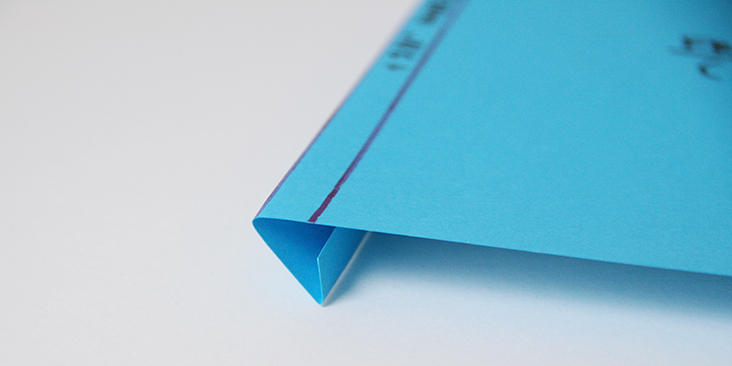
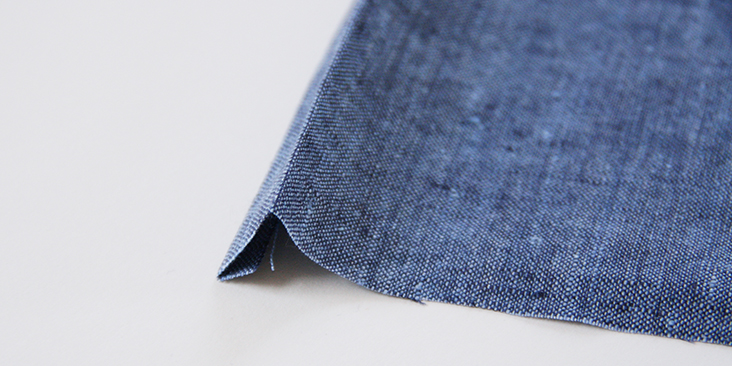
8. Stitch as close to the inner folded edge as possible.
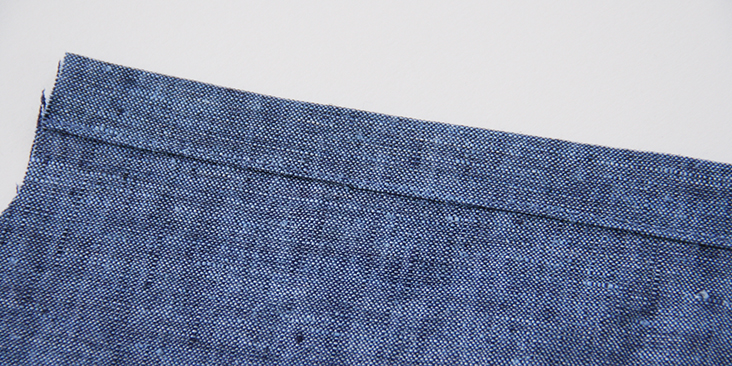
9. You can either attach your buttons now or wait until your front and back pattern pieces are assembled and the neckline is finished.
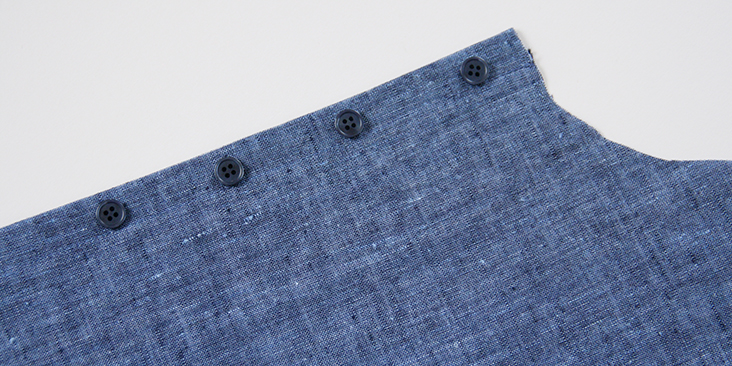
Here’s what your button bands should look like:
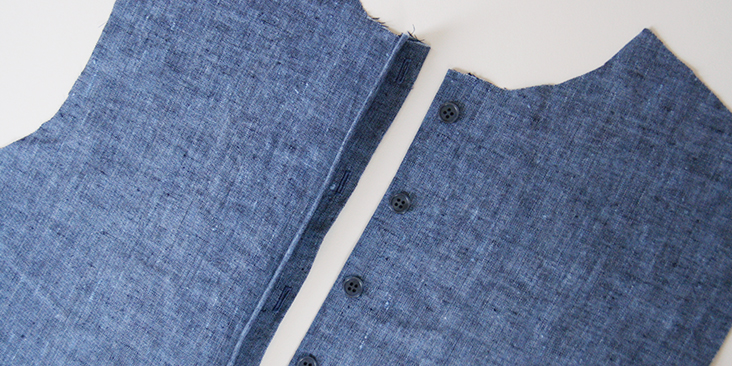
10. Continue with the rest of the garment by following your pattern instructions.
There you go! A concealed button placket that would work great on any shirt, blouse or dress!




5 Comments
Carolyn
Oh my goodness thank you for demystifying that accordion fold process! This is a great tutorial I’ve been looking for something for so long to really spell it out for me haha. Thank you 🙂
Rima Khusainova
Haha you are very welcome Carolyn! 🙂
Ivan
Nice!
Lisa
Do you have a tutorial/pattern for the entire dress?
Thank you
Rima Khusainova
Dear Lisa, yes, we do! The full dress tutorial is coming next week. So stay tuned! 🙂