Sashiko Embroidered Linen Dress Tutorial
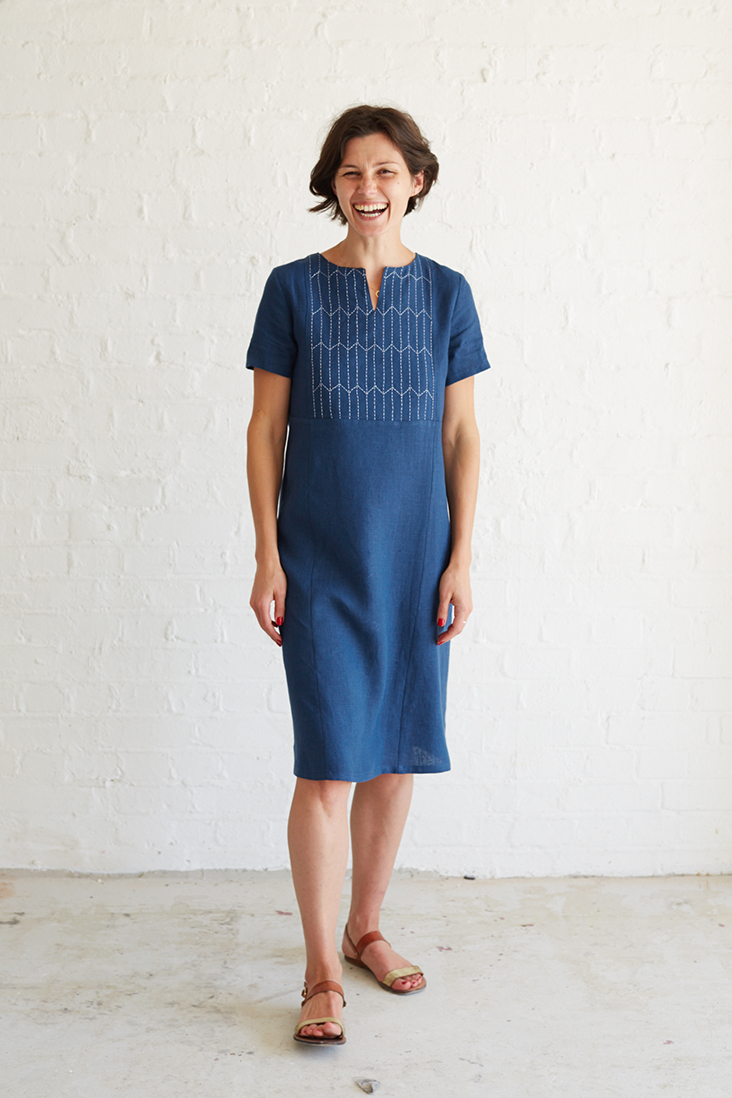
In our previous tutorial we introduced you to a traditional style of Japanese embroidery called Sashiko. Today, as promised, we are showing you how to use this great embellishment skill in garment making and we invite you to customize a simple dress, which has the perfect yoke space for embroidery. Even though hand embroidery takes time, we are sure you’ll find the process very meditative and relaxing.
Gather your supplies, get a nice cup of tea and let’s start sewing!
Materials
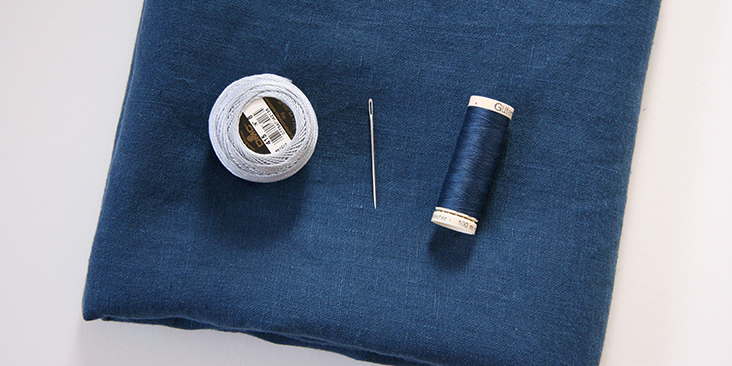
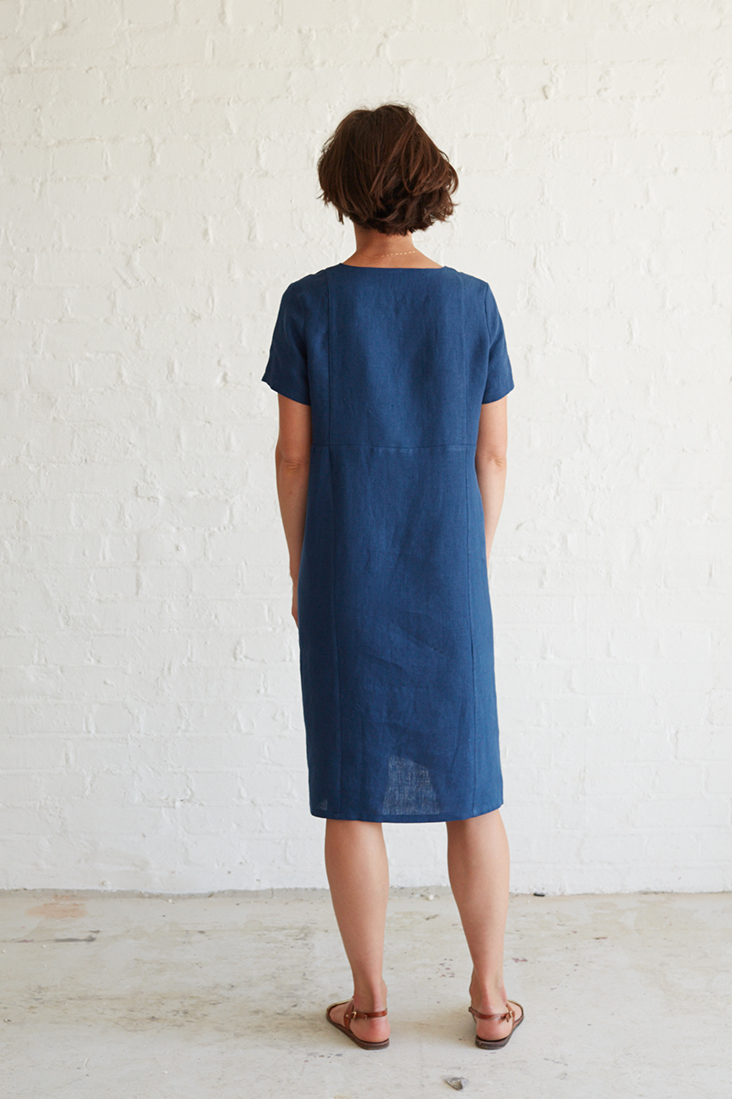
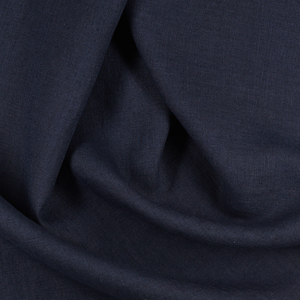
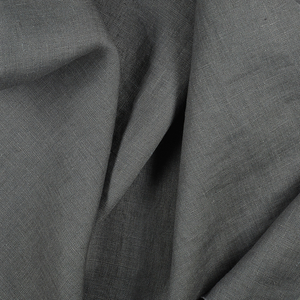
2 yards of IL019 INSIGNIA BLUE Softened 100% Middle Weight Linen
Matching sewing thread, #8 cotton perle embroidery floss (415), embroidery needle.
Traditionally, Sashiko uses white thread on indigo fabric, but we decided to modernize it a bit and opted for a beautiful silver perle cotton thread that works so great with this deep blue linen.
Tools
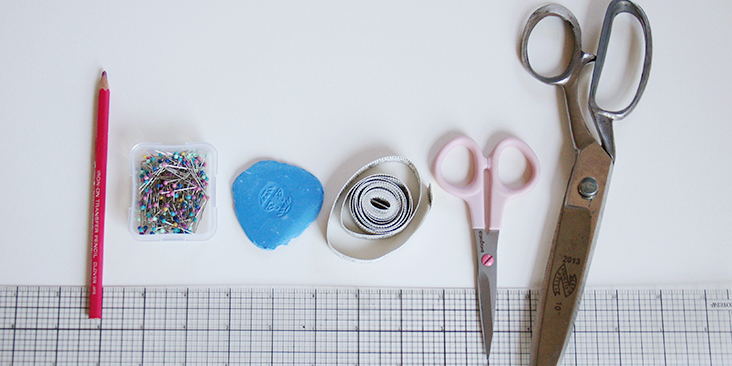
Pattern paper, washable transfer pen (or wax free chalk tracing paper and a tracing tool), ruler, scissors, pins, measuring tape, chalk
Difficulty
Intermediate
Pattern
You can access the dress pattern by following this link HERE and the printable sashiko template can be found HERE. Remember to add seam allowances as indicated in the pattern.
This dress is intentionally loose and will fit sizes 6 -10 (US) or 10-14 (UK). If you need help grading your pattern, please follow this tutorial. Also, if you need help adjusting the pattern for a fuller bust, we have a great Full Bust Adjustment tutorial HERE.
Steps
Note: Prewash your fabric and tumble dry it until it is still slightly moist, dry at room temperature. Iron the fabric so it is easier to work with.
Since it’s easier to embroider the bib section before construction, we’ll start with that.
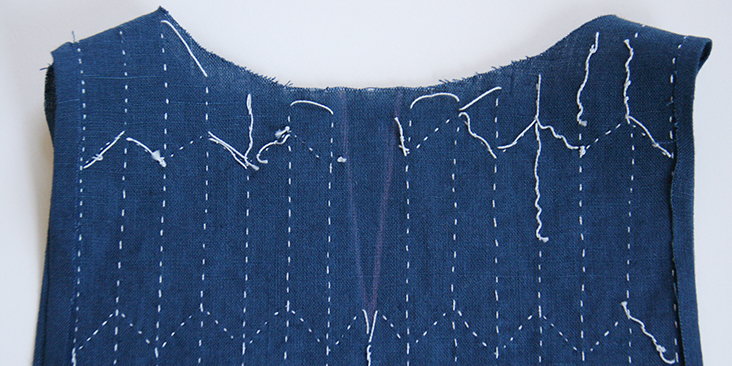
1. Transfer the sashiko pattern to the right side of your front bib panel using a washable transfer pen or trace it off with a tracing tool and the chalk paper. For tips on how to transfer your patterns check our tutorial HERE.
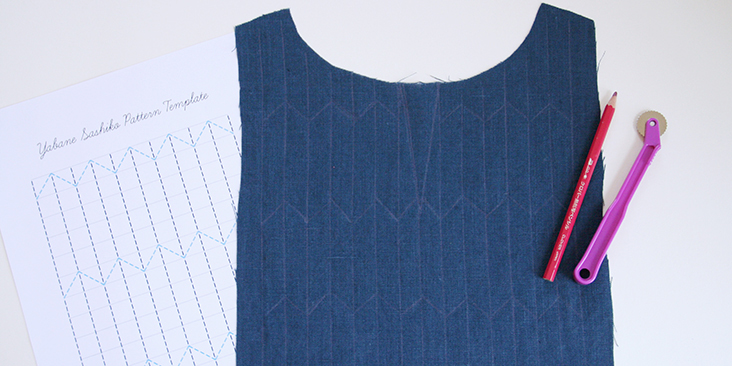
Be mindful of the seam allowances and the V-neckline when you transfer the pattern. We recommend marking the V-shape and draw your pattern accordingly.
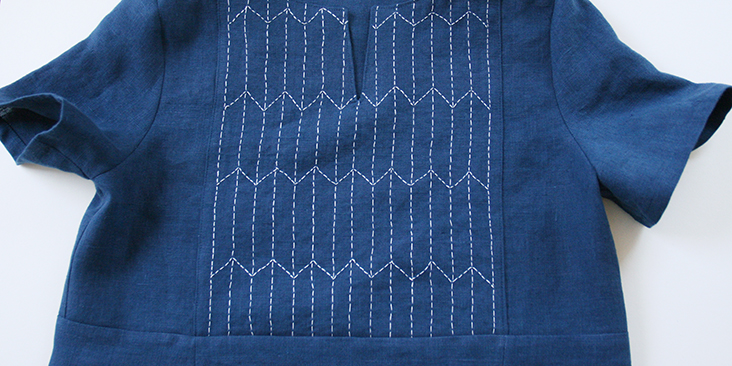
2. Time to do some embroidery. We chose to embroider only the front bib section, but if you feel adventurous, you can totally embroider the back bib as well.
Do all horizontal zigzags first and then stitch all vertical lines.
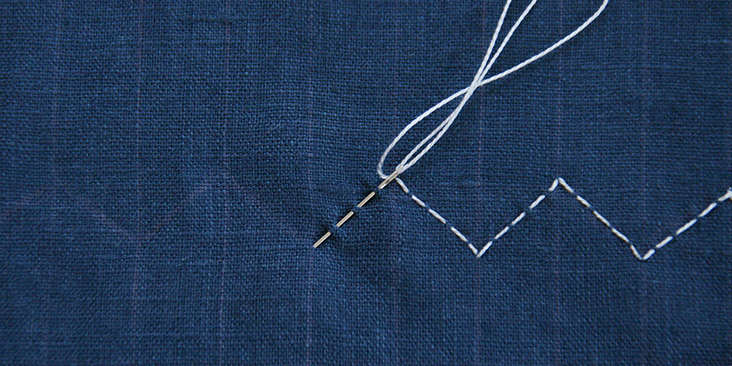
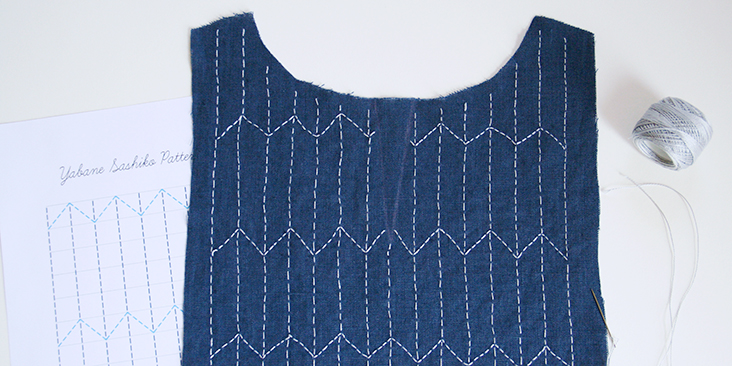
You’ll find all the techniques and tips used in sashiko embroidery in our detailed tutorial here. However, for this particular pattern the most important rules to follow are:
– The space ratio between the stitches: the gap between each stitch must be half the length of a full stitch with the longer stitch on the right side of the fabric.
– Don’t pull the thread too tight as it might cause the fabric to pucker.
– For a nicely defined 45-degree angle (the tops of zigzags), both stitches must end right at the turn of a corner.
– Space the stitches evenly so that they don’t touch or cross each other. There should be a small open space at the point where the lines would usually meet. This will make the pattern look more elegant.
Now that you’ve embroidered your front bib, we can start constructing the dress.
3. Assemble the front and the back bib panels by pinning them right sides together at the shoulder seams.
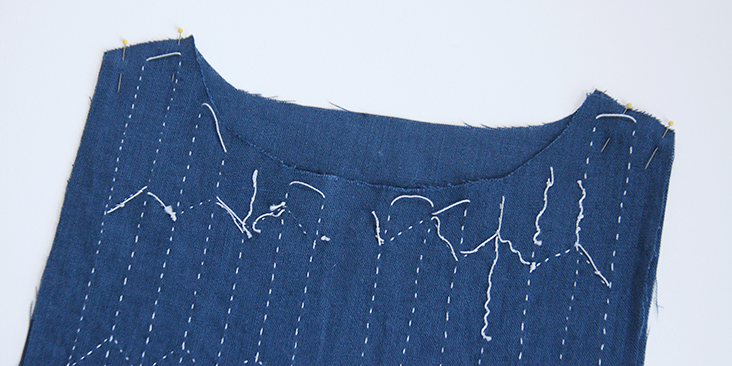
4. Stitch at a 3/8in (1cm) seam allowance and press the seams open.
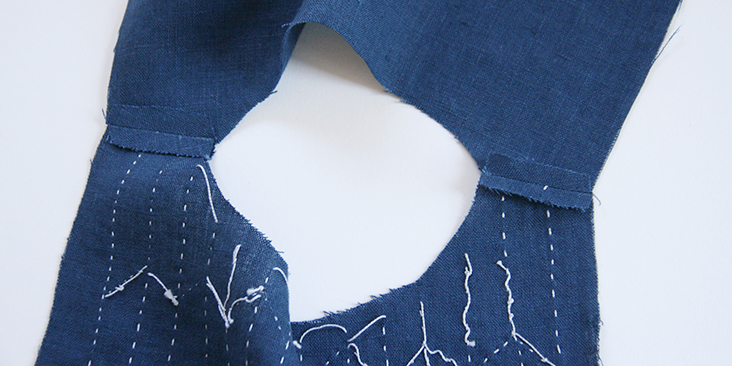
5. Fold the vertical raw edges 3/8″ towards the wrong side and press.
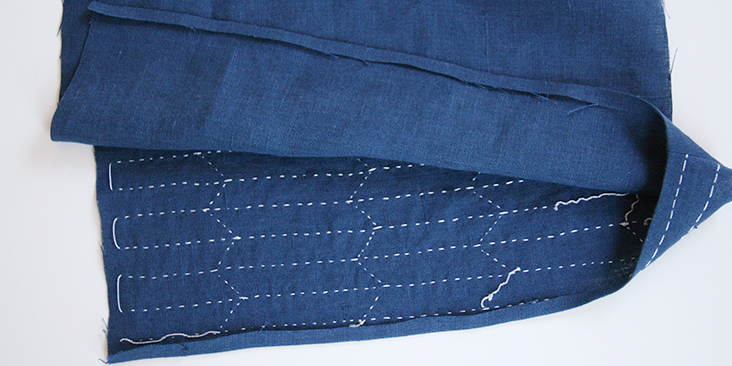
6. Draw the V on the wrong side of your front bib panel that is identical to the V on the right side. You’ll later stitch over this shape to create a V-neck opening.
7. Before attaching the bib onto the tunic, you need to assemble the front and back pieces of the bodice together. Start by pinning the shoulder seams right sides together.
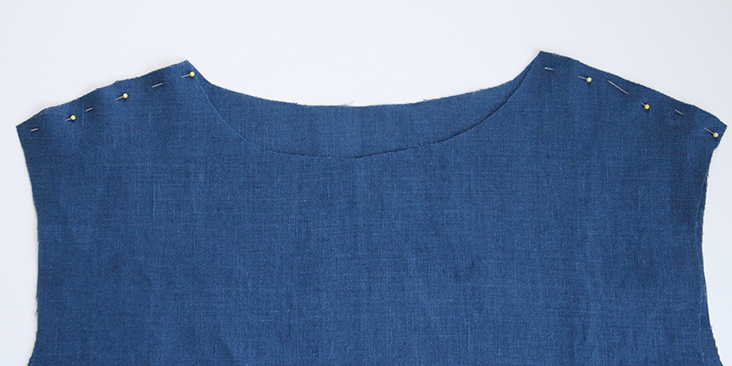
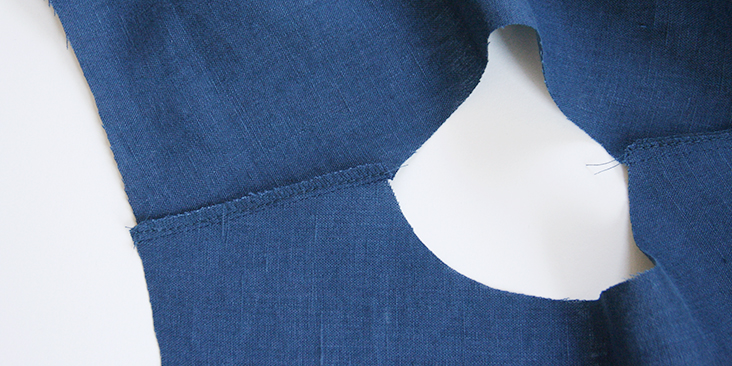
8. Sew at a 3/8in (1cm) seam allowance and remember to backstitch at both ends. Trim the seam allowance down to 1/4″ (6 mm) and serge/zigzag the raw edges together to prevent them from fraying. Press the seams flat folding the serged/zigzagged edge towards the back.
9. Place the right side of the bib on top of the wrong side of your dress matching up the shoulder seams and pin around the neckline. Use plenty of pins to get the facing seated and make sure it’s centered.
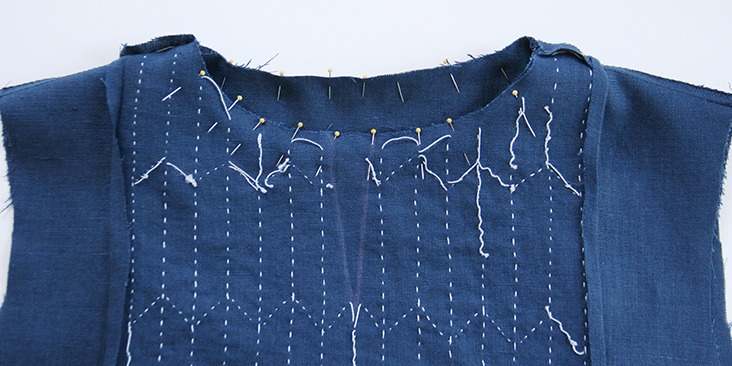
10. Stitch the bib onto the neckline in a continuous circle at a 3/8in (1cm) seam allowance.
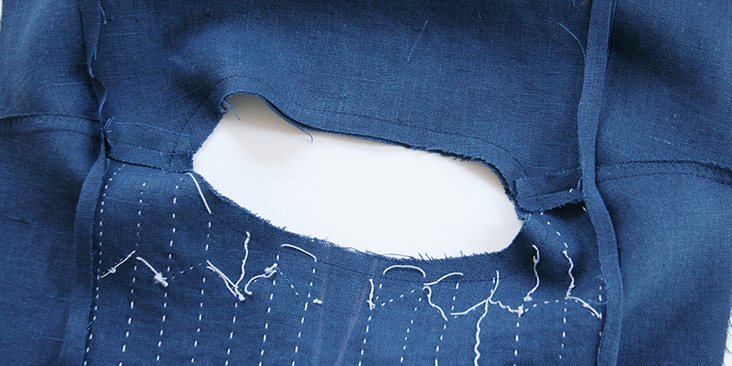
11. Now stitch on top of the V-mark. When you come to the top of the V, stop the machine with the needle still in the fabric, sew one or two stitches straight on and turn the fabric to sew the rest of the V. Adding this tiny horizontal stitch makes it easier to clip and turn the bib to the outside.
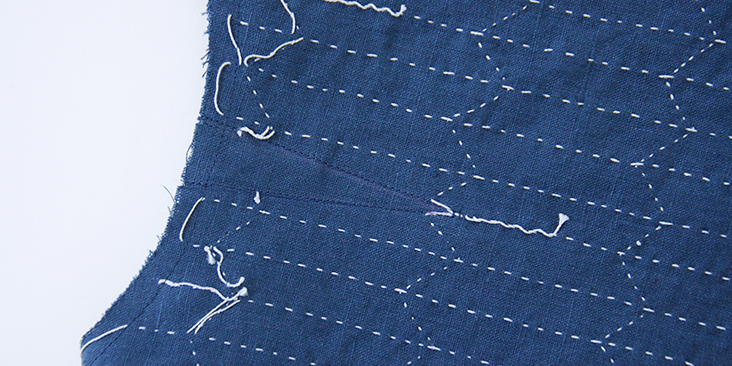
12. Take your scissors and cut the V in the middle all the way to the point. Clip as close to the stitch line as possible but be careful not to cut through.
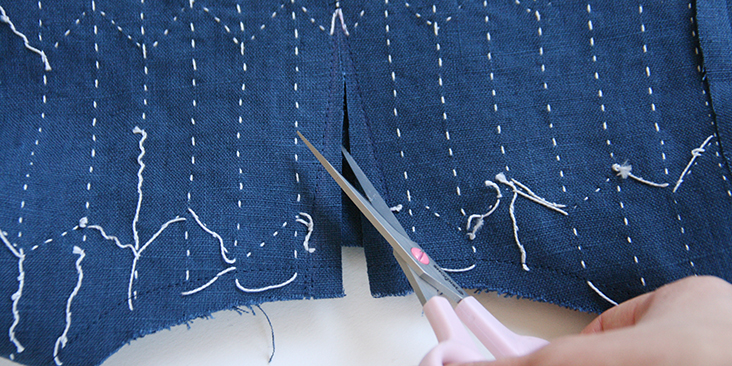
13. Trim the seams to 1/4″ (6 mm) and make notches (clip to but not through the seam line) around the neckline opening and trim the corners to release the tension.
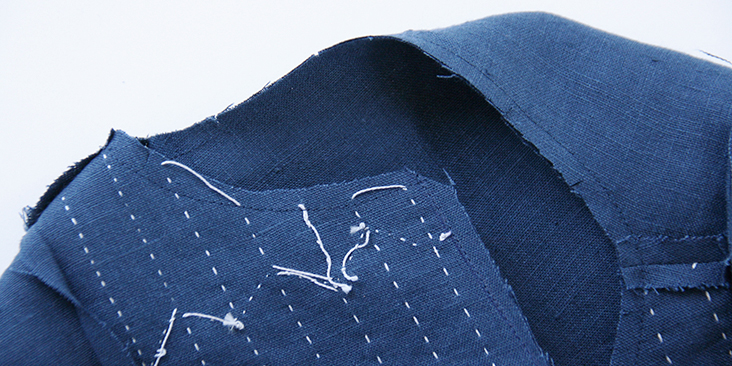
14. Flip your bib from the inside to the right side of your dress and press the seams flat making sure that the seam doesn’t show on the right side. Use a pointed object like a chopstick to get the corners out. Pin it to the front of your bodice. Make sure it’s centered.
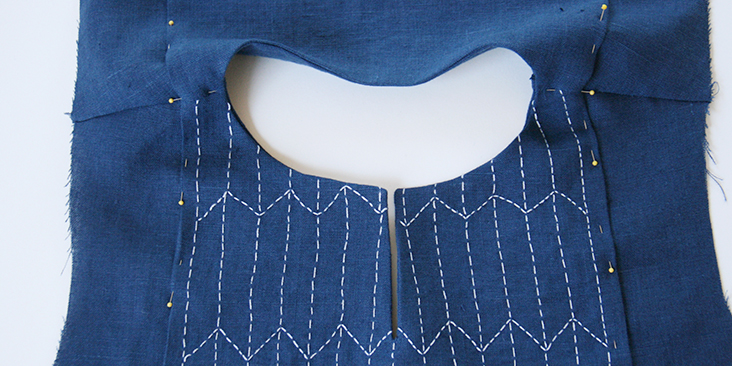
15. Topstitch the vertical edges to the front of your bodice 1/8″ from the edge to secure the bib and press again. Topstitch around the neckline.
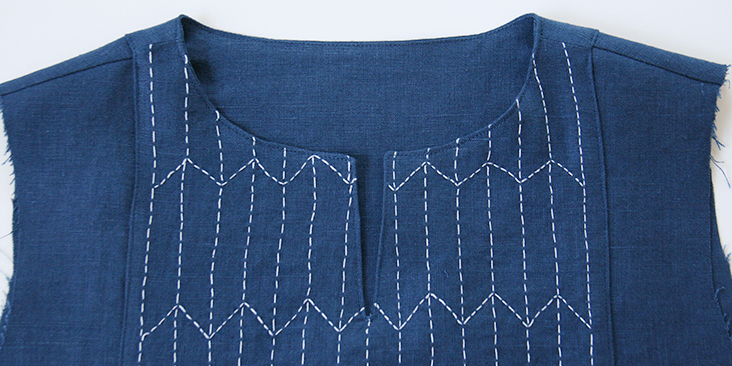
Time to attach the sleeves.
16. Pin the sleeves to the armholes right sides together.
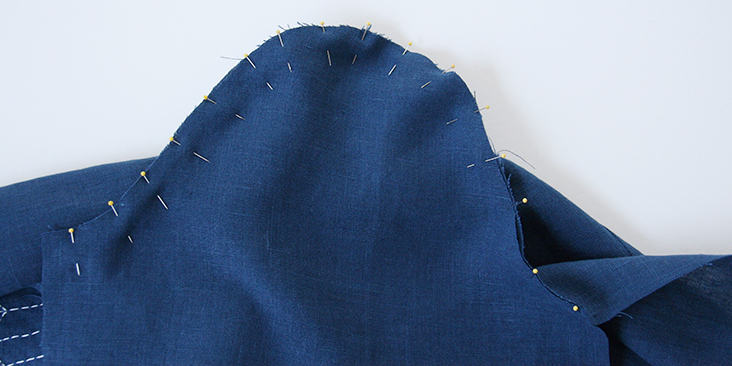
17. Sew at a 3/8” (1 cm) seam allowance. Serge or zigzag the raw edges together to prevent the fabric from fraying. Press the serged/zigzagged seam allowances up towards the sleeves.
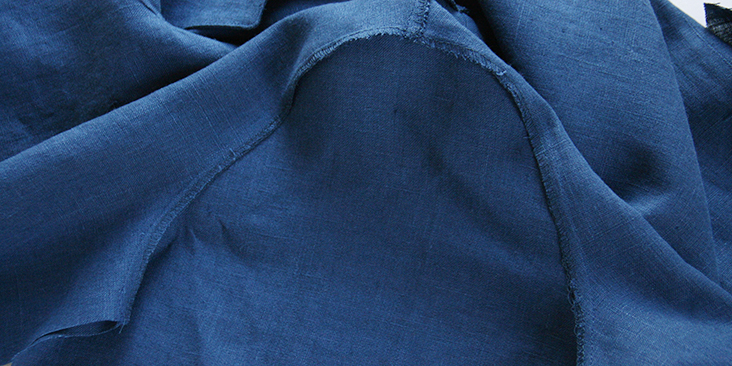
18. Pin the sleeve and bodice side seams right sides together.
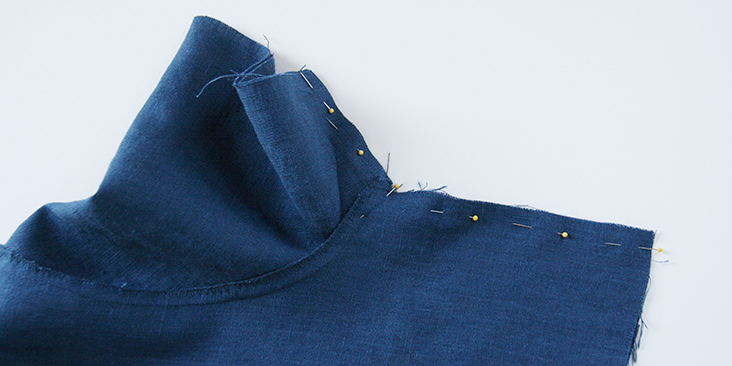
19. Sew the pinned edges all in one seam at a 3/8” (1 cm) seam allowance. Finish the raw edges with a serger or a zigzag stitch and press the seams flat folding the serged/zigzagged edges towards the back of your dress.
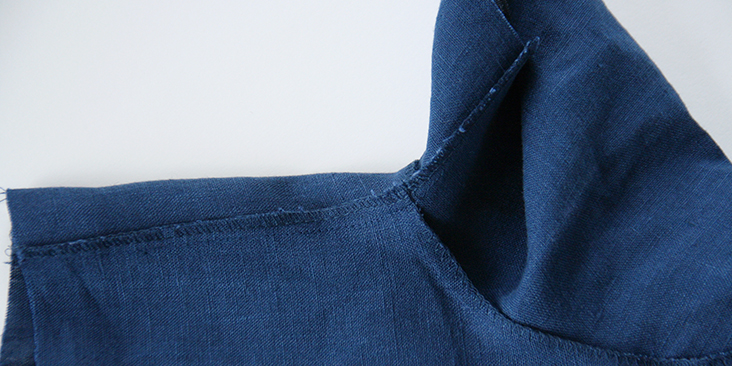
20. Finish the sleeve openings with a simple rolled hem. Fold the raw edge first 3/8″ (1 cm) to the wrong side, then another 1/2″ (1.3 cm) and press. Pin the fold.
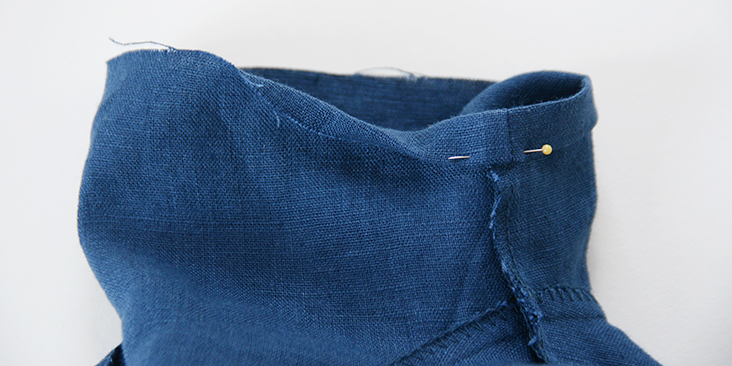
21. Working from the wrong side, topstitch as close to the inner fold as possible. Remember to backstitch and press the seams when you’re done.
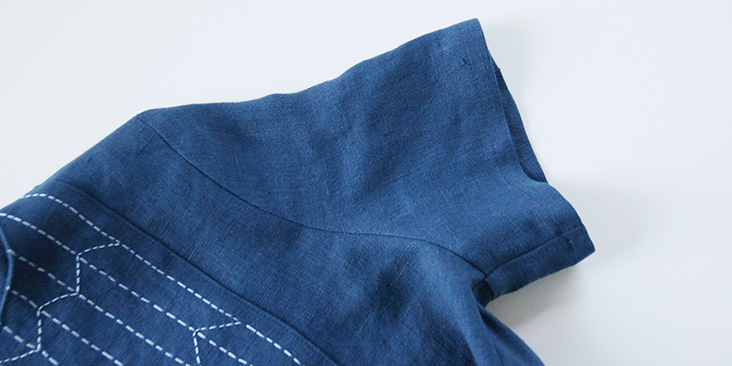
With your bodice now complete, it’s time to assemble the skirt.
22. There are four skirt panels: two rectangular center front and back panels and two trapezoid side panels. Pin them right sides together to form the skirt.
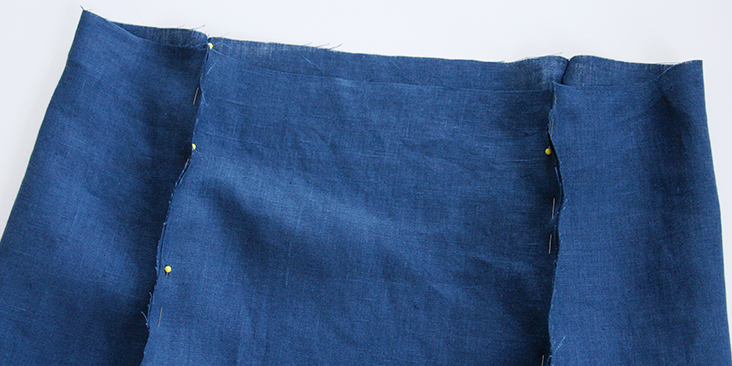
To make sure that the skirt fits the bodice, measure the bodice opening with your measuring tape and match it with the skirt waist. Adjust the pins if needed.
23. Sew the pinned edges at a 3/8″ (1 cm) seam allowance. Finish the raw edges with a serger or a zigzag stitch and press the seams flat folding the serged/zigzagged edges towards the sides of your skirt.
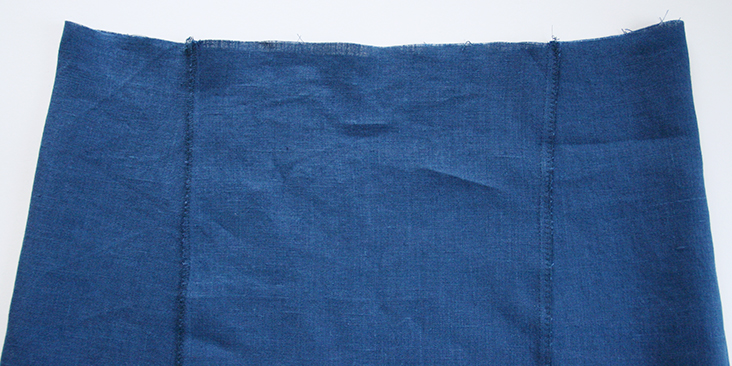
24. Finish the bottom hem with a rolled hem: fold the raw edge first 3/8″ (1 cm) to the wrong side, then another 1/2″ (1.3 cm) and press. Pin the fold.
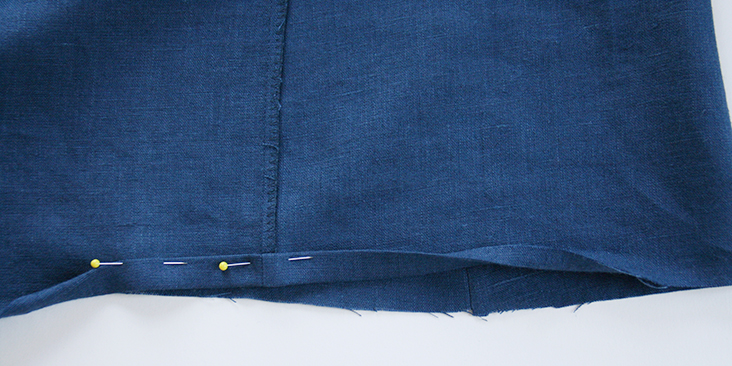
25. Working from the wrong side, topstitch as close to the inner fold as possible. Remember to backstitch and press the seam when you’re done.
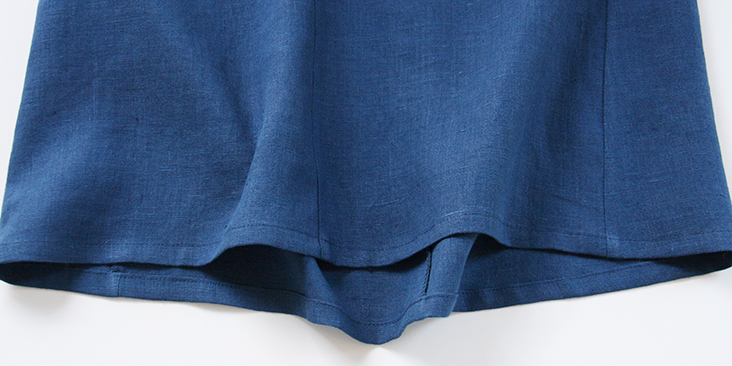
26. Attach the skirt to the bodice by pinning both pieces right sides together at the waist. Make sure you match the bib/center panels seams.
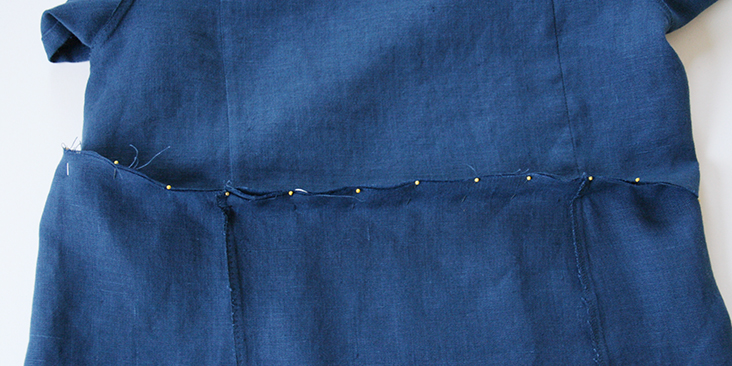
27. Sew the pinned edges at a 3/8″ (1 cm) seam allowance and then finish them with a serger or a zigzag stitch. Press the seam flat folding the serged/zigzagged edges towards the skirt.
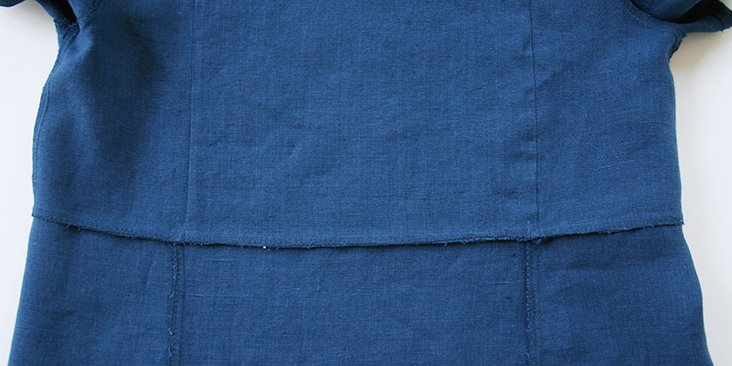
28. Give your finished dress one last press and you are all done!











9 Comments
Paula Nascimento
Wonderful tutorial, thanks here from Brazil!
Anastasiya
I absolutely love classic sashiko, and the dress is lovely.
I wish I could do (make up dress designs) like you do, you are very talented.
dolly
I love this idea. And I was thinking to adjust this into a top or tunic. Does the template for the sashiko fit this pattern piece or was it adjusted and lengthened? And the pattern sizes are confusing. Is it only 1 pattern size-6-10? In which case it will not fit…
Rima Khusainova
Dear Dolly, glad to hear that you liked the pattern and it would work great as a tunic as well. The sashiko template is not adjusted specifically to this pattern. What you should do, is print a few templates, then tape them together and cut to the size of your bib pattern.
Dianne
Is there a version of this pattern that can accommodate a bust? I realize I can use a sashiko pattern that incorporates curves and/or circles in order to look right, but the flat construction of this pattern would never hang right. Is there a version with side front panels that are shaped or have darts?
I’ve been wanting to do something with sashiko for a while and the only thing I’ve found that might work is a kimono style jacket. I’d love to have a dress.
Rima Khusainova
Diare Dianne, this pattern doesn’t have bust darts we are offering a very detailed Full Bust Adjustment tutorial to accommodate your curves that can be found here – https://blog.fabrics-store.com/2017/01/10/sewing-glossary-full-bust-adjustment-tutorial/. What you can do is to work with the bodice pattern to create bust darts and then adjust the bib accordingly.
Shae
Oh my I am so in love with this! The tunic I submitted in the current contest has sashiko embroidered cuffs. I can see this with color blocked linen and the embroidery done in a contrast color…
Rima Khusainova
Dear Shae! So happy to hear that you liked the tutorial. I just love your idea about color blocking and contrast embroidery! If you ever decide to make it, please share with us your pics, we’d love to see what you’d make of it.
Lorraine
Shae, you’re right. I see this in black linen, bright pink inset in the front, with either black or bright orange embroidery. Thanks for the idea.