Sewing Glossary: How To Draft And Sew Gathered Sleeves Tutorial
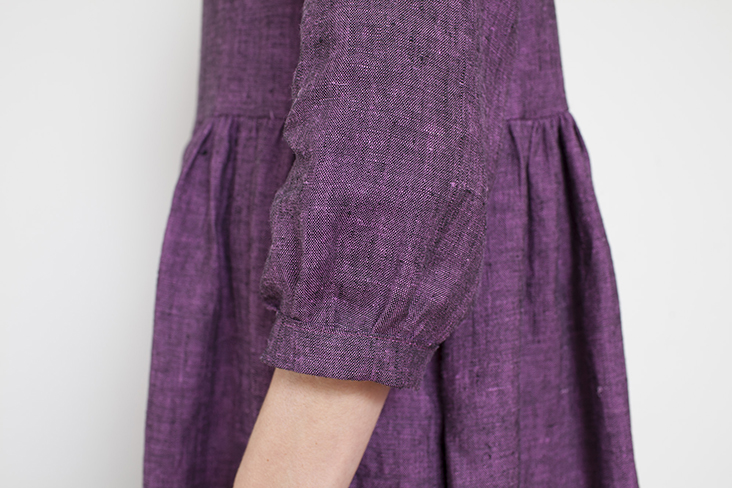
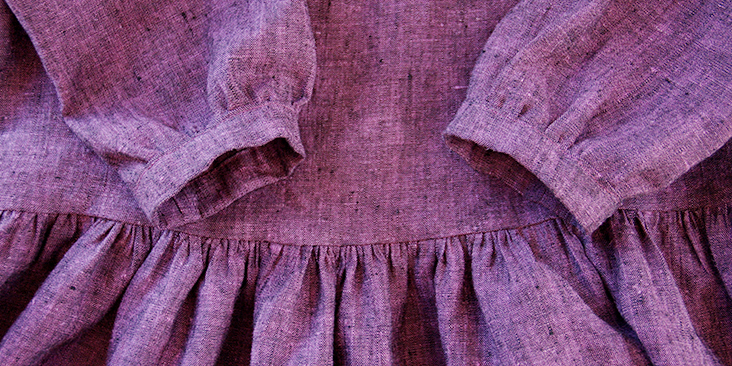
One of the easiest ways to play around with your favorite patterns is by altering the sleeves. There are several possible sleeve variations and today we are going to show you how to add fullness to a standard set-in sleeve and transform it into a gathered sleeve. You’ll see that after changing the design a little, you can make your entire dress or blouse look completely different and recycle your favorite patterns to create something new and unique.
Materials
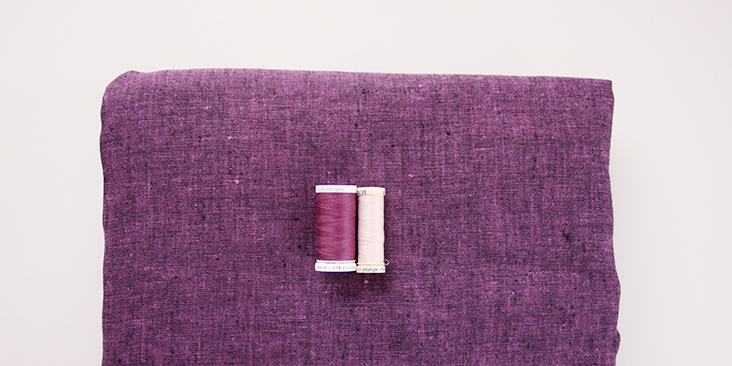
Fabric of your choice (we are using our IL051 884 Softened Medium Weight Linen)
Matching sewing thread, contrasting sewing thread for gathering
Tools
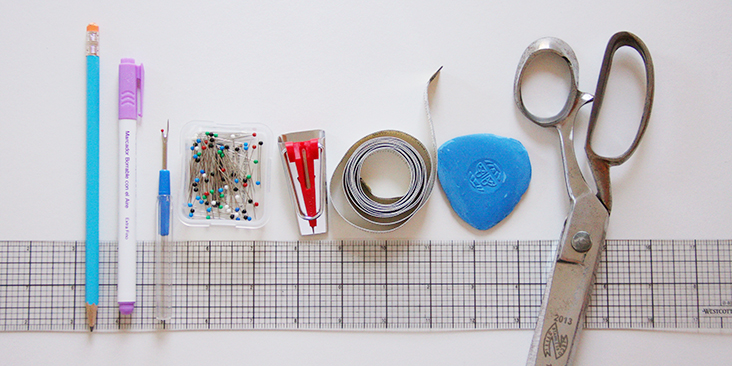
Pattern paper, scissors, ruler, pins, chalk, pen, fabric marker, measuring tape, bias tape maker, sewing machine
Difficulty
Beginner
Time
1/2 hour
Pattern
Drafting your own gathered sleeve is very easy. What you’ll need is your existing straight sleeve pattern piece, some paper, a pen and a pair of scissors.
1. Trace the sleeve pattern onto a new sheet of paper transferring any markings (like notches or shoulder points).
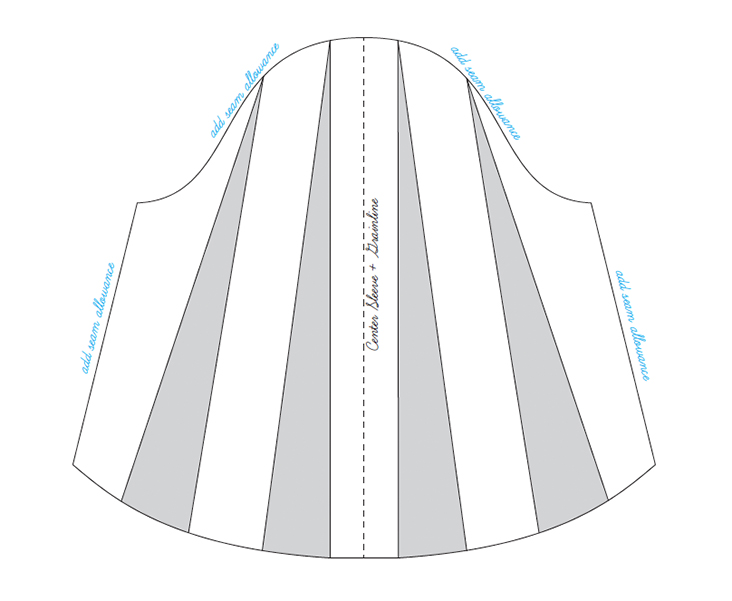
2. Draw 4 vertical lines dividing your new sleeve shape into 5 equal sections.
3. Starting at the bottom of your sleeve, cut along these lines but stop a few millimeters before reaching the top.
Note that if you cut from the top downwards, you’ll actually get another type of sleeve called a “puff sleeve”. Another great sleeve variation that we’ll show you how to sew in a separate tutorial.
4. Spread the bottom to the desired width distributing the space between the slashes evenly. Then glue or tape it to a new sheet of paper and trace again.
The spreading width depends on how full you want your sleeve to be and is totally up to you. The gathering ratio is generally 2:1 so if your sleeve opening is 10” (25 cm), spread it to 20” (50 cm) leaving 2,5” (6,5 cm) gaps between your slashes.
5. Add your usual seam allowance (we use 3/8” (1 cm)) around all edges except the bottom hem (since it’ll be finished with a cuff), transfer any markings and cut your pattern piece out.
Here’s what your pattern should look like:
Now that you have drafted your sleeve pattern, the rest is easy.
Steps
Note: Prewash your fabric and tumble dry it until it is still slightly moist, let this dry at room temperature. Iron the fabric so it is easier to work with.
At this point, your sleeve should be already attached to the garment and closed up at the sides to form a tube. Follow the instructions in your pattern to attach the sleeve.
Since you’ll be gathering the sleeve to the length of the cuff, you need to draft and sew the cuff band first.
1. To make the cuff band, measure the circumference of your arm at the spot where the sleeve will end and add 1″ (2,5 cm) ease. Draw a rectangle to the length and the width of your finished cuff (multiplied by 2 since you’ll be folding it in half), add your usual seam allowance (we use 3/8” (1 cm)) around all cut two pieces from fabric. Make the second cuff.
Note that you can simply use a double fold bias tape instead.
2. Press up the long seam allowances 3/8” (1 cm) (or whatever seam allowance you’ve added) to the wrong side. Fold in half and press to mark the fold.
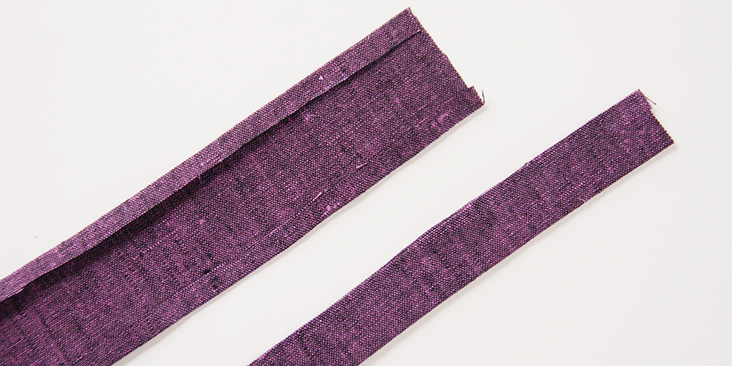
3. Unfold the cuff fabric and pin two short edges right sides together. Then sew at your usual seam allowance (we use 3/8” (1 cm)).
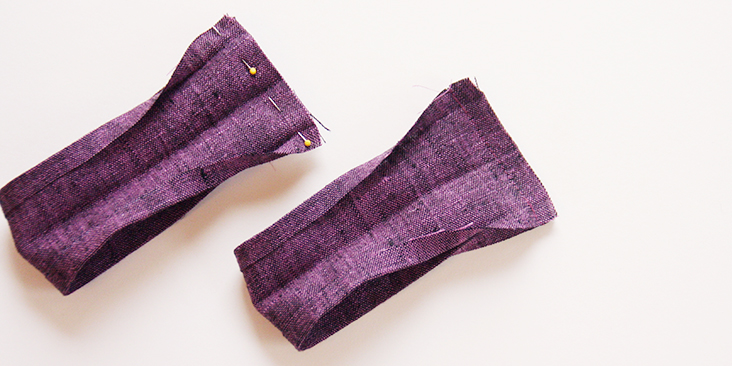
4. Press the seam open, refold the cuff in half and press again.
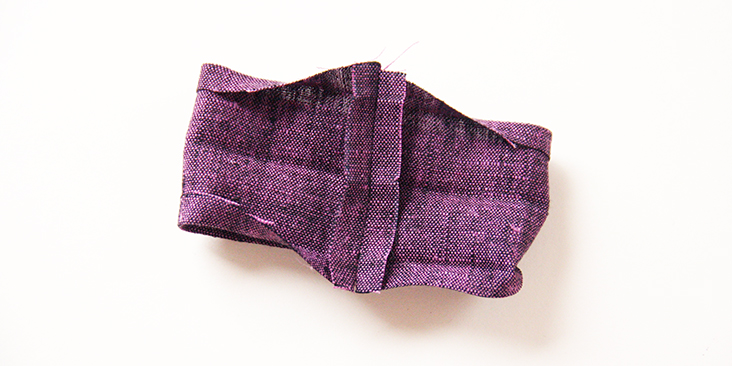
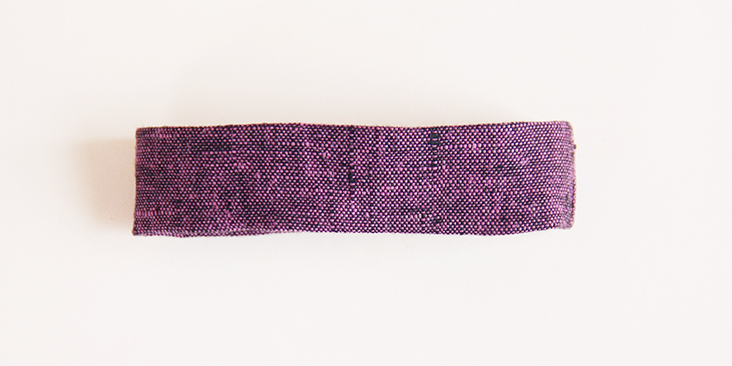
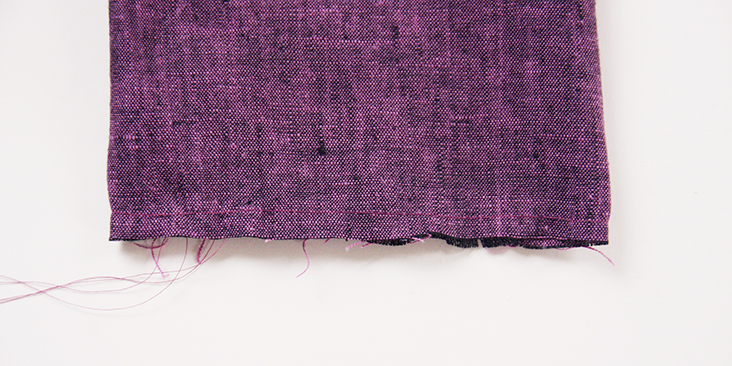
5. Gather the sleeve opening to the width of your finished cuff. We have a great tutorial HERE that explains in detail how to do it. Set your machine to the longest straight stitch and use contrasting thread.
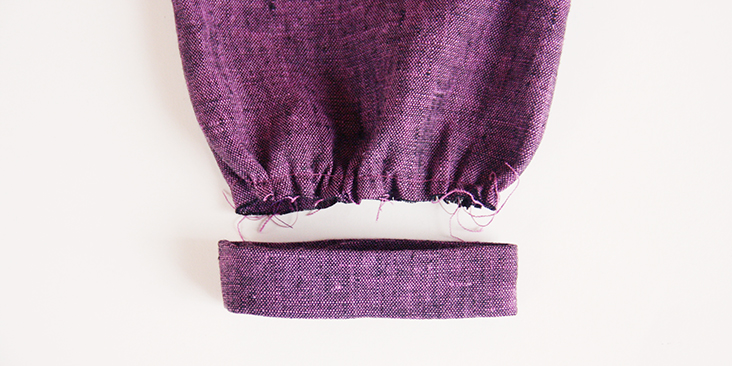
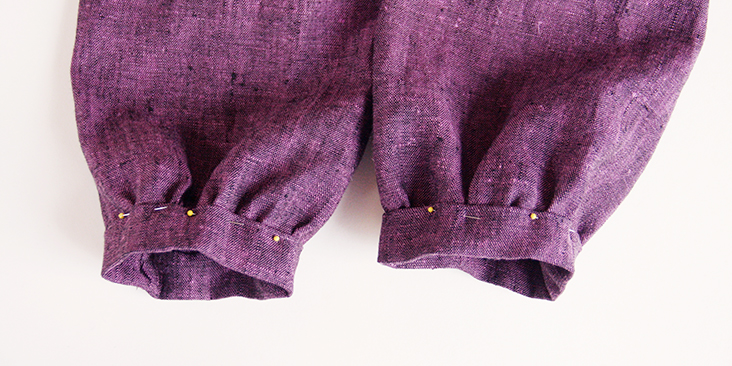
6. Slip your gathered sleeve 3/8” (1 cm) into the cuff band and pin all the layers together distributing the gathers evenly. Make sure that your sleeve and cuff seams are matched up.
7. Working from the right side, topstitch the cuff in place as close to the edge as possible.
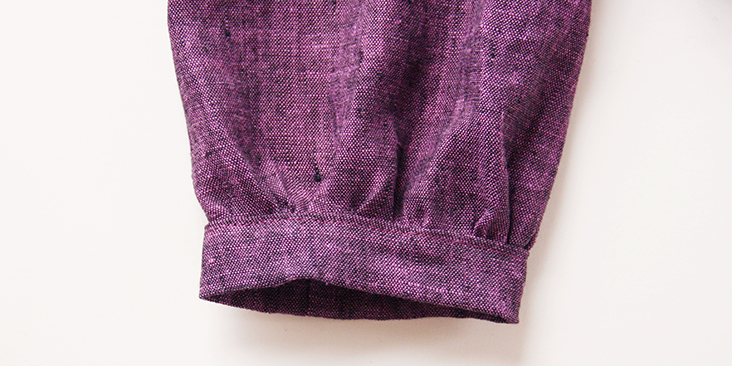
Et voila! Such a fun way to play around with your existing patterns and create something totally unique.
Want to practice your new skill? In our next tutorial, we are going to show you how to sew a gathered dress with back ties and gathered sleeves!








6 Comments
Judy
I just love your site! It is so very well done and easy to follow but most of all I love your bohemian styles and free patterns. I can spend my money on the fabric without having to pay out $20-30 on a pattern. Please keep the great pattern ideas coming for your linens.
Rima Khusainova
Dear Judy, thank you so much for your kind words! We are so happy and touched to hear that you appreciate what we’re doing. Thank you!
Rebekah Leib
This is really useful! Thank you for posting it & putting it in the newsletter! 😀
Rima Khusainova
You are most welcome Rebekah!
Sibley
Wow! Now can we have pattern for the dress as well? Pleaseee?? 🙂
Rima Khusainova
Sure! We’ll post it in our next tutorial early next week 🙂