One Yard Sewing Project: Linen Apron Tank Top Tutorial
The ultimate season-less top, this linen apron tank can be worn all summer long and layered over for the colder months. It is also one of those great one yard sewing projects that will take only a couple of hours of your time and would make a good addition to your wardrobe.
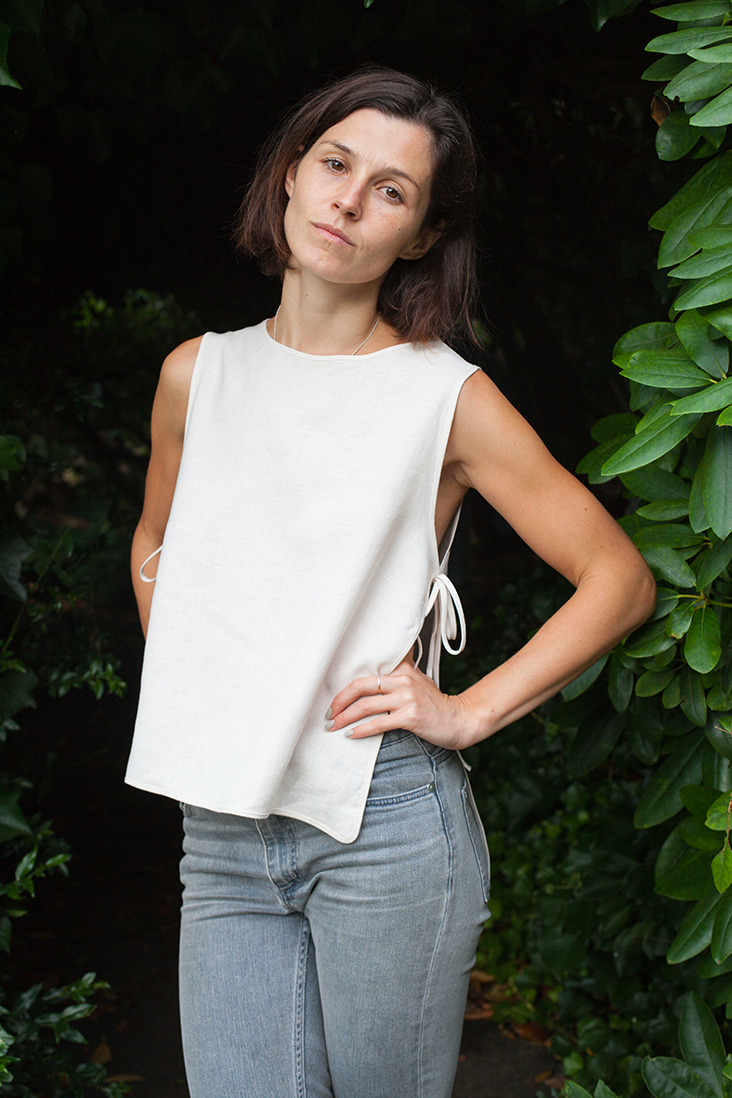
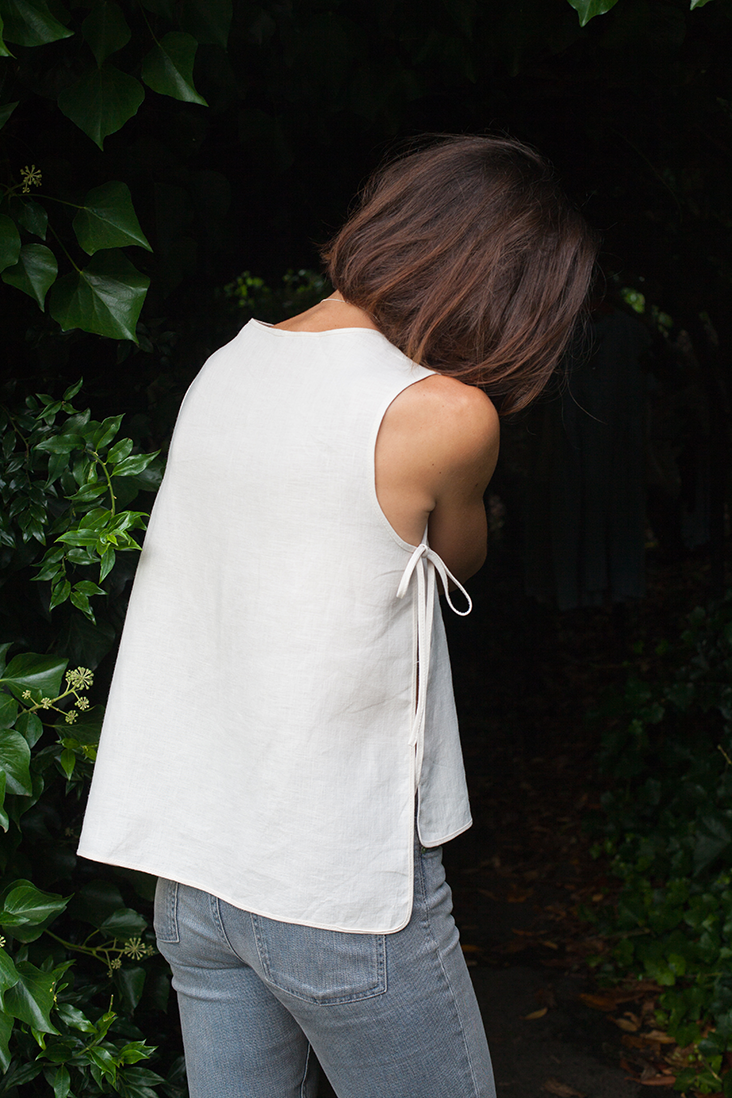
This minimal apron tank features a flattering round neckline, deep side slits, low armholes and a high-low hem, all in soft and creamy lightweight linen.
Wear it on bare skin if you dare, or layered over a turtleneck, shirt or even a dress! It also looks great with high-waisted jeans or pants.
Materials
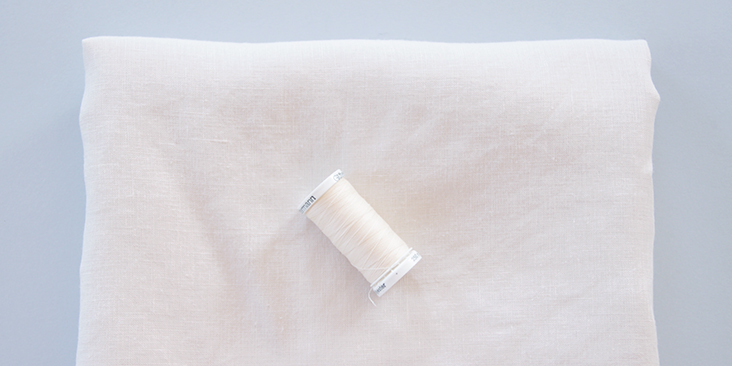
1 yard of 1C64 WHITE SAND Softened 100% Linen
Matching sewing thread
Tools
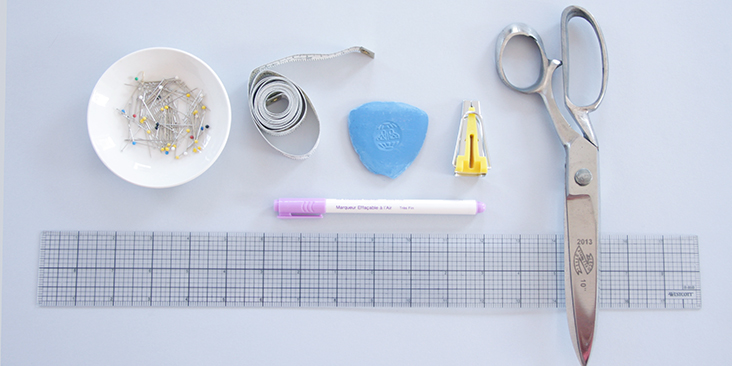
Scissors, ruler, pins, fabric marker, 12mm bias tape maker, measuring tape, sewing machine
Time
1-2 hours
Difficulty
Beginner
Pattern
You can access the pattern by following this link HERE. Remember to add seam allowances as indicated in the pattern.
Note that you’ll also need to make some bias tape for the neckline and the entire back and front side & bottom openings as well as for the armholes (including the ties). For detailed instructions on how to cut and make your bias tape please follow this tutorial.
The diagram shows the pattern for sizes XS to M. If you need help grading your pattern, please follow this tutorial.
Steps
Note: Prewash your fabric and tumble dry it until it is still slightly moist, dry in room temperature. Iron the fabric so it is easier to work with.
1. Let’s start by making the bias tape. Cut 4 pretty long and continuous strips of fabric for the armholes+ties and the front and back side+hem openings. Cut a shorter strip for the neckline. Follow this detailed tutorial that explains how to cut the fabric on bias and use your bias tape maker to make your own bias tape.
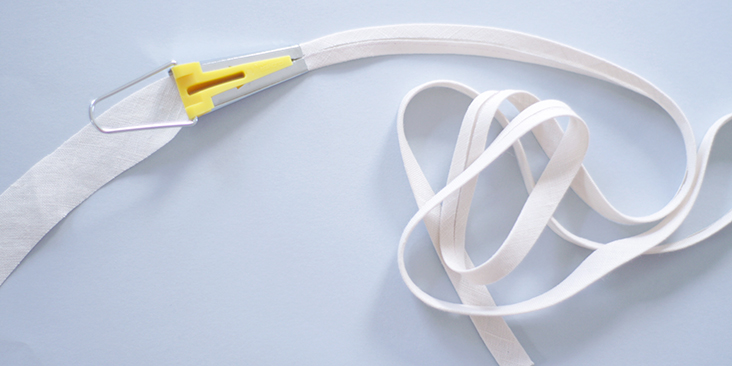
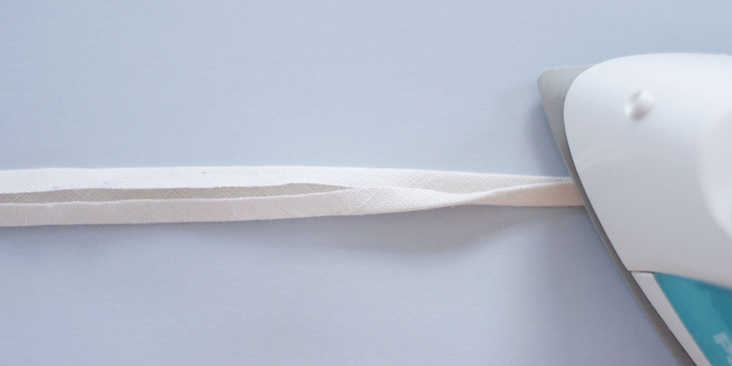
2. Fold your bias tape in half lengthwise and press.
3. Now pin your shoulder seams right sides together.
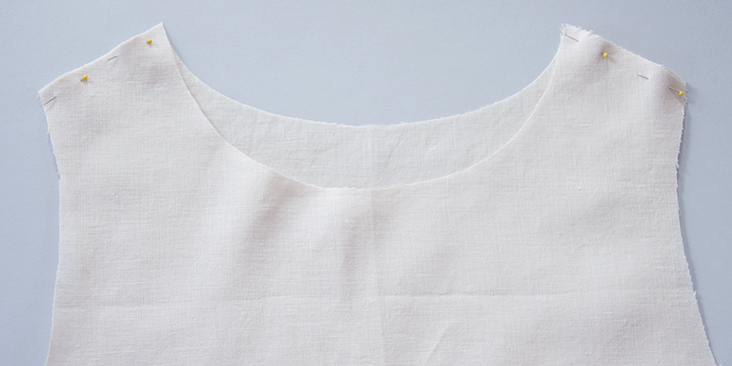
4. Sew at a 3/8” (1 cm) seam allowance.
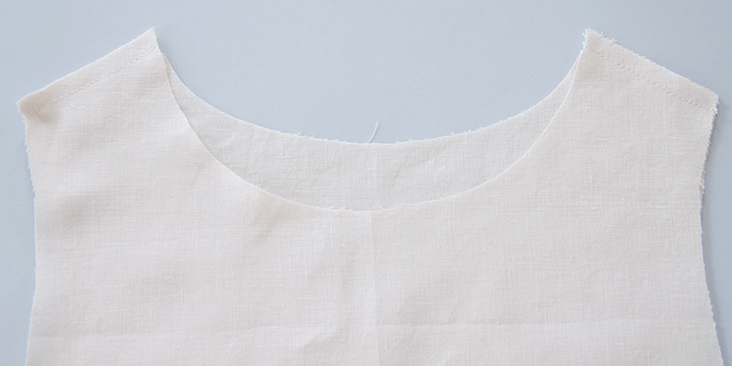
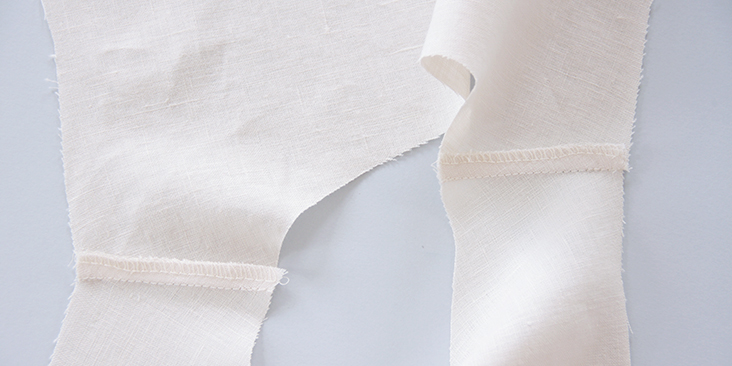
5. Serge or zigzag the raw edges together to prevent the fabric from fraying.
6. Press the serged/zigzagged seam allowances up towards the back of your tank.
7. Turn your top right side out and pin the bias tape around the neckline. Use plenty of pins to get the band seated in the neckline as much as possible.
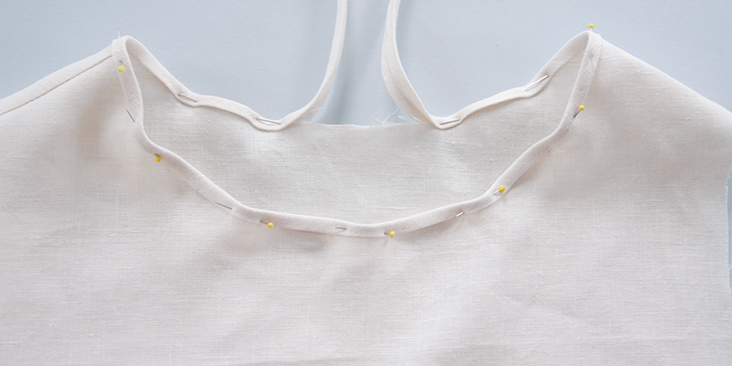
Make sure the neckline edge is inserted all the way into the crease of the tape and that the bias tape is not too loose nor too tight. Otherwise, your finished neckline might gape at the shoulders. Leave 1.15 inch (3cm) of tail unpinned at the back.
8. With the wrong side of the tape facing outwards, pin the tails together. Stitch along the line where the tails meet in order to create a circle. Trim away any excess fabric and press the seam open.
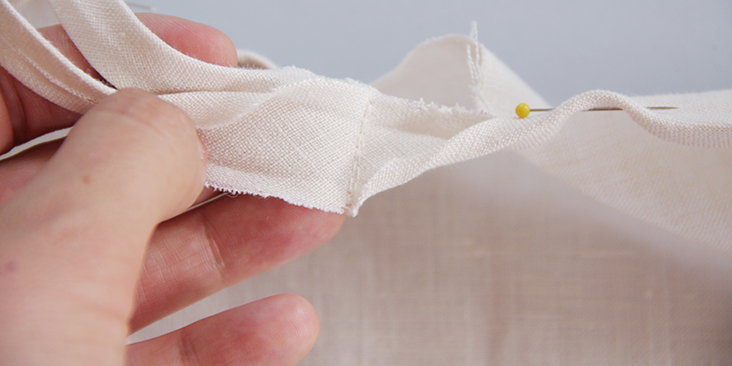
9. Refold the tape onto its right side and pin onto the remaining hem. Topstitch the tape in place through all the layers (starting and ending at the center back) and give it a good press.
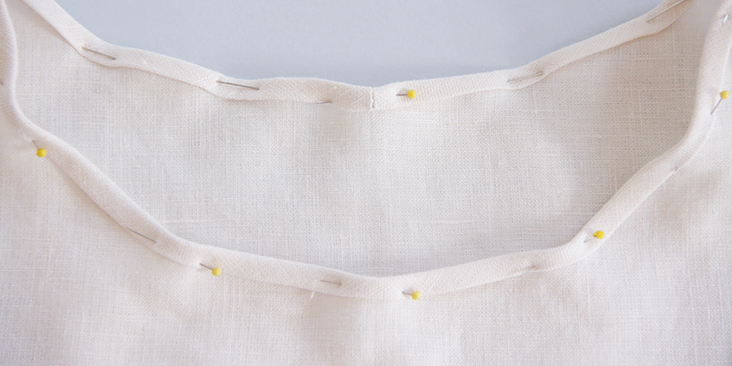
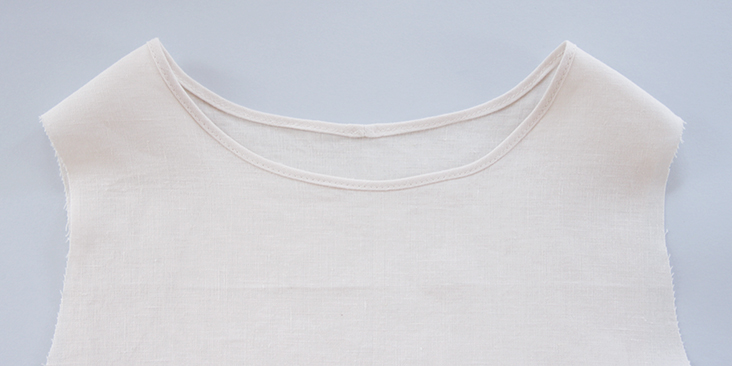
10. Now you need to attach the bias tape to the entire front opening (side and bottom edges). Working from the right side of your garment, pin the bias tape to the tank’s front starting from the left underarm and finishing at the right underarm. Leave 1” (2,5 cm) tails at both ends.
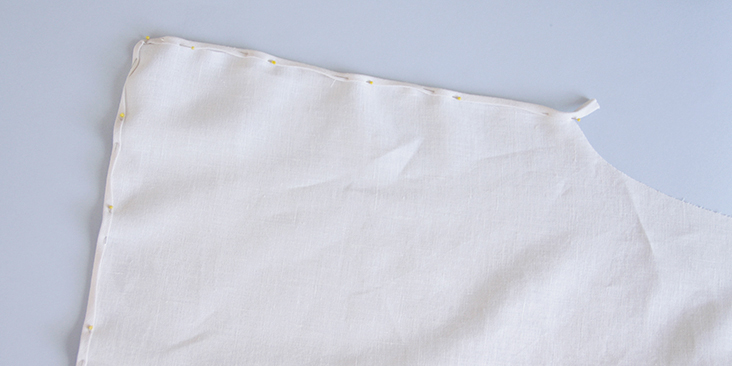
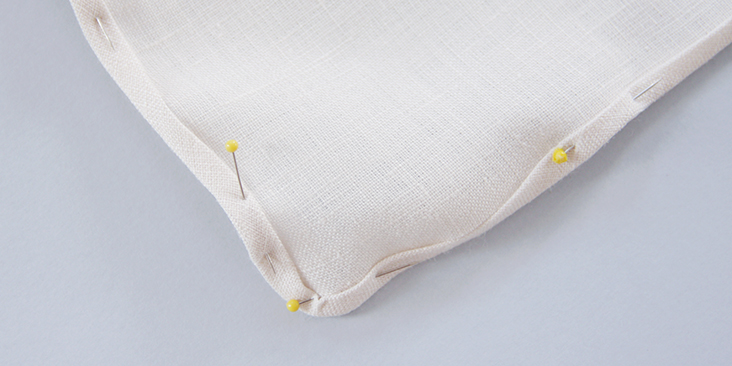
11. Topstitch the tape in place through all the layers and trim the excess fabric. Don’t worry about tape’s raw edges, they will later be enclosed under the armhole binding.
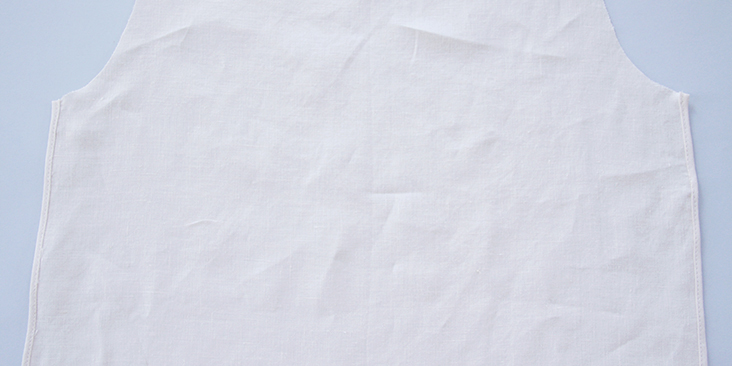
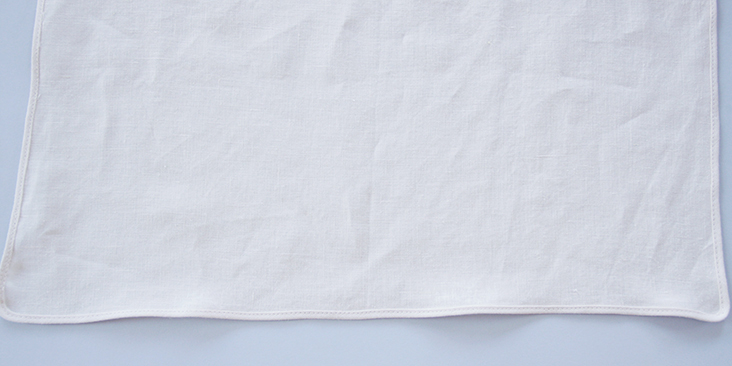
12. Repeat for the back piece.
13. Finally, you can bind the armholes and create the ties using a long strip of bias tape. Fold your strip in half and pin the tape all around the armhole opening starting at the shoulder point. Don’t trim the long tails, they will later become your ties.
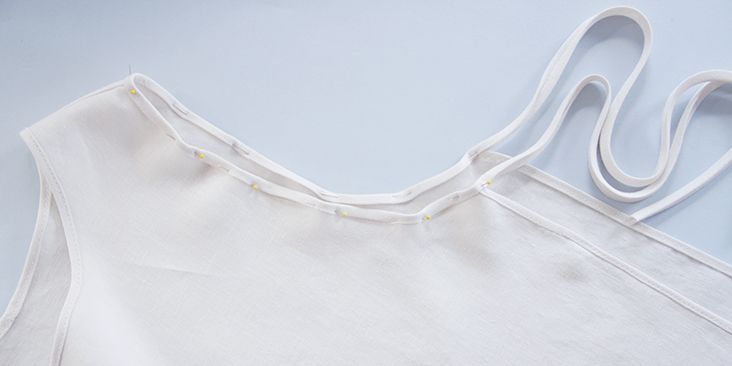
The length of the ties is really up to you. Ours are 18” (46 cm) long.
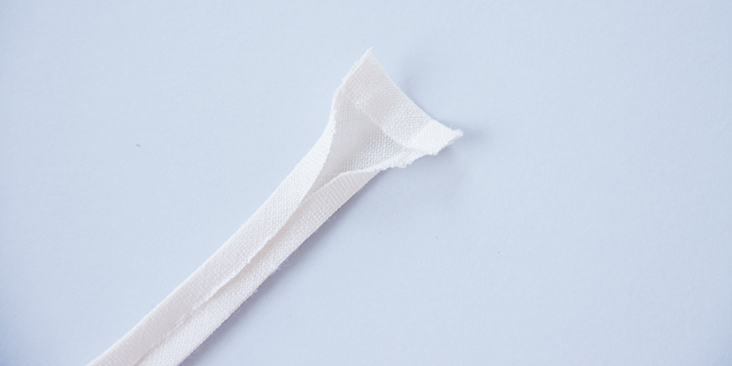
14. Fold one of the ends towards the inside as shown in the picture below:
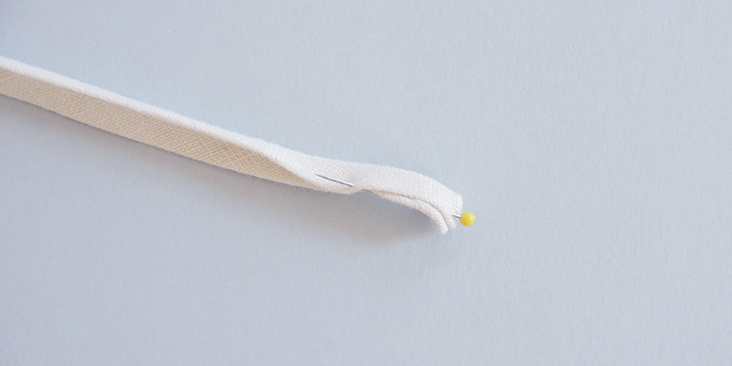
Now fold your end in half lengthwise in the continuity of the bias tape and pin.
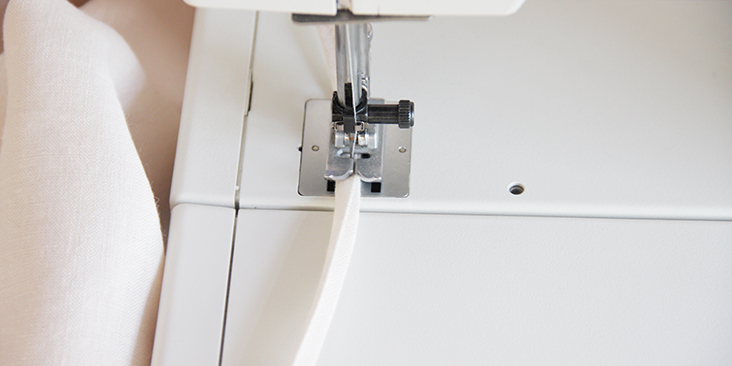
15. Start edgestitching the tie from the folded end and all the way around the armhole until you reach the other end. Repeat step 15 and stitch the other end.
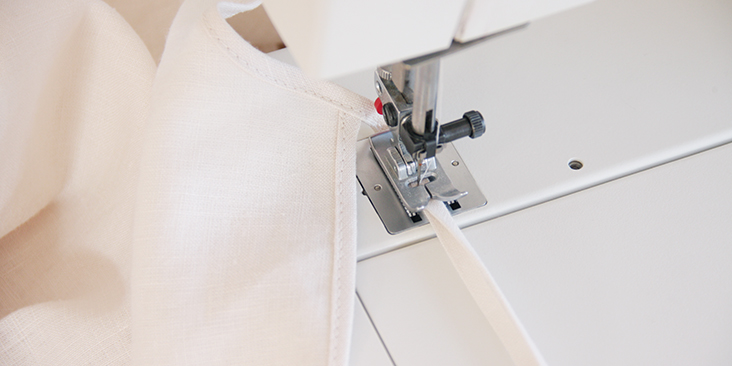
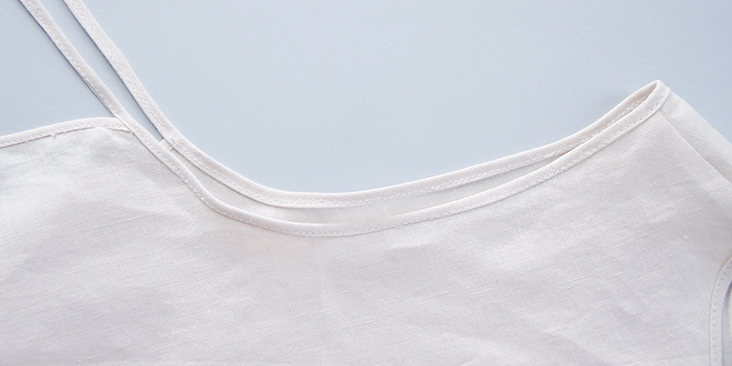
16. Repeat for the other armhole and don’t forget to press when you are done.
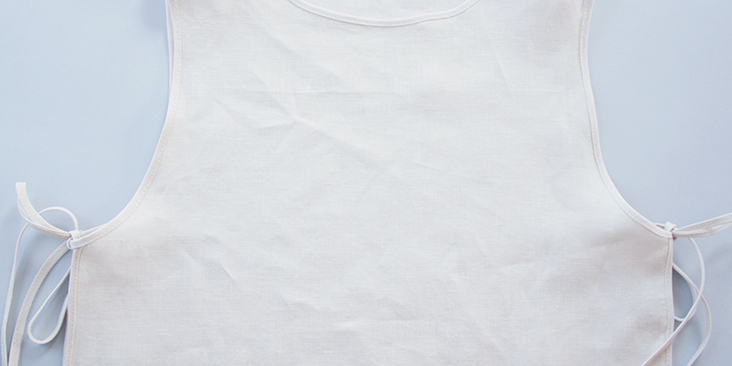
Et voila! A very easy sewing project that can be done in just a couple of hours!













29 Comments
Marlaina Quillin
Hi! I’m excited to try this pattern, but when I drafted the back piece with the shown measurements, the right side of the shoulder is too low. It seems like it should be about and inch and a half or two inches higher, is this correct? Thanks!
Stacy Pavey
Is this pattern not designed for home printing and assembly? The PDF is one large image, not tiled across multiple pages. Am I supposed to draft my own pattern based on this example?
Lauren Gates
Hello Stacey, yes this pattern is designed for you to draft your own based on the diagram provided 🙂
RP RP
Great design, I made a cropped version of this tank with contrast binding to wear over wide leg trousers. Its very chic! Thanks!
anina schwartz
Like many others I am definitely not a size 6! You said in 2016 that you were working on a multi-size PDF pattern. Did this ever happen?
Anina
Lauren Gates
Hello Anina, We developed a multi-size tank pattern which you can adjust to this style. here is the link:
https://fabrics-store.com/sewing-patterns/phoebe-linen-tank-pattern
We also make a tutorial for grading these pattern diagrams to your size. Here is the link to that tutorial: https://blog.fabrics-store.com/2015/06/01/how-to-grade-a-pattern-tutorial/
Sabrina Perez
Hi I am trying to download this pattern but it gives me an error page. Any suggestions? Thank you. Looking forward to making this as my first sewing project!
Maricel Marbus
Hello! Looks like the dropbox link has expired. Is it possible to get this pattern up again?
Thanks
Angela Pierce
Id like the pattern too please
Shari Berkowitz
Would still love to see this as a layered PDF with more sizes. Can I just use the larger sizes from the other tank as a jumping off point? I’m going to make it in this size for my daughter.
Anna Potter
Wahoo! I just made this. So cute! And my first time ever making, and using, bias tape. Thank you!
valerie dumont
i keep filling out login form for the down load patterns with no luck the form keeps coming up. please tell me what to do
looking forward to your reply.
valerie
Rima Khusainova
Dear Valerie, sorry to hear you are having trouble with the download. I just checked, everything works. What you need to do is to click on the download link in the pattern section that will take to the dropbox file (diagram with the measurements for US sizes 4-6). To download this diagram you need to click on the download button at the upper right corner. No login or password is needed. Hope this helps!
Amanda
Would definitely utilize this pattern if it is offered in larger sizes.
Pippa
What size does the original pattern reflect? In Australian size? Eg 8,10
Rima Khusainova
Dear Pippa, the model is size 4 and wearing a US size 6 tank (or Small). It’s Australian size 10.
Chih-Jung
Hi, I love this piece and am planning to make this for my mom. I have this pink satin but I’m not sure if it would work well. Is there other material other than linen that you would recommend?
Lee K.
Hi there! Love this pattern, but are the measurements on the pattern for the back piece correct? When I draft it out with the measurements given, it lays out incorrectly. Is there possibly an update in the measurements that I missed? (The front piece works fine. 🙂
Thanks!
Rima Khusainova
Hey Lee! Thanks so much for reaching out! I’ve just double checked the pattern and yes, everything seems correct. If you look at it closely, the back and the front piece have the same measurements at the shoulders, armholes, neckline etc. The only difference is that the back piece is longer ( you can see it in the photos) to create this low-high effect. If this doesn’t answer your question, could you please be more specific what exactly doesn’t work?
Gely Celaa
15 in + 8.5 – 1.25 = 22.25 in which is not the result of the 24in that the pattern says goes in the on fold part on the back piece.
Same happens in the front piece.
Denise Roche
This is great! I can think of a dozen ways to use it already. I would love to have it in a more reasonable size, though.
Chris
Yes, please. Resizing patterns is a bridge too far for many casual seamstresses and a large portion of today’s population wears clothing larger than a medium. 🙂
Pamela McCandless
Tried to access the pattern, just got a blank page. Is it because you are adding size grading for all of us who are not a tiny size?
Please let me know when the size grading has been added.
Thank you for the beautiful design inspiration and patterns.
Patti Teeters
I agree with @vickie teague-cooper. Body sizes are not all tiny stick people. The rest of us like beautiful things too. I am a large woman and get very frustrated trying to find patterns that will actually fit. I’m short too, which doesn’t help. 🙂
Masha Karpushina
Thank you Patti. We are working towards publishing multi-sized printable PDF Patterns for you, so please be patient with us, and if you are particularly keen on this project, please comment below so we have an idea which tutorials to prioritise. Thank you!
Vicki Teague-Cooper
I am very disappointed that this design is only for sizes 4-6! This is so frustrating for those of us who aren’t skeletal in body style!
Please be conscious of that in the future when sharing a pattern, and provide size options that more realistically reflect the majority of body styles out here!
Masha Karpushina
We are working towards publishing multi-sized printable PDF Patterns for you, so please be patient with us, and if you are particularly keen on this project, please comment below so we have an idea which tutorials to prioritise. Thank you!
Denise Reed
Hey this is an awesome design, I will make a few and layer each over the linen dresses made with your fabric.
Rima Khusainova
Hi Denise! Glad to hear you liked this design! It would look great over a dress!