Reversible V-Neck Linen Tank Top Tutorial
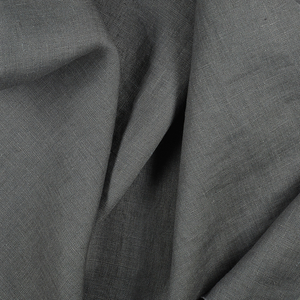
There’s no such thing as too many tops, right? We thought so! Here is another all-season favorite – a sleeveless V-neck tank with side slits. And the best thing is that it is fully reversible with completely enclosed seams. We went for an all-nude look (that’s how we love our beautiful lightweight IL020 NUDE Softened linen) but you can play around with colors and use a different fabric for the lining.
Materials
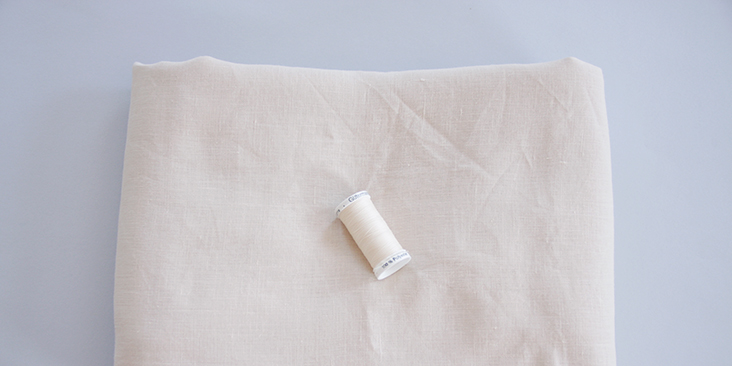
1.5 yards of IL020 NUDE Softened lightweight linen
Matching sewing thread
Tools
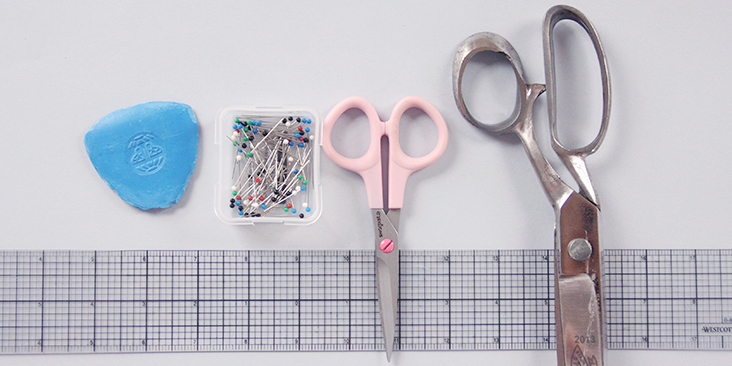
Pattern paper, scissors, pins, ruler, chalk, sewing machine
Time
2-3 hours
Difficulty
Beginner
Pattern
You can access the pattern by following this link HERE. Remember to add seam allowances as indicated in the pattern. The diagram shows the pattern for US size 6-8 (UK size 10-12). If you need help grading your pattern, please follow this tutorial.
Since the top is fully lined, you’ll need to cut 2 tank fronts and 2 tank backs on the fold – one for the outer fabric, and one for the lining.
Steps
Note: Prewash your fabric and tumble dry it until it is still slightly moist, dry in room temperature. Iron the fabric so it is easier to work with.
1. Let’s start by assembling the front pieces together. Pin the outer fabric and the lining right sides together (only the neckline edges and the armholes).
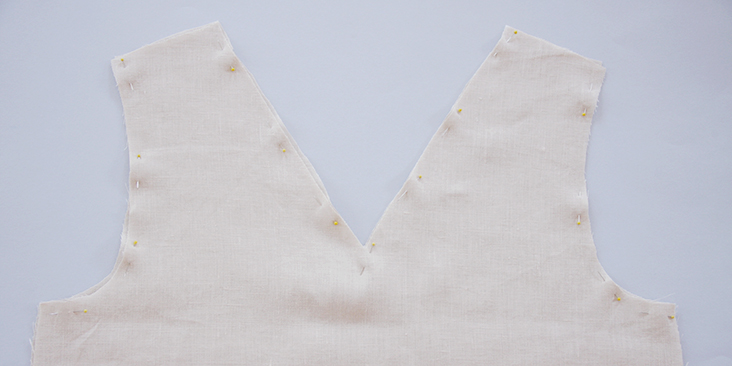
2. Sew the neckline and the armholes at a 3/8″ (1 cm) seam allowance. The shoulder, side and bottom seams are left unstitched.
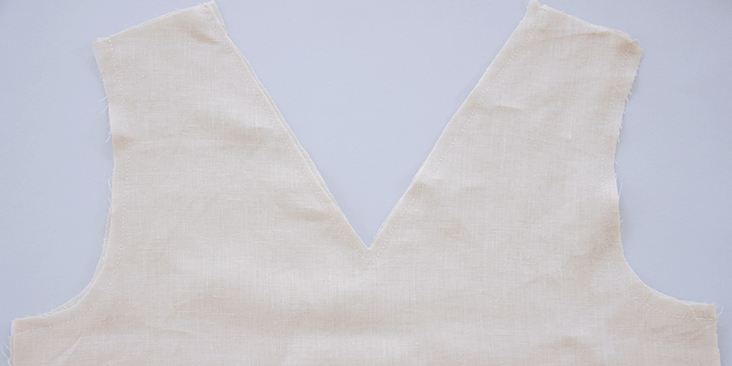
When you come to the neckline V, stop the machine with the needle still in the fabric, sew one or two stitches straight on and turn the fabric to sew the rest of the V. This will help you form a perfectly looking V-shape.
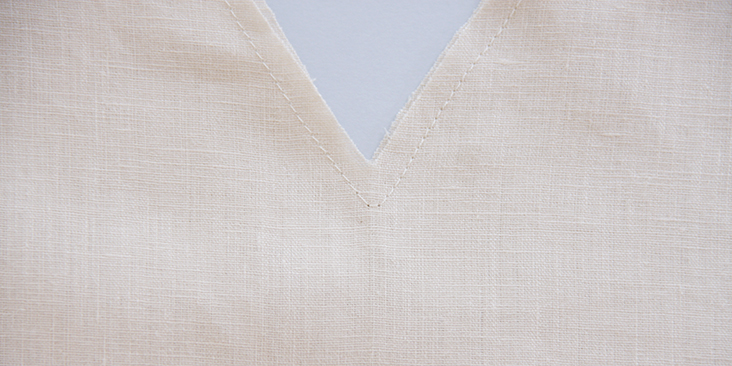
3. Repeat these steps for the two back pieces: pin the neckline and the armholes right sides together and stitch 3/8″ (1 cm) from the edge.
4. Trim the seam allowances to 1/4″ (6mm) and make a few notches to release the tension: clip to but not through the stitch line at the V-point and around the armhole curves. Press the seams open.
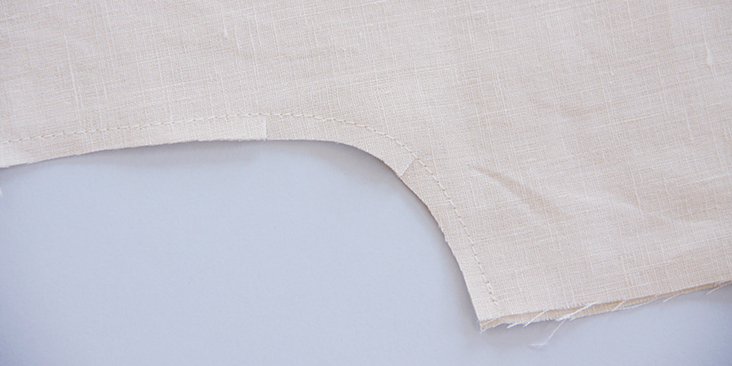
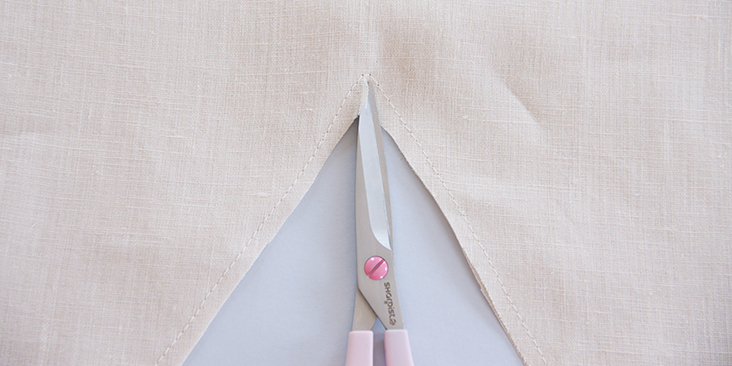
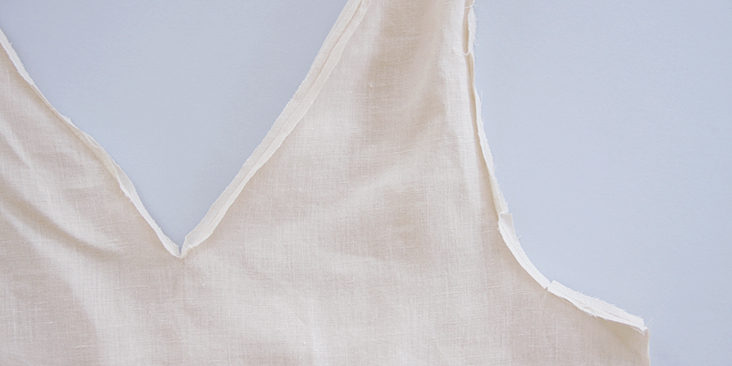
5. Turn your back piece right sides out and insert it into the front piece (wrong side out). Note how the right sides are touching.
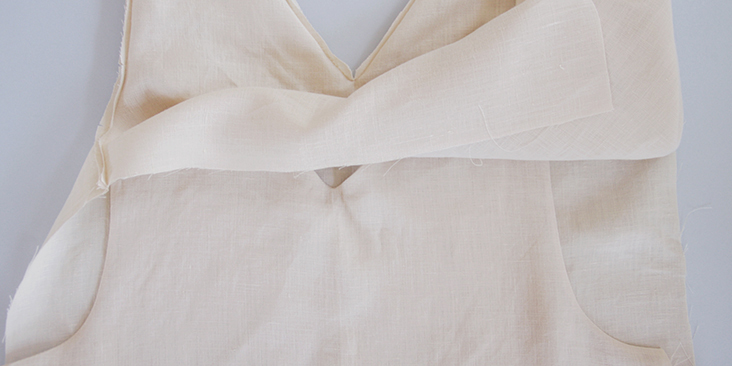
6. Pin the shoulders together (all four layers of fabric).
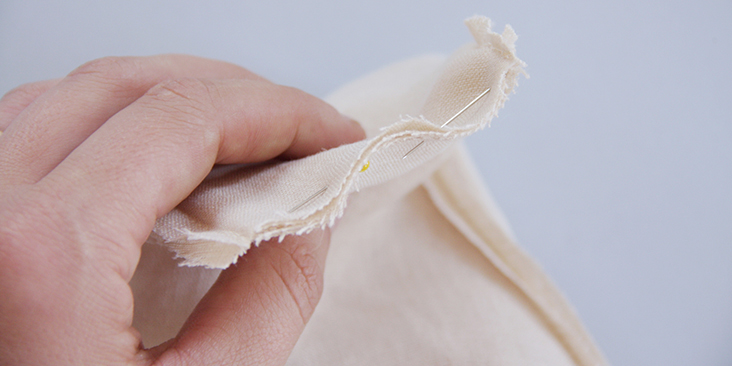
7. Stitch the shoulders together at 3/8″ (1 cm) and trim the seam allowance to 1/4″ (6 mm).
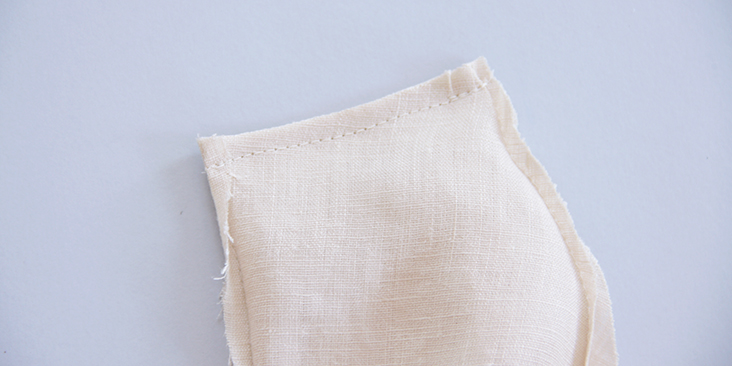
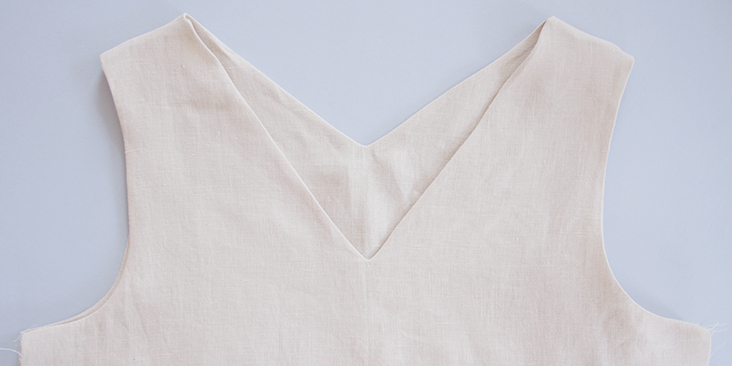
8. Turn the front piece right side out and discover your neat shoulder seams with no raw edges exposed as they are enclosed between the outer fabric and the lining. Press the seams flat.
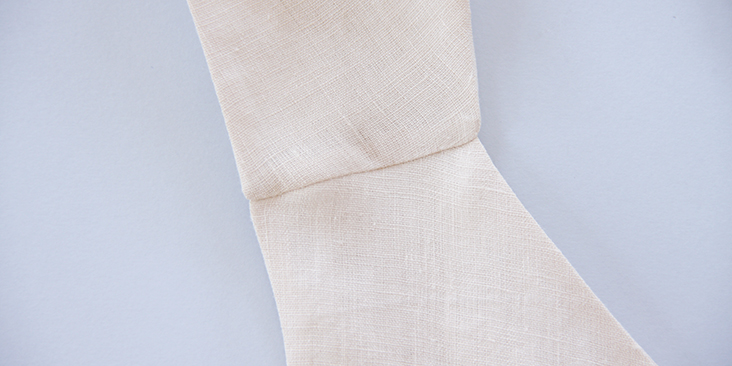
Here is what your neckline, armholes and shoulders look like at this point:
Now comes the tricky part – assemble the rest of the side seams and sew them together to enclose all the raw edges inside the outer fabric and the lining.
9. Turn your top wrong sides facing out and pin the side seams right sides together: lining to lining and main fabric to main fabric.
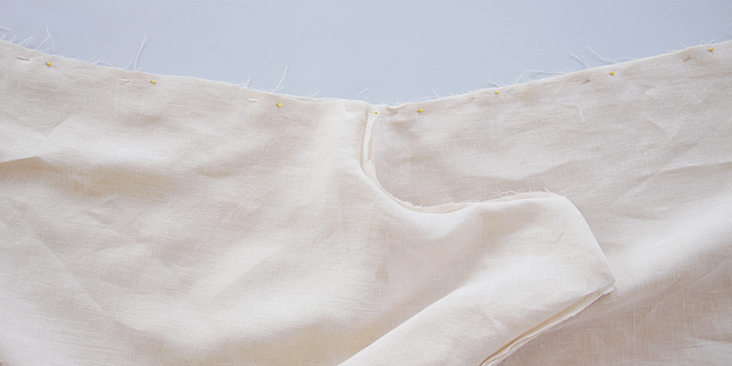
10. Once you’ve pinned the side seams, take your ruler and make a 5″ mark from the bottom hem – this will be the size of your side slit. Feel free to alter this measurement if you want a smaller/bigger slit.
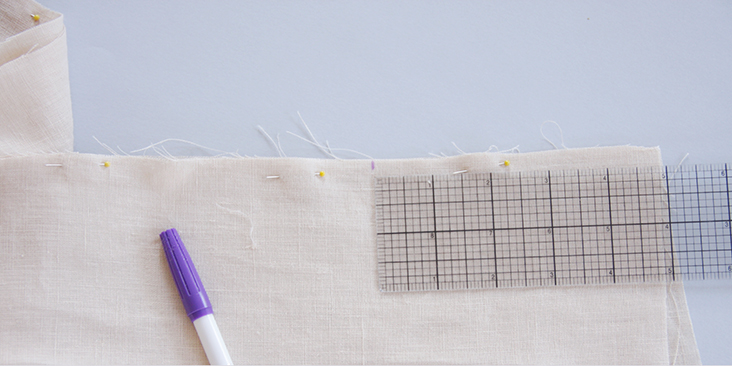
11. Stitch the sides seams together (but not the slits) at the usual 3/8″ seam allowance and then trim and press the seams open.
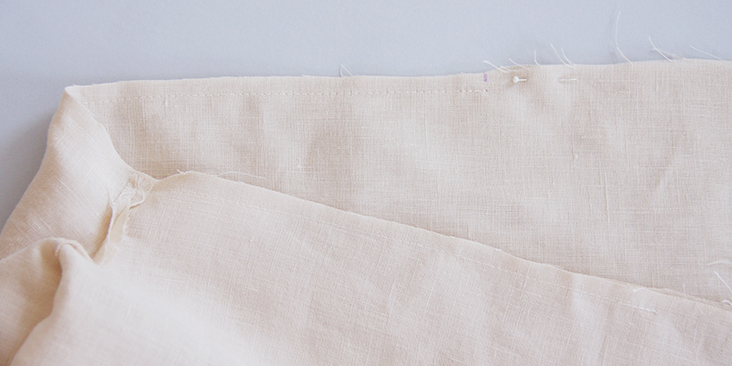
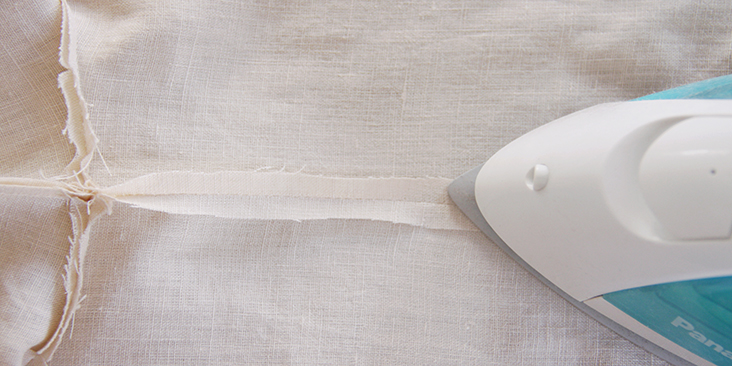
Here is what it should look like from the right side:
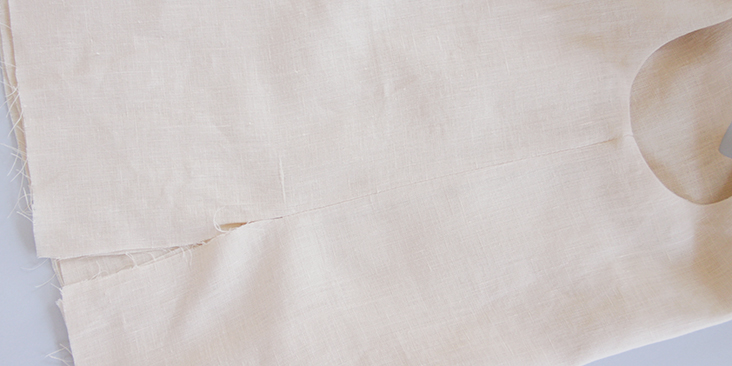
12. Turn your top wrong sides out and pin the slit+hem edges right sides together: front outer fabric to front lining and back outer fabric to back lining. It might be a bit hard to tell from the pictures what goes where so our advice is to turn the top right side out and check if everything fits as it should.
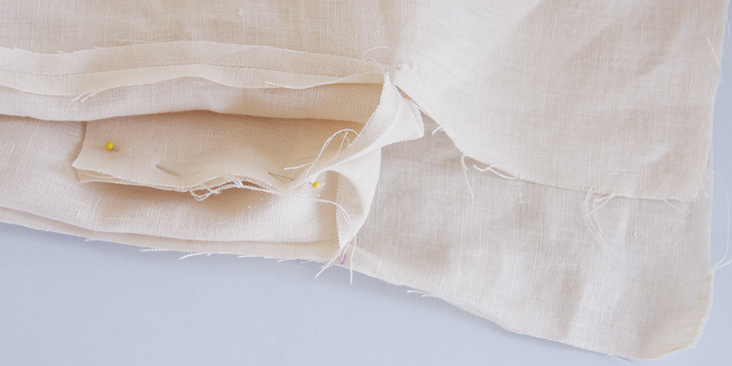
13. Once you’ve checked that everything is pinned correctly you can stitch along the edge at a 3/8″ (1 cm) seam allowance but leave a 4″ opening at one of the slits. We’ll later use that opening to pull the top right side out.
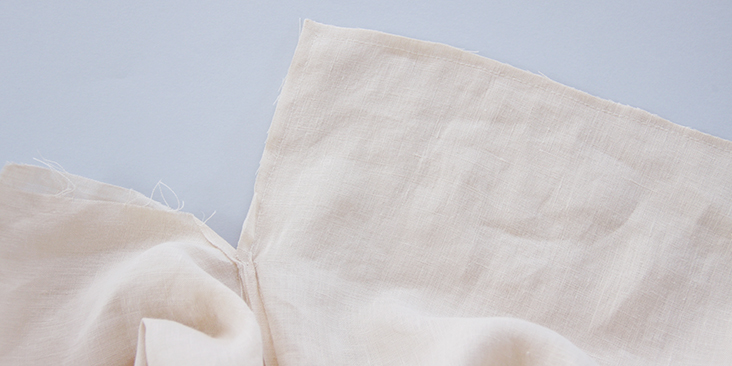
14. Trim and press the seam allowances open.
15. Pull the right side of the top out through the opening and press all the edges flat.
16. Tuck in and press the seam allowance of the opening. Pin.
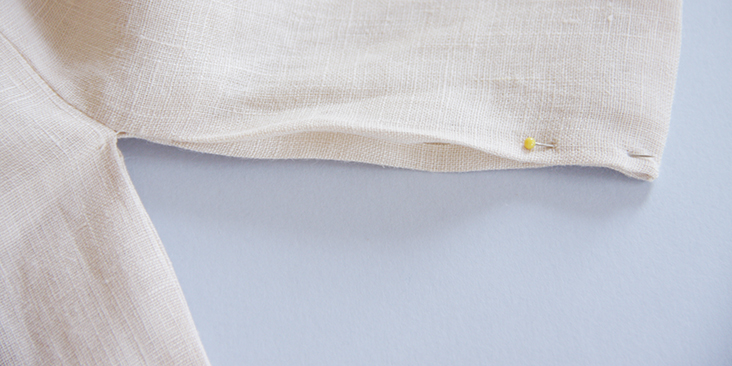
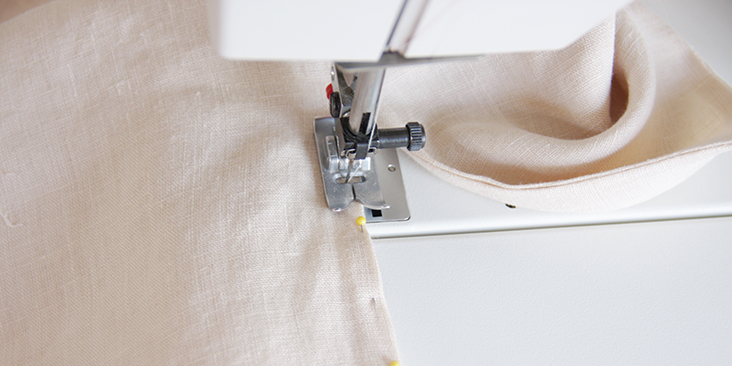
17. The last step is to topstitch around all edges (neckline, armholes, slits and bottom hem) to stabilize and keep them in place.
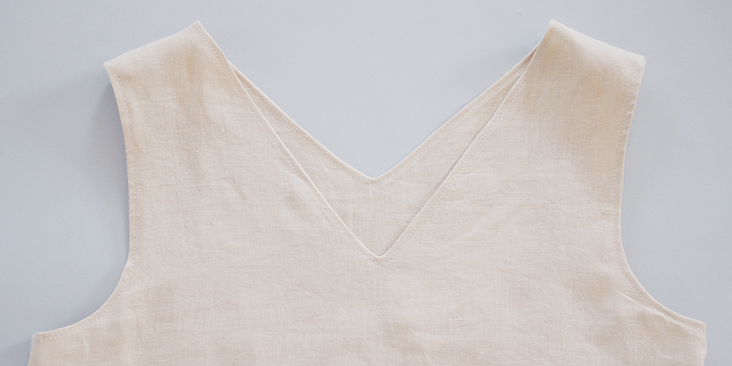
When you come to the opening, tuck in the raw edges inside and topstitch the gap.
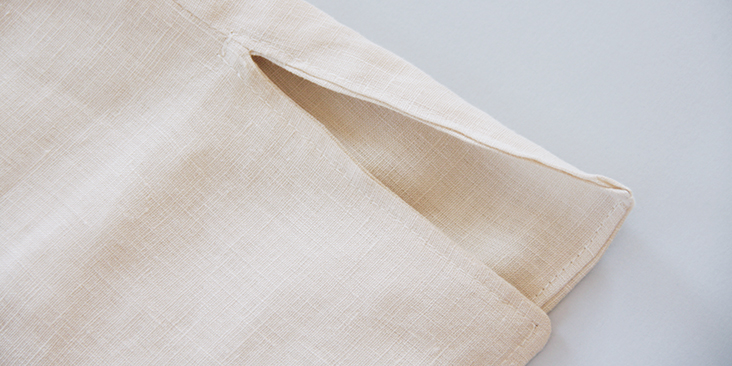
Give your finished tank a good press and you are all done!










26 Comments
Lucy Gale
Love the construction of this item but I noticed an error in the text body.
You’ve written “The diagram shows the pattern for US size 6-8 (UK size 10-12). ”
But on the pattern PDF it says “US size 4-6 (UK size 8-10)”
I didn’t notice that discrepancy and so I have ended up with an item much too small.
You may want to edit this so that others don’t make the same mistake.
Thanks!
Tisa Bush
Hi there, I just happened upon the reversible tank top pattern. However, I am unclear on how to retrieve the pdf. Could you please help me with that?
Thanks,
Tisa Bush
Lauren Linen
Hello Tisa,
this is one of our older free patterns which were only provided in the ‘draft yourself’ diagrams. For multi-size print at home pattern please see the patterns on our website here: https://fabrics-store.com/sewing-patterns?pattern=PDF
Pingback:
Reversible V-Neck Linen Tank Top Free Sewing PatternClaire Baertels
Hi Rima,
Thank you so much for this pattern and the instructions – I’m an absolute beginner and all of your blog posts are really great to follow and learn from as they include the little details important to the process.
However, I am completely stuck at Step 13 – it looks very counter-intuitive when pinned, but I went ahead and sewed it anyway, leaving one of the slits open and pulling the top out, but it only effectively turns one of the insides inside out, leaving the seams of the other side still on the outside..
Some more info on how to nail this step would be super appreciated – I really love this top!
Thanks in advance 🙂
Emily Berry
Hi there! The link for the pattern seems to be broken. When clicked it sends you to a 404 error page on dropbox. If it would be possible to upload it again, I would love to make this top!
Masha Karpushina
Hi Emily, thank you for letting us know. All works now!
Bekah C
This was the first piece of clothing I’ve ever made! I learnt to sew when I was 10.
Printed the pattern, measured for correct scale, sewed it up… alas it’s too small for me 🙁
I’m a UK 8 / 10 so assumed it would fit.
So disappointed!
Bekah C
Do you have the pattern in larger sizes yet?
Thanks!
AJ
Size 4. Really? That’s a middle schooler size. Scaling up from that size to where I am will result in a pattern that will have all the wrong proportions. Just as much use to make it half size for a doll.
Laura Baldwin
For the life of me, I can’t seem to figure out how to turn the garment inside out, seam the bottom hem, leaving an opening and then turn it back right way out without ending up with a tangled mobius. Sooooooo frustrating. Have no clue what I’m doing wrong and can’t find any specific help about this.
Ann
Did you stitch both shoulder seams together – before the instructions tell you to stitch them? You have to read a lot between the lines as to how the shoulder assembly works. Her instructions are different from any lines tank i’ve ever made. Not better or worse, just different. I’d put money on it that this is where your problem lies.
Good luck!
Liz S
A different coloured lining would help us all with the construction, which has some very good tips.
Esther
Hi Rima! Thanks for the tutorial! I used this technique on a chiffon cocktail blouse and it worked wonderfully! It gave the top a very neat couture finish, and because the chiffon was a double layer, there was no lingerie show through. I cut the bottom of the blouse on the fold to avoid having a seam at the bottom, where a hem would usually be. Thank you for always giving great tips and tutorials.
Rima Khusainova
Hi Esther! Thank you so much for your kind words and I’m very happy I could be of any help! This technique works great with all lightweight fabrics so I’m sure your blouse turned out beautiful 🙂
Deborah
Pity it’s in such a small size, smaller than the average girl. I don’t have the time to do the gradings on a pattern to increase the size, would have loved to have given making it a go otherwise.
Rima Khusainova
Dear Deborah, I understand your frustration about the size and we are working on it! We’ve started publishing printable PDF patterns for our most popular tutorials so soon we should be able to satisfy your sewing needs 🙂
Mary Welch
You post a lot of good patterns. I really love the v-neck linen blouse, but I have yet to be able to print one of
your patterns. Is this real or just a tease?
Christine
Need some darts for larger busted ladies.
Ginger Penny
There are tutorials available to show you how to add a dart. It isn’t that hard but I don’t know if the reversibility of this garment would be affected by a dart. I am a 36 F cup so I feel your pain.
Ann
Yes! Please consider someone over an A cup when you draft the patterns.
Tanya
well, that looks a little confusing! V-necks have always been tricky for me. i plan on trying this top—i will most likely have to keep the computer monitor right next to the sewing machine on my sewing table to do so! very nice top—i really like having all the seams enclosed. thanks for tutorial.
HJ
I will freely admit to not being fond of many of the patterns you post, but this one is very nice- Thank you! Thank you for using a decent photo of the garment in your promotional email, I get frustrated with some of the lovely artistic photos that don’t show what the design actually is!
Rima Khusainova
Dear HJ, thanks a lot for your comment! Glad you enjoyed this pattern.
Katherine Hix
Gosh, I really like this!
Rima Khusainova
Thank you Katherine! Such a timeless design that we all should have in our wardrobes!