Linen Boxy Romper Tutorial
This week we thought we’d take this gorgeous striped linen from our Luxury Linen Collection and make with it something simple and playful like this boxy pull-on romper.
This vintage-inspired romper features subtle gathering at the waistline, interfaced neckline, button closure on the side and very useful inseam pockets. It is also a chic way to get dressed in under 60 seconds so you can spend more time doing things you love instead of wondering what to wear.
Materials
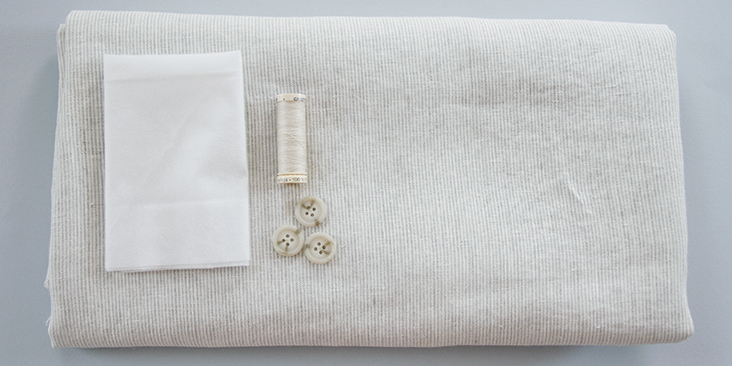
2 yards of IL042 889 FS Premier Finish Middle Weight 100% Linen
Matching sewing thread, fusible interfacing (medium weight), 3-4 large buttons
Tools
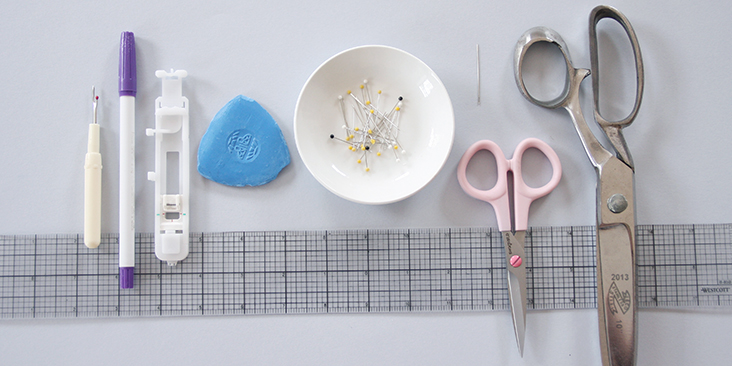
Pattern paper, scissors, fabric marker, pins, ruler, seam ripper, chalk, needle, buttonhole foot, sewing machine
Time
4-5 hours
Difficulty
Advanced Beginner
Pattern
You can access the dress pattern by following this link HERE and the printable pocket pattern can be found HERE. Remember to add seam allowances as indicated in the pattern.
The diagram shows the pattern for US size 6-8 (UK size 10-12). If you need help grading your pattern, please follow this tutorial.
Steps
Note: Prewash your fabric and tumble dry it until it is still slightly moist, dry in room temperature. Iron the fabric so it is easier to work with.
Let’s start by sewing the straps.
1. Fold your rectangles in half lengthwise right sides together and pin.
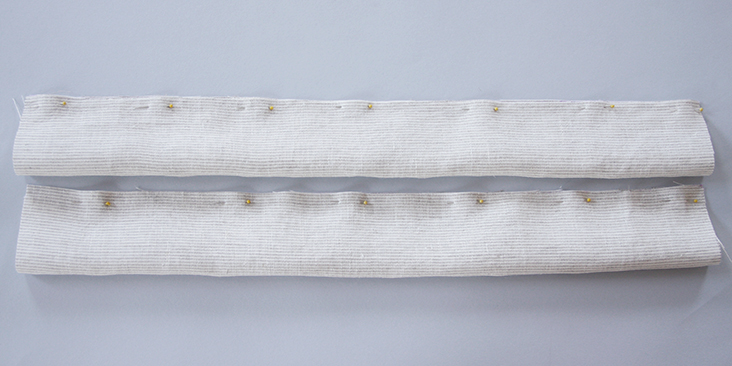
2. Sew at a 3/8” (1 cm) seam allowance and press the seams open.
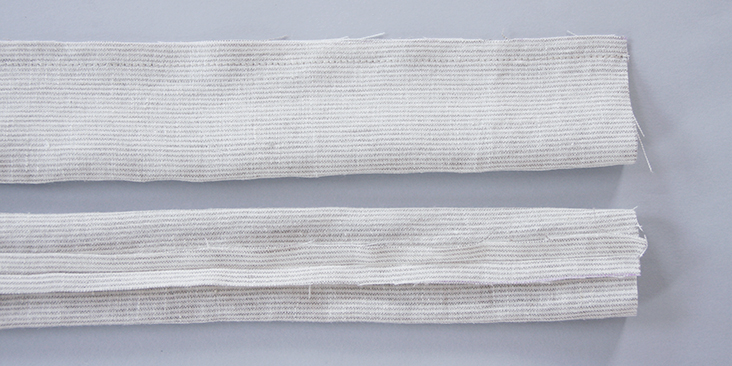
3. Turn the fabric right side out, place the seam in the middle and press.
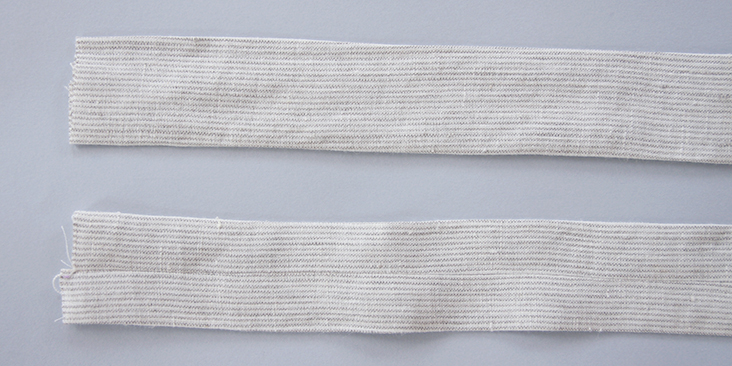
Set your straps aside for now and take your facing pieces.
4. Apply the fusible interfacing to the wrong sides of your facing strip.
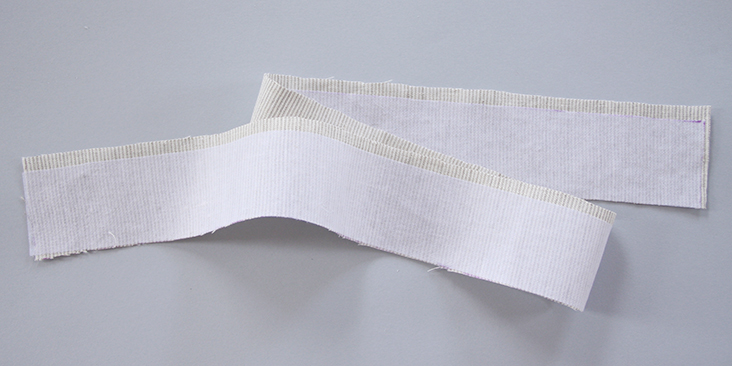
5. Serge or zigzag the bottom edge of your facing to make sure that your fabric doesn’t fray in the future.
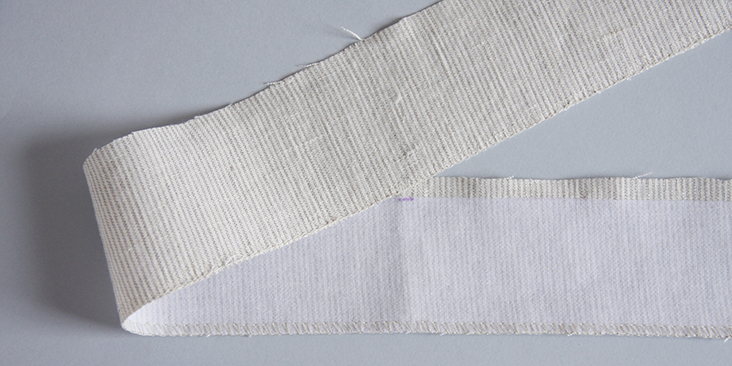
6. Place the right side of the facing on top of the right side of your bodice matching the centers (fold both pieces in half to see where the center is). Pin. You’ll see that the facing is shorter than the bodice (around 1.5″ shorter). This is normal, it will later be used to create the button bands and don’t require facing.
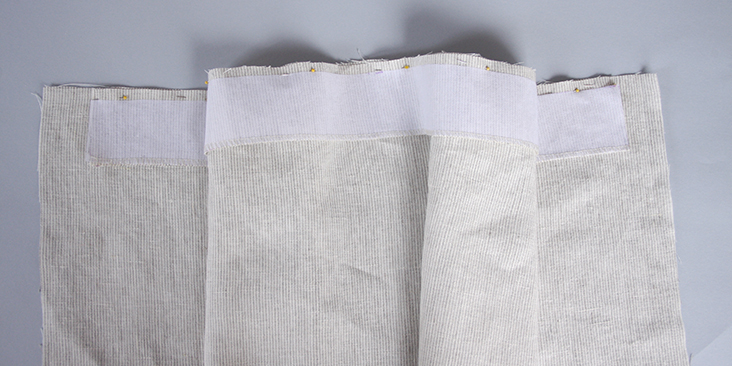
7. Fold you bodice piece in half and measure 3″ from the folded side and 5.5″ from the raw (future button band) side. Starting from these marks, Insert your straps between the bodice and the facing aligning the raw edges. Make sure the center seam on the straps is facing up when you pin. Also, now would be a good time to adjust the length of the straps if needed.
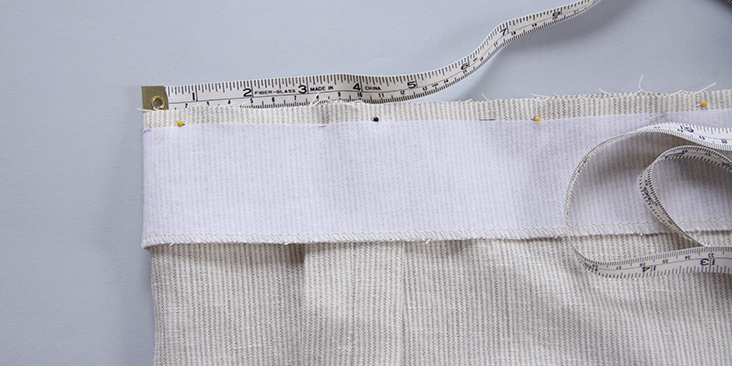
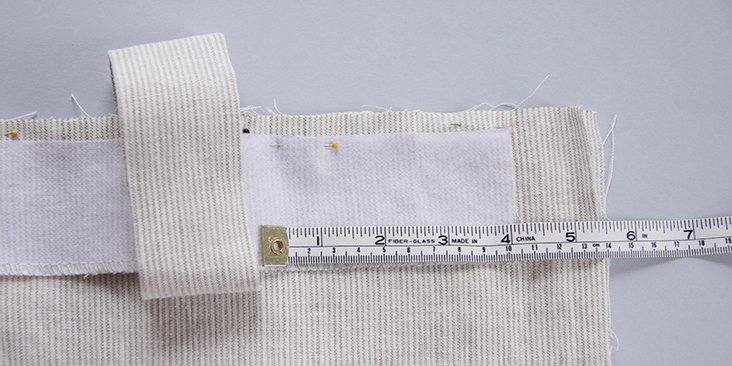
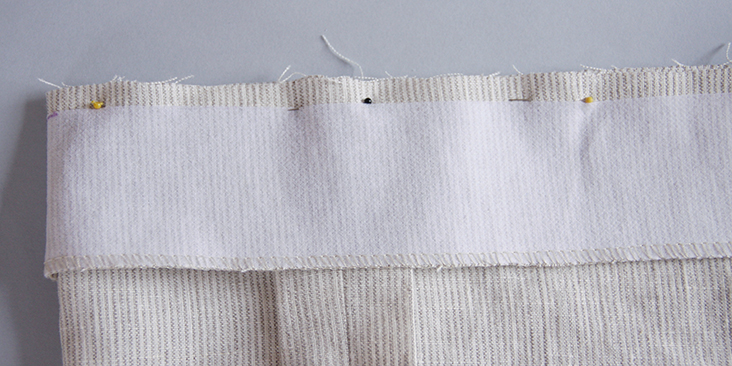
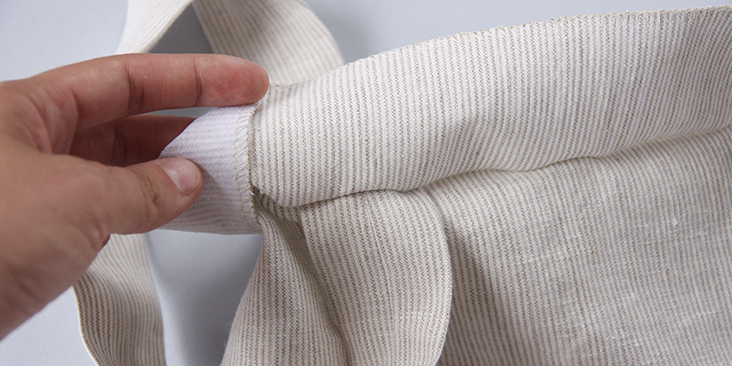
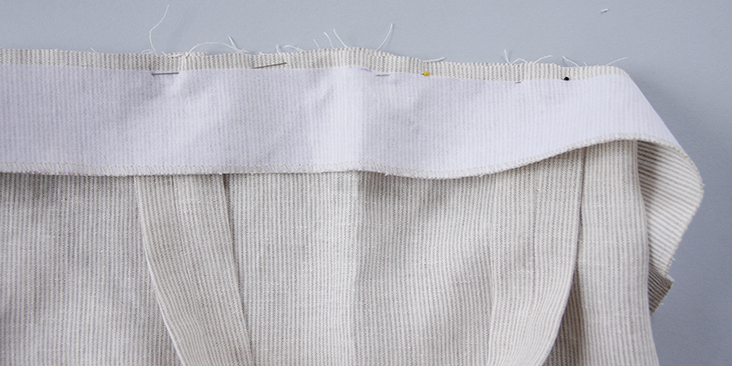
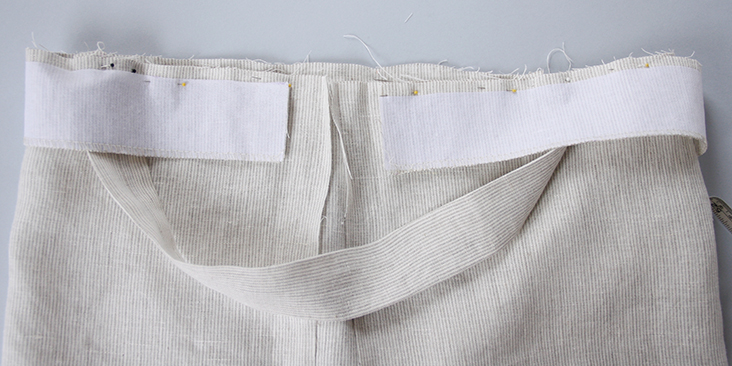
8. Stitch the facing to the bodice (backstitch the straps) at a 3/8″ (1 cm) seam allowance.
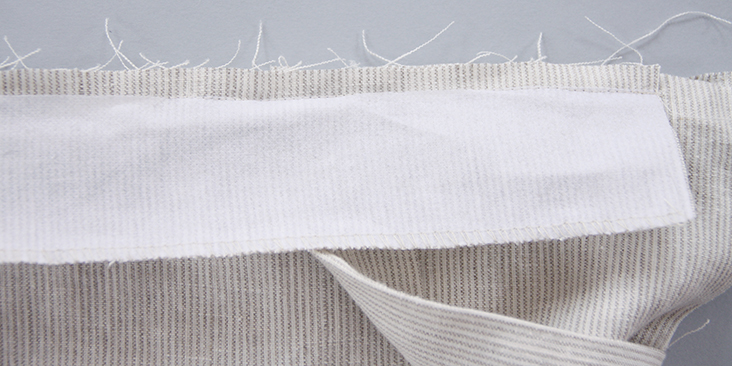
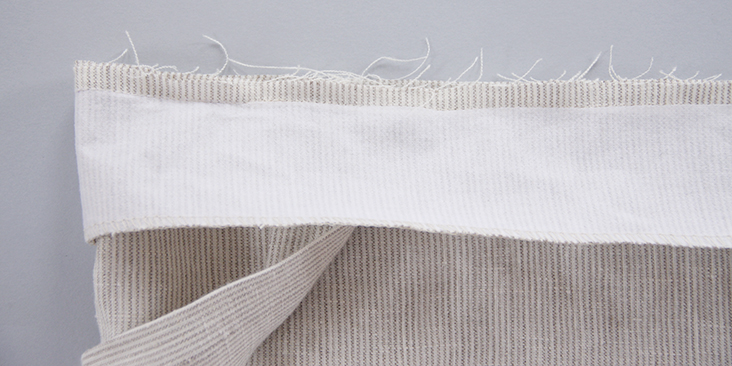
9. Trim the seam allowance (but not the future button bands) down to 1/4″ (6 mm) and press the facing away from the bodice.
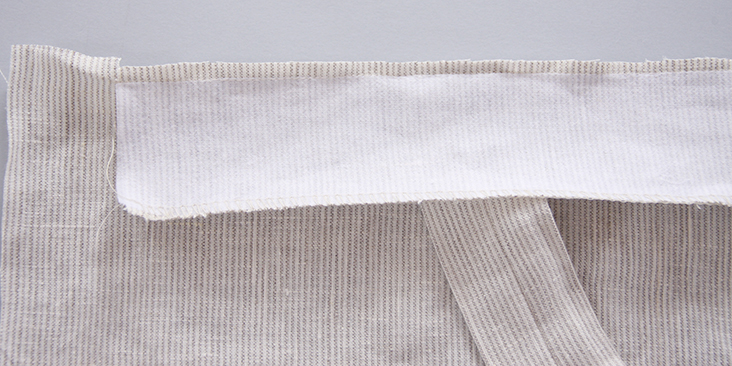
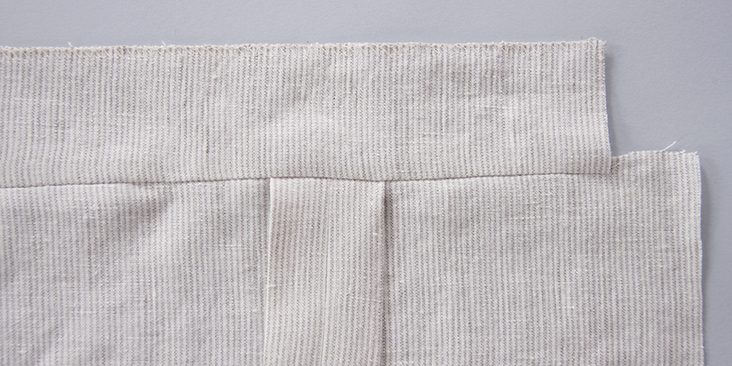
10. Pin the facing to the wrong side of the bodice.
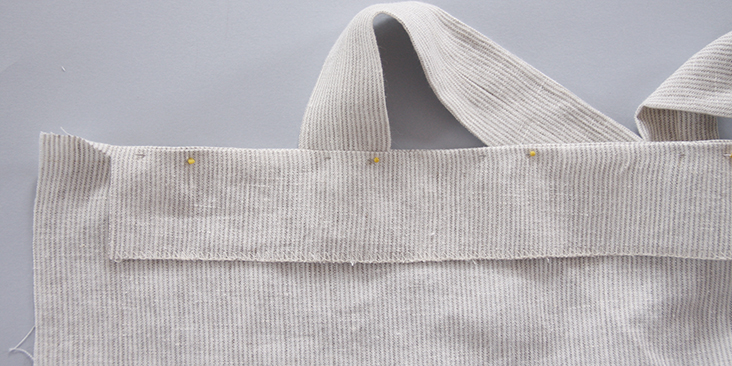
Normally, the next step would be to topstitch the facing to keep it in place, but we need to form the button bands first.
11. Apply the fusible interfacing to the wrong side of the button band seam allowance 1/4″ from the edge and press the upper seam allowance towards the wrong side in the continuity of the facing.
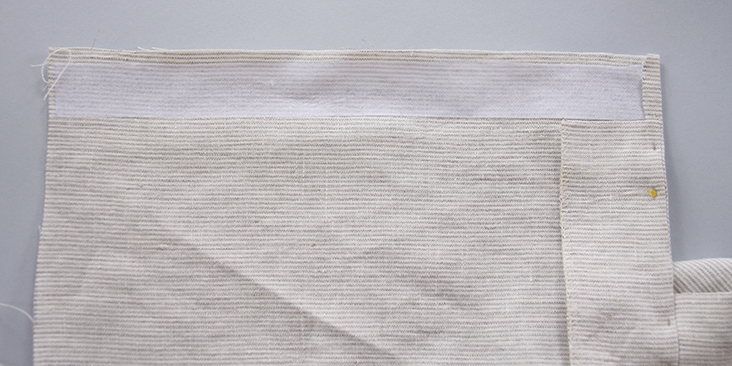
12. Fold your button band seam allowances 1/4″ to the wrong side and press. Then fold another 1” (2.5 cm) and press again. Tuck in the ends of your facing under the folded fabric and pin.
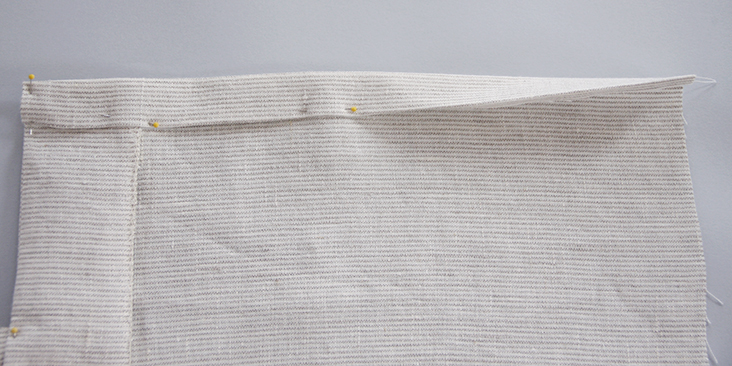
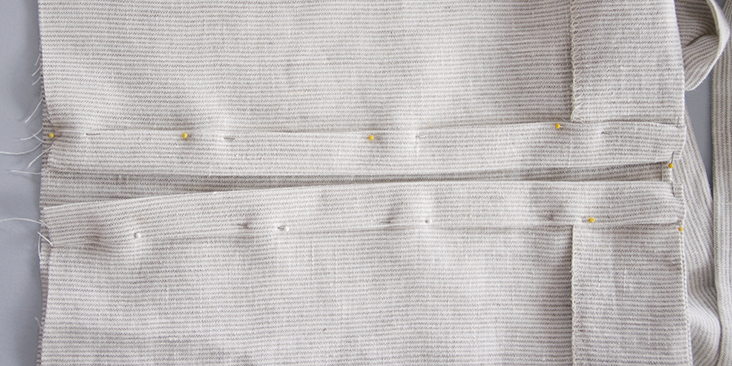
13. Topstitch the button bands as close to the edge as possible, remember to backstitch at both ends and press.
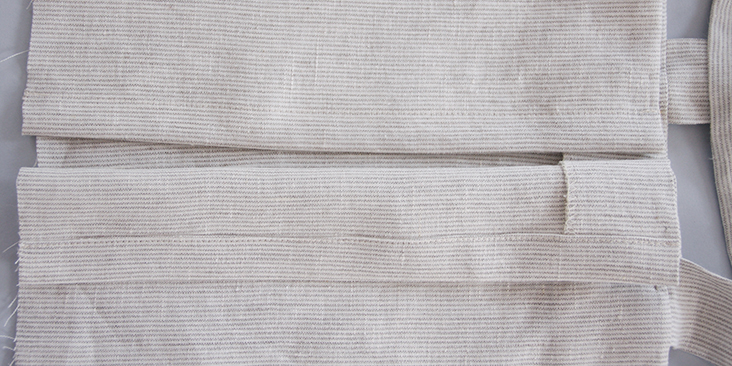
14. Now you can finally topstitch the facing to the bodice. Keep topstitching when you reach the button bands.
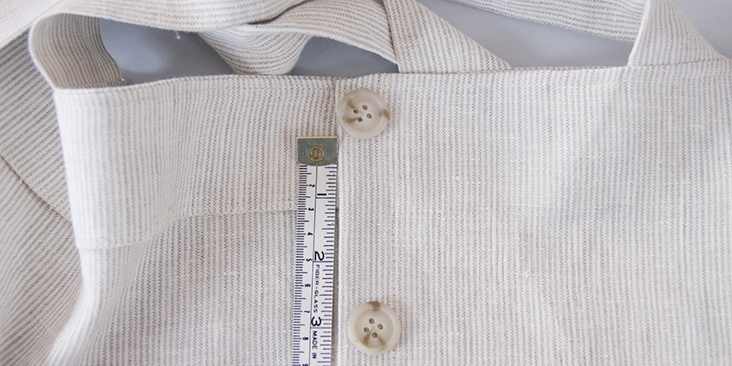
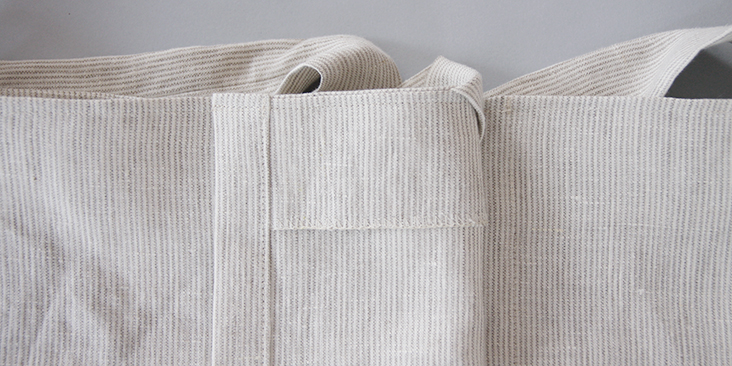 15. Following THIS very detailed tutorial, sew the buttonholes and attach the buttons 2.5” apart.
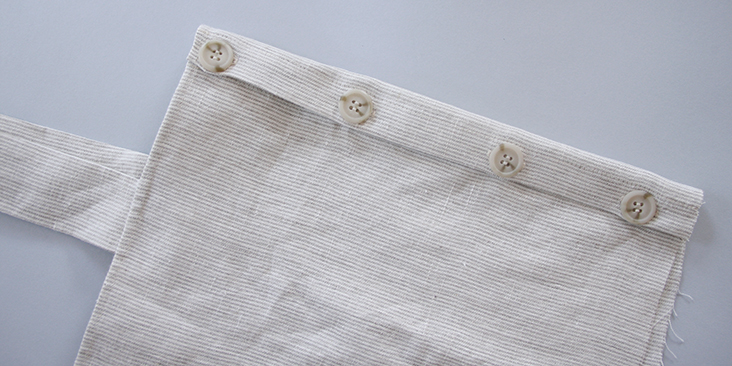
The time has come to attach the pockets and assemble the short.
16. First, you need to decide where you want our pockets to seat. We went for a 3” distance from the waistline. You can always adjust the hight. Take all four short pieces (2 fronts and 2 backs) and mark the desired height on the right side of your fabric at the side seams.
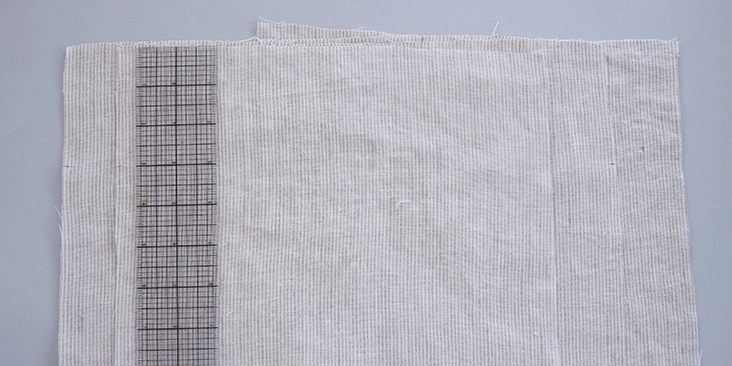
17. Now pin each pocket panel to each piece right sides together and matching the pocket top point to the marks you’ve just made.
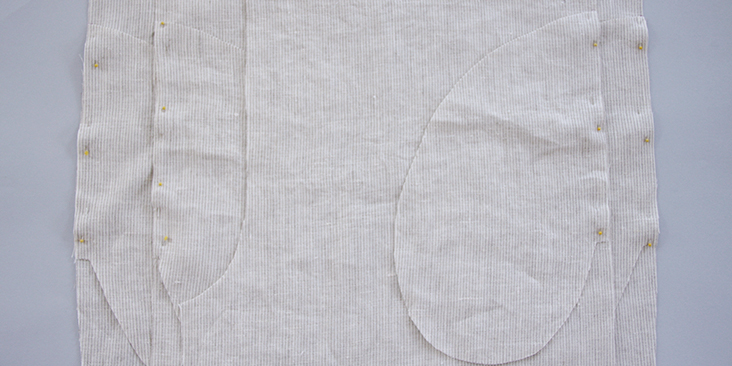
18. Sew with a 3/8” (1 cm) seam allowance. Trim the seam allowance down to 1/4″ (6 mm) and serge/zigzag the raw edges together to prevent them from fraying in the future.
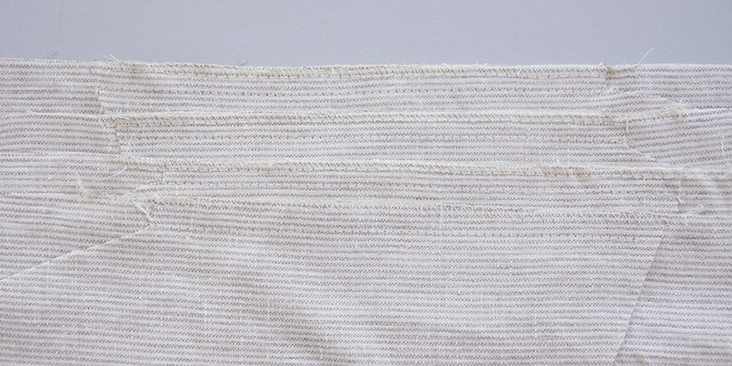
19. Press the pockets away from the short.
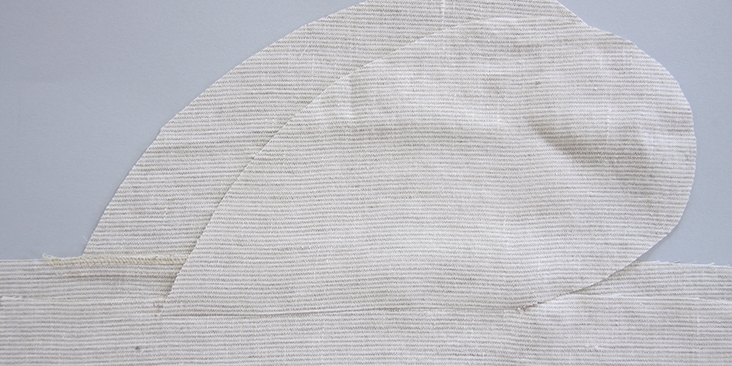
20. Now pin each short front piece to the corresponding short back right sides together and lining up the pocket panels.
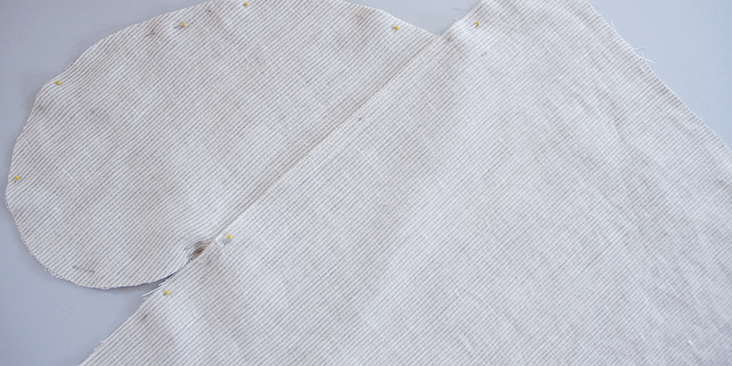
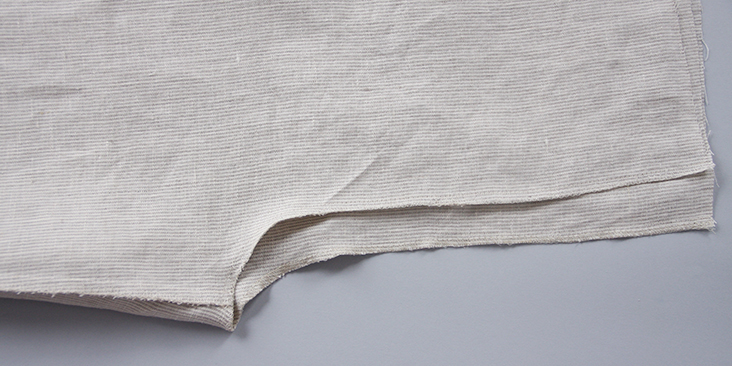
Notice how the front and back are a little different. The back is cut a little deeper in the crotch to allow for sitting.
21. Sew the pinned edges together (including the pocket) at a 3/8 in (1cm) seam allowance backstitching at both ends. Trim the seam allowance down to 1/4″ (6 mm) and serge/zigzag the raw edges together.
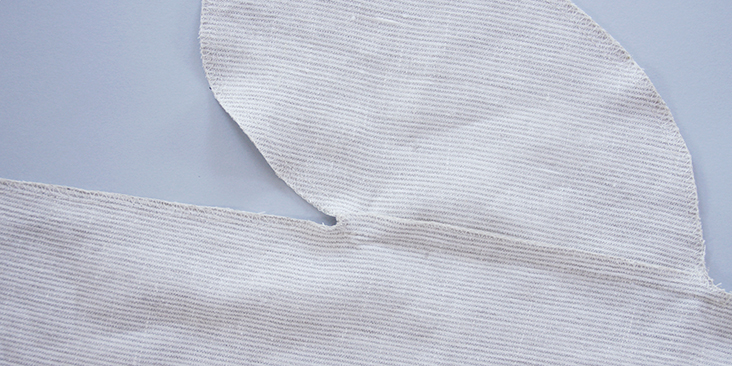
22. Press the seams flat folding the serged/zigzagged edges towards the back of the short.
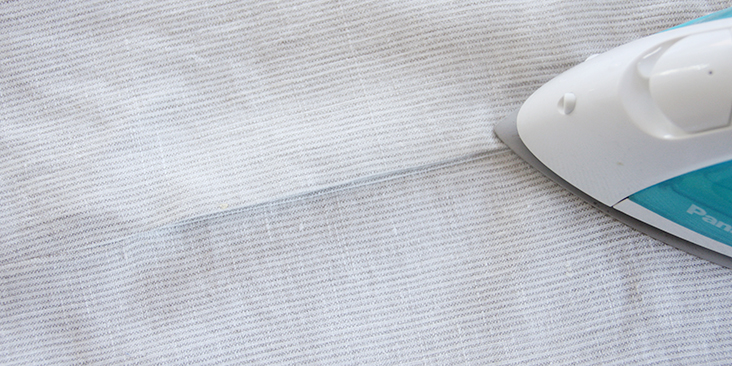
23. With right sides together, pin each short front to the corresponding short back at the inseam. Stitch the pinned edges together at a 3/8” (1 cm) seam allowance. Trim the fabric and serge or zigzag the raw edges together. Press the seams flat folding the serged/zigzagged edges towards the back of the short.
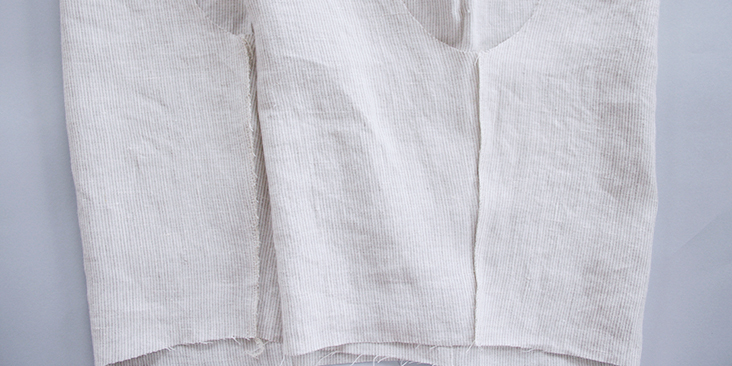
24. Turn the right short leg right side out and slip it into the left short leg. Front to front, back to back, right sides together.
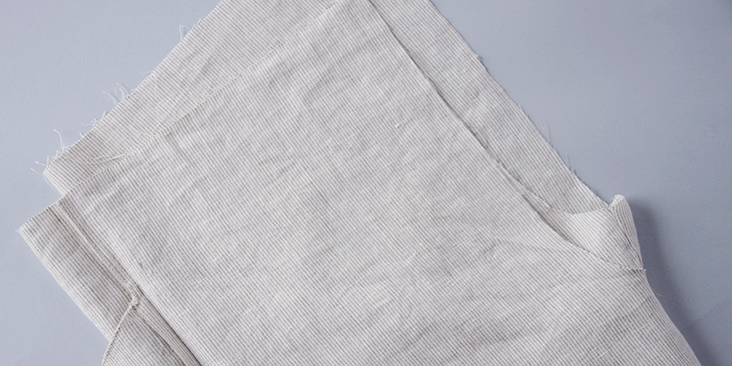
25. Pin the crotch seams together matching the side seams and inseams.
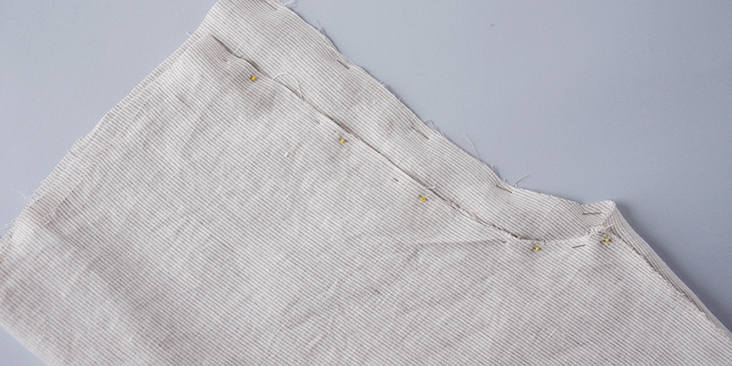
26. Sew all along the crotch seam at a 3/8” (1 cm) seam allowance. Trim, then serge/zigzag the raw edges together and press the seam flat.
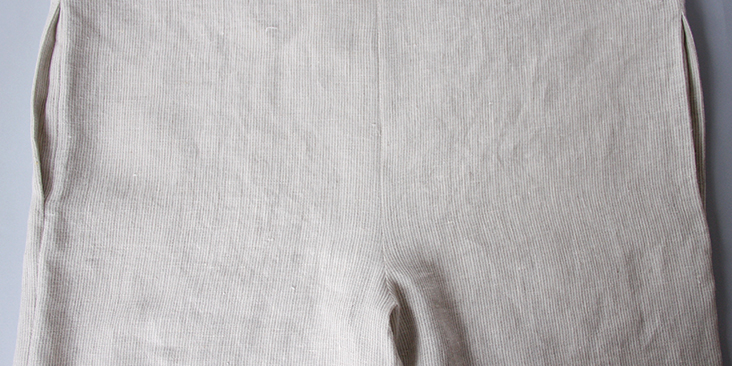
Here what your assembled short looks like from the right side:
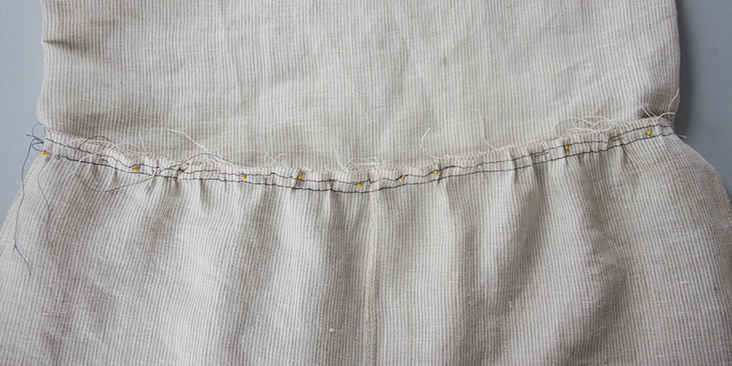
27. Now that you have assembled the legs together, you need to gather your short to the length of your buttoned-up bodice. HERE is a step-by-step tutorial on how to gather your fabric. Be sure to use a contrast color thread and to secure your gathers once you’ve checked that the short and matches your waistline and that they are evenly spaced. Pin the gathered short to the bodice right sides together and matching the side seams.
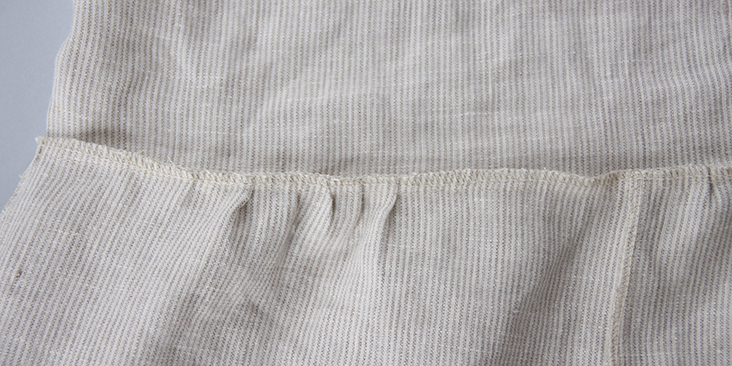
28. Trim the fabric and serge or zigzag the raw edges together. Press the seams flat folding the serged/zigzagged edges towards the short.
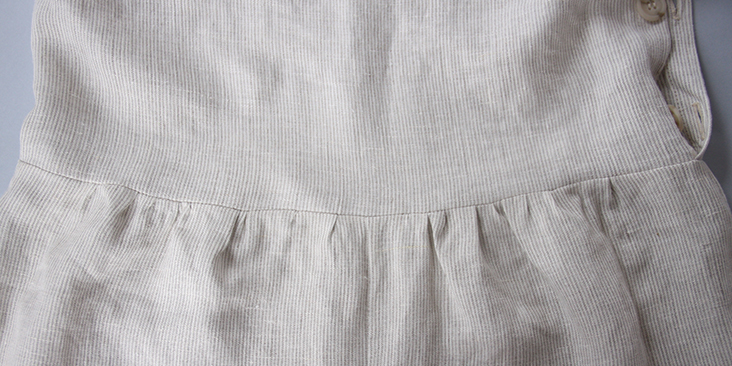
29. The final steps will be to hem your shorts. Fold the bottom edge under first 3/8” (1 cm) then another 1,5″ (4 cm) and press. Pin the fold.
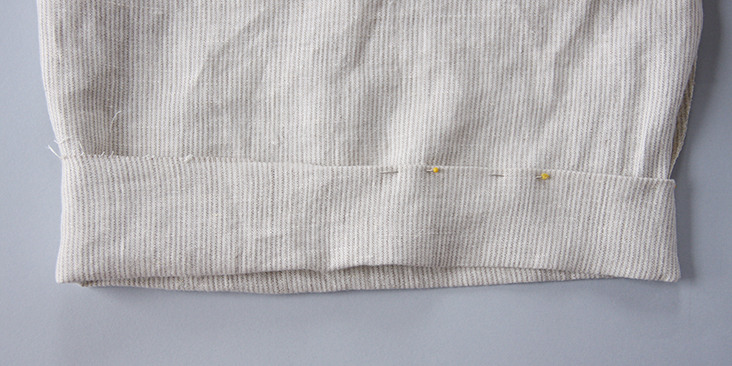
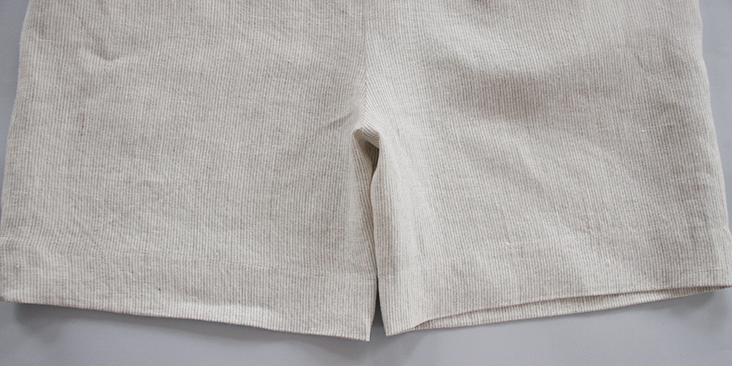
30. Working from the wrong side, topstitch as close to the inner fold as possible. Remember to backstitch, press the seams and you are all done!














16 Comments
Mayra Quiroz
hello, is this pattern for print in A4 paper?
Lauren Gates
hello, This pattern is a ‘draft you own’ style pattern, not a printable pattern.
If you would prefer a romper pattern that is downloadable, multisized, tiled A4/Letter, you may like the ones we have for download on our website. Here is the link:
https://fabrics-store.com/sewing-patterns
Helina Ta
Hi there, would it be possible to do this but long overalls instead of short? I’m really keen on making some long-legged overalls but other then that I love the design!
grace
what is the size of the facing i need for this, i’m getting confused! such a adorable playsuit!
Rima Khusainova
Thanks for your comment Grace! The facing should be around 3 in wide and to the length of your bodice upper edge (minus the button band extensions).
Sabrina
you’re stuff is SO beautiful! and you model it so well. going to try just the top half of this today to see if I can make a similar top
Rima Khusainova
Thank you so much for your kind words Sabrina! I just love the top idea! I’m always so happy to see how people come up with cute little hacks to transform our patterns. Happy sewing!
Stacy
It would be great it this came in a multi print pdf. I am not very good at grading patterns, if it was a multi print I would be able to make a lot of different style from this pattern.
Rima Khusainova
Dear Stacy, thank you very much for your comment. Unfortunately this pattern is not available in multiple sizes yet. However, we have many other styles – pants, dresses and tops – that you could try! Just check out our tutorial section.
linda
McCall or Simplicity has a jumper very simular.
Dianne
That’s cute, it reminds me of one I had when I was about 5 years old. However, now I have, well, breasts. There seems to be no place for them. It looks like the “neckline” goes right around just below the center of the breast point. Shouldn’t the front come up, perhaps a couple of inches higher than the back? It would be nice that way on a hot summer day, especially in that lovely, subtle linen.
Rima Khusainova
Hi Dianne, thank you very much for your comment. Funny you should say that as this was exactly my inspiration for this design – something I was wearing when I was little 🙂 I do agree with you regarding the darts. As suggested in the previous comments, we should definitively do a tutorial on how to add darts so that every woman could alter our existing patterns for a perfect fit.
Brenda R London
Cute and looking almost comfortable with the notable exception of the pattern missing breast accommodation. Darts or a few side or top gathers or both would make it more friendly to women with average or larger breasts and still make it a quick and easy sew. The buttons pulling on the side indicates the need.
Rima Khusainova
Dear Brenda, thank you for your comment. We wanted to keep the pattern simple but I do agree that it could be more friendly to women with larger breasts. And thank you very much for this great idea on the dart tutorial! We should definitively do one soon!
Arianne
This is so cute! I always love all your tutorials, but never have the time to make them 🙁 I have to find time to make this!
Rima Khusainova
Dear Arianne! thank you so much for your kind words! Once you’ve found the time for sewing, you won’t be able to stop 🙂