Embellished Linen Maxi Dress Tutorial
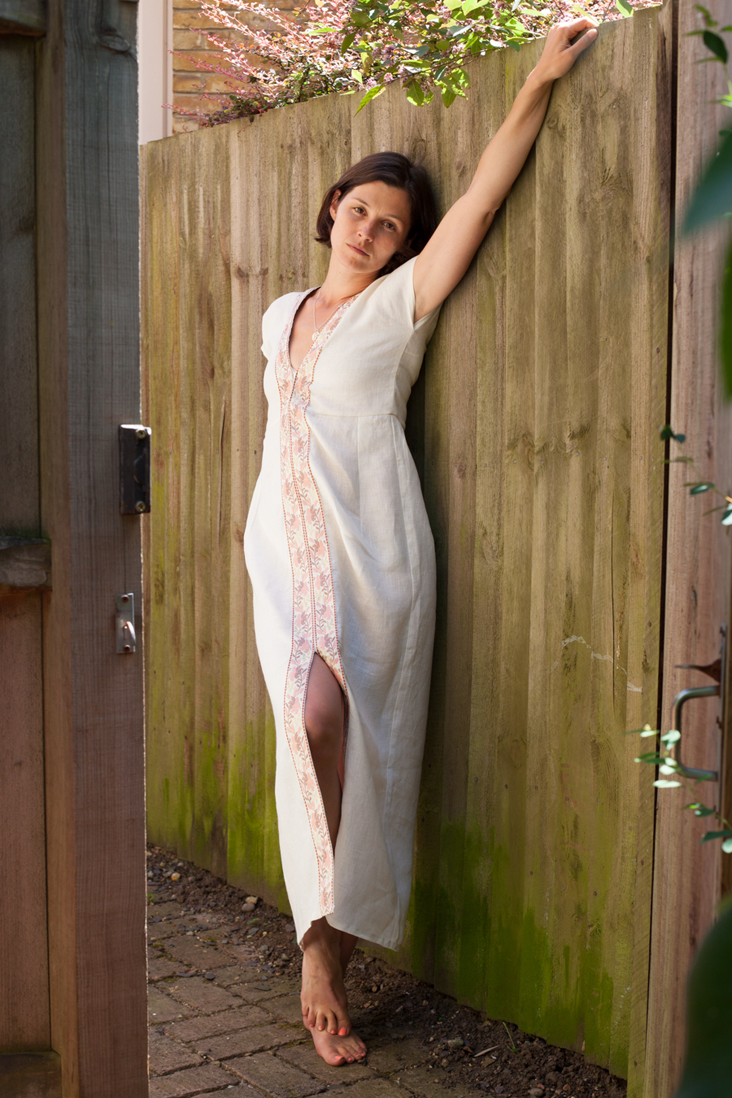
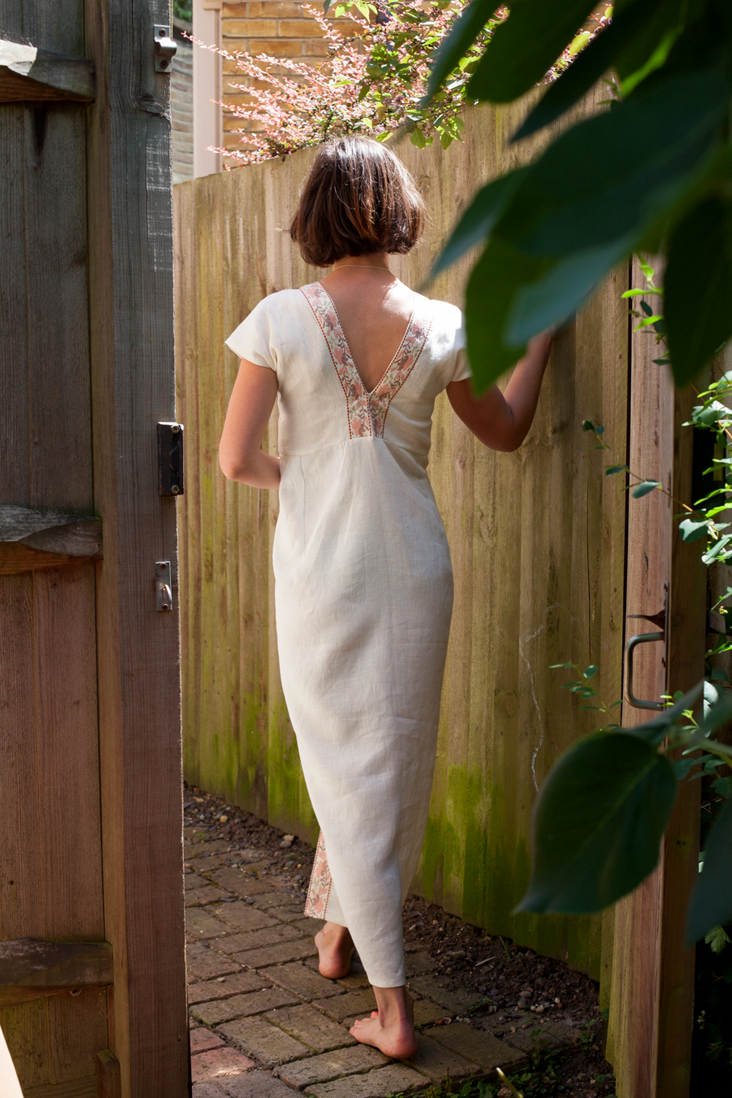
This week’s tutorial is a unique, sophisticated and versatile linen maxi dress that looks and feels great in these last days of summer!
It is cut for a silhouette-skimming fit featuring waist darts, a rather deep kimono neckline and a knee-length center front slit that allows for effortless movement. But there is one detail that makes it so special: the floral ribbon around the neckline and the front slit brings feminine and romantic touch.
Dress it up with heels for a night at the gallery or dress is down with a denim jacket for an easy day look. It needs no accessories.
Materials
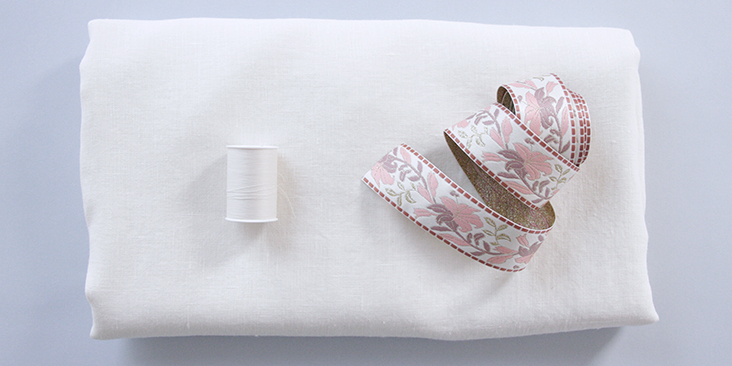
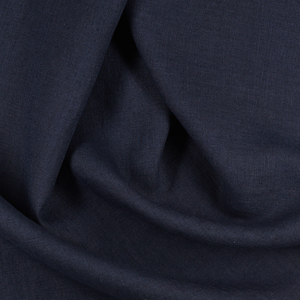
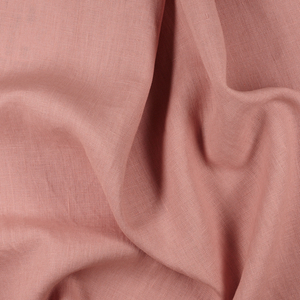
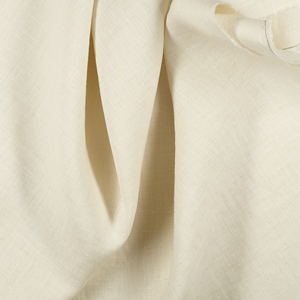
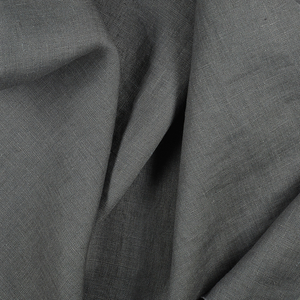
3 yards of IL 019 PRISTINE Softened linen
4 yards of ribbon, matching sewing thread
Tools
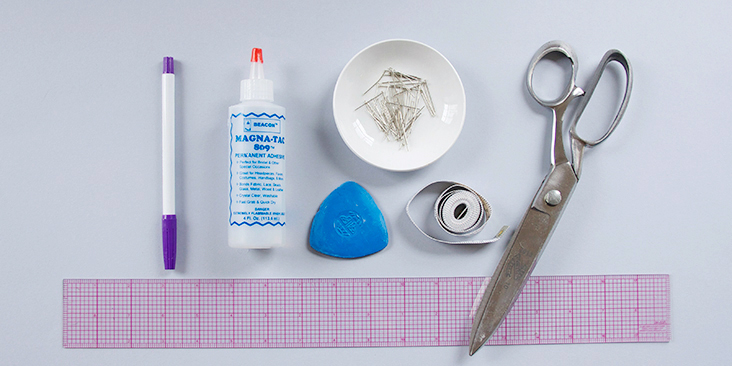
Pattern paper, scissors, fabric marker, pins, ruler, chalk, measuring tape, fabric glue (optional), sewing machine
Time
4-5 hours
Difficulty
Beginner
Pattern
You can find the pattern by following this link HERE. The diagram shows the pattern for US size 6 (UK size 10). Remember to add seam allowances as indicated in the pattern.
If you need help grading your pattern, please follow this tutorial.
Steps
Note: Prewash your fabric and tumble dry it until it is still slightly moist, dry at room temperature.
1. Iron the fabric so it is easier to work with.
2. Let’s start with the bodice. Place your two bodice pieces right sides up and with the neckline/center edges facing each other. Fold the raw edges 3/8” (1 cm) toward the right side and press. Don’t be surprised that the raw edges are on the right sides as they will be later hidden under the ribbon.
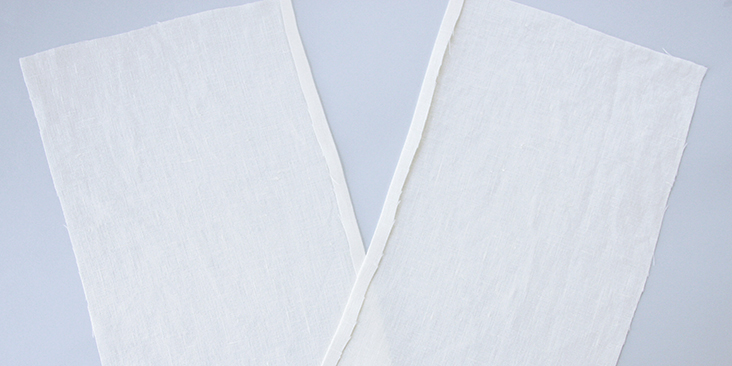
3. Now fold the armhole/side edges 3/4″ (2 cm) to the wrong side and press.
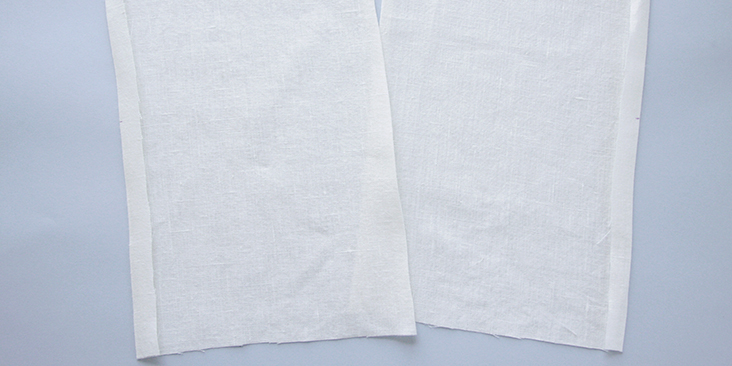
4. Take your ruler and measure 7” (18 cm) from each end and make a mark (with marker or chalk). The distance in between these two marks is your armhole and the rest – side seam.
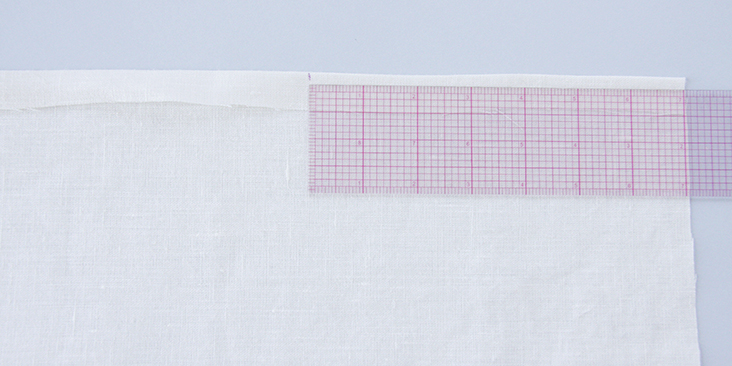
5. Finish the armholes and the side seams by twice folding the fabric to the wrong side. Pin.
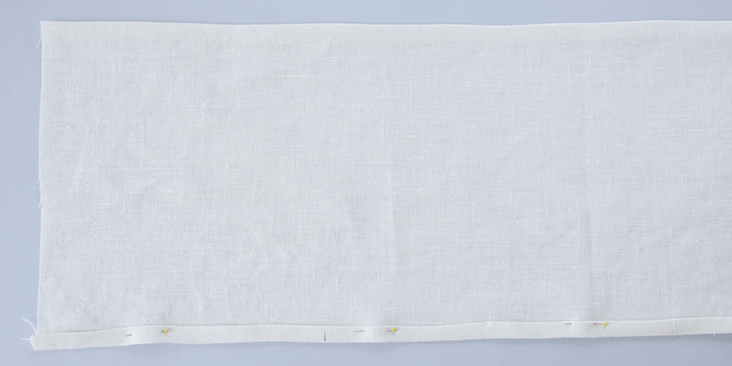
6. Stitch the fold from the wrong side as close to the inner edge as possible. Remember to backstitch.
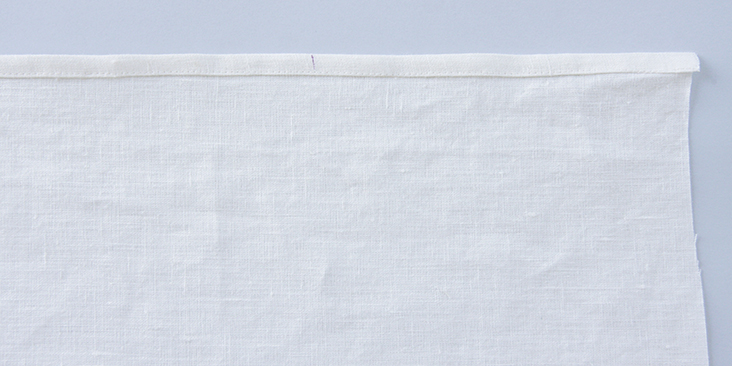
7. Fold your bodice pieces in two right sides together matching the 7” (18 cm) marks. Pin the two sides together and stitch just outside the rolled hem starting at the bottom end and up to the mark leaving the armhole openings pin-free.
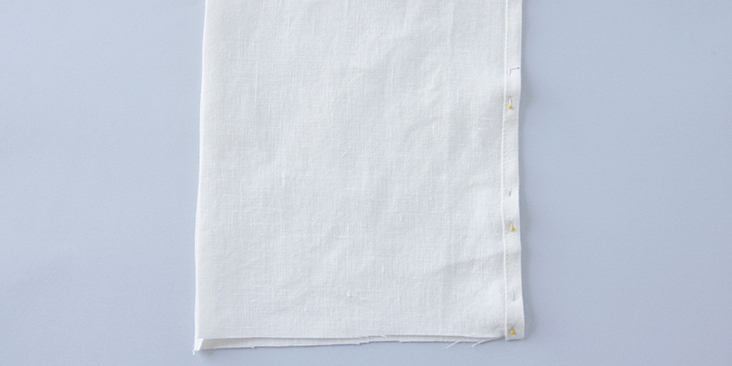
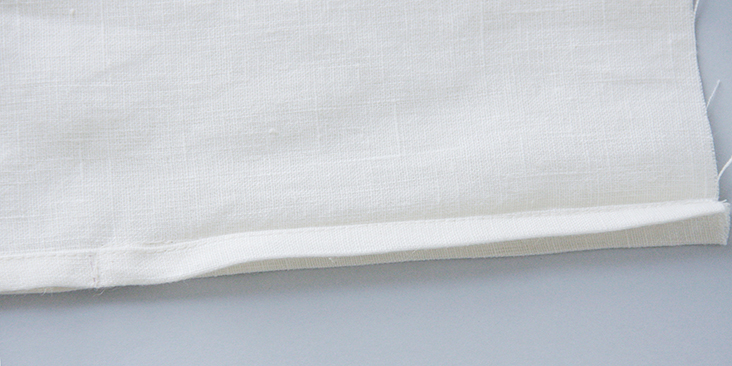
8. Press the seams open.
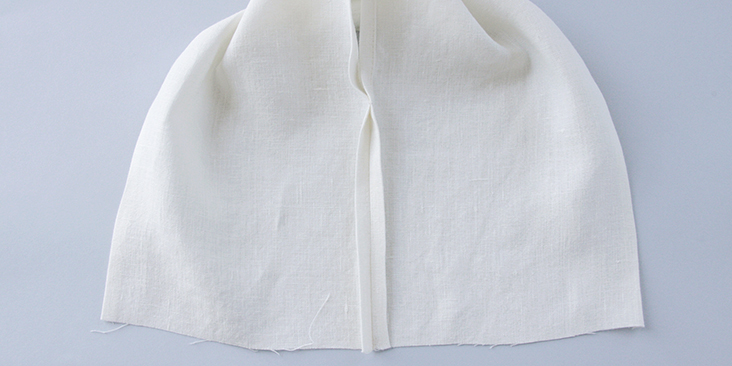
9. Now let’s assemble the bodice. Take your ruler and measure 3,5” (9 cm) from the back and front waistline and make marks. These measurements will determine the depth of your V-neck. If you want a less plunging neckline, increase the length of the center seam.
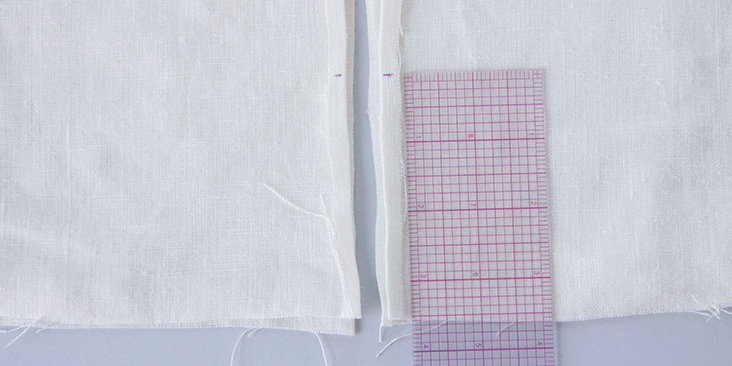
10. Pin the front and back center edges wrong sides together and stitch up to the mark. Remember to backstitch. Press the seams open.
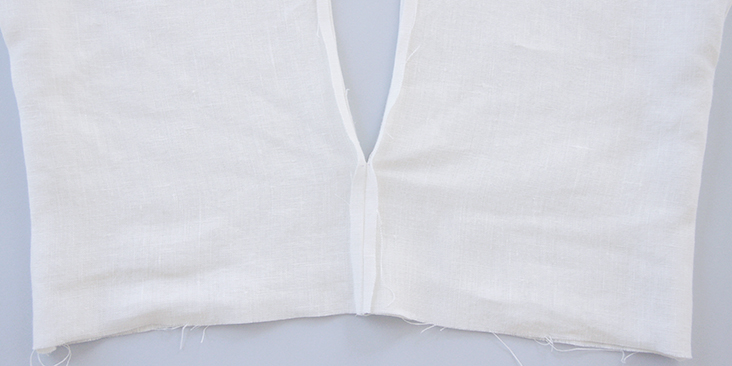
11. Put your assembled bodice aside and take your skirt pieces. Before assembling the skirt, we need to sew the darts. Lay your pieces out on a flat surface and carefully fold the darts with right sides together. Pin in place.
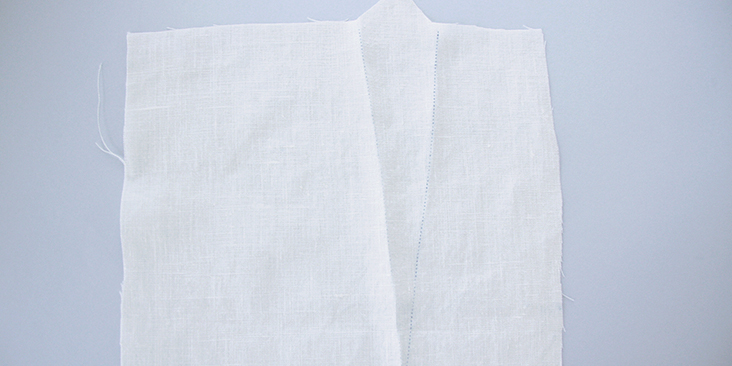
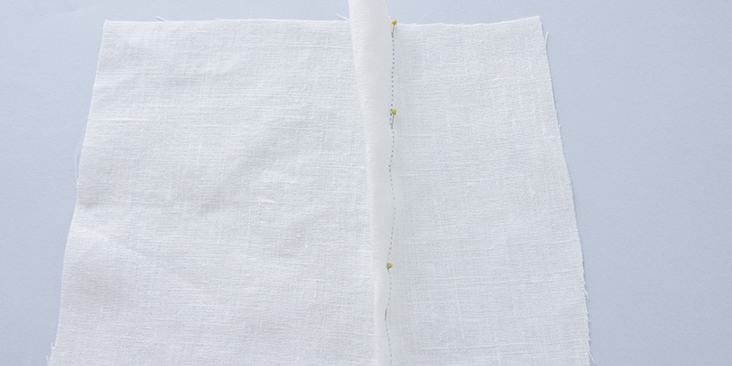
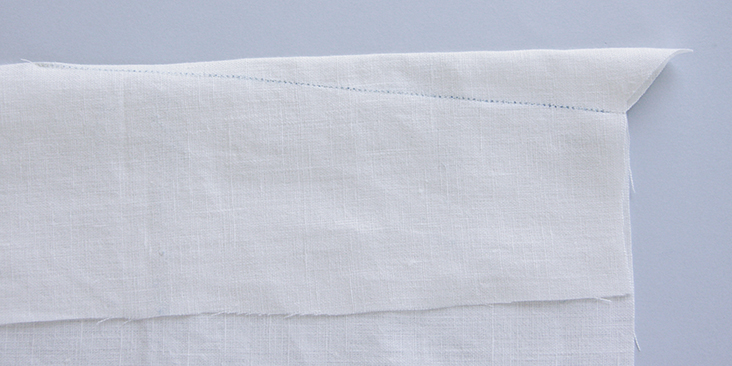
12. Sew the darts in place by running a line of stitching directly over the marked lines. Press the darts towards the side seams.
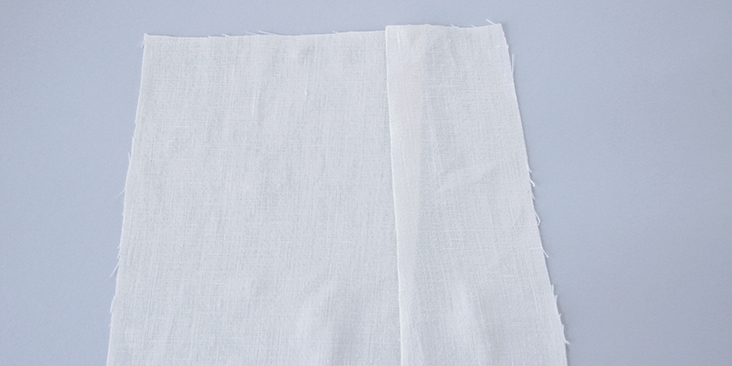
13. Now you need to decide where you want your center seam to end and the slit to start. This decision is really up to you, but we decided to start our slit a little above the knee (20,5” or 52 cm from the bottom hem). Take your measuring tape and mark the top of the split with a marker (on the right side of the skirt).
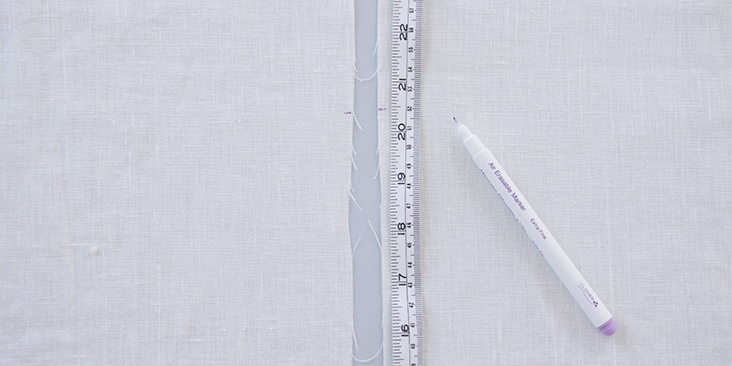
14. Pin the center seams wrong sides together matching the bottom hems and aligning the marks.
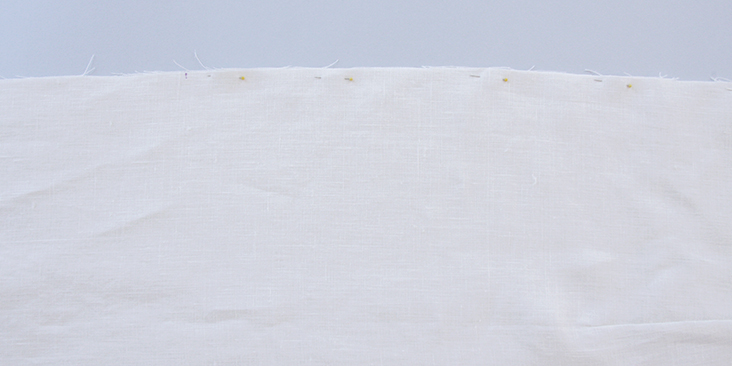
15. Stitch the raw edges together at a 3/8” (1 cm) seam allowance and stop at the mark. Remember to backstitch.
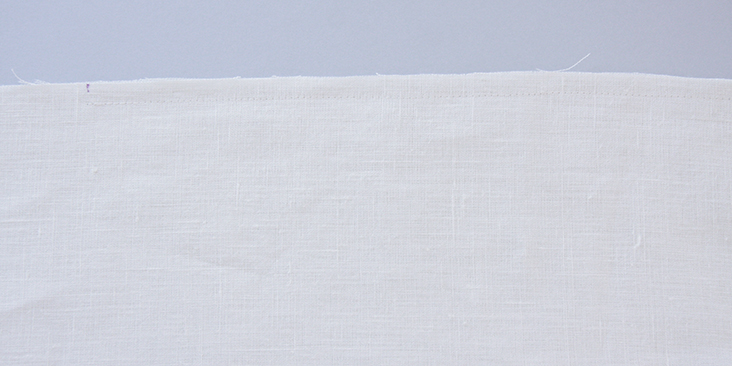
16. Press the seam open as well as the two flaps of the slip (follow the line of the center seam). These raw edges will later be hidden under the ribbon.
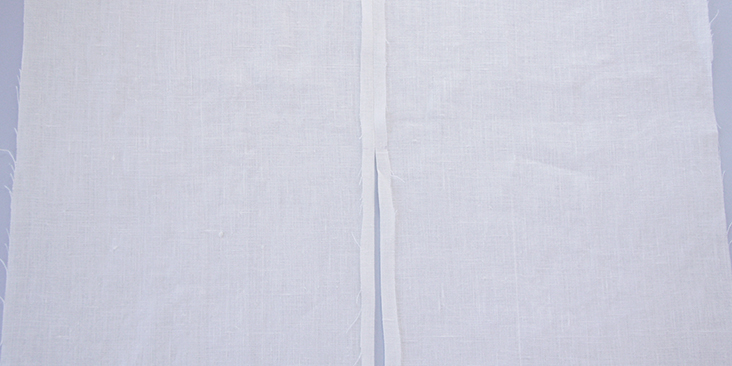
17. It’s time to attach the ribbon. Since the design calls for a continuous ribbon running along the center seam of our maxi dress, we first need to cut two long pieces of ribbon. You can either cut your 4-yard ribbon in two or measure the distance between the bottom hem to the bodice’s back waist (remember to add a few inches for the seam allowances. If you are working with a patterned ribbon, try to match the patterns so that they run parallel. Starting from the bottom hem of the skirt, carefully pin the ribbon to the skirt and let the two long ends hang for now. We’ll later attach them to bodice.
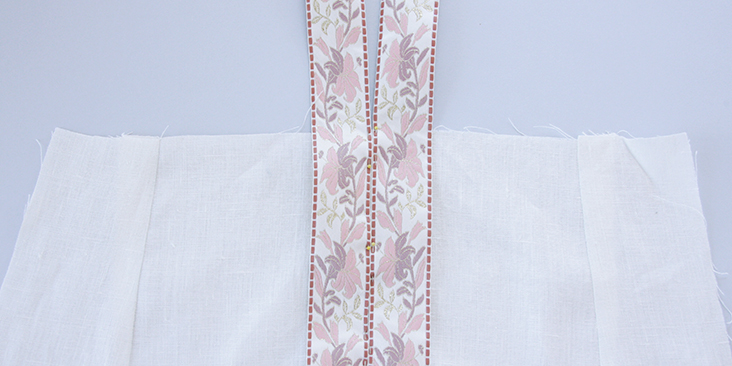
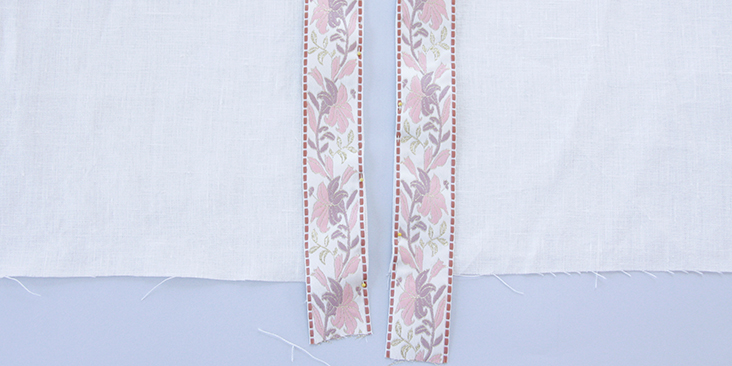
18. Topstitch the ribbon into place as close to the edges as possible. Start from the bottom hem and stop 3/8” (1 cm) from the front waist seam (this is the 3/8” seam allowance that you’ll use to attach the skirt to the bodice).
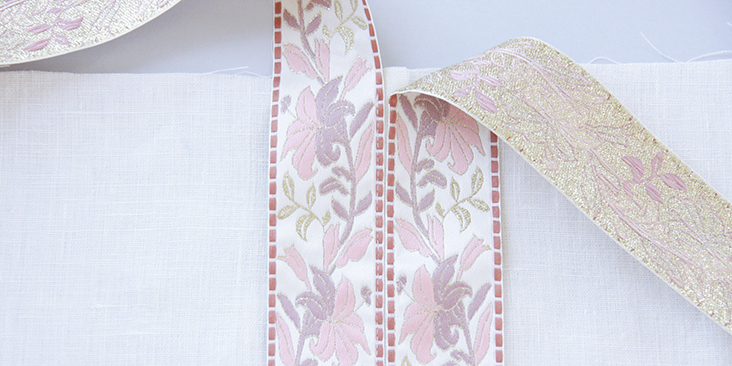
19. This step is optional. If you are using a large ribbon like the one we have here, you’d want to make sure that it lays flat on the fold and doesn’t pop up. To avoid any wrinkles, you can a little fabric glue in the middle.
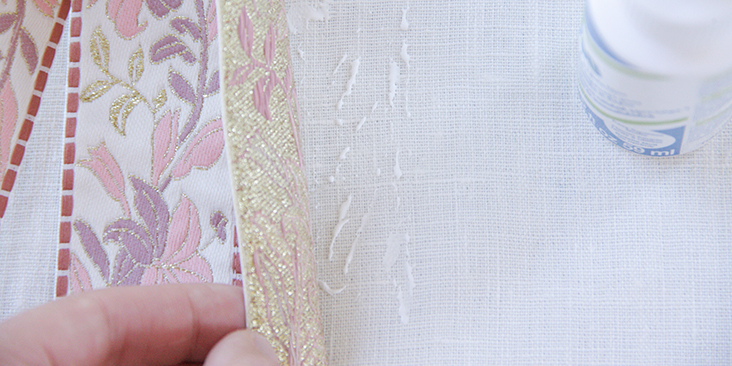
20. Pin the other edge of the ribbon in place and topstitch (remember to leave the 3/8” seam allowance at the waist stitch-free). Press.
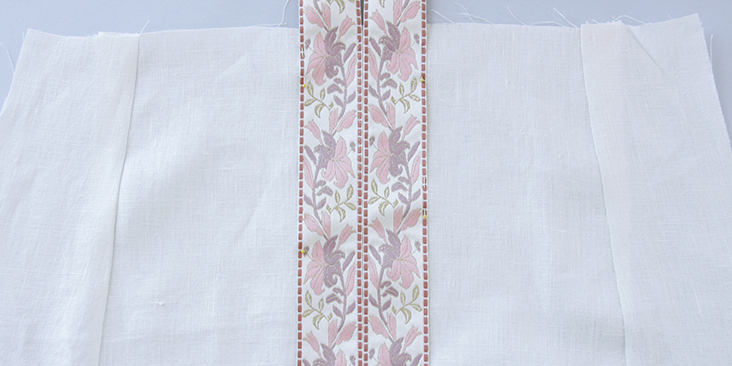
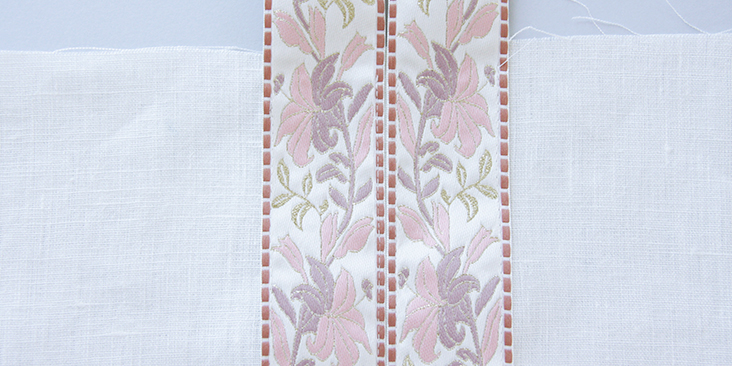
21. The next step is to assemble the skirt by pinning back and front side seams right sides together.
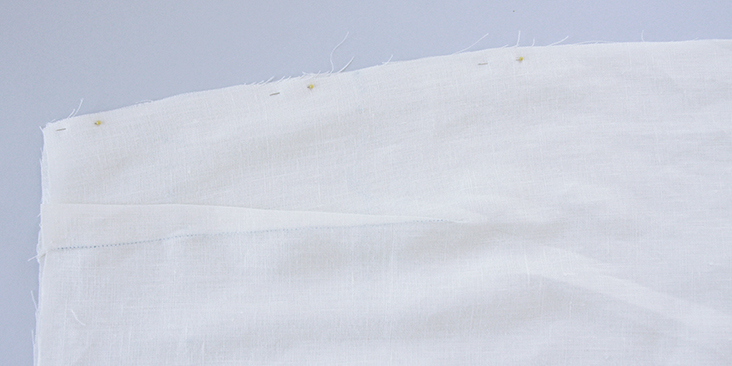
22. Stitch the side seams together at a 3/8” (1 cm) seam allowance. Trim the seam allowance to a 1/4” (6 mm).
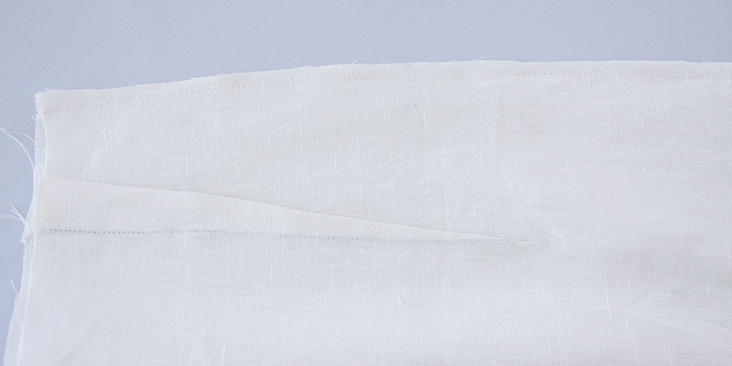
23. Serge or zigzag the raw edges together to prevent the fabric from fraying and then press the seam flat folding the serged/zigzagged edge towards the back of your skirt.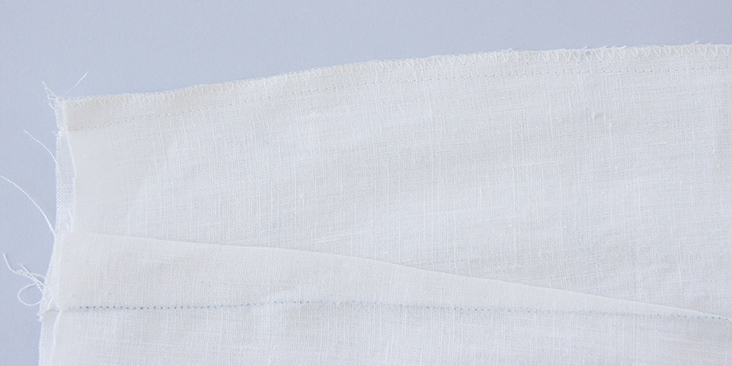
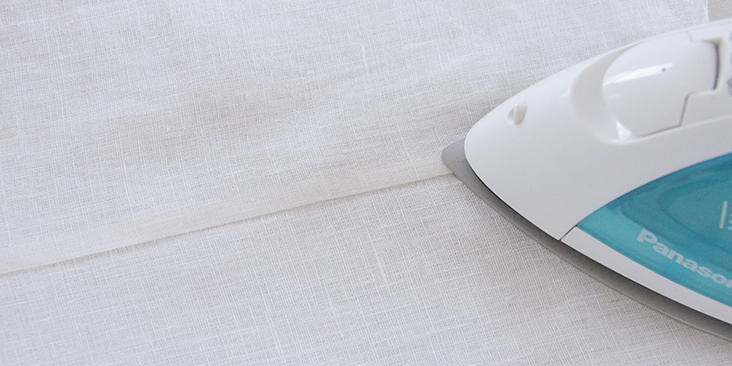
24. Let’s finish the skirt’s bottom hem by folding the raw edge twice to the wrong side (1/2” to 3/8”). Press and pin.
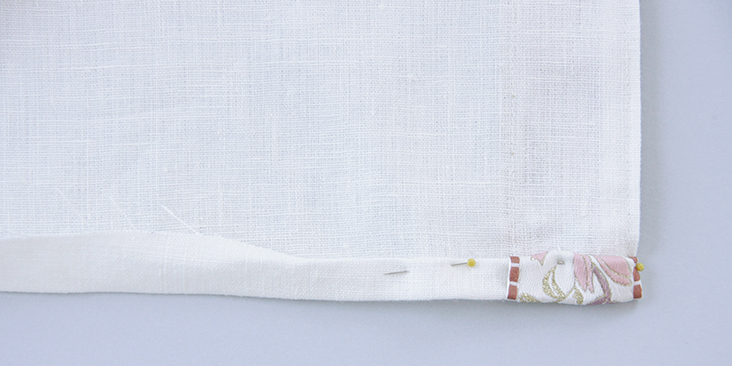
25. Edgestitch the folded edge from the wrong side of your garment.
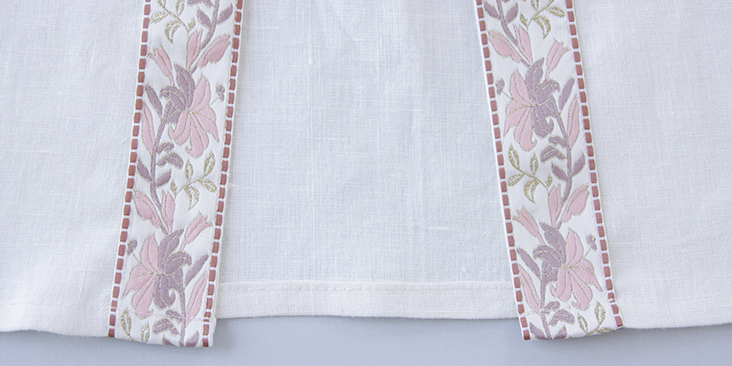
26. Now that your skirt is finished, you can attach it to the bodice. Pin the waist edges right sides together matching the center and side seams. Make sure your ribbon ends don’t get caught when you pin. (Now you see why we left the 3/8” of the skirt’s waist ribbon-free.)
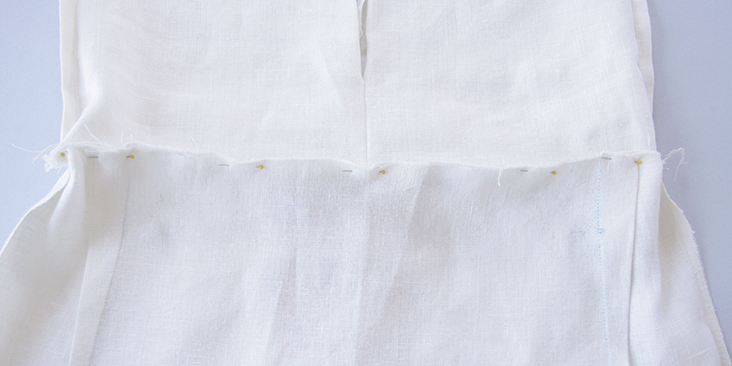
Carefully pin the darts:
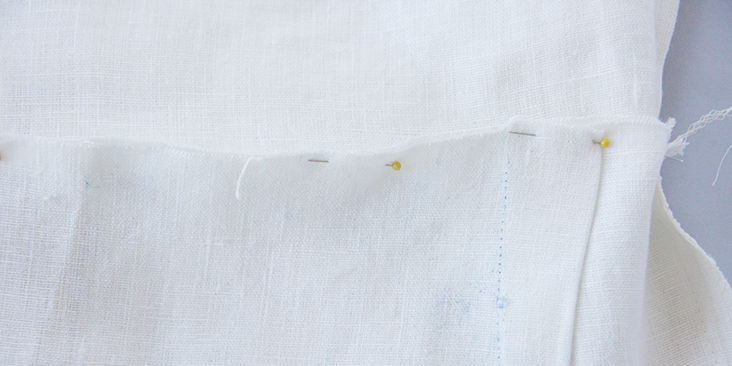
27. Sew the waistline edges together but leave a small opening in the back that we’ll use to insert and hide the other ribbon ends. We recommend to start stitching 2″ (5 cm) from one side of the back center seam and finish 2” (5 cm) before the other.
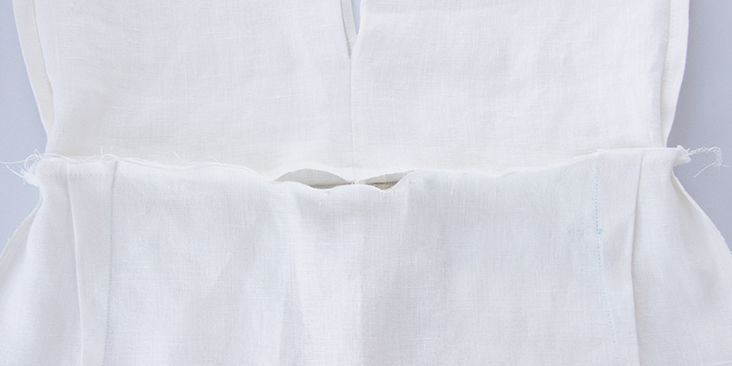
28. Repeat steps 18-20 and attach the ribbon to the bodice hiding the ends in the back waist opening.
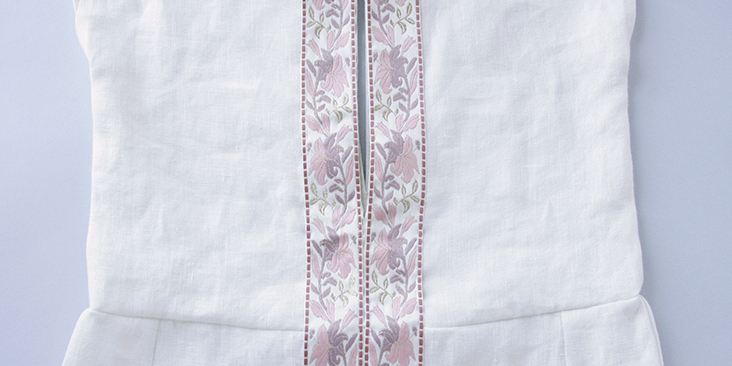
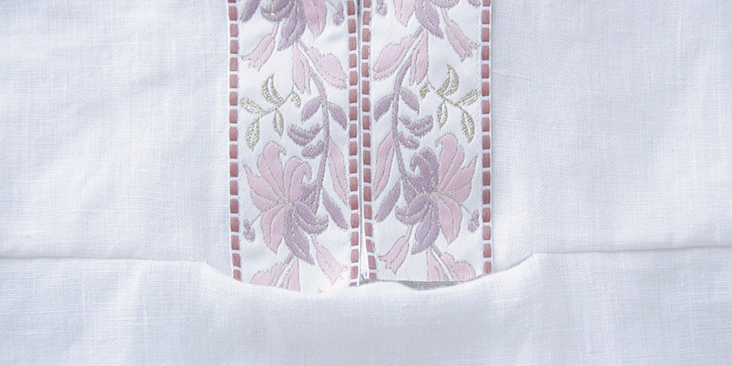
29. Close the opening, trim the raw edges and the ribbon ends to 1/4″ (6 mm) and serge/zigzag the seam allowances together to prevent the fabric from fraying.
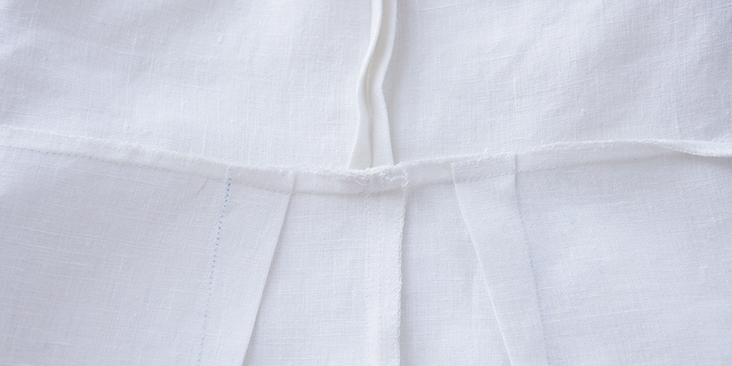
30. Now press the seam and you are all done!
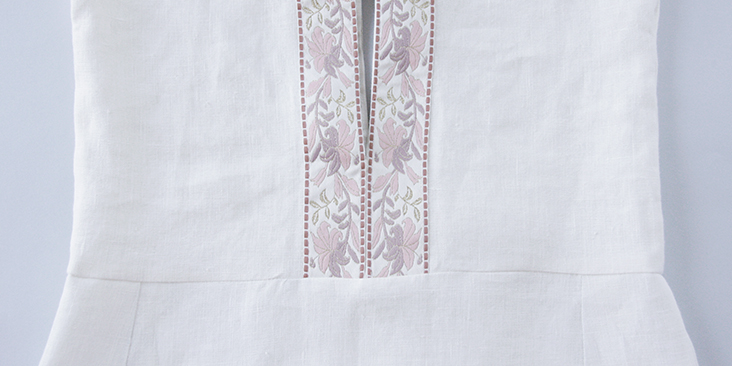
A beautiful maxi dress for everyday wear or special occasions! If you fancy a shorter version of this dress, check out this previous tutorial HERE for our embellished summer dress.












5 Comments
Es Be
Hi! LOVELY dress, thank you for the tutorial! I’m inspired and would like to make a similar one… but the link to the pattern doesn’t seem to work anymore. Is it no longer available?
Thanks for any feedback
Lauren Gates
Hello, Thanks for letting us know about this broken link. I’m working with our blog team to restore these files 🙂
Lauren Gates
Hello Es Be,
The links have now been repaired, Happy sewing!
Nataly
Thank you so match for your blog! Every single pattern and textile is gorgeous!
Really, I can’t choose, I want to sew them all 😀
Brenda R London
Darts needed. I have noticed that your dress and top patterns are missing breast accommodation. Not every woman is as petite sized as your model. Adding darts is not difficult, perhaps you could do a tutorial on that so your readers could customize their patterns.