Split Back Linen Tank Tutorial
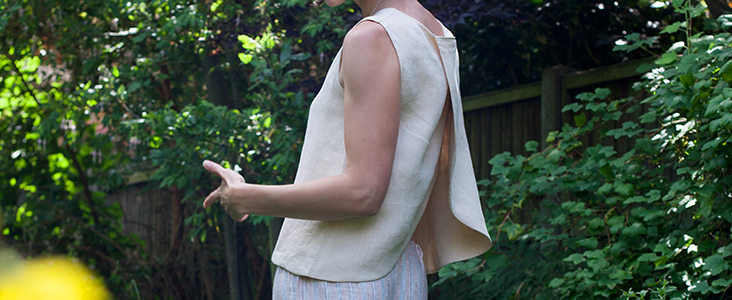
When the weather heats up, few things will serve you as well as a pure linen top. This one is soft to the skin and naturally breathable, and is made with our beautiful nude linen that has a fine and smooth texture to it. Not only it is fully lined, meaning that you’ll see no seam allowances on the inside, it also features a pretty back split that will show a hint of your skin and keep you cool.
Materials
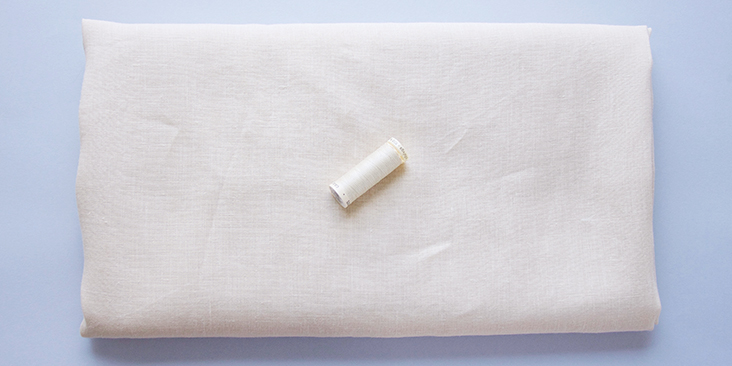
1.5 yards of IL020 NUDE Softened lightweight linen
Matching sewing thread
Tools
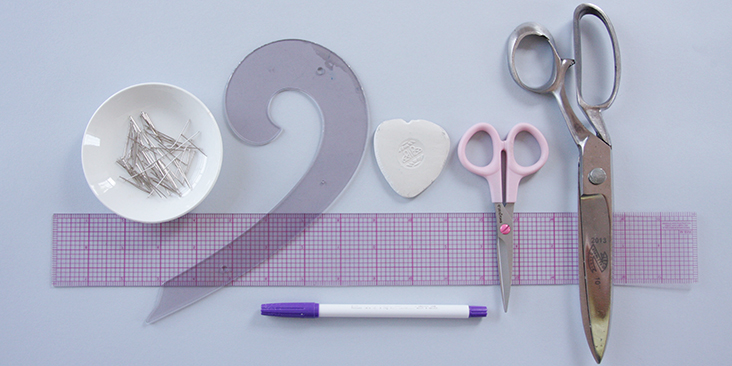
Pattern paper, scissors, pins, ruler, French curve, chalk, fabric marker, sewing machine
Time
2-3 hours
Difficulty
Beginner
Pattern
You can access the pattern by following this link HERE. Remember to add seam allowances as indicated in the pattern. The diagram shows the pattern for US size 6-8 (UK size 10-12). If you need help grading your pattern, please follow this tutorial.
Since the top is fully lined, you’ll need to cut 2 tank fronts on the fold and 4 tank backs. The pieces should be mirror images to each other. The best way to cut them correctly is to fold the fabric in half, pin the back pattern pieces a few inches away from the fold and then cut through both layers at once.
Steps
Note: Prewash your fabric and tumble dry it until it is still slightly moist, dry in room temperature. Iron the fabric so it is easier to work with.
1. Let’s start by assembling the front pieces together. Pin the outer fabric and the lining right sides together (only the neckline edges and the armholes).
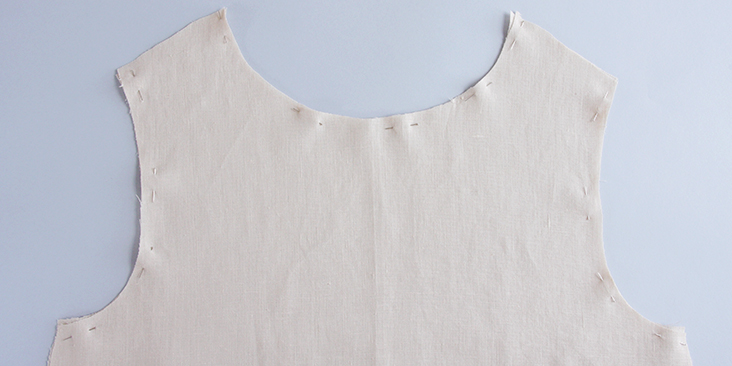
2. Sew the neckline and the armholes at 3/8″ seam allowance. The shoulder, side and bottom seams are left unstitched.
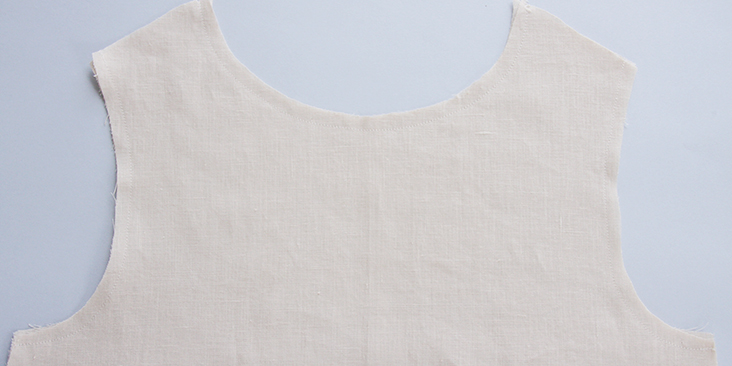
3. Repeat these steps with the two back pieces: pin the neckline and armholes right sides together and stitch 3/8″ from the edge. The only important thing that is different here – leave a 3″ gap on one of the back pieces unstitched (on the neckline seam). We’ll use this gap later to turn the top inside out and it will be then hidden under the overlap.
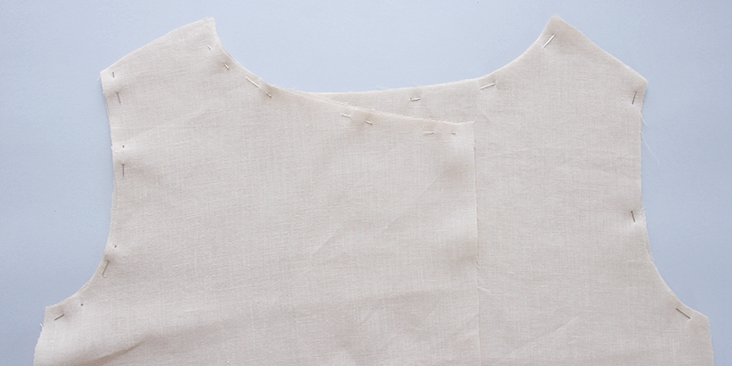
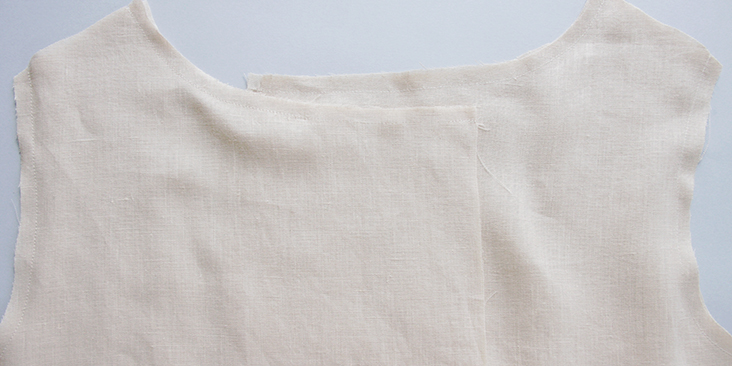
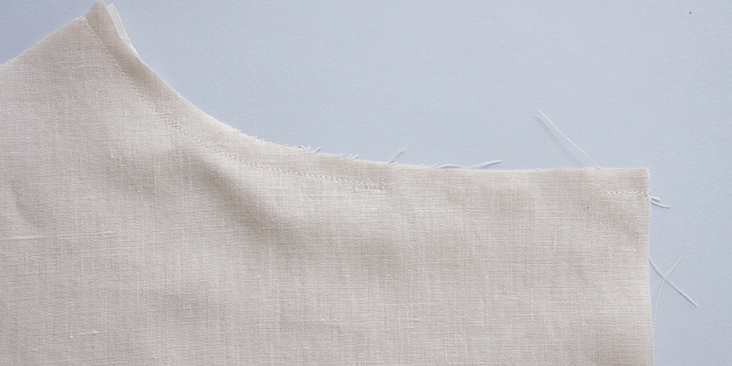
4. Trim the seam allowances to 1/4″ (6 mm) and press the seams open. Make a few notches (clip to but not through the stitch line) along the curves to release the tension.
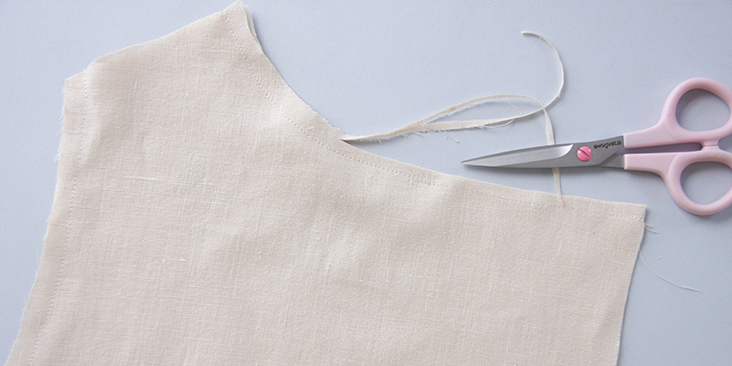
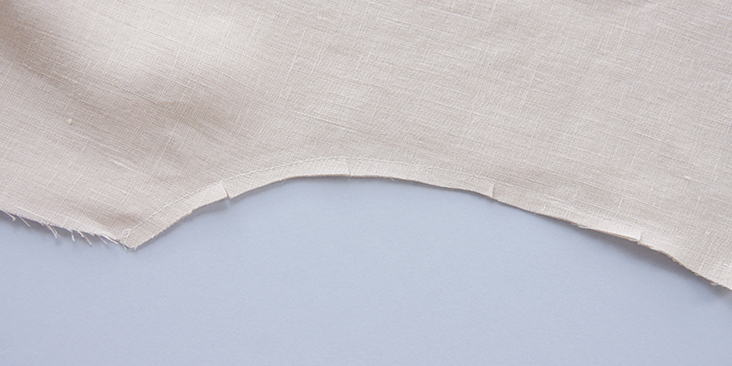
Press the seams open
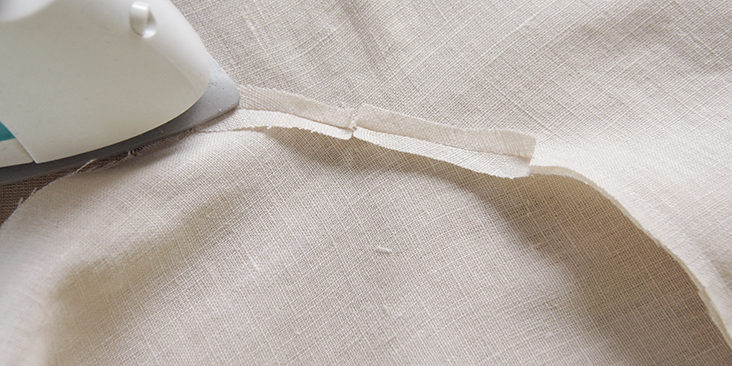
5. Turn your back pieces right sides out and insert them into the front piece (wrong side out).
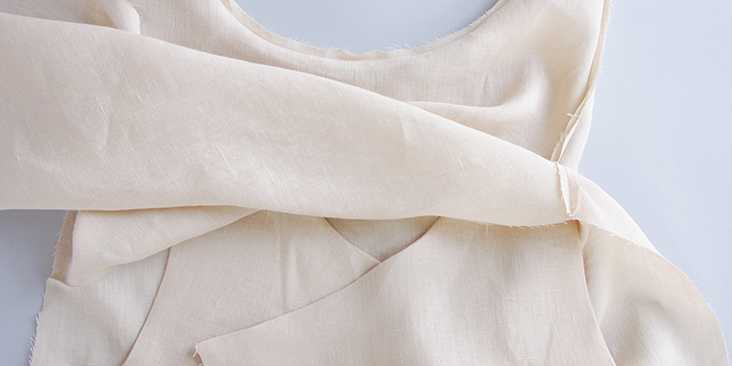
6. Pin the shoulders together (all four layers of fabric).
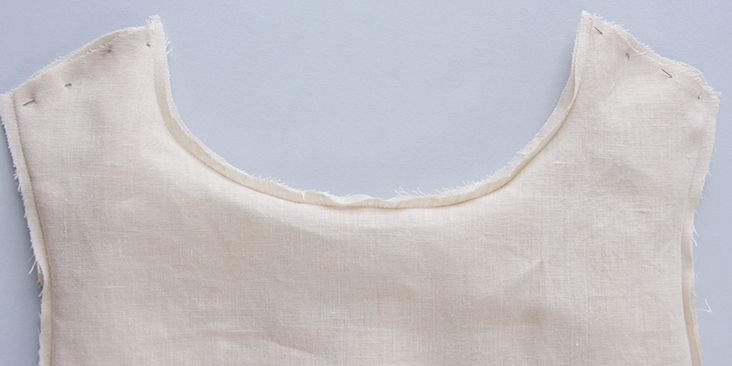
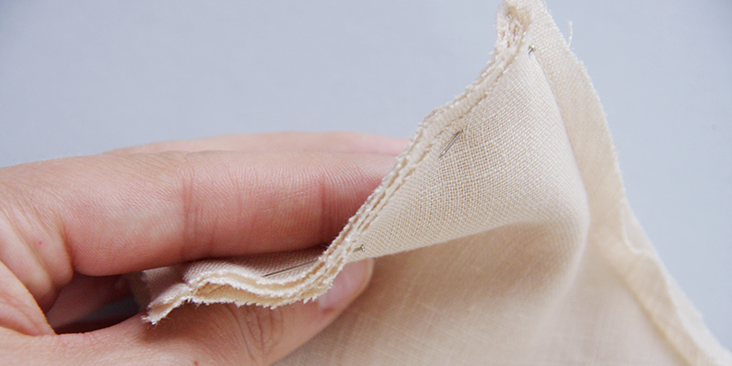
7. Stitch the shoulders together at 3/8″ and trim the seam allowance.
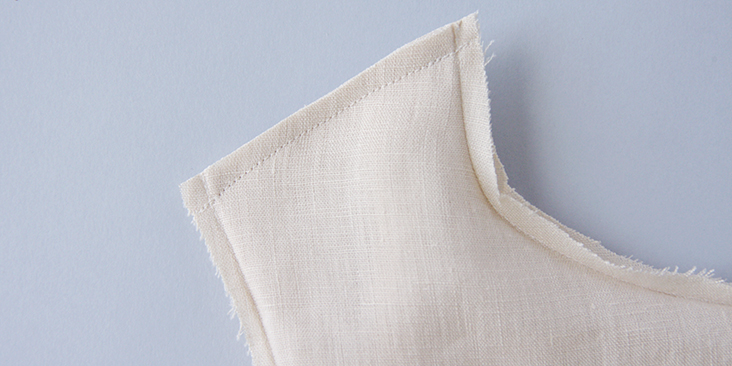
8. Turn the front piece right side out and discover your neat shoulder seams with no raw edges exposed as they are enclosed between the outer fabric and the lining. Press the seams flat.
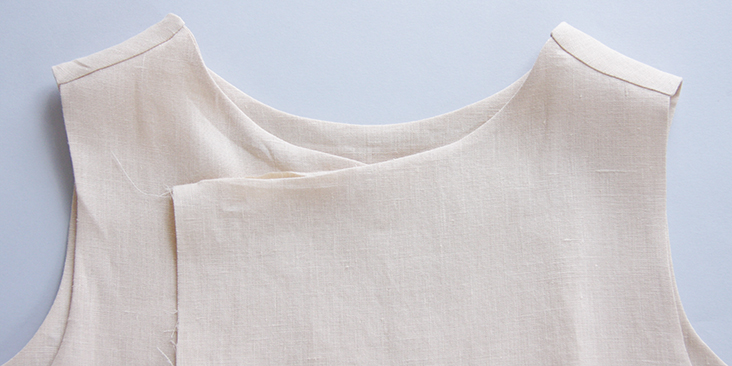
Now comes the tricky part – assemble the side seams and sew them together to enclose all the raw edges inside the outer fabric and the lining.
9. Turn your top wrong sides facing out and pin the side seams right sides together: front lining to back lining and front outer fabric to back outer fabric.
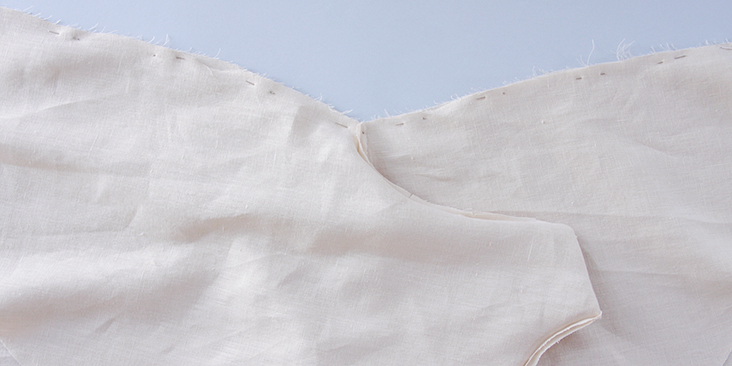
10. Stitch the sides seams together at the usual 3/8″ seam allowance and then trim and press the seams open.
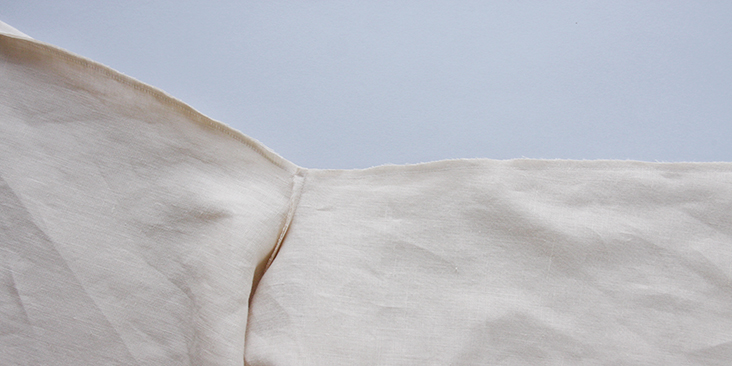
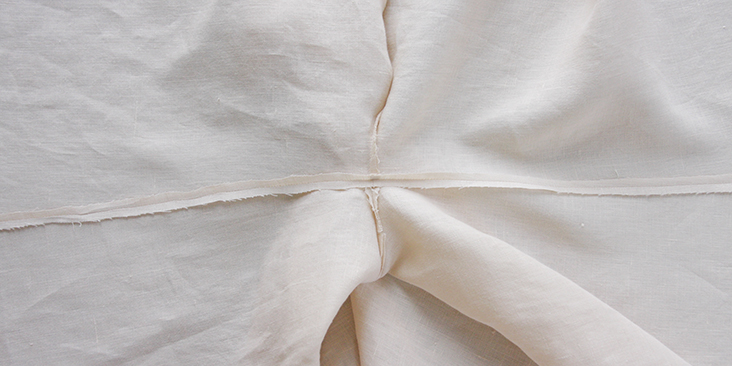
11. Now pin the rest (the back slit edges and the bottom edges) of the edges right sides together (lining to outer fabric) and stitch.
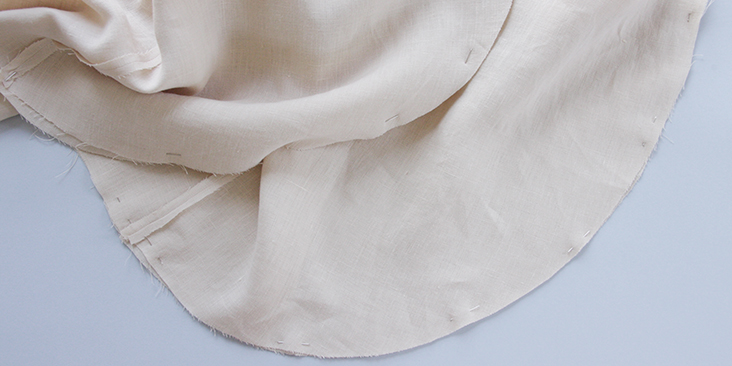
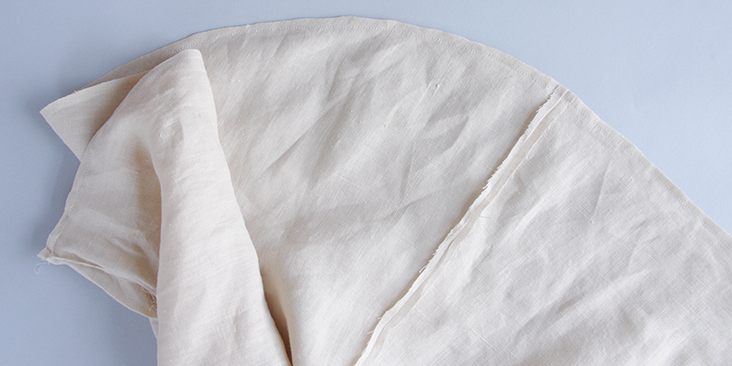
12. Trim and press the seam allowances open.
13. Pull the right side of the top out through the opening and press all the edges flat.
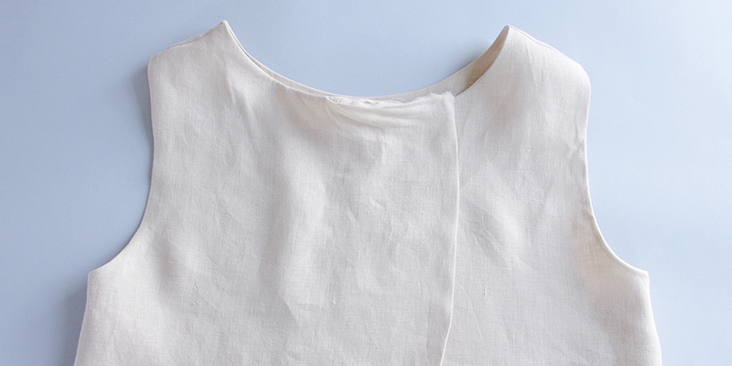
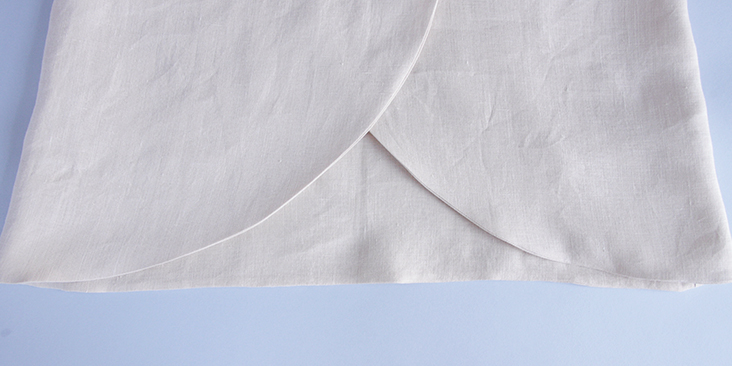
14. Tuck in and press the seam allowance of the opening.
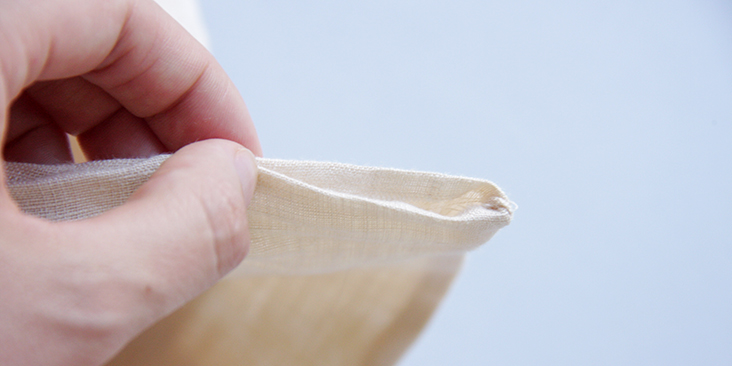
15. Overlap the two split back pieces and hide the opening by placing the finished piece on top. Pin.
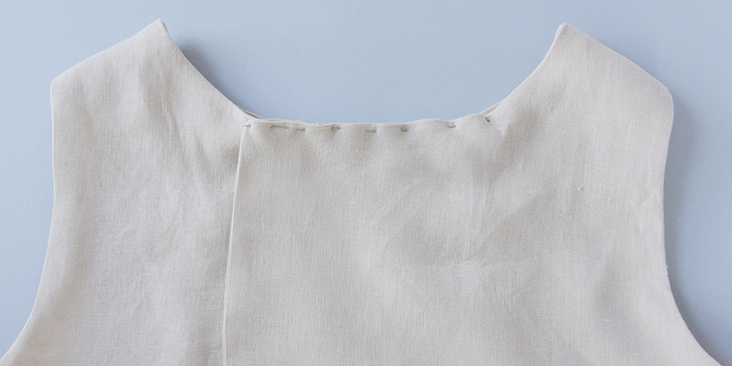
16. Topstitch the two overlapping pieces together as close to the edge as possible.
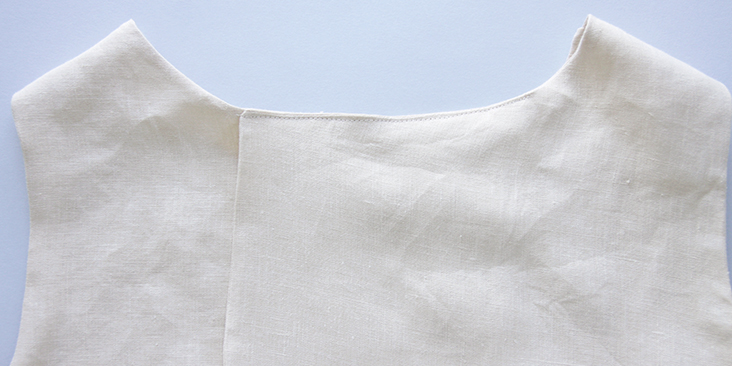
Give it one final press and admire your fully lined tank with no raw edges at all!
Check out our full plethora of linen fabrics and see which color takes your fancy for this easy sewing project!










18 Comments
Anda Cytroen
Just came across this lovely top – would you consider making it a multi-size pattern akin to the others for those of us who don’t have a French curve or can draft a pattern?
Tamra Morley
Can you tell me if this pattern is still available for download? If not, do you think it will come back as a free pattern?
Thank you!
Rima Khusainova
Dear Tamra, this tank is available as a diagram with all the measurements for you to copy and grade to your size. Unfortunately it was never made as a multi-sized pdf pattern. However, what you could do is use our graded pattern for the linen tank (it can be found here: https://fabrics-store.com/sewing-patterns/linen-tank-pattern/), pick your size and adjust it to create a split back. This should be a pretty easy pattern hack and a good patternmaking exercise. Hope this helps!
Tamra Morley
Thank you for the reply. How do I go about getting the diagram?
Rima Khusainova
Just click on the link in the “pattern” section of this tutorial and it will take you to the Dropbox page with the diagram. You can then download it and save to your computer (upper right corner).
Meghan
I made this today! It took me more like 7 hours (not 2-3) but this is the first shirt I’ve sewn that I feel is presentable enough to be worn in public, so I’m sure it’s just me. 🙂 It’s a great pattern, I really love it. Thank you!
Rima Khusainova
Haha thank you Meghan! Yeah, I guess the time estimate is pretty relative but glad to hear that you are happy with the result!
Cheryl
I don’t know what I’m doing wrong, but I just can’t figure out how to download your patterns and tutorials. Got any suggestions? I may have asked this before, but I recently suffered a head injury, and my memory is about as long as a gnat’s leg. Sorry to be such a bother.
Cheryl
Rima Khusainova
Dear Cheryl, sure, let’s see if I can help. When you click on the link containing the pattern, the Dropbox will probably ask you to sign in or create an account. You skip all that and click on “œNo, thanks” at the bottom corner. You’ll be redirected to the page containing the pattern. You can download it by clicking on the “œDownload” button at the upper right corner. It’ll be automatically saved to your computer. The process might be slightly different depending on which OS you use (Mac or PC). However, please note that the pattern is not to scale. So using our measurements, you just trace it onto the pattern paper and cut. If you need to grade the pattern, please follow our grading tutorial https://blog.fabrics-store.com/2015/06/01/how-to-grade-a-pattern-tutorial/
Chris
Dear FabricStore friends, please, please consider doing some of your basics/essential pieces in medium, large, and extra-large versions. I bet your sales would go up! 😉
Rima Khusainova
Dear Chris! Thank you very much for your advice. Some of our patterns are already available in multi-sized printable versions and we are working hard to get as many of our patterns as possible in multiple sizes.
Tanya
beautiful. nicely done!
Rima Khusainova
Thank you Tanya!
Patrice Stanton
Cute! I’m thinking it would be fun to make it REVERSE to a pale yellow or pink or natural etc. Thoughts?
Karen Morrow
I was thinking the same thing, it would be easy to make it reversible.
Marie
I’ll be cutting UK 10/12, normal commerical patterns size to a ‘B’ cup. What size have you used for this pattern and what measurements have you used for the 10/12?
Rima Khusainova
Hi Marie! You can easily alter the pattern by following our grading tutorial HERE
Masha Karpushina
Marie, hi, the pattern is a UK 10 with a B cup fit, it would be slightly looser on a UK8. If you would like to make it a size bigger, follow Rima’s suggestion on our guide on how to size up your pattern.