Sewing Glossary: How to Sew and Attach a Ruffle Tutorial
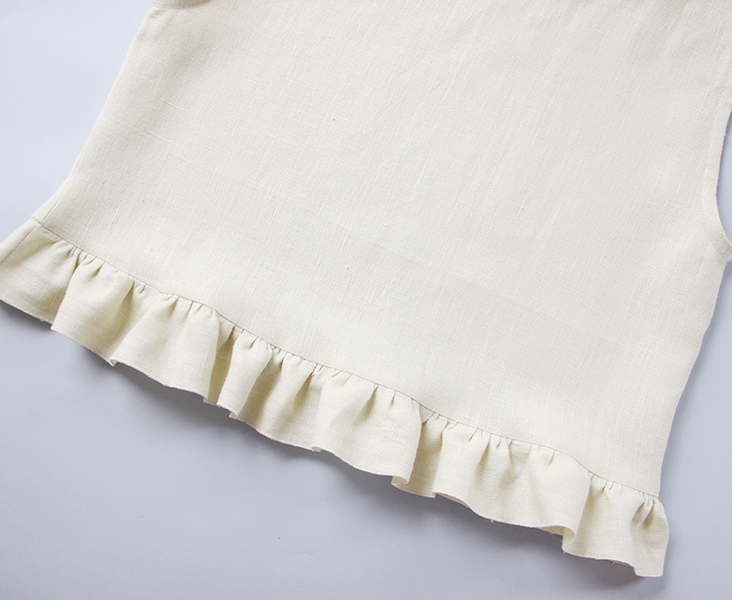
One of the most beautiful and feminine accents that you can add to a sewing project is a ruffle. Ruffles can give a lot of personality to any simple garment: from tops and dresses to home decor and craft projects. Being armed with a basic technique for ruffle making will allow you to dress up any pattern and create something absolutely unique and pretty.
There are different types of ruffles: fold-over ruffle, circle ruffle, center ruffle, cascading ruffle, tube ruffle, etc. Today we are going to show you how to sew, gather, hem and attach a basic straight-cut ruffle.
Materials
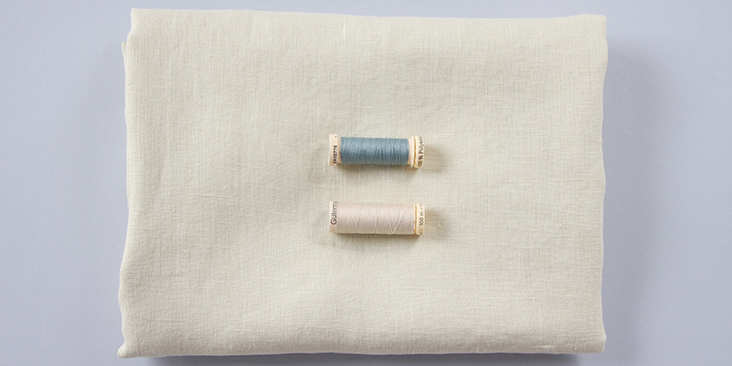
Fabric of your choice (We are using our beautiful medium weight linen in IL019 PRISTINE Softened)
Matching sewing thread, contrasting colour thread (for gathering)
Tools
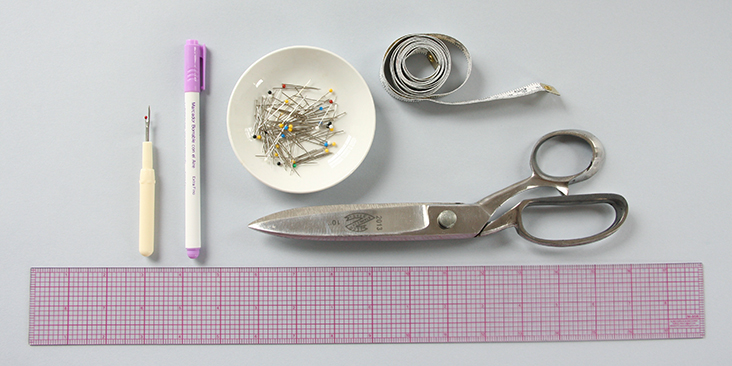
Pins, scissors, ruler, measuring tape, fabric marker/chalk, seam ripper, sewing machine
Difficulty
Advanced Beginner
Pattern
When you work with a pattern that includes a ruffle, it will tell you the length and the width of fabric that you’ll need to cut to gather your ruffle. However, it’s very easy to make your own ruffle and attach it to almost anything. In general, you will want the length of your fabric strip to be 2 times the length of the finished ruffle. So the gathering ratio is 2:1. You can experiment with this ratio, just keep in mind that the greater the length of the fabric strap, the fuller the ruffle will be and vice versa. As for the width of the ruffle, it’s really up to you, whatever size you think would fit best your design. Just remember to add your standard seam allowances to all edges.
Steps
Note: Prewash your fabric and tumble dry it until it is still slightly moist, dry in room temperature. Iron the fabric so it is easier to work with.
1. Cut a strip of fabric twice the length of your desired finished ruffle and as wide as you would like it to be on the straight grain. For this tutorial, we cut 2 strips 35 3/4″ (91 cm) long (the 3/4″ is for 2×3/8″ (1 cm) seam allowances) and 3″ high (including 2×3/8″ (1 cm) seam allowances) that will later be assembled into a circle and attached to the bottom hem of a top, which measures 35” (89 cm).
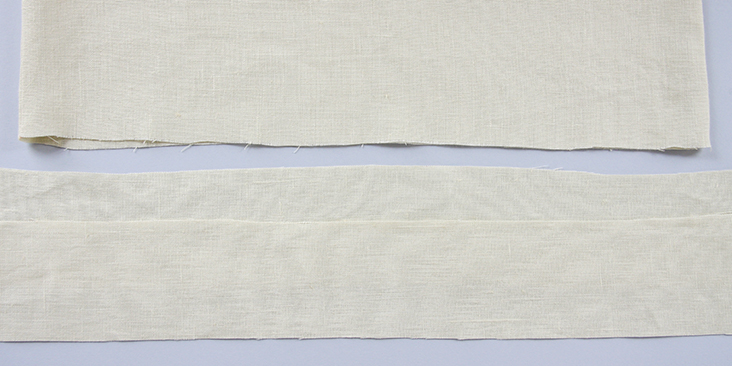
2. Before gathering or attaching the ruffle, you need to finish one of the longer raw edges with a technique of your choice. You could choose between a machine rolled hem, a baby hem (check out our tutorial HERE for detailed instructions) or a tiny zig-zag hem. There’s also another option that we think provides the best results – to finish the hem with a buttonhole stitch.This is the technique that we are going to use here.
First, set your machine to a vertical buttonhole stitch.
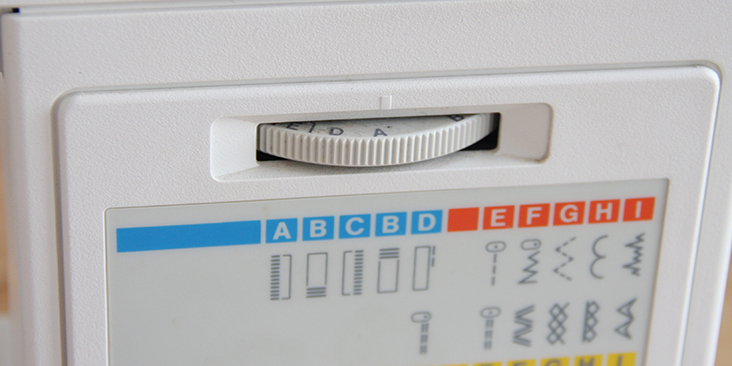
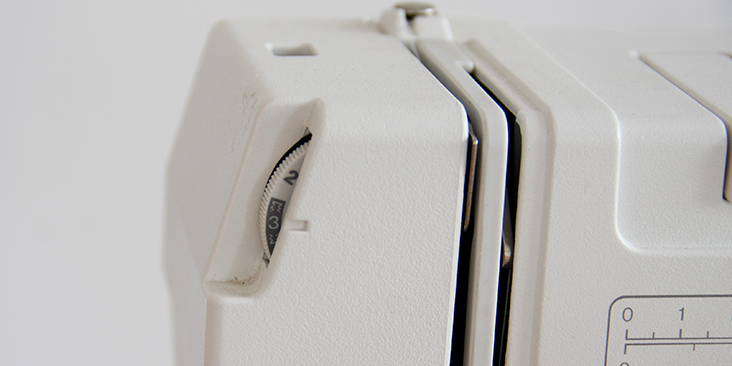
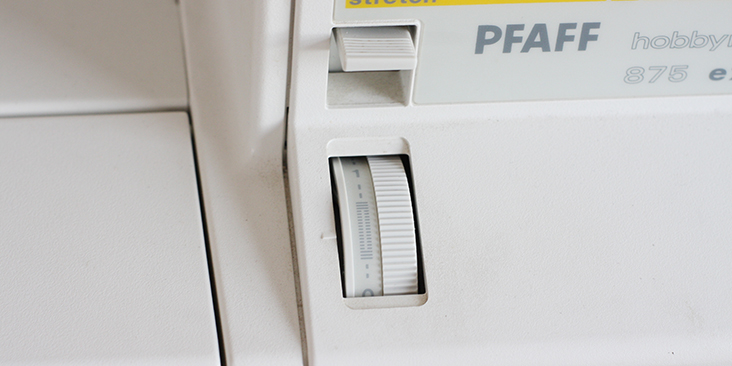
Then stitch along the edge at a 3/8″ (1 cm) seam allowance.
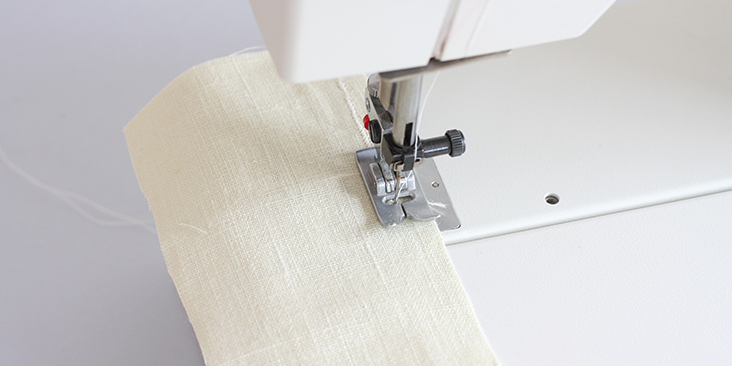
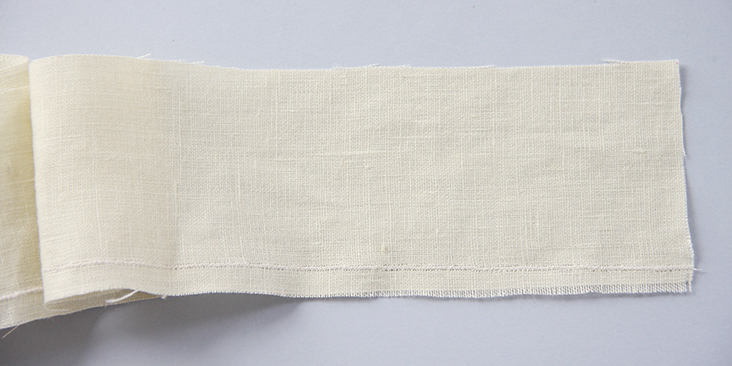
Very carefully trim the excess fabric. Cut as close to the stitching line as possible without breaking the thread. You might want to use smaller scissors.
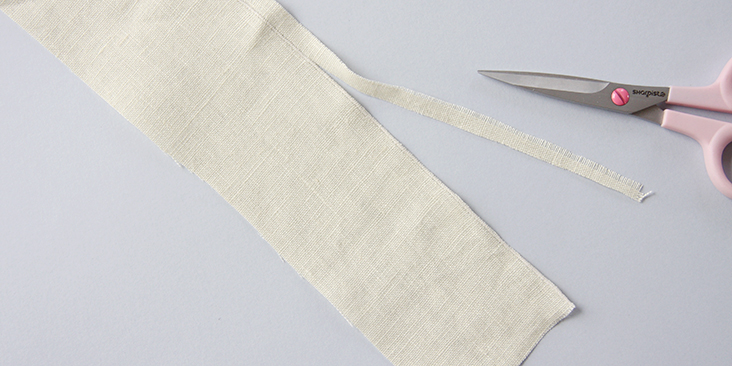
3. Now you need to join both ruffle pieces in order to create a continuous circle. Pin the ends right sides together.
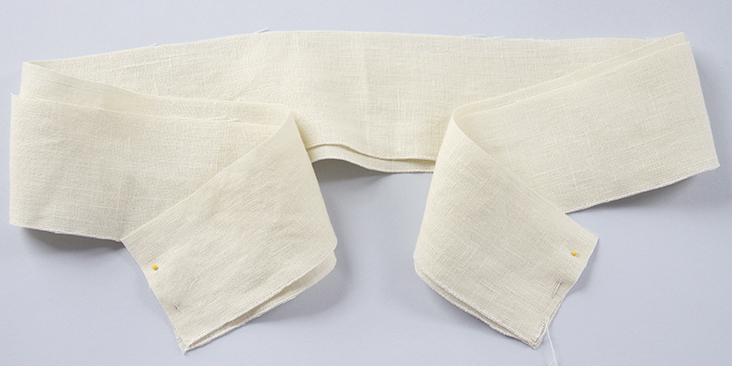
4. Stitch both ends together at a 3/8″ (1 cm) seam allowance using the buttonhole stitch.
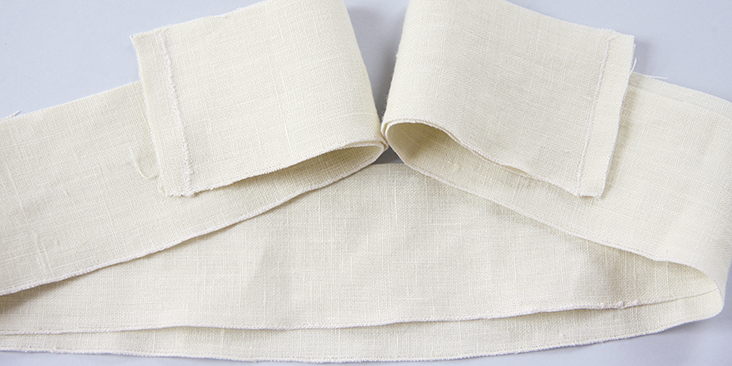
5. Trim the excess fabric as close to the stitching line as possible.
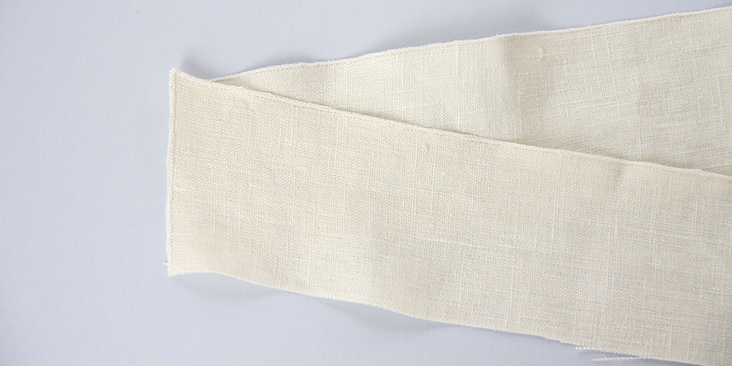
6. Press the seam open.
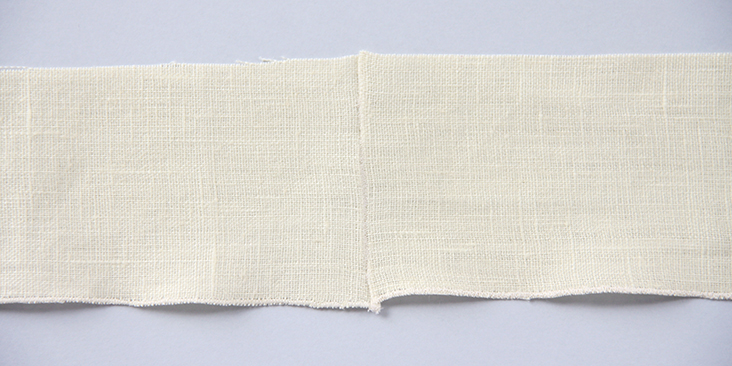
7. The next step would be to gather your ruffle. We have a great tutorial HERE that explains in detail how to do it. Set your machine to the longest straight stitch and use contrasting thread.
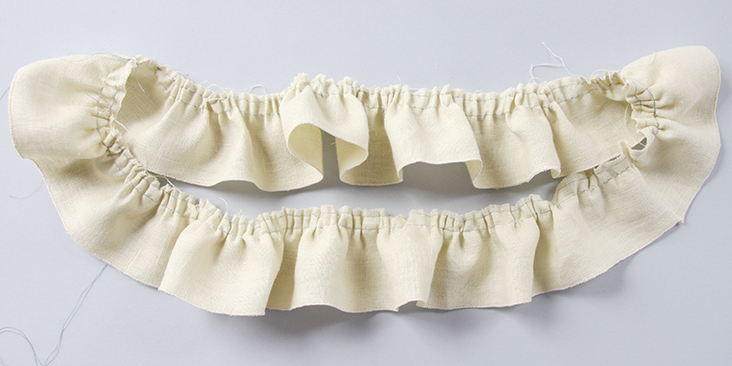
8. Once you’ve gathered your ruffle to the desired length (in our case it corresponds to the bottom hem of our top), you need to attach it to your garment.
Since we are attaching it to a top, we want to make sure that the side seams and the ruffle’s seams are aligned. First pin the garment’s and the ruffle’s side seams right sides together and then distribute the gathers evenly along the edge.
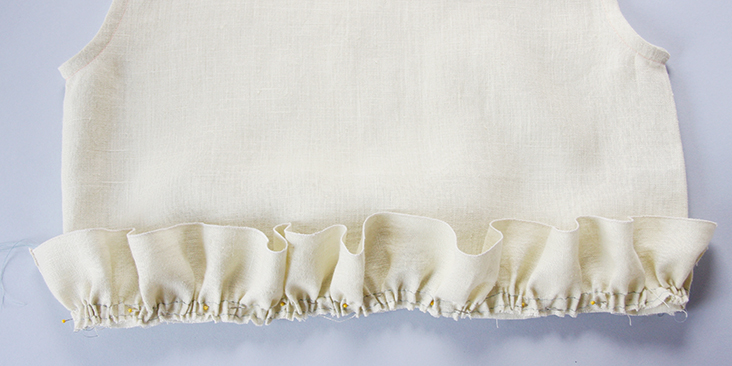
9. Stitch the ruffle onto the garment between the two gathering stitch lines.
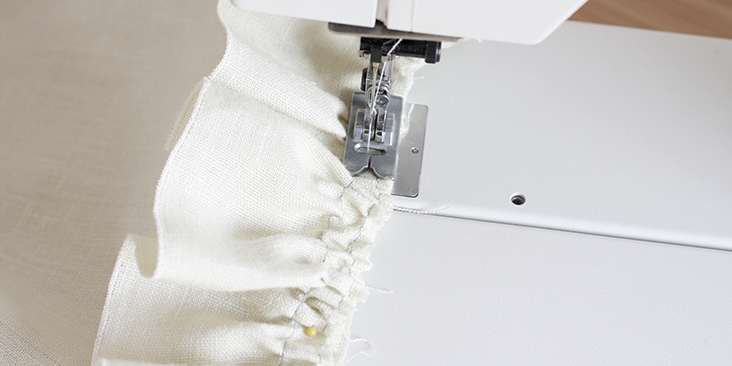
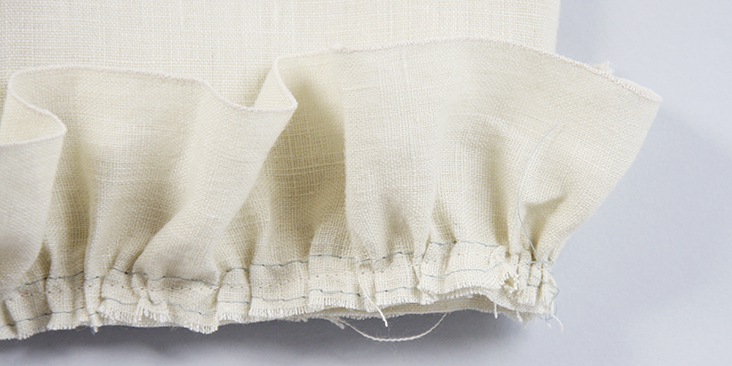
10. Using your seam ripper, gently break the gathering stitch lines (now you understand why we made them using a contrasting thread – this way you are sure that you won’t accidentally break the wrong line).
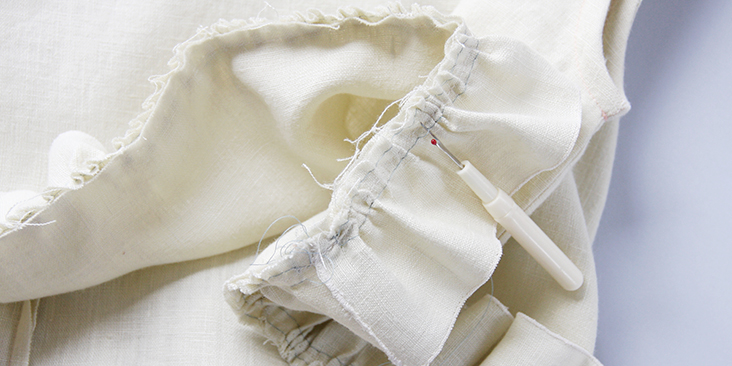
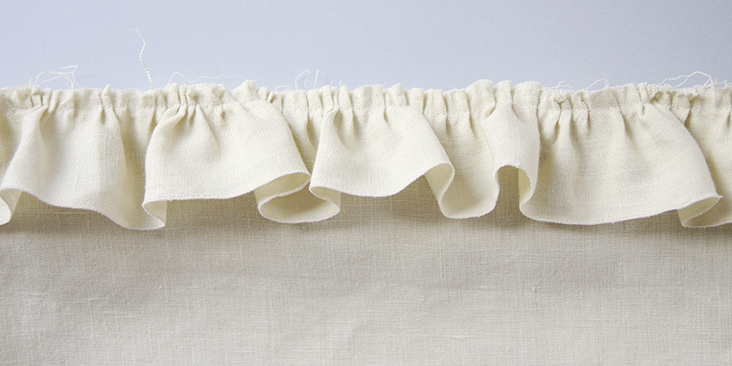
11. The last step would be to serge or zigzag the raw edges together to finish the seam and prevent it from fraying.
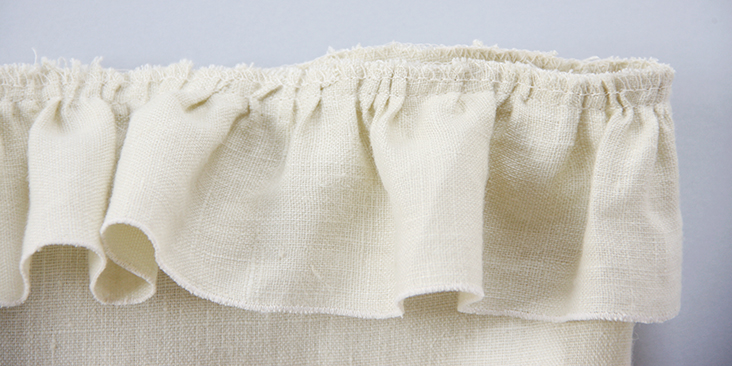
12. Gently press the seam open and you are all done!
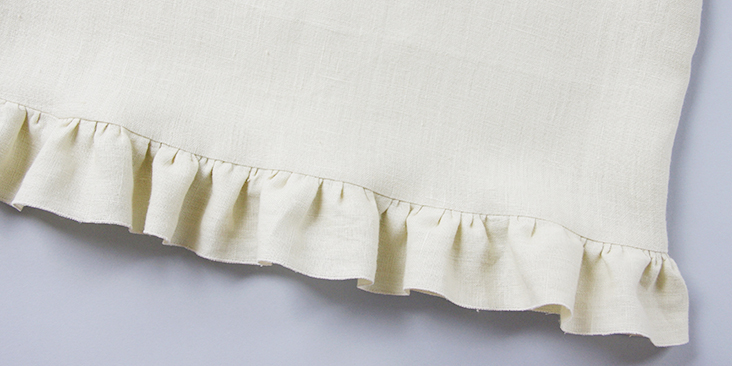
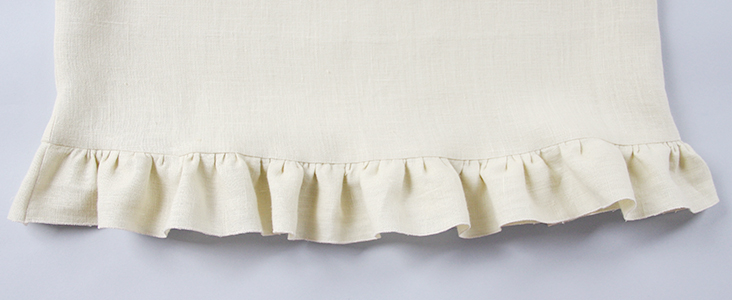
Now you know how to sew and attach simple ruffles. Soon, you will be adding them to everything!
We invite you to explore our tutorial section HERE and to see if any of our existing projects take you fancy to practice this new skill. As for the fabric choice, linen is an ideal material for ruffle making. Not only it’s easy to work with, it also has this beautiful textural feel that gives your ruffles a soft drape and beautiful rustic look.
Have a browse through our selection of linen and see which of our fabrics inspire you to use your new skill!




9 Comments
Pingback:
How to Sew Ruffles? (Learn Step By Steps) In 2023Eya Belal
Hi great tutorial I want to ask how to sew a tiny zigzag hem ??? Thank you
Julie Stroeve
I could not, in good faith, leave a linen edge unfinished or bound with a machine stitch. It would never hold up in repeated washings. I would make this ruffle by doubling the width, folding it in half so both sides are “finish” sides, then gathering it to the required dimension and sewing it to the garment. I like the idea of serging it to the garment. It would be a nice finish to end up with.
Taryn
This is a great tutorial! Can’t wait to try it. I never thought to finish the edge with a button-hole stitch. Just wondering, how does that finish hold up with washing and is there any tendency for it to fray or unravel? Would it be best to hand wash the garment if it is finished in this way?
Rima Khusainova
Deat Taryn, thank you so much for your nice comment. I’d say that since we are working with linen it might fray a bit after the first wash but you can always just clip the unwanted threads one more time. The more you wash, the less it will fray. If you want to be sure that it’ll never fray again, you can always choose to finish the edge with a baby hem (there’s a link to the tutorial on how to do it in the post).
Claudia
On #12, is it possible you meant to say press the seam up toward the shirt? You could only press the seam open if you separated the seam and zig zagged each one.
Thank you for this.
Rima Khusainova
Dear Claudia, thank you for your comment! Yes, this is exactly what I meant. Since the raw edges are serged together, the only way to press the seam would be to press it up toward the shirt. What I wanted to say by “open” is that it’s also nice to press the seam very gently from the right side, to flatten the ruffle at the seam so that it’s not very bulky.
Clark Ward
Great tutorial! I’m a beginner at sewing and this was totally understandable. Thanks!
Rima Khusainova
Thank you so much for your comment! Sewing ruffles is pretty easy so don’t be afraid to try even if you’re a beginner!