Linen Pie Carrier Tote Tutorial
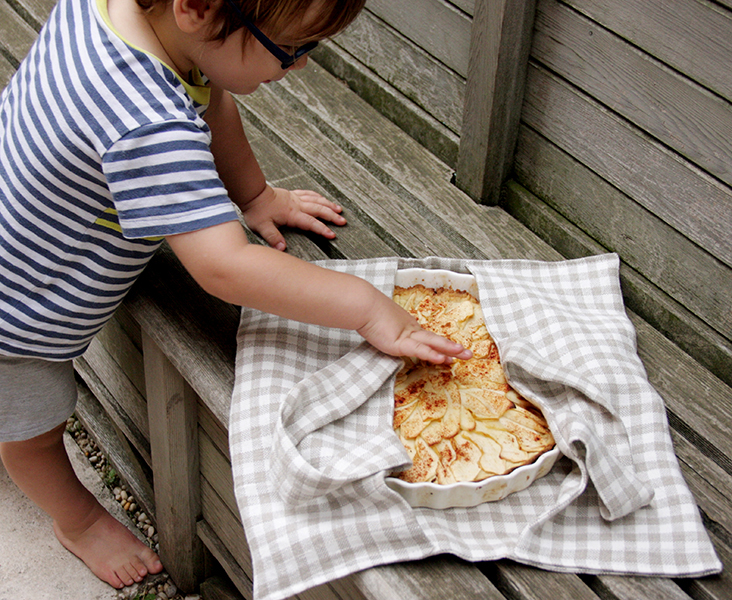
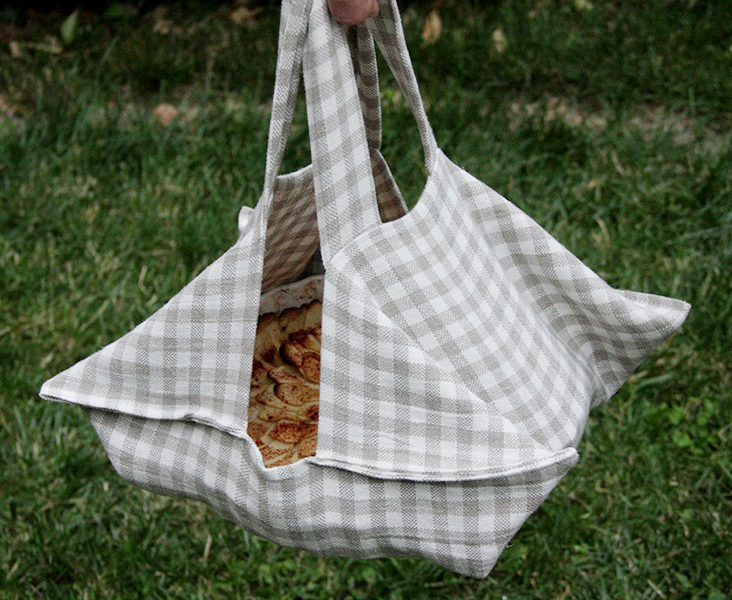
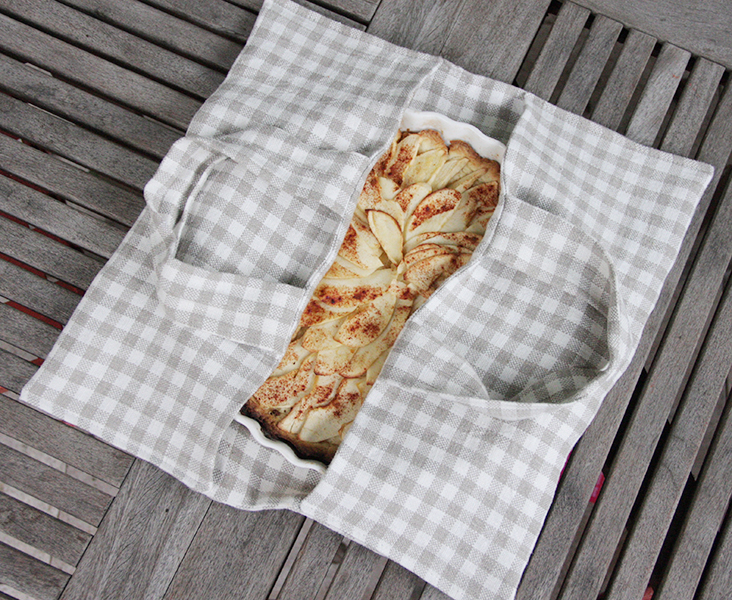
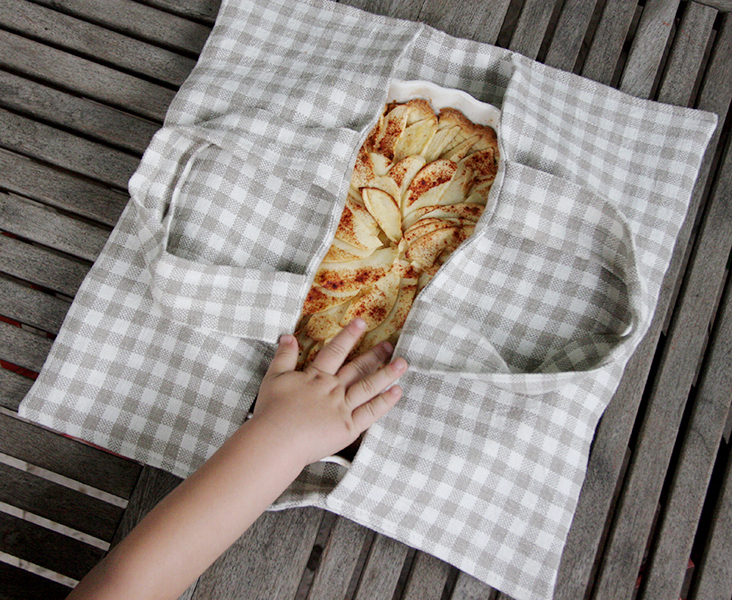
You never know how to carry your pie when going to a party? This lovely handmade pie carrier is the solution! It is fully lined with no visible raw edges and measures approximatively 15”. You can use it for carrying pies, large dinner plates or casseroles. This bag would also make a great DIY gift for your friends and family.
For this design we used our signature Premier Finish 100% linen in a classic plaid pattern. It is a heavier canvas weight linen in natural and ivory tones that is not only very durable and sturdy, but also looks great in the kitchen.
Materials
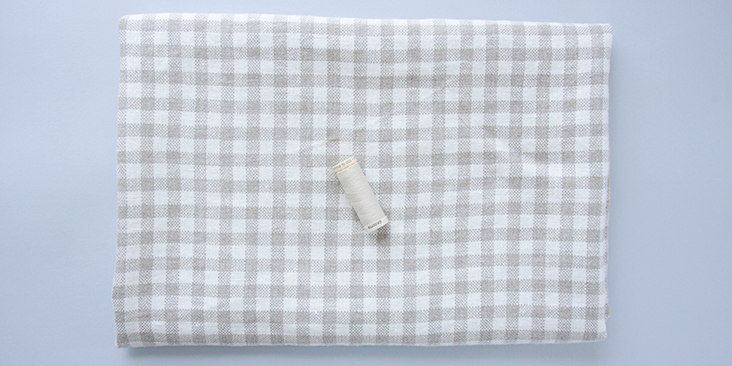
1 yard of IL083 937 – FS Premier Finish canvas weight linen
Matching sewing thread
Tools
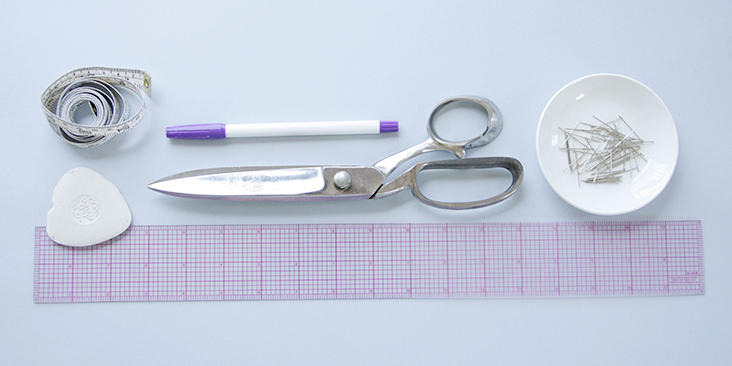
Ruler, measuring tape, chalk, fabric marker, pins, scissors, pointed object for turning corners (a point turner or a simple chopstick), sewing machine
Time
1-2 hours
Difficulty
Beginner
Pattern
Cut two 29″ (73,5 cm) x 16,5″ (42 cm) rectangles for the outer fabric and the lining.
Cut one 29″ (73,5 cm) x 4,5″ (11,5 cm) rectangle for the straps.
All seam allowances are included.
Steps
Note: To avoid shrinking and wrinkling, prewash your fabric and tumble dry it until it is still slightly moist, let it dry in room temperature and then iron.
1. Iron the fabric so it is easier to work with.
2. Let’s start with the straps. Fold your 29″ x 4.5″ rectangle in half lengthwise and pin the right sides together.
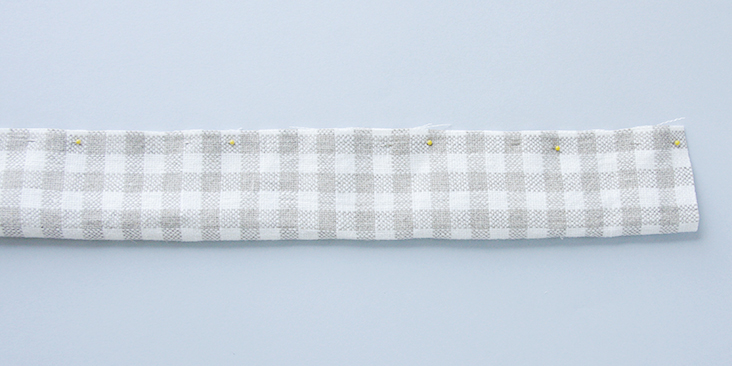
3. Sew along the pinned edge at a 3/8″ seam allowance and leave both ends open.
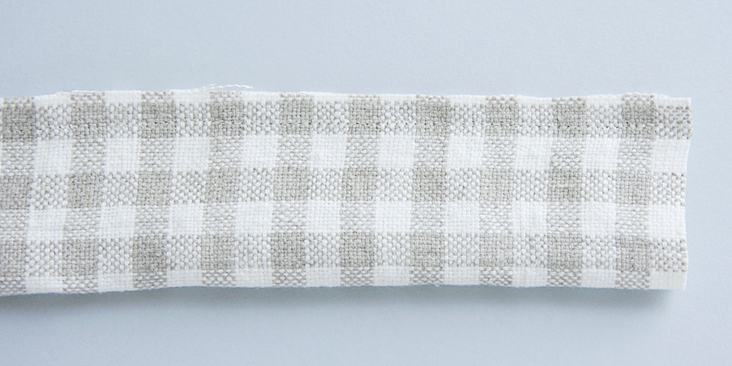
4. Trim the seam allowance to 1/4″ and press the seam open.
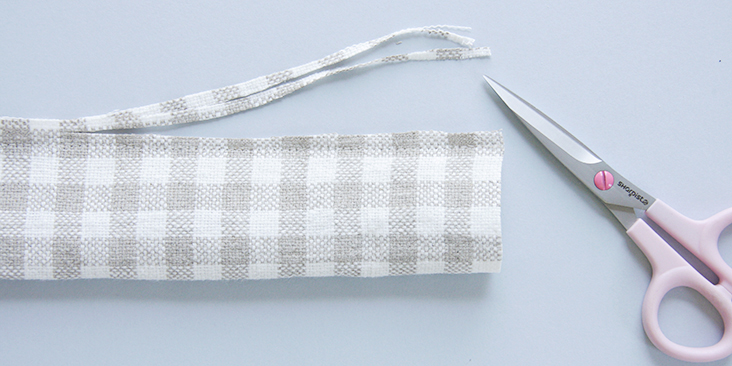
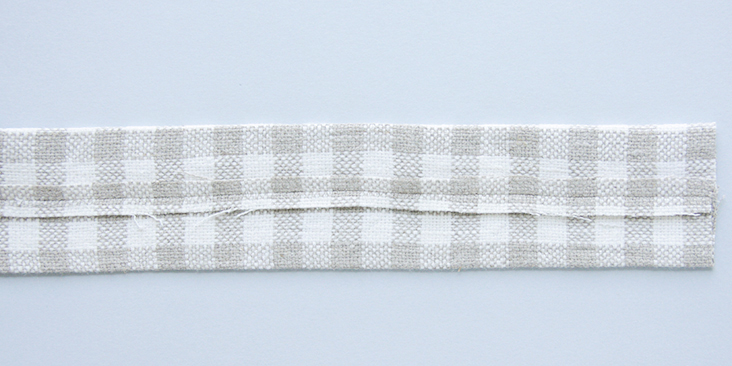
5. Turn the strap inside out through one of the ends and press again placing the seam in the middle or one of the edges.
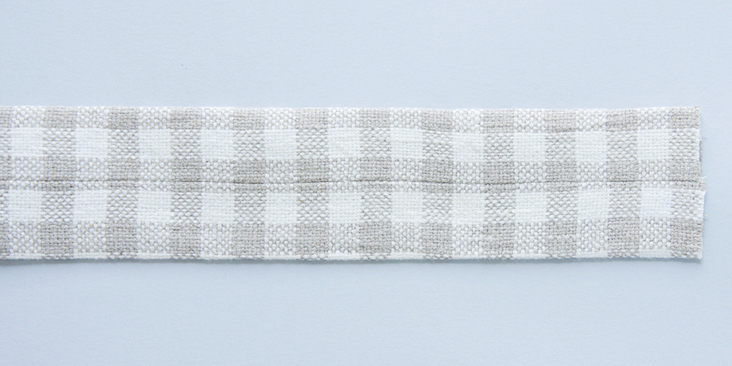
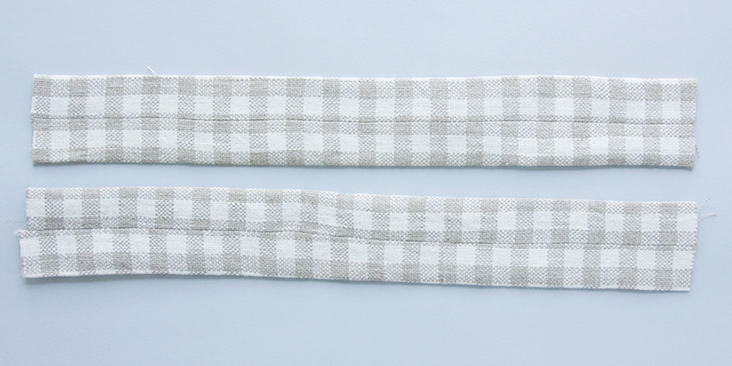
6. Cut your long rectangle in two in the middle to create two equal straps.
7. Take one 29″x 16.5″ rectangle and place it on the table right side facing you. Pin the straps to the short edges (16.5″) of the rectangle towards the inside.
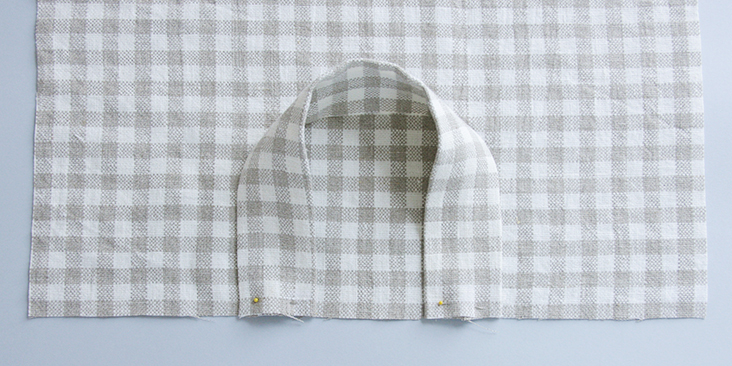
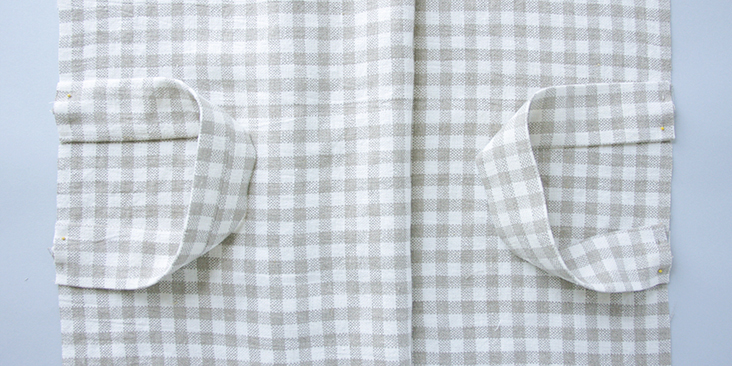
8. Sew the straps in place 1/4″ from the edge.
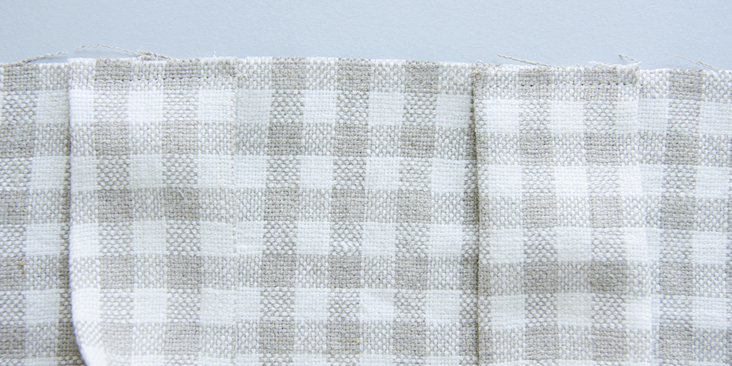
9. Now place the second large rectangle on top, right side down and wrong side facing you. So, the two right sides of the rectangles should touch enclosing the straps inside. Pin around all edges.
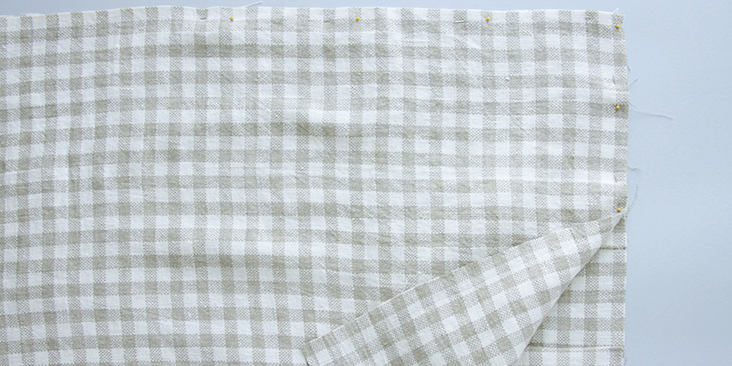
10. Stitch the two rectangles together at 3/8″ leaving a 3″ opening on one of the longer sides.
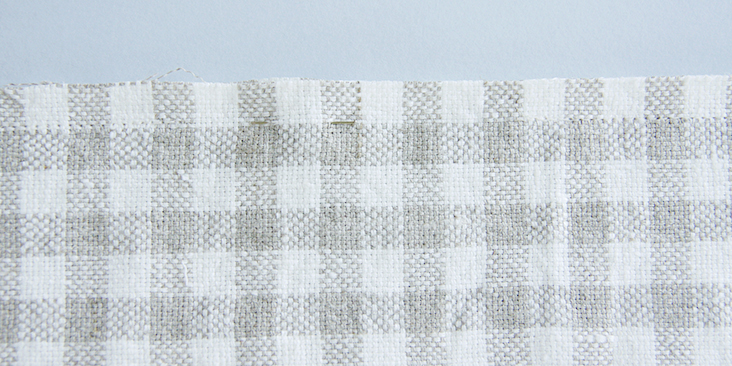
11. Trim the corners.
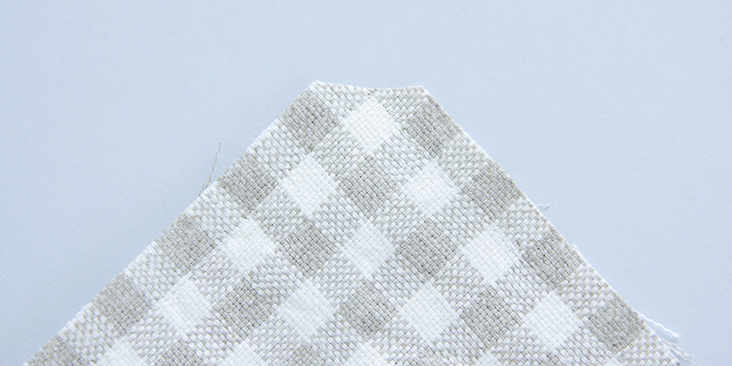
12. Turn the bag right side out through the opening and use a pointed object like a chopstick to get the corners. Press the seams flat.
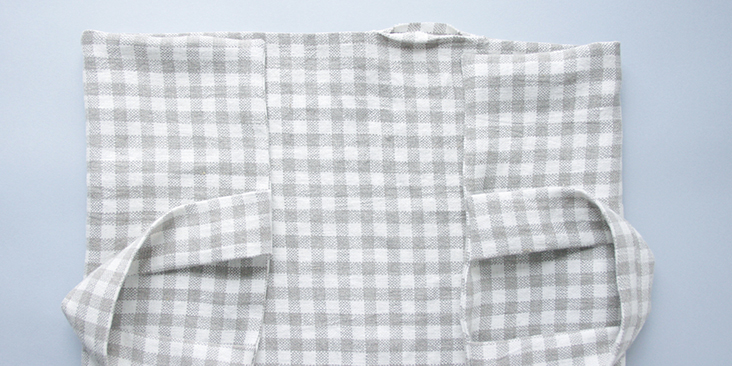
13. Tuck the opening’s seam allowance into the inside of the bag. Press and pin.
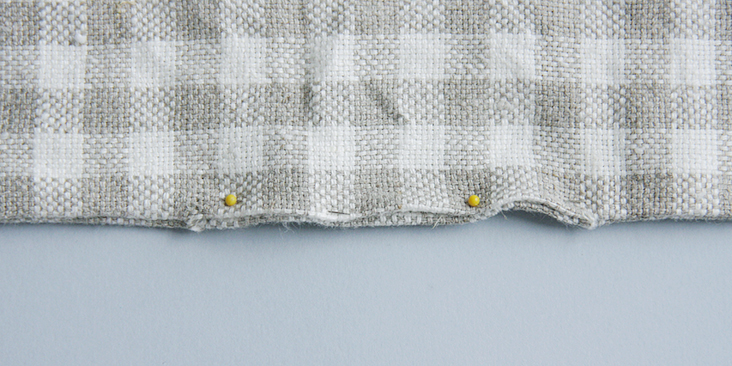
14. Fold the bag’s longer edge in two to find the center point. Make a mark with a pin.
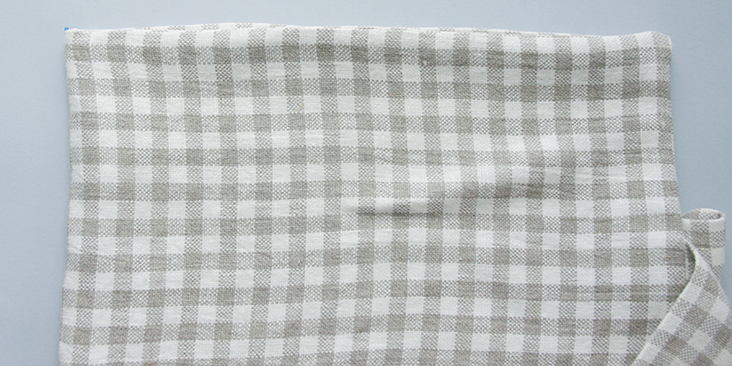
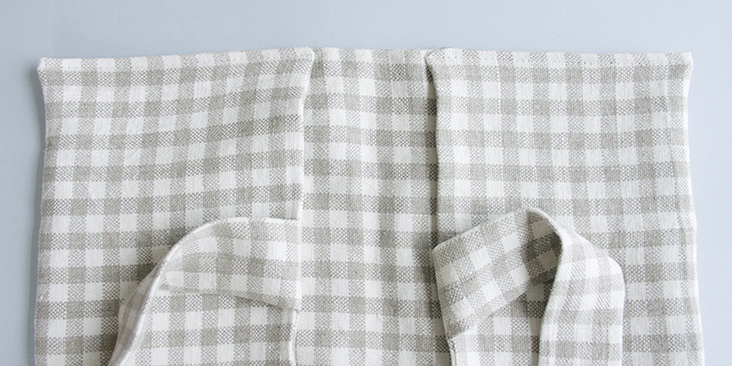
15. Now fold the two short sides towards the center point and pin them in place at a 1.5″ distance from the mark. Make sure that the handles’ stitch line is on the inside and the opening is hidden under the fold.
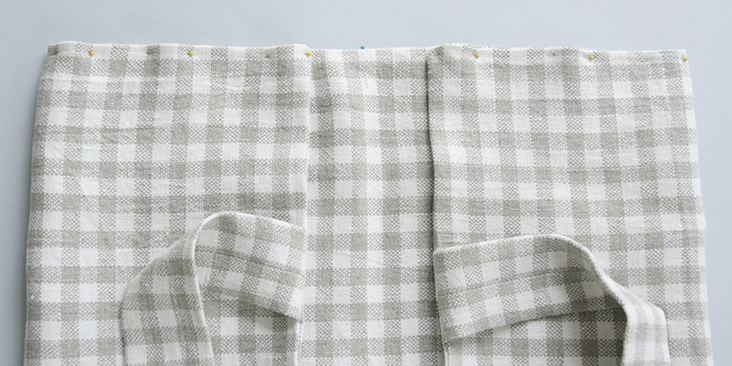
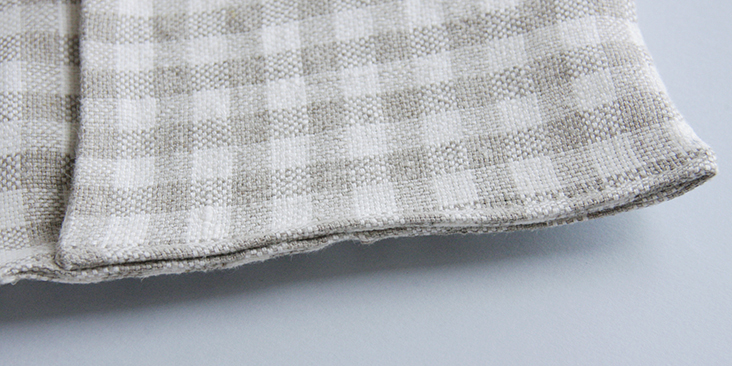
16. Set your sewing machine on a longer stitch (since we have a lot of layers to stitch through) and topstitch the pinned layers as close to the edge as possible closing the opening as you sew. Remember to backstitch.
That’s it! Now you just slide your pie dish into the bag! Such a practical and stylish way to carry your homemade goods and to demonstrate your sewing skills to your friends. We are sure you’ll receive many compliments not only for your delicious meal, but also for your lovely bag!
Why not take a look at our website and see which fabric takes your fancy for this easy to make tutorial?









6 Comments
Pingback:
Linen Pie Carrier Tote Free Sewing PatternLiliana Maino
Oooohhhh… 7 años después y a kilos de km. de distancia me llega esta idea… Muchas gracias!!!
JulieA
I will be making this with quilt batting sandwiched inside to use on cooler days or with hot dishes. I have made one with pocket for ice packs for cold dishes By keeping everything self-contained, I won’t be forgetting my ice packs when I leave (which happens all the time.
Rima Khusainova
Hi Julie and thanks for all the useful suggestions! We’d love to see your versions of the tote so please share when you’re done!
Sue
Wow! Can’t wait to try this!
Rima Khusainova
Thank you Sue! We would love to see what you’ll make!