How to make a Linen Sleep Mask Tutorial
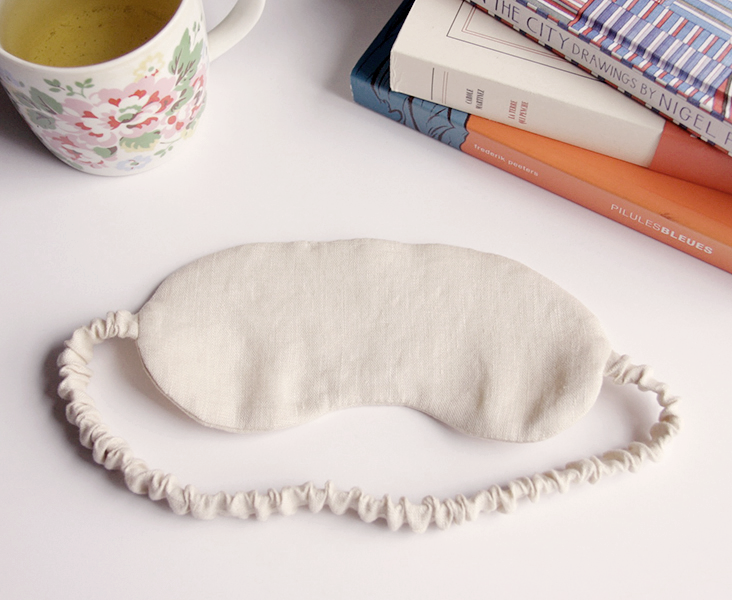 Summer is almost here and it means longer days and shorter nights. It also means vacation and travels. To get a good night’s sleep without being disturbed by light, we are sharing with you this very simple tutorial for a linen sleep mask that uses up the leftover scraps of your favorite fabrics and makes a great gift.
For more breathability during hot nights we opted for our lightweight IL020 NUDE Softened linen in a beautiful nude color. It has the perfect amount of thickness, softness and durability for a night of uninterrupted sleep.
Materials
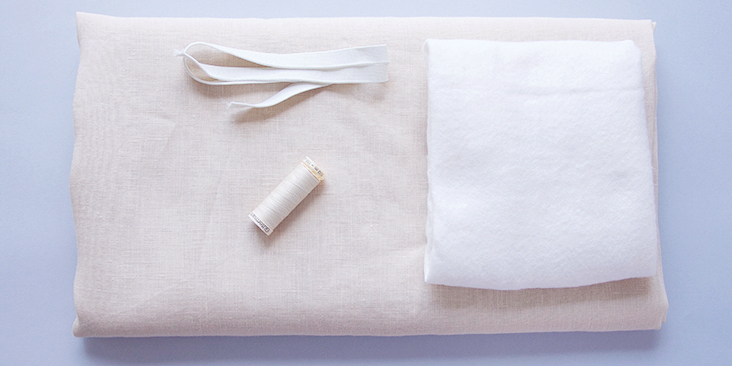
Leftover fabric, lightweight batting or felt, 0.5″ elastic band, matching sewing thread.
Tools
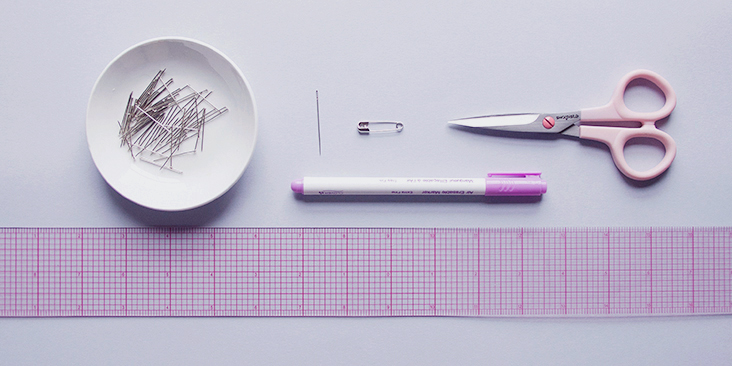
Scissors, pins, fabric marker, safety pin, needle, ruler, sewing machine
Time
1 hour
Difficulty
Beginner
Pattern
Download the pattern here and print it on A4 paper selecting “actual size” in your print settings. You can check if the pattern is printed correctly by measuring the test square – it should be exactly 1″x 1″ (2,5cm x 2.5 cm).
Steps
1. Iron the fabric so it is easier to work with.
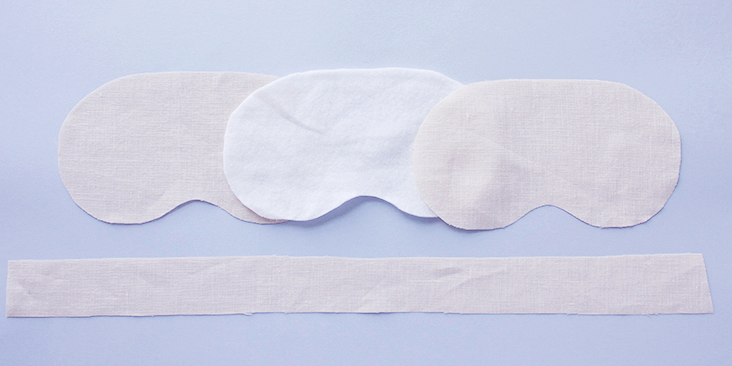
2. Download and print template. Cut two pieces in your main fabric and one in batting. Cut a rectangular strip in your main fabric for the elastic strap – 23″ x 2″.
3. Fold the strip in half lengthwise right sides together and press.
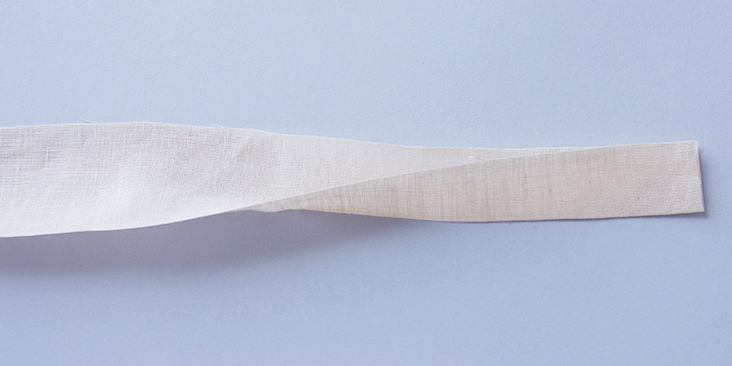
4. Pin the long raw edges together.
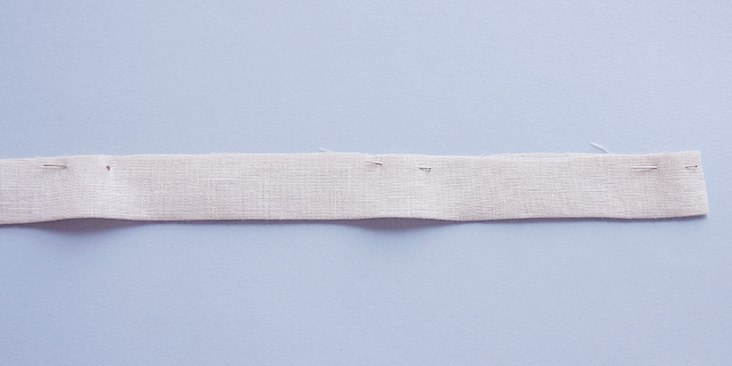
5. Stitch the pinned edges together leaving both ends open.
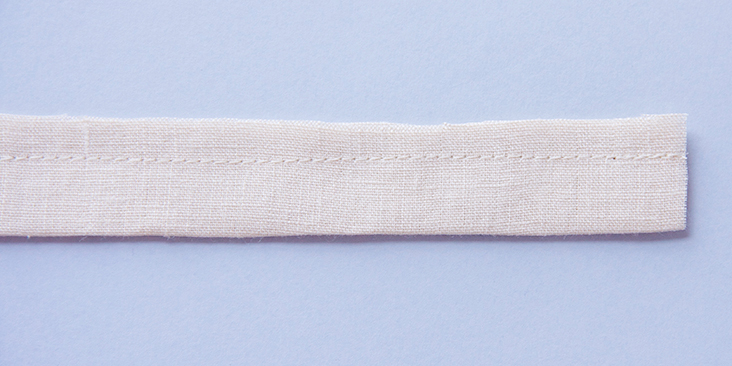
6. Trim the seam allowance to 1/4″.
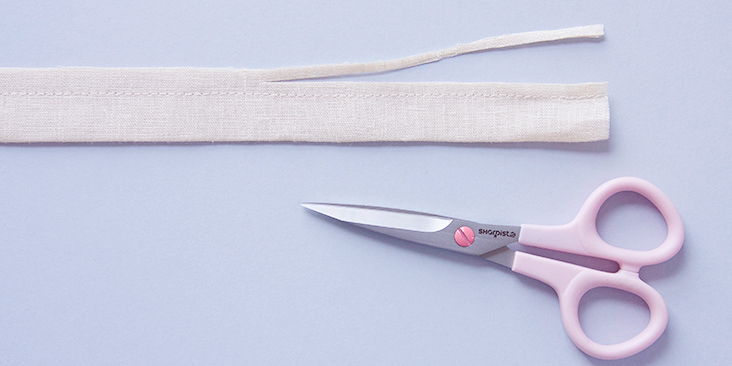
7. Pull the strip right side out through one of the ends. Use a dull pointed tool like a chopstick to pull it through.
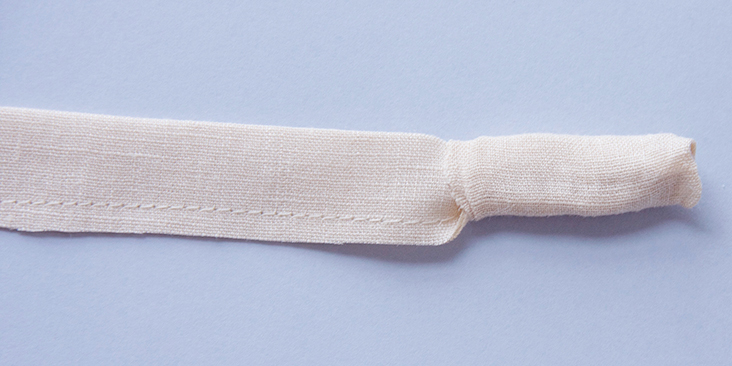
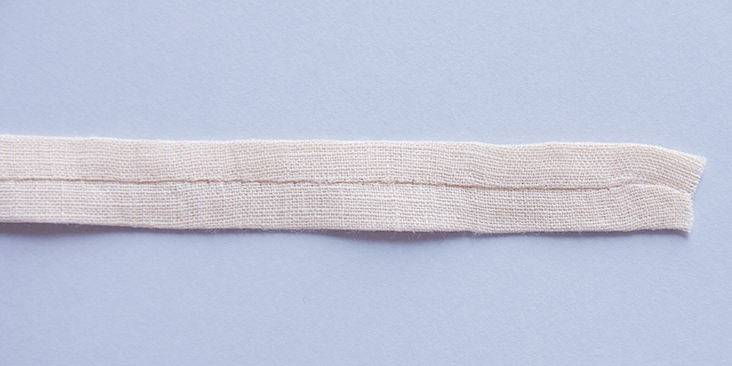
8. Press it firmly placing the seam in the middle of one of the sides (this will be your back side).
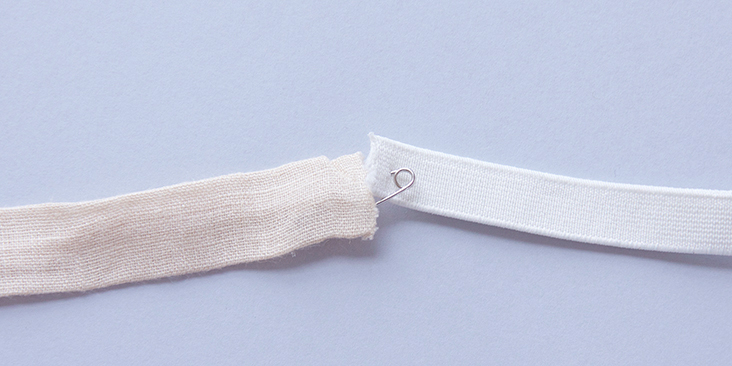
9. Attach a safety pin to one end of the elastic, insert it into the tube and pull it through.
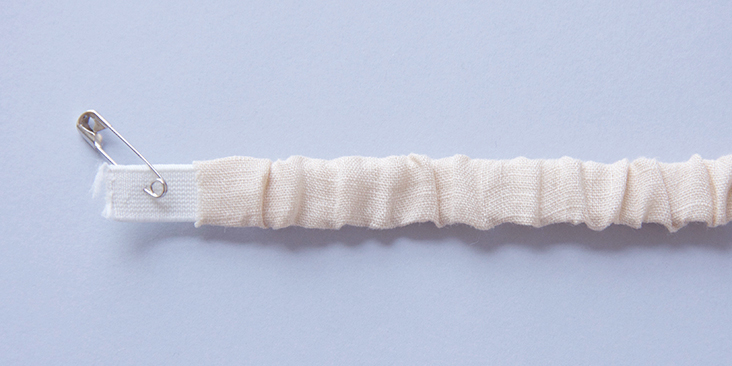
10. Stitch one end of the elastic strap and trim the excess to obtain a 1/4″ seam allowance.
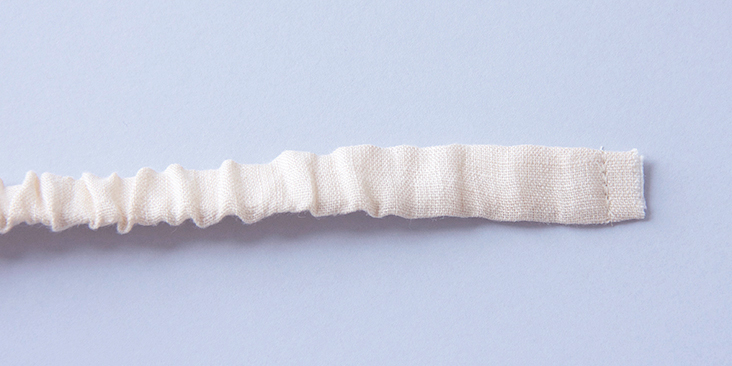
11. Distribute your fabric evenly and decide how long your elastic needs to be by trying it out. Don’t make it too tight as it might give you some discomfort when you wear your mask.
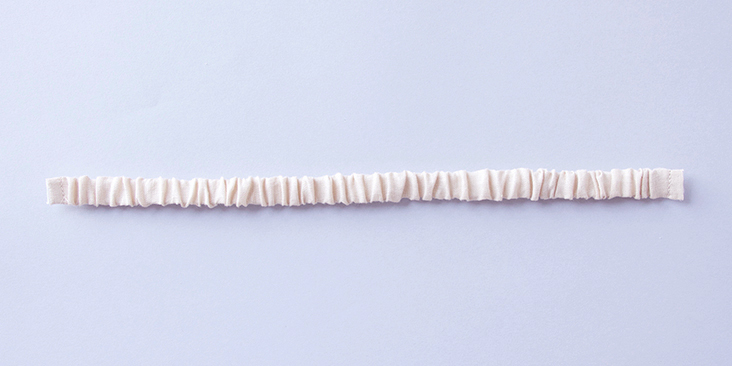
12. Stitch the other end to the desired length. Now you have your elastic strap.
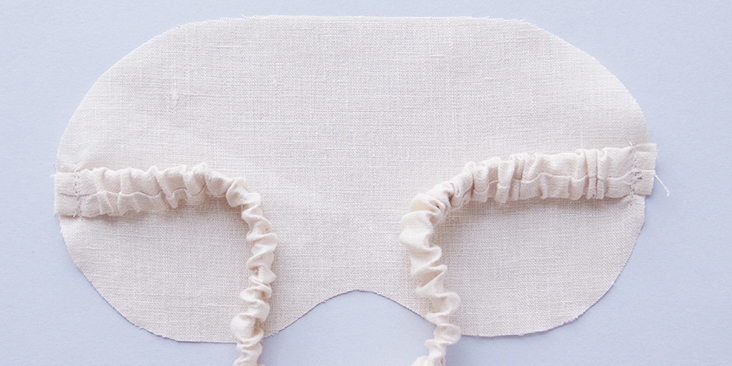
13. Next step is to baste your elastic. Pin and stitch the elastic on either side of one of the mask pieces right sides together at a 1/4″ seam allowance. This will keep it inside the project’s 1/2″ seam allowance. Remember to backstitch and make sure the tube isn’t twisted.
14. Layer your pieces in order: first the batting, then the mask piece right side up (wrong side touching the batting) with the attached elastic strip and the second mask piece wrong side facing you. The two mask pieces should be right sides together with the elastic strip sandwiched in the middle.
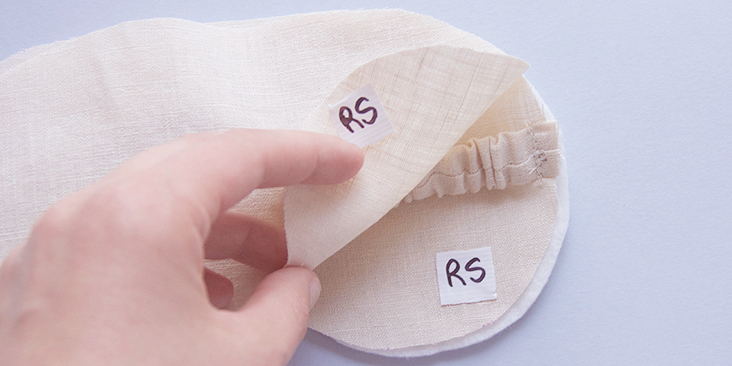
15. Pin the layers together.
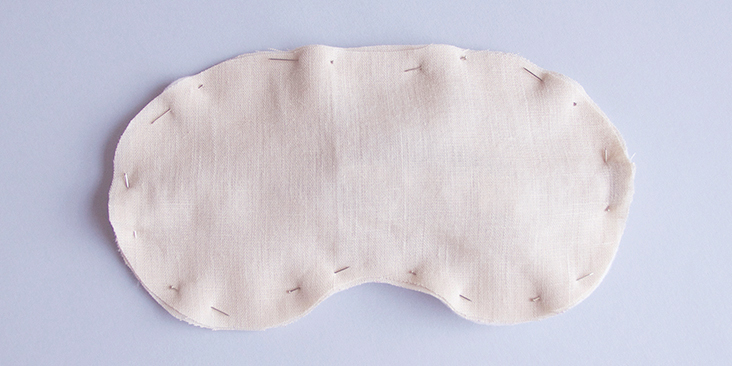
16. Stitch the layers together at 1/2″ seam allowance but leave a 2,5″ opening on the top edge of the mask. We’ll use this opening later for turning the mask right sides out. Go slowly and try to be parallel to the curves.
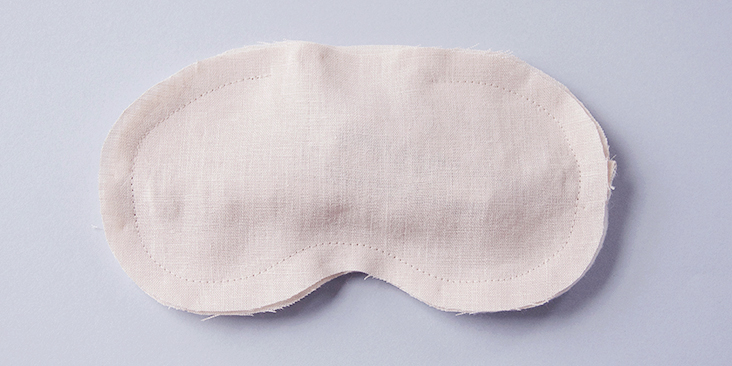
17. Trim the seam allowance to 3/8″ (1 cm) and notch small triangles around the stitched edge every 1″ (2,5 cm). Be careful not to cut through the stitch line. Don’t trim or notch the main fabric seam allowance corresponding to the opening.
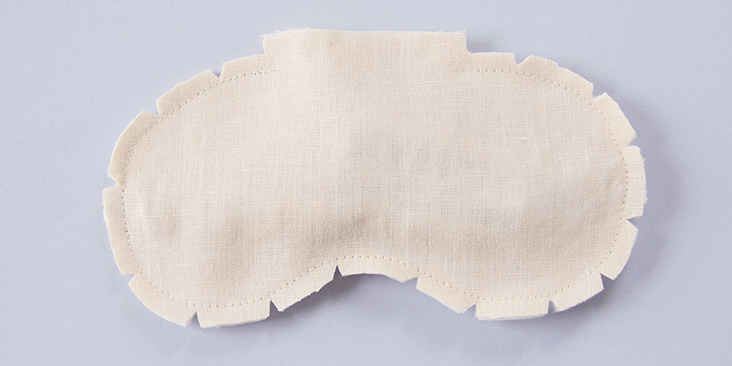
18. Press the seams open with your fingers by applying pressure and turn the eye mask right side out through the opening.
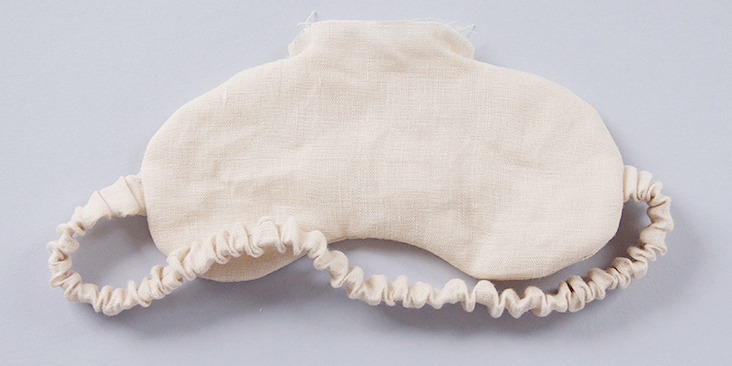
19. Tuck in the opening seam allowance inside the mask to form a continuous fold and press. But before trim the layer of batting.
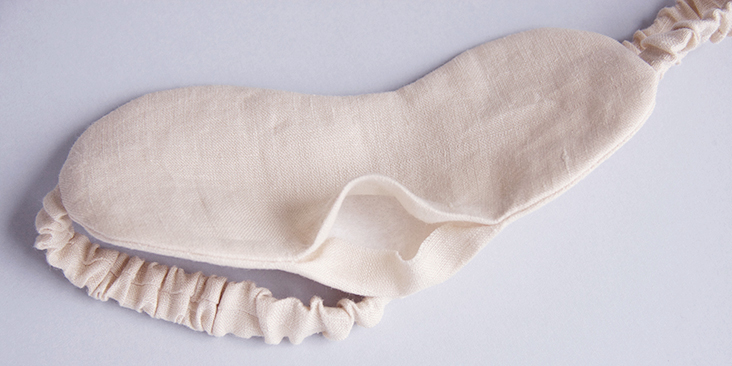
20. The last step would be to close the opening by slipstitching it by hand.
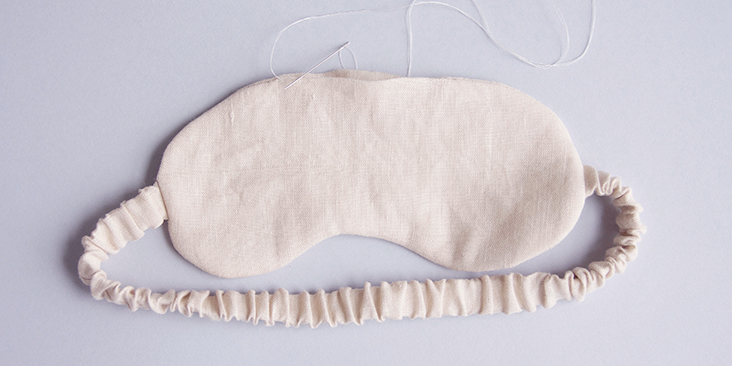
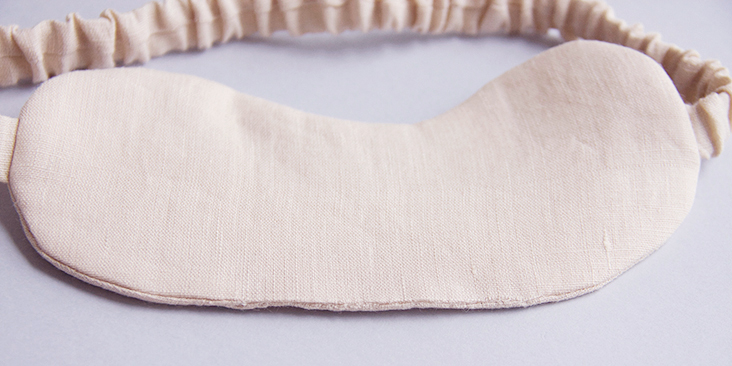
That’s it! Enjoy your stylish handmade sleep mask and get some well-deserved rest.
Why not take a look at our website and see which fabric takes your fancy for this easy to make tutorial?








3 Comments
Li Po
Unfortunately, the link to the pattern does not work.
Lauren Linen
Thank you for letting us know, we are working to get this fixed up for you.
Susan
I made this to look like a Boston Terrier face and it’s pretty cute, but I don’t know how to post a photo here. Thanks for the pattern.