Gathered Button-Front Skirt Tutorial
You may have noticed that we here at The Thread just love making skirts! It’s so easy to make and the possibilities are infinite. We have previously shown you how to sew a simple gathered skirt, a circle skirt and an A-line skirt among others, but this time we decided to take it one step farther and make a skirt with a waistband and buttons on the front. Made with our soft, medium weight linen, this skirt would make a great addition to your spring/summer wardrobe.
Materials
1 yard of IL019 SAPPHIRE Softened medium weight linen
Matching sewing thread, 8-9 buttons
Tools
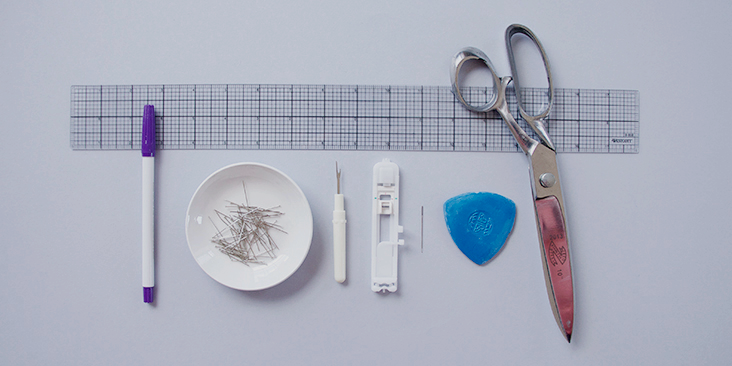
Pattern paper, scissors, fabric marker, pins, ruler, fusible interfacing, seam ripper, chalk, needle, sewing machine
Time
3-4 hours
Difficulty
Beginner – Intermediate
Pattern
Link to the pattern is HERE. If you want a fuller skirt, just add some width to the pattern. If you want to be sure that the waistband is a perfect fit for you, you can measure around your waist and adjust the waistband length. Remember to add seam allowances as indicated in the pattern.
The diagram shows the pattern for US size 6-8 (UK size 10-12). If you need help grading your pattern, please follow this tutorial.
Steps
Note: To avoid shrinking and wrinkling, prewash your fabric and tumble dry it until it is still slightly moist, let it dry in room temperature and then iron.
1. Iron the fabric so it is easier to work with.
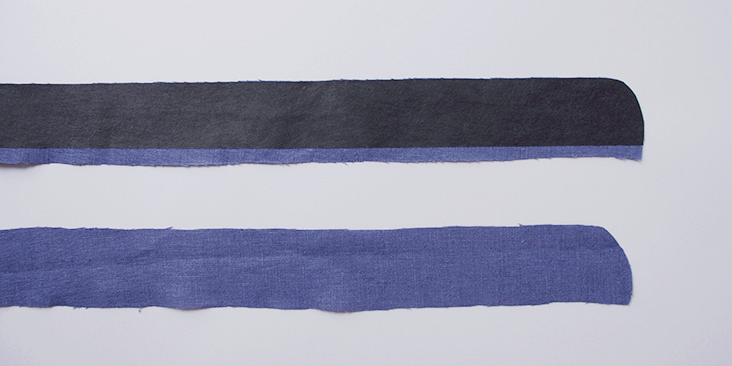
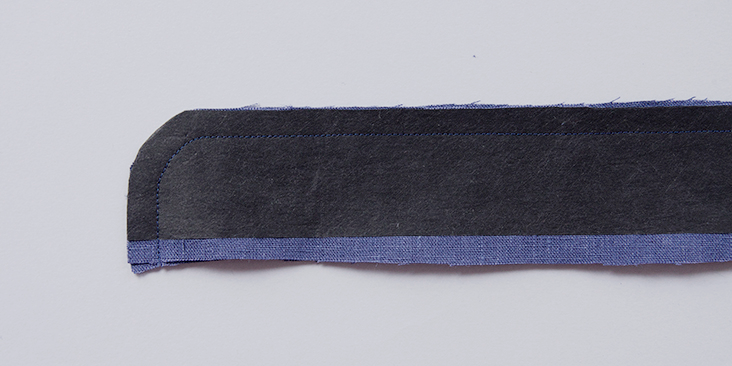
2. Let’s start by assembling the waistband. First you need to apply fusible interfacing to the wrong side of one of the waistband pieces. I like to cut my interfacing 3/8” (1cm) shorter on the bottom to avoid any excessive bulk when attaching it to the skirt.
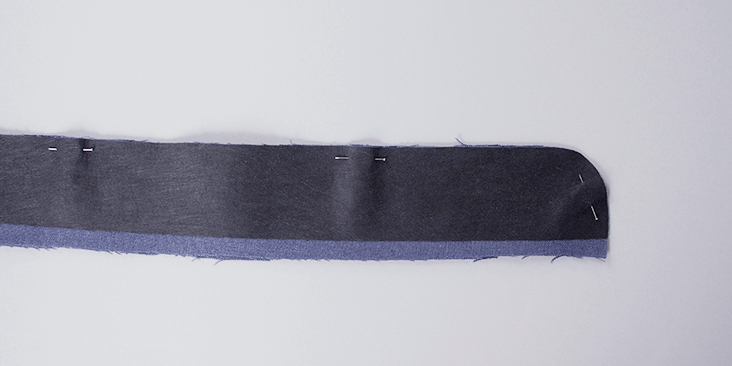
3. Pin two right sides of the waistband together leaving the bottom edge open.
4. Stitch the pinned edge.
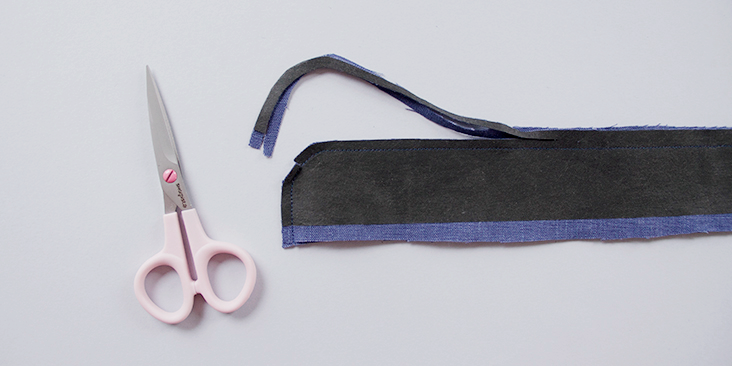
5. Trim the seam allowance to 1/4” and clip to, but not through, the seam line at the rounded corners.
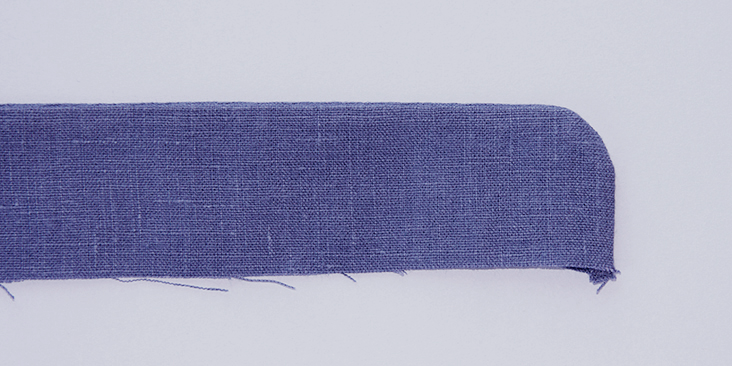
6. Turn the waistband right side out and press carefully to make a flat fold.
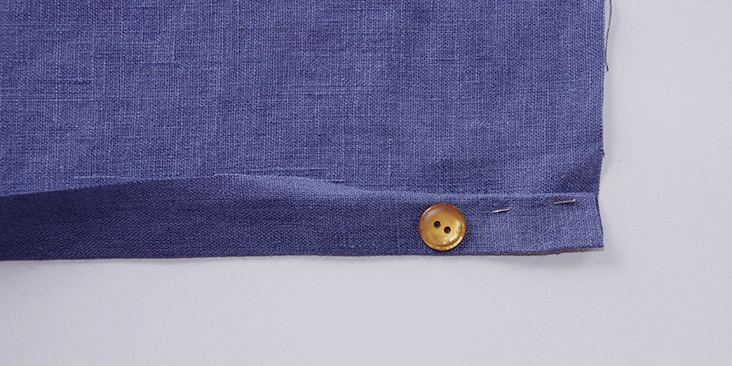
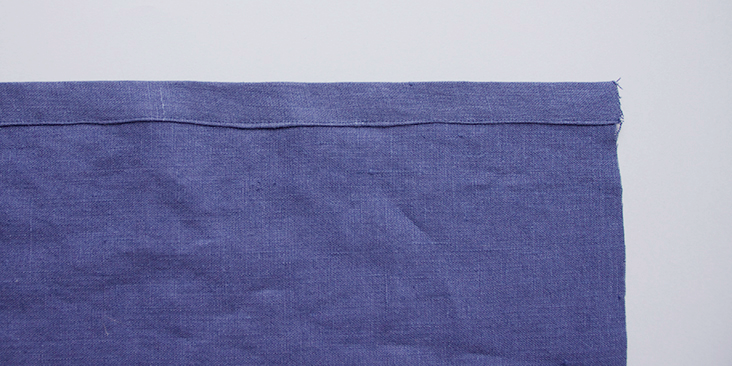
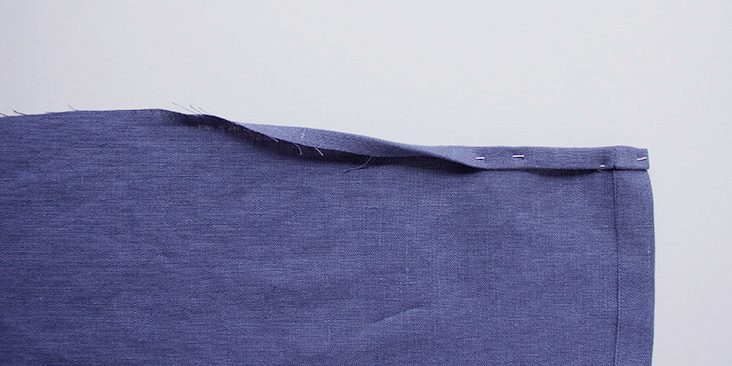
7. Now it’s time to make the button bands. Fold the left end of fabric 3/8 to wrong side and press. Fold again and pin in place. I like to do the second fold just a tiny bit wider than the diameter of my buttons. Repeat for the other end.
8. From the wrong side of the skirt, stitch a straight line as close as possible to the inner folded edge. Repeat for the other end.
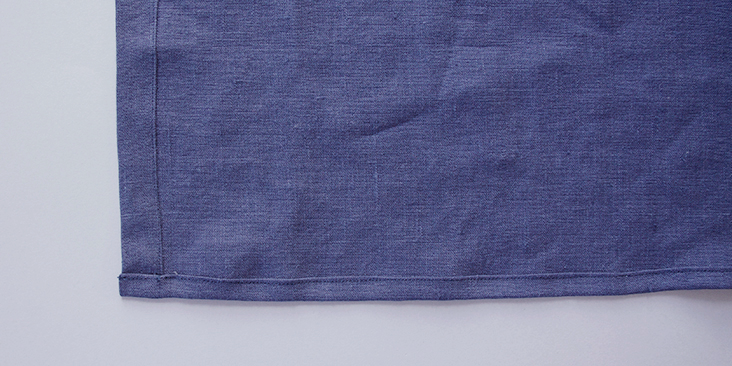
9. Hem the bottom of the skirt by folding the fabric twice to the wrong side. Press and pin.
10. From the wrong side of the skirt, stitch a straight line as close to the inner folded edge as possible.
11. Gather your skirt following this tutorial. Be sure to use a contrast color thread and to secure your gathers once you’ve checked that the topline matches your waistline and that they are evenly spaced.
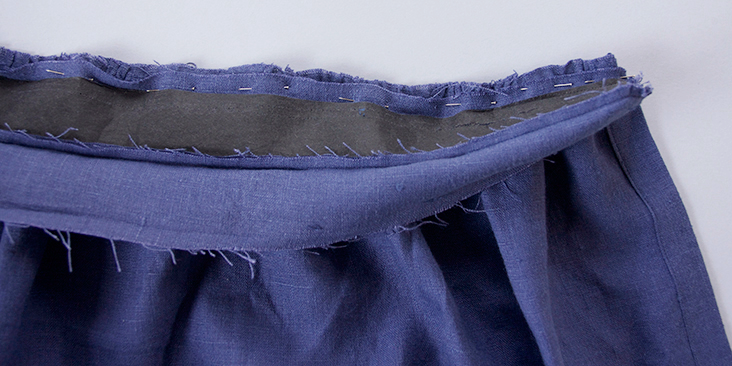
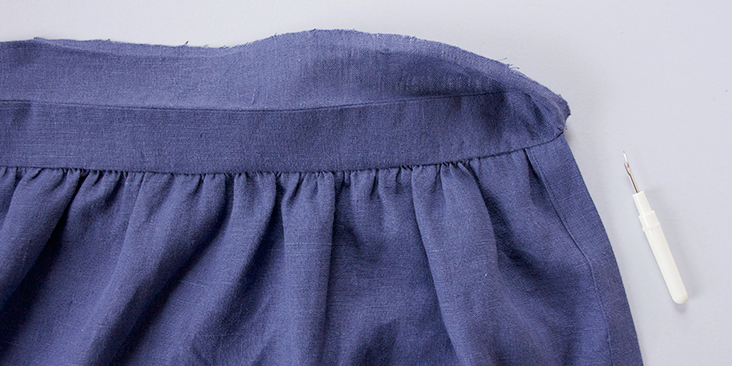
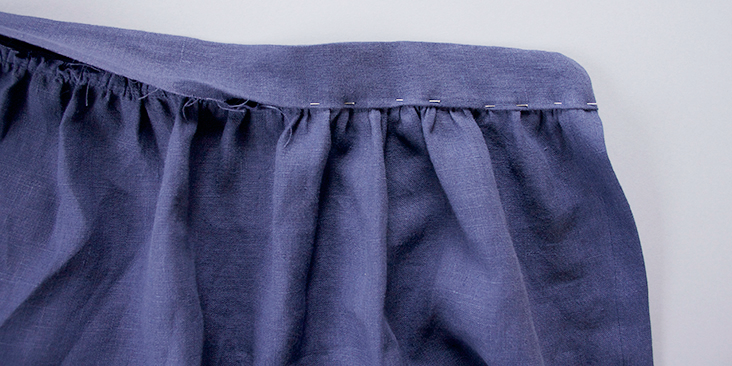
12. Now it’s time to attach the waistband to the skirt. Start by pinning the interfaced open edge of the band (right side) to the wrong side of the skirt.
13. Machine stitch into place between the two threads that were used for gathering. Be careful not to catch the non-interfaced back waistband piece. Remove the gather stitches using your seam ripper. This is why it’s recommended to use a contrasting color thread – so that you don’t make a mistake and rip out wrong stitches.
14. Press the waistband away from the skirt.
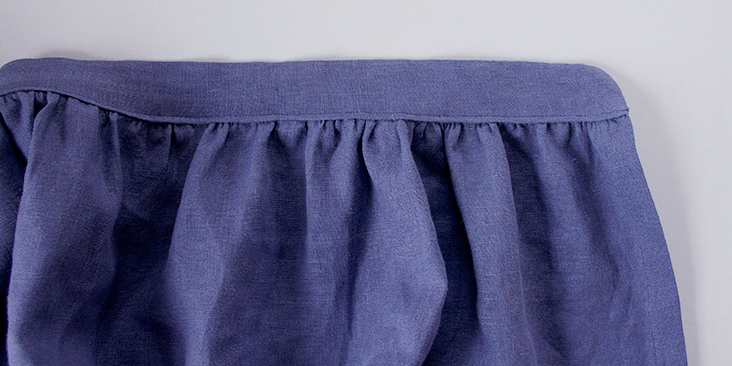
15. Take the other, not yet attached part of the waistband and press the 3/8” seam allowance to the wrong side. Pin it to the skirt making sure to hide all the stitch lines under the fold.
16. Topstitch from the right side.
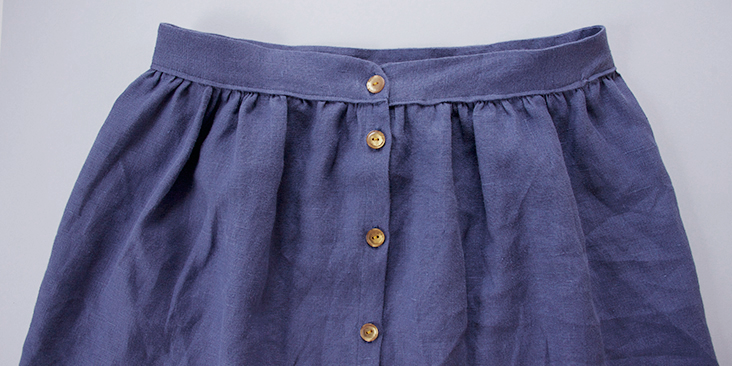
17. Following this tutorial make the buttonholes, attach the buttons and you’re all done!
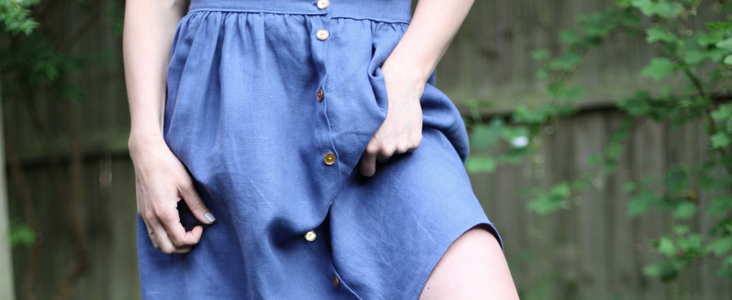
I love this skirt so much! I’ve made many different versions of it using different colors and fabrics, matching and contrasting buttons and all sorts of pockets. However, this simple linen version is one of my favourites – I love how it turned out in this beautiful, rich blue color.















6 Comments
Juliana Rhinehart
Great tutorial! Unfortunately, the link to the pattern seems to be broken. Is it still available to download?
Lauren Gates
Thanks for letting us know about the broken link Juliana. I’ve let our web team know about it and we should have it fixed up ASAP.
AmyCat =^.^=
Also, for those of us who like longer skirts, adding a ruffle to the hem would be easy: you’d just need a strip of the same fabric, 3-5″ wide and twice as long as your hem circumference. Finish the ends and bottom as you did the front opening and hem of the skirt, then gather the ruffle to the hem the same way you gathered the skirt to the waistband…
Masha Karpushina
Thank you, that’s excellent suggestion
AmyCat =^.^=
An even easier waistband can be made with pre-cut specialty waistband fusible interfacing (in the U.S., brand names include “Jiffy Waistband”). You cut your Jiffy Waistband interfacing to the length of your waist plus the button overlap, and your waistband fabric to that size plus seam allowances all around.
Iron in your interfacing (which attaches to both front and back of the waistband, with a perforated center crease, so you aren’t sewing two — front & back — waistband pieces together, just folding them on the top edge and then top-stitching), stitch the ends closed and turn, and then attach to the skirt as in this tutorial.
I find that having both sides of your waistband fabric interfaced gives a stronger, more stable and neat waistband, as well as making it easier to keep your folded-under seam allowances straight since you’re following the edge of the interfacing.
Masha Karpushina
thank you for sharing AmyCat!