Sewing Glossary: How To Sew Pintucks Tutorial
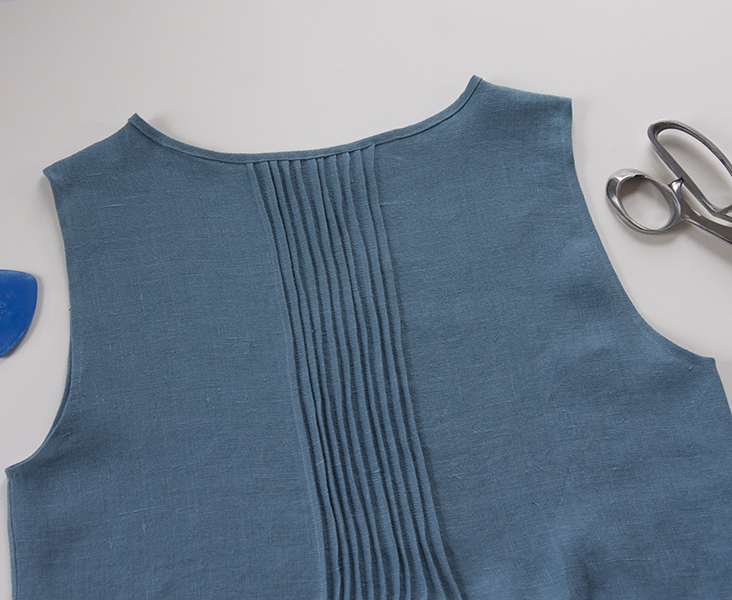
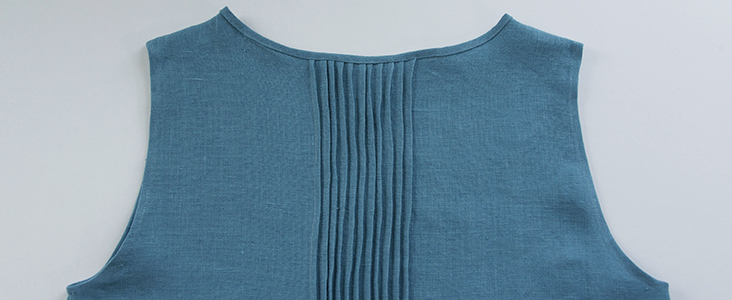
Pintucks are a decorative element that can be added to your garments: tops, dresses, skirts etc. They look fabulous on linen and can bring a touch of fantasy and sophistication to a simple garment. They are formed by folding and stitching the fabric on the right side (much like a pleat) and are typically created in a group and are parallel to each other. This succession of folds creates sublime volume and gives decorative effect.
In this tutorial we are going to show you how to sew three different types of tucks – narrow pintucks, blind tucks and spaced tucks – and how to incorporate them into your patterns.
Materials
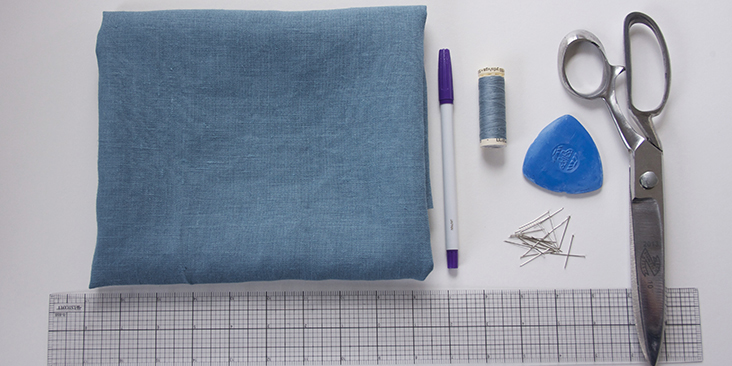
Fabric of your choice. For this tutorial we used IL019 TURQUOISE Softened.
Note: Pintucks look best on sheer, lightweight or medium weight fabrics.
Tools
Matching sewing thread (for the purpose of this tutorial we have used a contrasting colour thread), pins, scissors, disappearing ink marker or chalk, ruler, sewing machine
Steps
1. Let’s start by drafting a simple grid that will be used to create all three types of tucks. On the right side of the fabric draw straight lines for each pintuck you want using a marker or a chalk. I prefer to use chalk since the lines are marked on the right side of the fabric and with chalk I’m sure that there won’t be any trace left. For the purpose of this tutorial I did however use a marker to make my lines more visible.
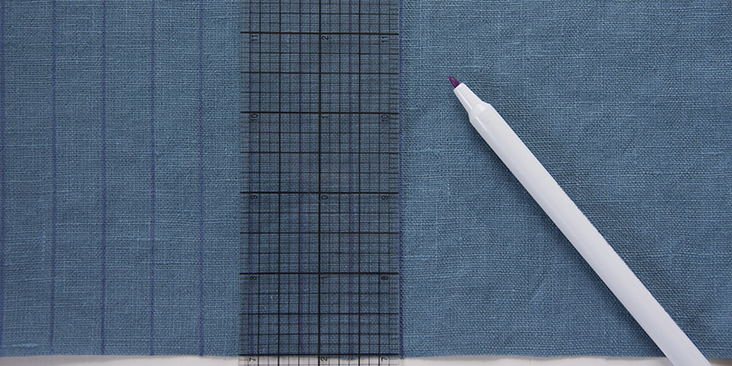
The number and the spacing are really up to you. I went for a simple 5/8″ (1,6 cm) measurement. You can put your lines closer or further apart depending on your design. You’d want to make sure that your pleats and tucks follow the cross-grain of the fabric.
First we are going to learn how to sew a pintuck. As its name suggests, this pleat is supposed to be narrow, about the width of a pin. Making such a small pleat can be quite a challenge so we are going to go for a more comfortable 1/8″ (3mm).
2. To make a pintuck, pull your pin through the first and the third lines, skipping the second line. Create a neat fold on the second line and pin it in place.
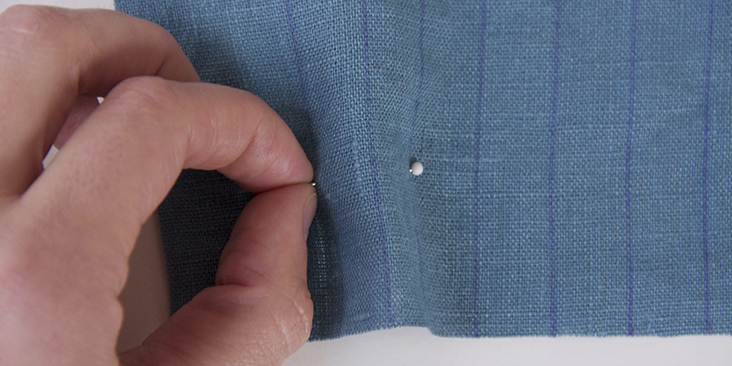
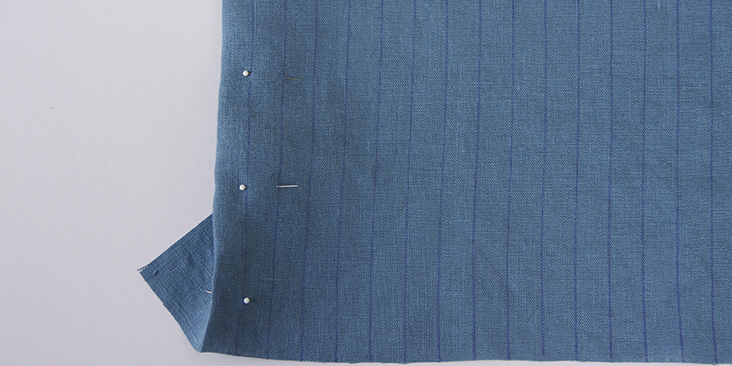
3. Stitch straight down at 1/8″ (3mm) from the folded edge. Now you’ve created a fine, narrow pintuck.
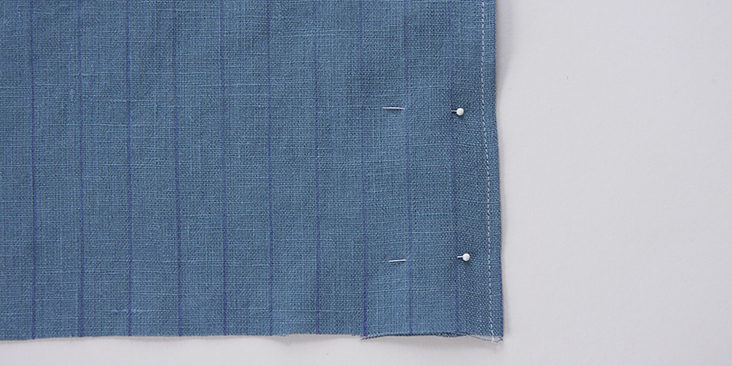
4. Fold the second line, pin in place and stitch. Repeat as many times as needed.
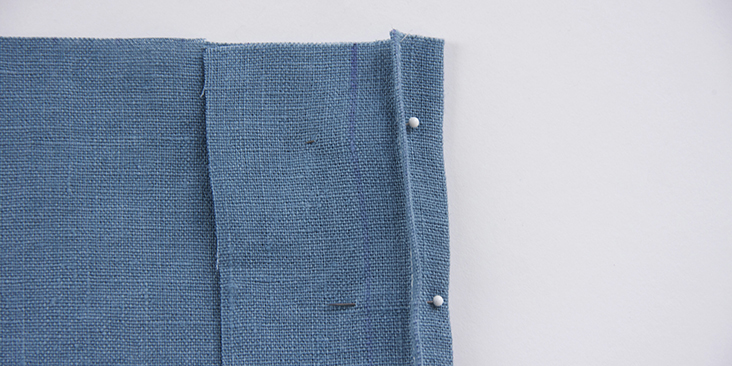
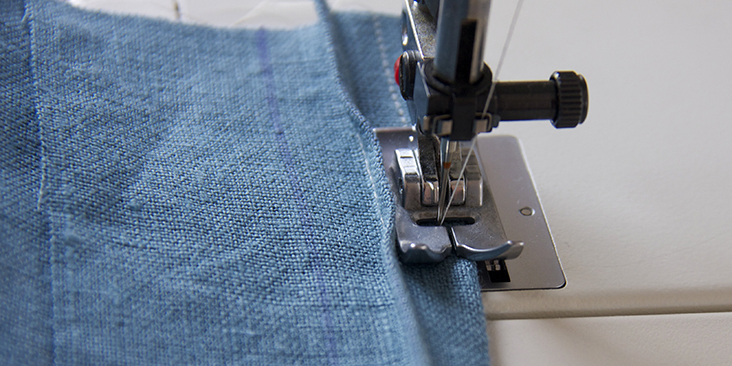
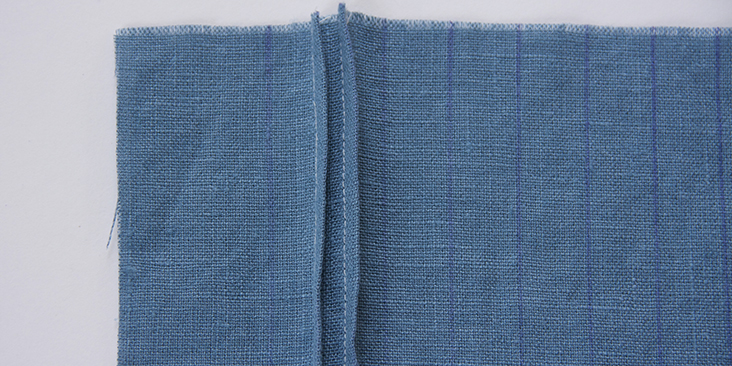
Another thing to consider is whether you want to stitch your pintucks part of the way down your garment or right to the hem line. Stopping your stitihing part of the way down means that you’ll have some extra fullness in the lower part. It’s not at all a problem (if you choose right fabric – lightweight), just a different look.
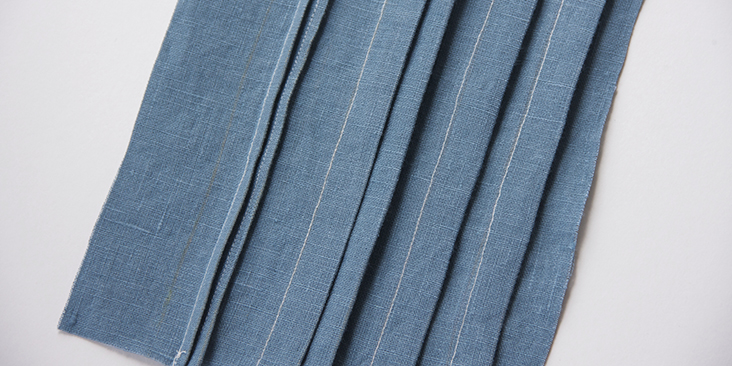
Now let’s make some blind tucks. They are called “blind” because they are sewn close together and the rows of stitching do not show from the outside.
5. Repeat step #3: pull your pin through the first and the third lines, skipping the second line. Create a neat fold on the second line and pin it in place.
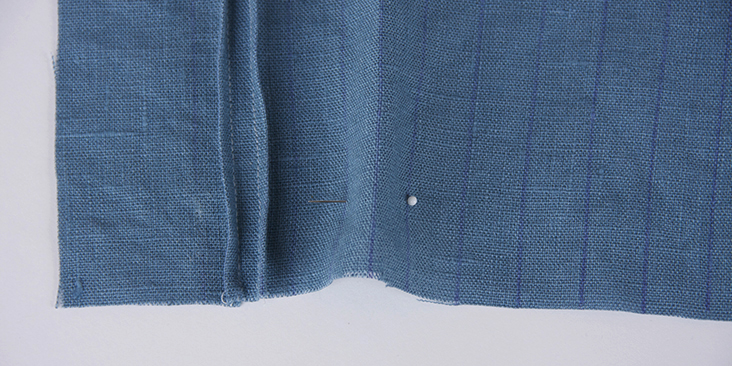
6. Instead of stitching close to the edge, you need to sew right on the drawn line creating a 5/8″ (1 cm) tuck.
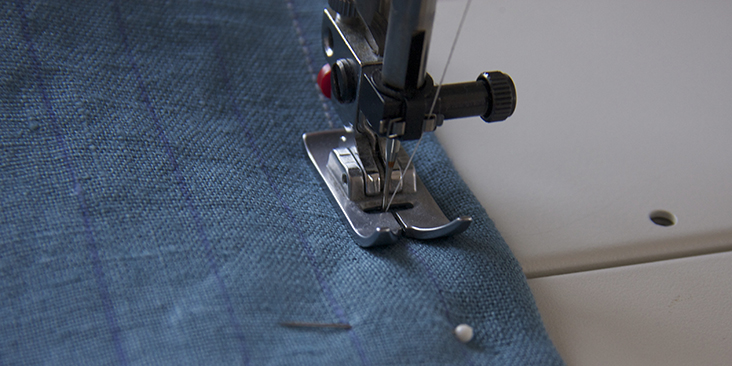
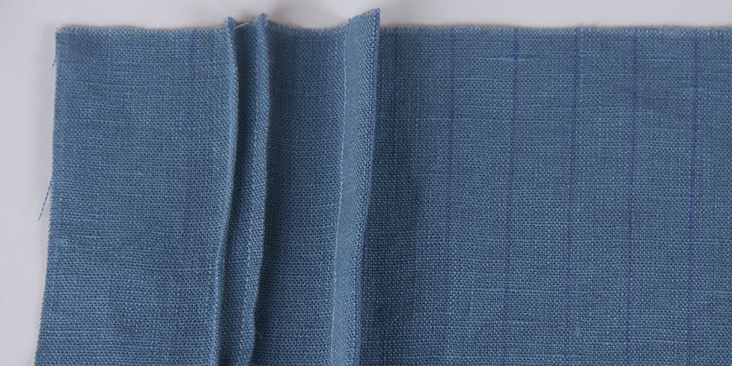
7. Repeat step #6 and pull your pin through line #4 and line #6. Create a neat fold on line #5 and pin it in place.
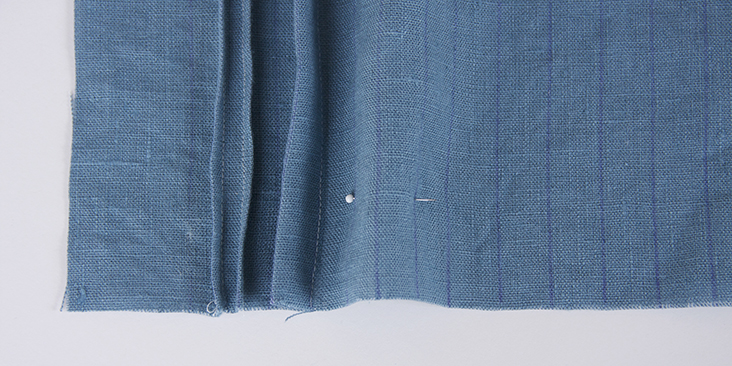
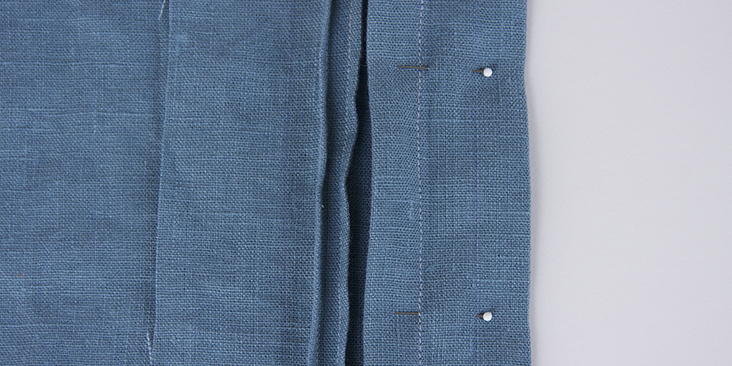
8. Stitch down the line as in step #7. Repeat as many times as needed to create a row of blind tucks.
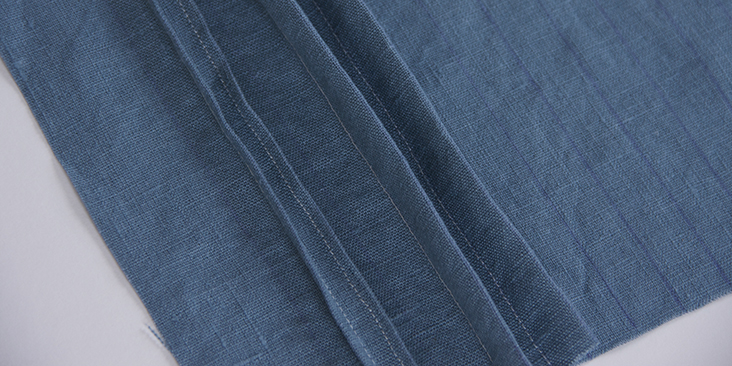
9. Finally, to make spaced tucks, repeat all the steps as for blind tucks but instead of leaving just a 5/8″ (1cm) space between the tucks, double the distance by skipping one line and leaving a 1.25″ gap. So to form the second pleat you’ll pull your pin through lines #5 and #6.
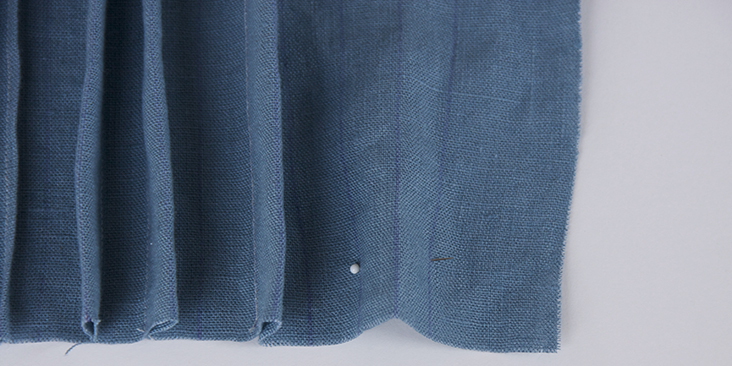
So this is it, you’ve learned how to sew three different types of tucks!
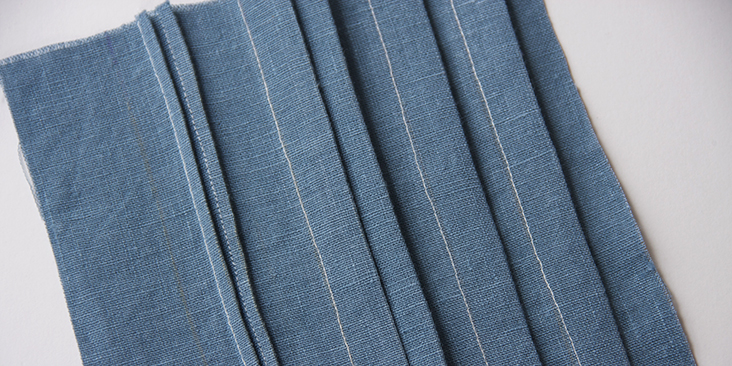
You are probably wondering now how you can incorporate this new technique into your patterns? Well, there are a couple of different options.
The easiest one is to pintuck your fabric before cutting your pattern pieces. This method is perfect when you have plenty of evenly spaced pintucks. Take your pattern piece, place it on the pre-pintucked fabric, pin in place and cut.
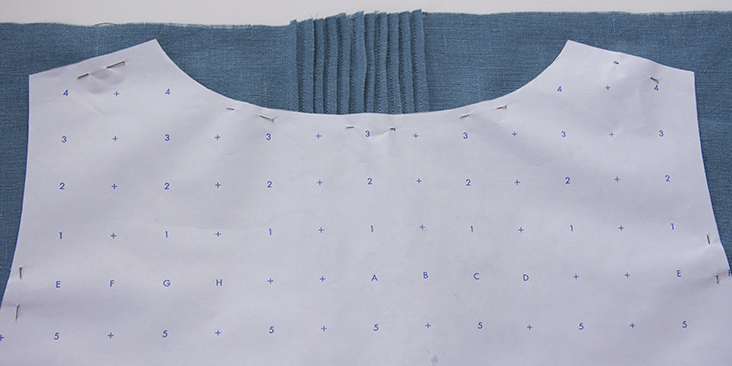
The second option is great when you want a specific number of pintucks in certain areas of your garment. Take your pattern, draw a line wherever you want to place your pintuck and cut right on this line.
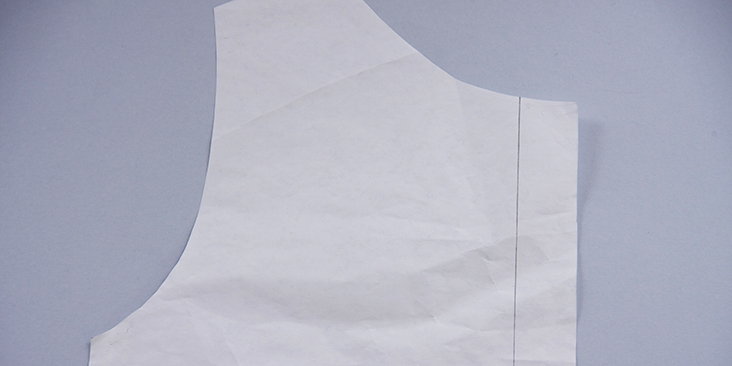
Depending on how big you want your pintuck, you need to determine at what seam allowance you are going to sew it. Let’s say you want to make a narrow pintuck that you’ll be sewing a 1/8″ (3mm) from the folded edge. To understand what distance you need to leave between the two pieces of your pattern, you need to double whatever seam allowance you’re sewing at. In our case the separation between the two pieces should be a 1/4″ (6mm). After you’ve made sure that the bottom and the top of the gap are even, you can tape your pattern pieces to the sheet of paper.
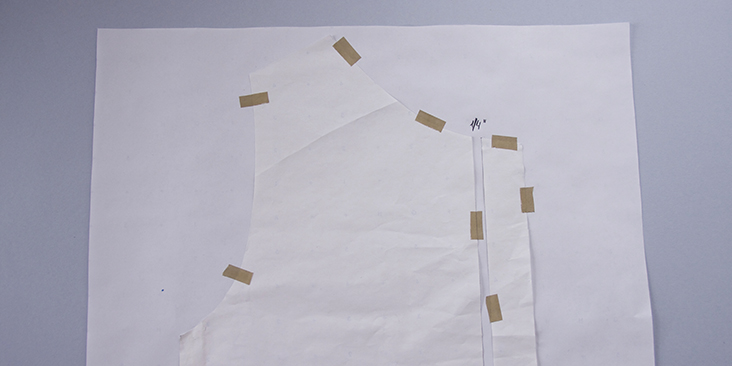
Using a pen, outline the adjusted pattern and don’t forget to transfer the pintuck marks. Cut it out and pin to your fabric. Remember to transfer the pintuck marks before cutting out the fabric using a marker or a piece of chalk or by making little snips in the edge of the fabric with your scissors.
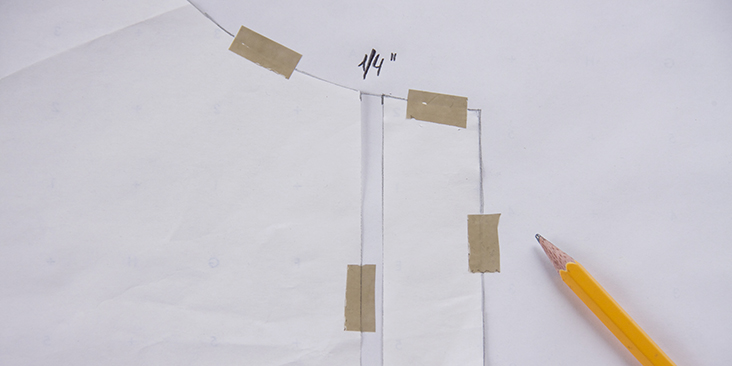
We hope you found this tutorial useful. Now that you’ve learned this new technique, you can practice by adding pintucks to your favorite patterns. You can always browse our TUTORIALS section for some sewing ideas and patterns that could inspire you.
Have a browse through our selection of linen and see which of our fabrics inspire you to use your new skill!




10 Comments
sewing community
Pintucks add such a beautiful decorative element to garments! If you’re working with heavier fabrics or large-scale projects, a reliable machine is essential. Check out the best heavy-duty sewing machines to help you create perfect pintucks and more: https://sewnscissors.com/best-heavy-duty-sewing-machines/.
Karen Walker
The embellishments you describe are regular tucks, not pintucks. Pintucks are tiny tucks created with a pintuck foot and a twin needle, with or without cording inside for dimension. They can be made with just a straight stitch, but it is really hard to get the stitch straight when it is that tiny. You can see the technique here: https://seekatesew.com/sewing-101-the-pintuck-foot/
Thanks! Karen
Mariska
What about the pintucks in the old days when they didn’t have sewing machines and everything was done by hand?
Hembafan
Thanks I love it
Lacey
5/8” is not the same as 1cm.
Rima Khusainova
Thank you so much for pointing out this little typo! Already corrected 🙂
Dafhtne
That looks great, Thank you!
Jesse Goodson
My wife will loves it,thank you!
AmyCat =^.^=
A related, even more interesting fabric treatment is smocking… Would love to see a tutorial for that!
Dafhtne
I agree!!