Quilted Pot Holder Tutorial
This is such an easy project to make that will only need a minimum of supplies and just an hour of your time. And it’s also a perfect custom gift because everybody cooks, even if it’s just heating some frozen food in the oven. So a pot holder is an absolute necessity in everyone’s kitchen!
Materials
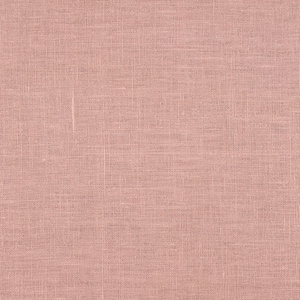
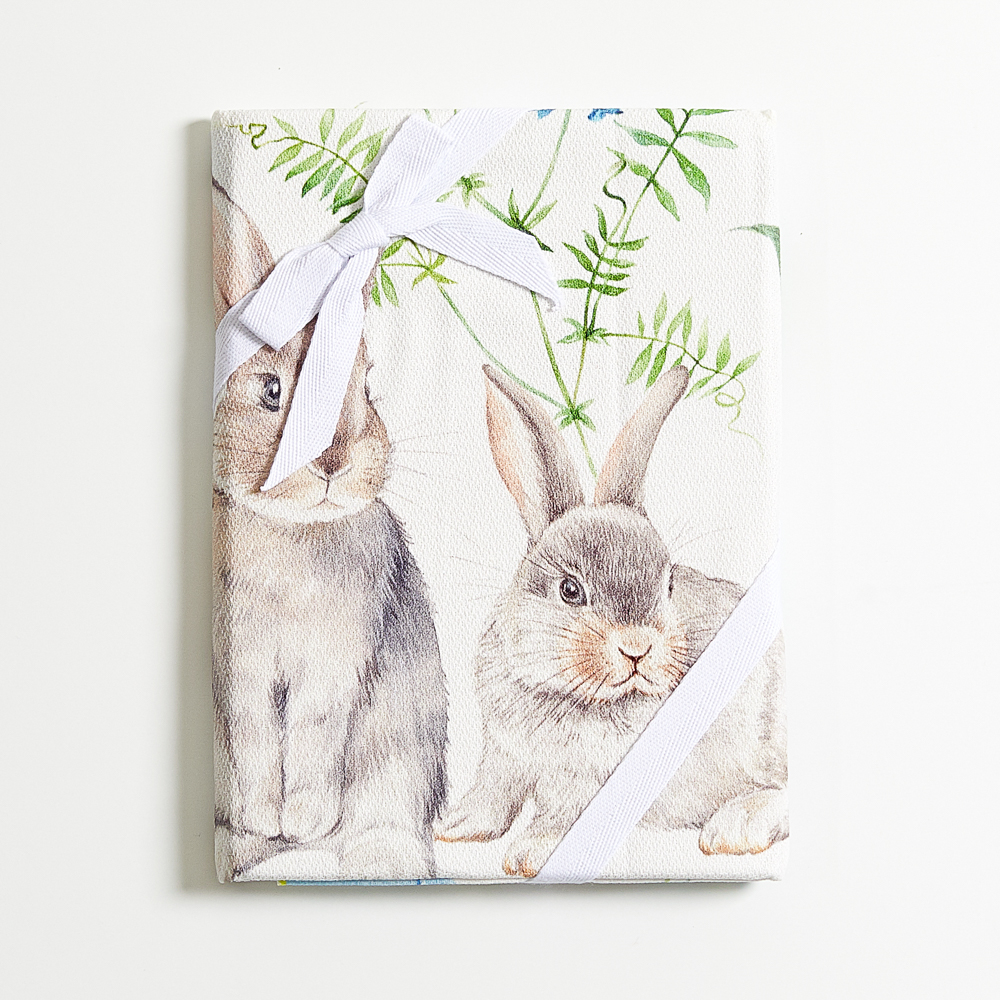
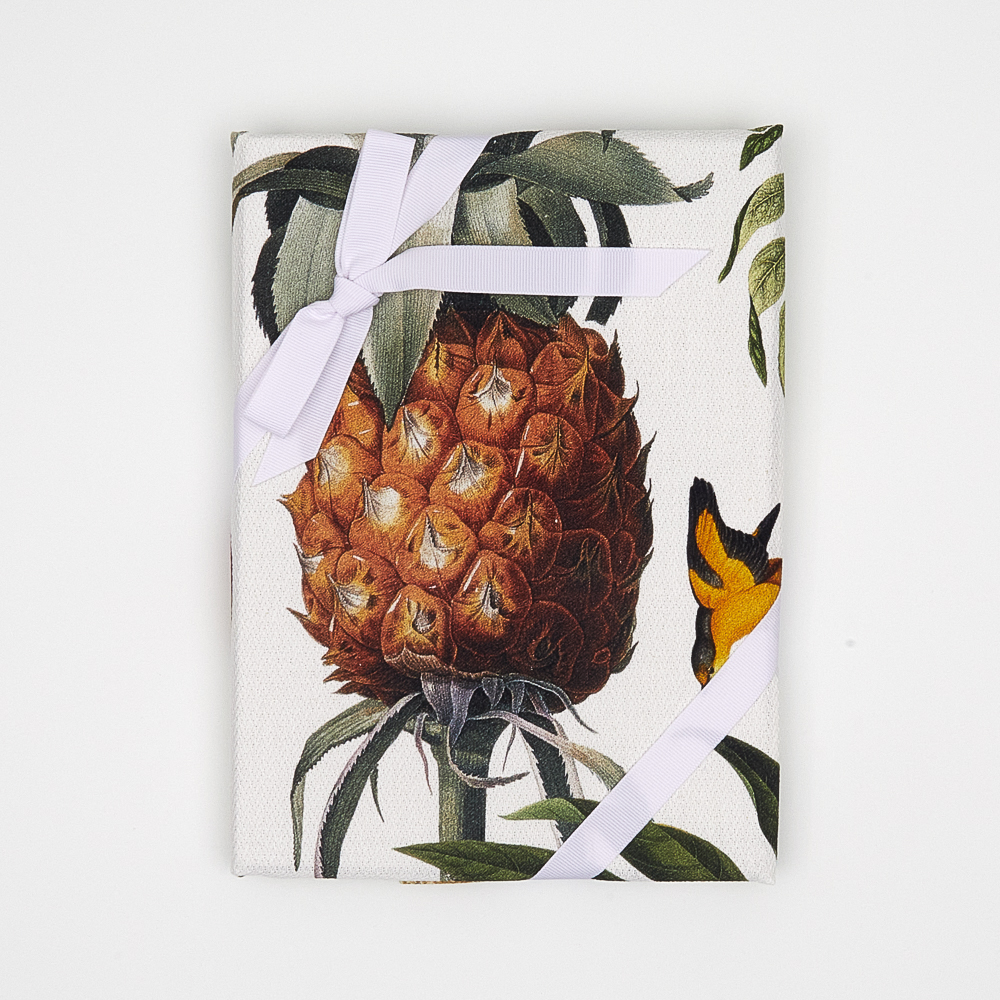
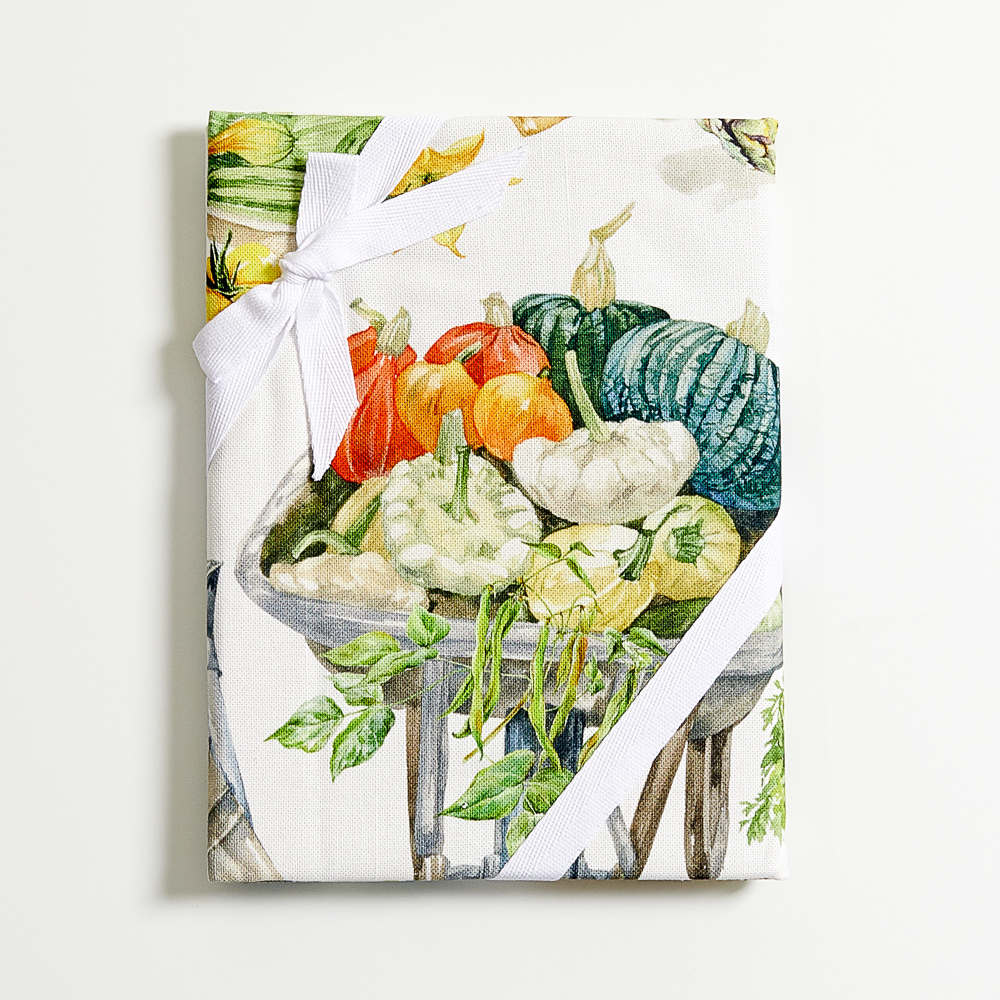
1 fat quarter of fabric of your choice. For this tutorial we used IL019 SAPPHIRE Softened
Leftover batting (I went for some higher loft wool batting to add thickness)
Matching sewing thread
Tools
Scissors, fabric marker, pins, ruler, chalk, sewing machine
Time
1 hour
Difficulty
Beginner
Pattern
There is no pattern, just draw and cut two squares of fabric, one square of batting and a small rectangle (1.5”x6” / 4x15cm) for the hook. You can also use a ribbon or a small strap of bias tape. The squares can be any size you like, but I used 9”x9” (23×23 cm) squares that included all the seam allowances.
Steps
Note: Prewash your fabric and tumble dry it until it is still slightly moist, dry in room temperature.
1. Iron the fabric so it is easier to work with.
2. Let’s start by making the loop. Fold your small rectangle in two lengthwise (right sides together), pin and stitch.
3. Trim the excess seam allowance.
4. Turn the fabric right side out through the opening and press (with the stitch line in the center).
5. Now we need to assemble the squares together. Place the batting square at the bottom, then the first fabric square right side up (wrong side touching the batting), then pin the loop at the corner (as shown below) and cover everything with the second fabric square right side down (wrong side facing you). Pin in place.
6. Stitch around all edges at a 3/8″ (1 cm) seam allowance leaving a 2″ (5 cm) opening.
7. Trim the excess seam allowance to 1/4″ all around the edges, except for the opening. Clip the 3 corners to reduce the bulk.
8. Turn the pot holder right side out through the opening. Use a pointed object to poke the corners. Press it nice and flat.
9. Fold in the raw edges of your opening to match the seams and pin.
10. Stitch around the perimeter at 1/4” from the edge closing the opening. Remember to backstitch.
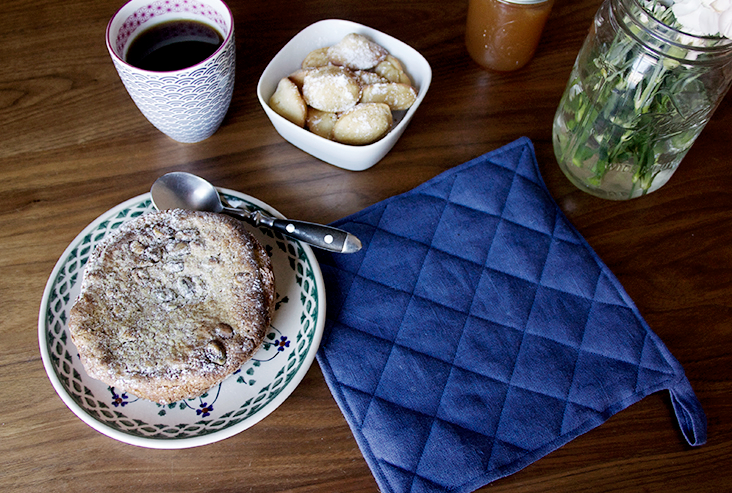
11. Now it’s time to quilt. Using a vanishing fabric marker or a chalk, draw the design you want to quilt. I went for a diamond pattern drawing lines from the center at a 1.5” distance from each other. Stitch each line through the layers making a couple of backstitches at the beginning and the end and you’re all done!
You can get creative and play with the size: cut your fabric into smaller squares and make some coasters or go big and make a quilted placemat.













11 Comments
Kiera
Very useful information! Thank you for letting us know! Easy to follow
Emily
It is so pretty. but I think you can use up the fabric for these potholders 🙂
Susana
This is also a great way to use up scraps of fabric from other projects. Say you make a beautiful circular skirt, you’ll have lots of fairly large pieces of leftover fabric. You can use up the fabric for these potholders. Great for small gifts or perhaps as an addition to a basket of home-grown produce you give away.
Laura Nunn
Fantastic comments!!!
Laurie
There is also a product you can get online called Insul-Bright which has an added layer a metllicized material to help make your potholder more protective. I use it with a layer of cotton batting.
Rima Khusainova
Dear Laurie, thanks a lot for this useful tip!
Sheila Press
A couple of variations –
I use thermal batting that reflects heat outward from the shiny side, in addition to a layer of regular cotton batting.
I also just quilt all the layers together as a stack with the right sides of the fabric on top and bottom and then use bias tape around the edges and for the loop.
Rima Khusainova
Dear Sheila, thanks a lot for your comment and the tips! Using a bias tape for the binding is of course a great option too!
KayeTufton
Yes, but turning is much easier that putting that binding on, especially for beginners,
Maura Enright
Avoid polyester batting: it will melt.
Cotton and/or wool batting, although less commonly used, won’t melt.
Rima Khusainova
Very useful comment! Thank you Maura!