How To Embroider A Linen Scarf Tutorial

 Following our embroidery tutorials which you can revisit here and here we thought to give you a project which can utilise some of the techniques we have (re) introduced to you. Embroidering homeware soft furnishings for example, is a fun way to practice’ embroidery skills, but sometimes the projects can take over your life and feel quite soul diminishing when there is no end insight. Something smaller like a scarf is a great, satisfying item to make instead. We used a heavier linen so this scarf can be worn during the colder months as well. We went for 0.5 yard (45cm) in width for this scarf, and 57 inches (144cm) for the length. Use this as a guide and feel free to make a smaller or’ bigger version of the scarf, depending on your own preference. This scarf can also be a great inspiration for a wrap as well!
Materials
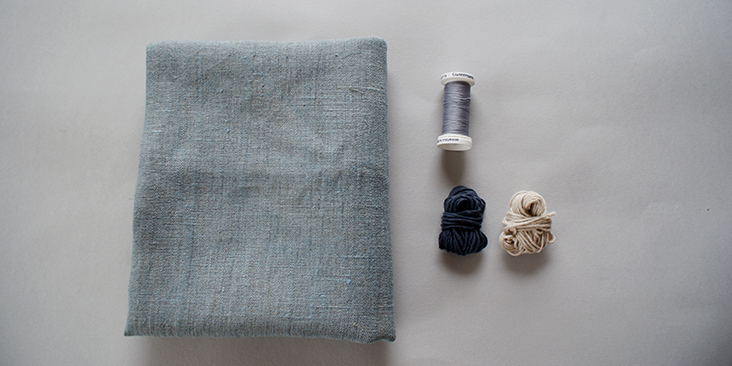
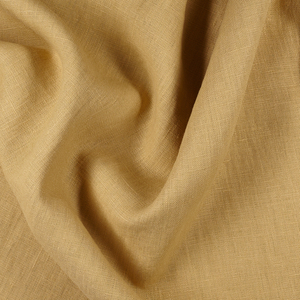
0.75 yards of IL090 Natural (We decided to experiment and colored the natural linen into this pale blue, just to shake things up abit, please follow link to see the true color of IL090 Natural)
Matching sewing thread
2 x 50g of embroidery floss/yarn (We chose to use some linen yarn as its thickness will give a more 3D finishing texture to the scarf)
Tools
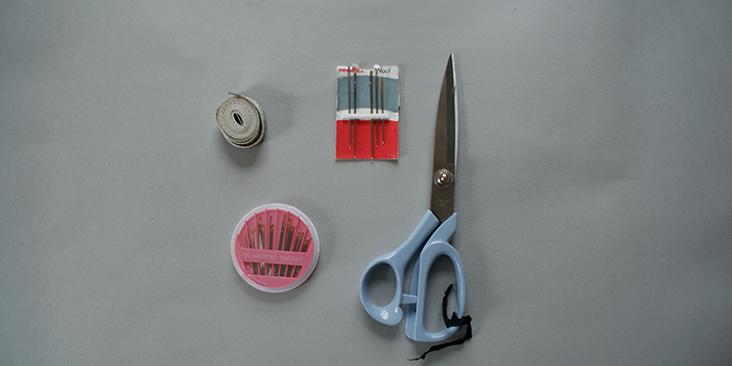
Fabric scissors, tape measure, pins
Darning/embroidery needle, hand sewing needle
Embroidery hoop
Time
6-7′ hours (Depending how quick you can hand embroider!)
Difficulty
Intermediate
Steps
Note: Prewash your fabric and tumble dry it until it is still slightly moist, let this dry in room temperature.
1. Iron the fabric so it is easier to work with.
2.’ The measurements for the scarf are 0.5 yard/45cm (width) X 57 inch/144cm (length). Add 1/2 inch (1.5cm) of seam allowance all around the scarf.
Scarf
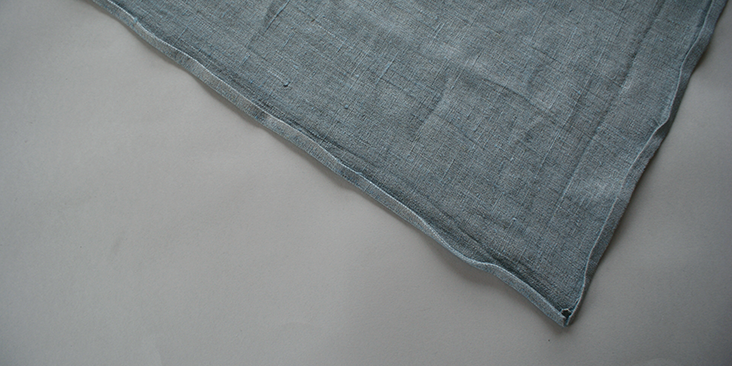
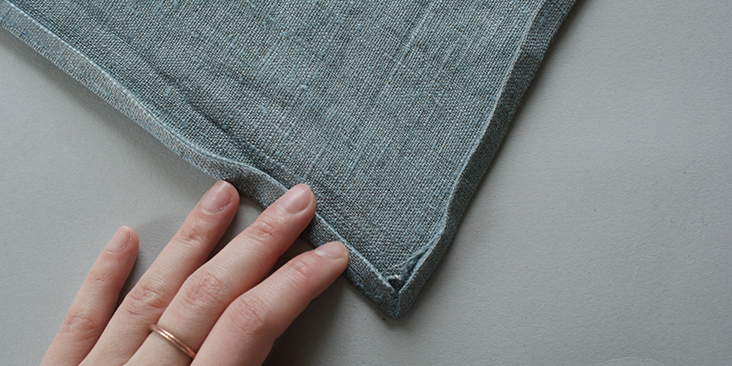
3.’ You will be required to sew a double fold hem all around the scarf, with 4 mitered corners.
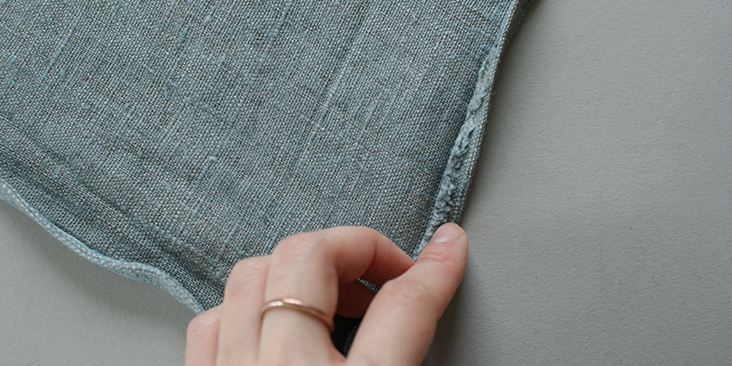
4. First press’ 1/8 inch (0.75cm) of raw edge inward, onto the wrong side of the fabric, on all four sides.
5. Then, press another 1/8 inch (0.75cm) of the pressed edge inward again, onto the wrong side of the fabric, forming the double fold hem.
6. For the sewing of the mitered corners, follow this tutorial.
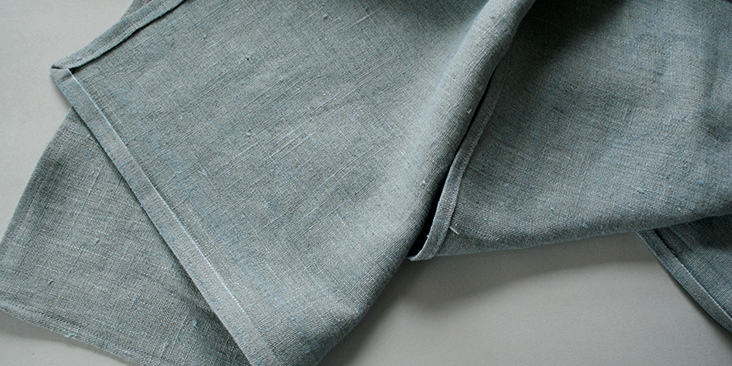
7. Once all the edges have been pressed and pinned, top stitch along the edge on the right side of the fabric.
8. Press the fabric so it is nice and smooth, and now the fun begins!
Embroidery
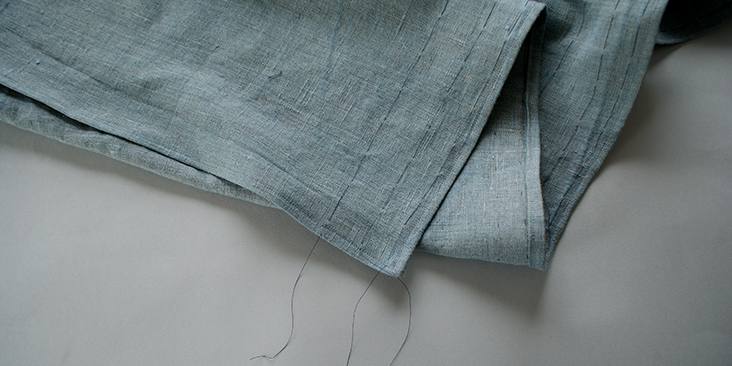
9.’ Stitch several running/basting lines’ along the length of the scarf. For this, you can either use the sewing machine (set the stitching length to the widest) or do it by hand. These are indication lines for your embroidery later. Make sure you don’t sew back and forth or knot the end of the thread, as the threads will need to be removed later.
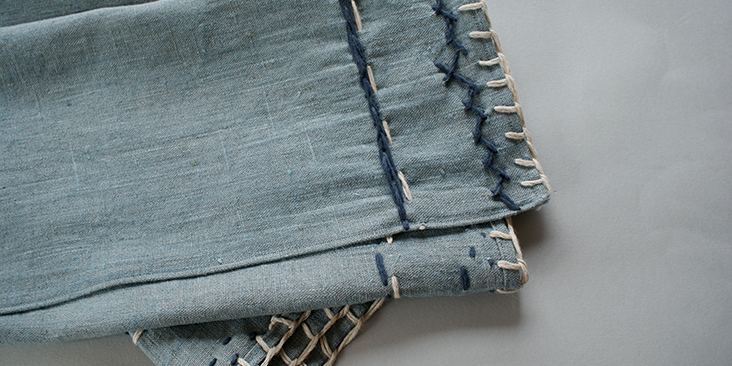
10. If you refer back to the embroidery tutorials, we showed you a total of 16 types of embroidery stitches. For this tutorial we chose to use’ the blanket stitch for the edge, a herringbone stitch with every 5th stitch slightly bigger, a running stitch and a split stitch.
11. This is just an idea and we hope this combination and tutorial can also inspire you to create your own personalised stitch pattern.
12. Once the embroidery is in place, pull the basting line to remove this temporary stitching.









2 Comments
Andrea
A very basic embroidery project – but one must point out the tutorial (and the previous embroidery tutorials) are missing 3 important items. Starting, changing thread and finishing. Especially in a piece like this where the back can be exposed knowing how to start and finish without a visible knot is important to understand and utilize. Blanket stitches are great for edges, but turning that corner can be tricky. Give those beginners these basic tips/tricks and they will truly enjoy wearing this lovely scarf for a long time!
Masha Karpushina
Thank you Andrea, we really appreciate the input and will reflect on this in the next tutorials. Have a lovely day!