Hand Embroidered Quilt Tutorial
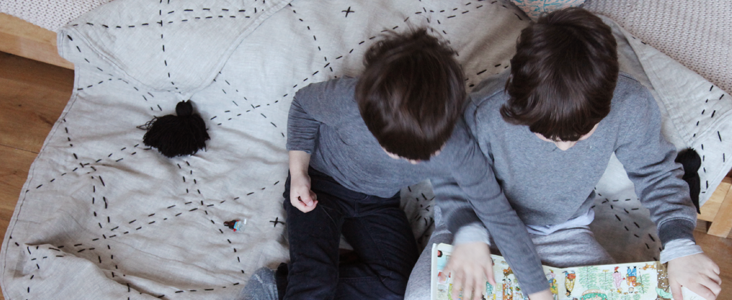
This week learn how to make this beautiful linen hand embroidered quilt. Use it as a play mat for babies, cozy up as a bug in a rug’ in front of the fire, hang it on the wall, throw it on the couch with some pillows. Endless possibilites and lots of fun making it. Make it bigger, smaller, wider, longer- whatever you fancy. This quilt would also turn out’ great as a kids bed cover. Send us what you’ve come up with and above all enjoy!
Materials
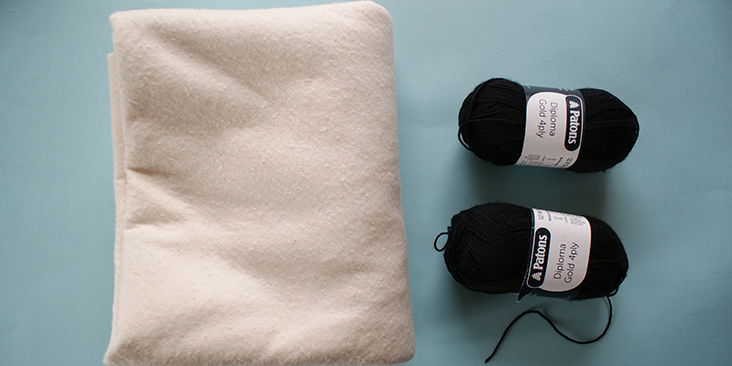
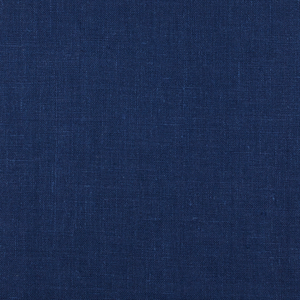
4.5 yards of IL019 Mix Natural Softened
Matching sewing thread
2 yards of cotton batting
2 x 100g black 4ply yarn
Tools
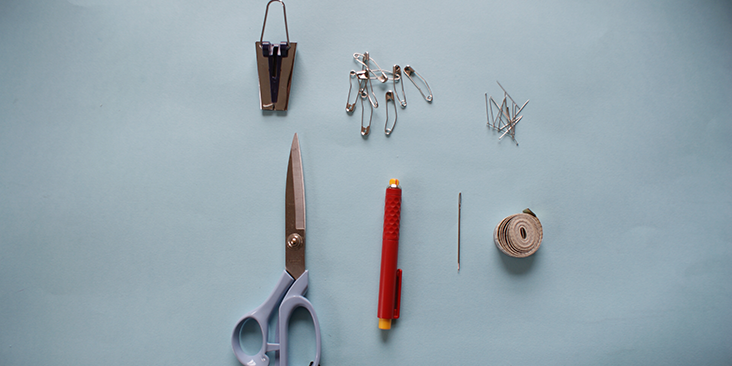
Pattern master, pattern paper
Paper scissors, fabric scissors
Fabric marker, pins or curved safety pins, tape measure
Bias tape maker, hand darning/embroidery needle
Time
6-7′ hours
Difficulty
Intermediate
Steps
Note: Prewash your fabric and tumble dry it until it is still slightly moist, let this dry in room temperature.
1. Iron the fabric so it is easier to work with.
Pattern
Link to pattern here.
2. The diagram shows the pattern for’ a 60 inch X 60 inch (150cm X 150cm) quilt. Size and embroidery pattern shown in blue can be varied. The back and the batting of the quilt is cut out in one large piece; the front is’ made up of 25 smaller squares.
3. Use a serger, or choose your own method to protect the seams from fraying. Make sure the method you choose does not add weight to the fabric.
Main Quilt
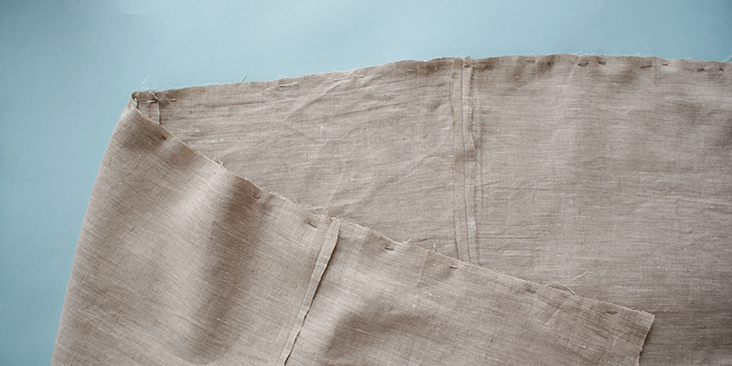
4. Pin together the square panels that make up the top layer of the quilt. It would be easier to work’ in horizontal rows of 5 squares first.
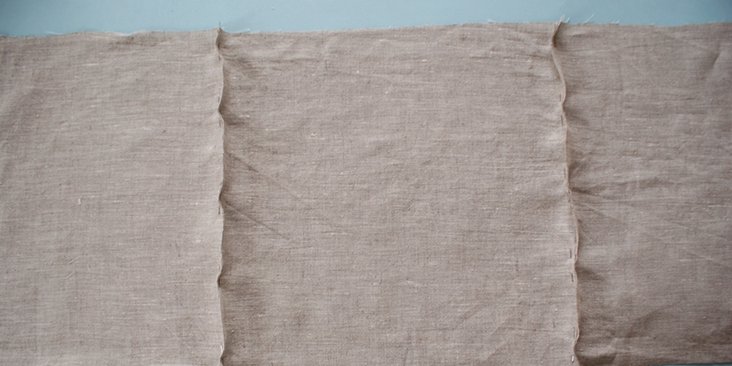
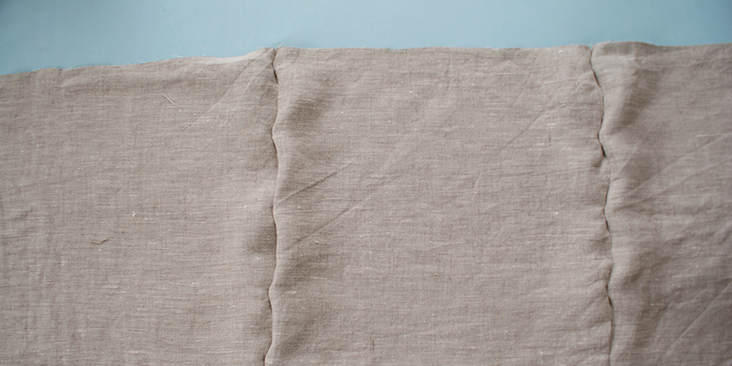
5. Sew the square panels together, making sure you are stitching’ on the same side (wrong side facing you when sewing). Press each seam open with steam.
6. After sewing 5 rows of 5 squares, pin the long edges of your’ rows together to form your final quilt square. Again make sure the wrong side is facing you. Sew along these lines and press the seams open.
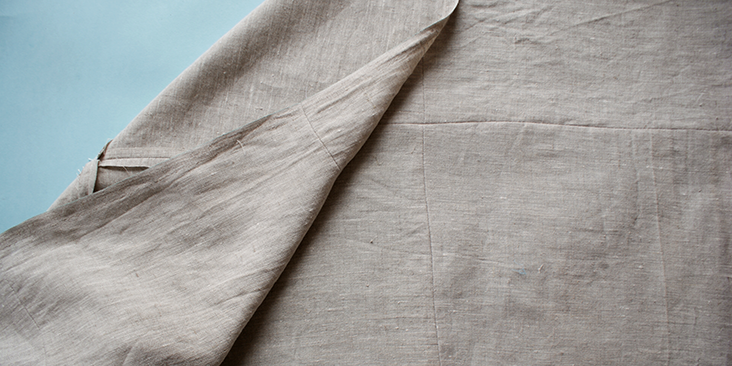
7. To layer your quilt: ‘ place the bottom layer of material on the table, then the batting on top of it, and finally the newly sewn top layer.
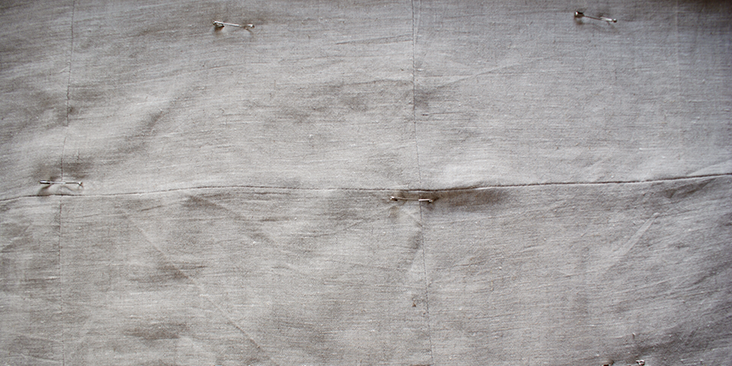
8. Use pins or the curved safety pins to secure all three panels together along the edges and throughout the middle as well. Some good spots to place the pins would be along all the sewn square seams.
Embroidery
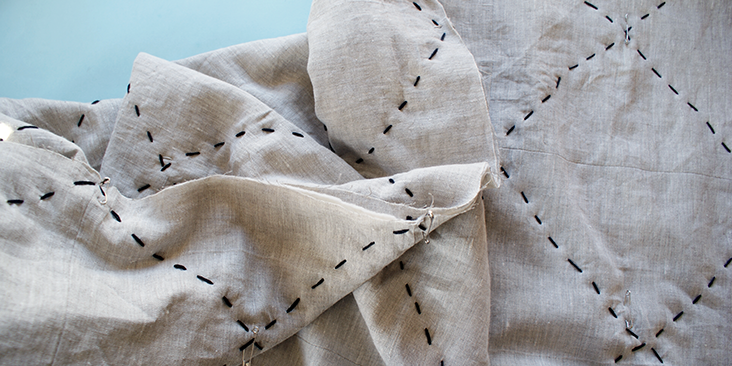
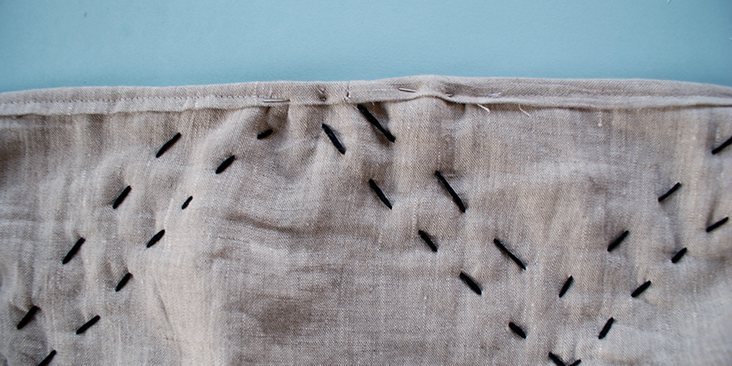
9. You can use your top layer squares as guides for your embroidery. Without marking explicitly on the material you can start to do a running stitch (blue lines shown in the pattern diagram) diagonally from the top right corner to the bottom left corner of the quilt; using the machine stitched points among the squares as markers.
10. Next, hand stitch a running stitch line from the top left corner to the bottom right corner and you will have a big embroidered cross on your quilt.
11. Following the diagonal line, stitch other diagonal lines, parallel to the main one, with the width of a square as the spacing in between each line.
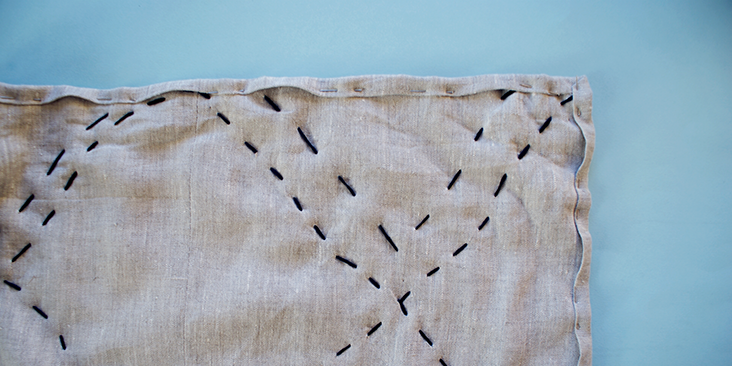
12. Continue using the running stitch and embroider all the diagonal intercrossing lines.’ In total, each direction should have 9 running stitch lines. When laid out straight, your quilt square will be divided into embroidered diamonds.
13. Following the pattern, at the first and third horizontal rows of your embroidered diamonds, stitch a smaller diamond inside the bigger’ diamonds using the running stitch.
14. Then, small crosses are hand stitched on, in between the rows with smaller diamonds.
15. Following this tutorial, make around 9-10 yards of bias binding tape, or enough to go around your quilt.
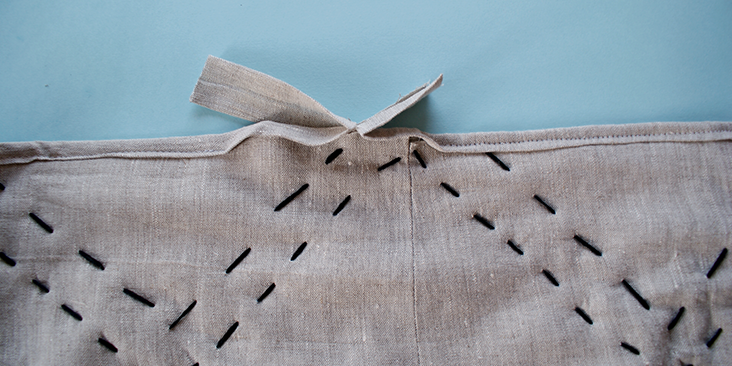
16.’ Leave 1.15 inch (3cm) of tail unpinned, then proceed to pin the tape along the quilt, leave around 1.5 inch (4cm) gap from your first pin. Leave 1.15 inch (3cm) of tails at the end of pinning.
17.’ Stitch along this pinned edge.
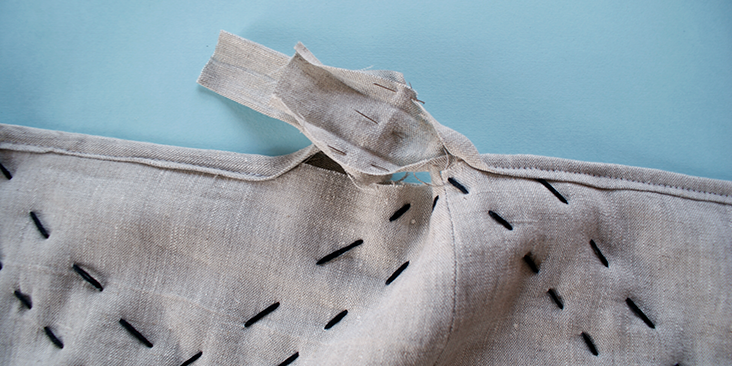
18. Then, manually match up the remaining unpinned edge and fold the tape backwards, forming a distinctive fold line.
19. With the wrong side of the tape facing outwards, pin along this folded line. Stitch along the line and press. Trim away any excess fabric.
20.’ Refold the tape onto its right side and pin onto the remaining hem, top stitched over and press.
21. Next let’s start to make the tassels.
Tassels
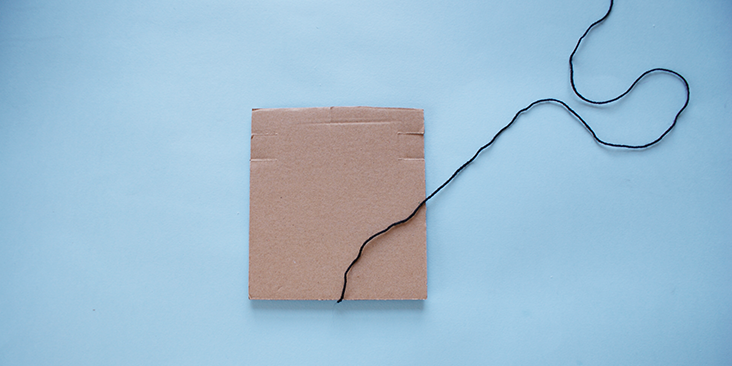
22. I wanted my tassels to be 5 1/2 inch (14cm) long so I used a piece of cardboard that is 1/2 inch longer than my preferred length for this process. It measures 6 inches (15cm) in length. Depending on the desired length of tassel, you can adjust the length of the cardboard.
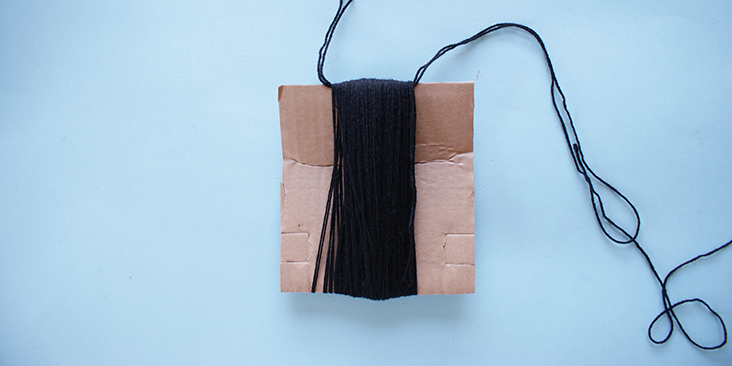
23. Take a piece of yarn and wrap it around a piece of’ cardboard for around 125-150 times. This is to create a very bulky tassel. You can adjust the thickness of the tassel by reducing or increasing the amount of times you wrap the yarn around.
24. Take a piece of yarn and thread it with a needle underneath the’ wrapped yarn at the top of the cardboard. Loosely form a knot at the top with the piece of yarn.
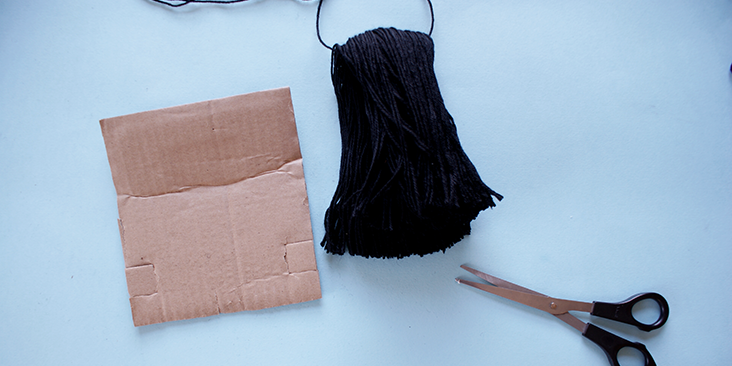
25. Cut the wrapped yarn at the bottom of the cardboard in half and tighten the knot’ to secure everything.
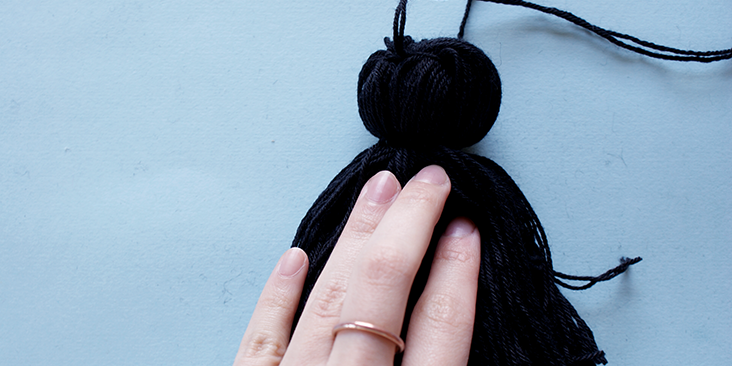
26. Take another piece of yarn and tie it just below the top of the tassel’ horizontally like shown in the photo below.Wrap remaining tail’ strand around the cinched tassel a few times to cover the knot. To secure the tails, using a needle and’ bring them under the cinching strand from the top and down the centre of the tassel to join the other strands of the tassel.
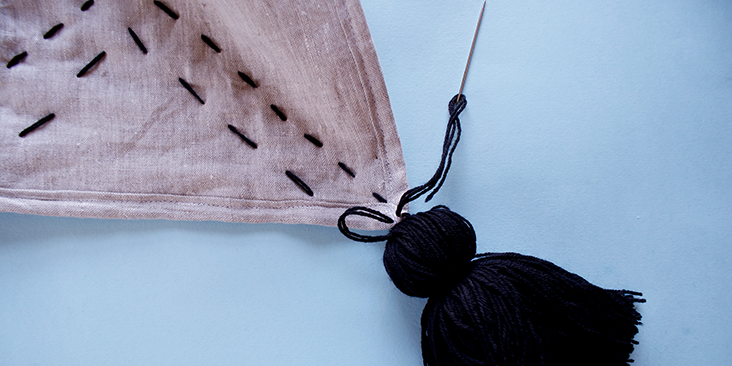
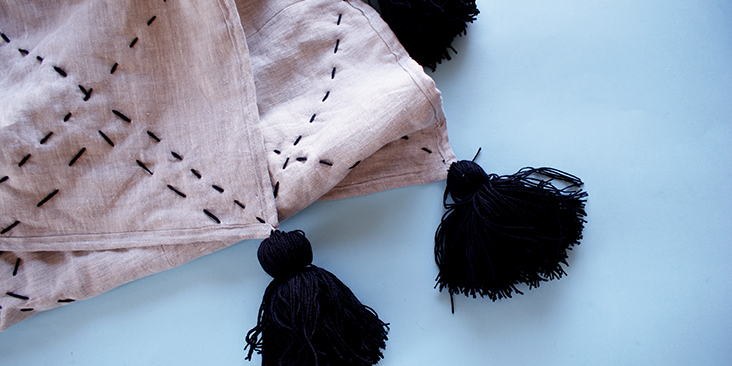
27. Thread the top yarn through the hand embroidering needle and stitch it onto the corner of the quilt.














12 Comments
Diane Cote
I love this quilt. However, When I attempt to display the pattern, I get an “error 404”. Is there anyway to reinstate the link to the pattern? I would love to attempt this quilt with linen. Many thanks.
DIXIE SHOUP
The charm of this pattern is the idea that however this being stitched, YOUR quilt will be uniquely your own style when finished. Would love to do this with my grandaughter. Cannot think of a better, non intimidating, intro to quilting. Thank you.
Cellabella
I would love to make this sometime and plan to in near future. It looks fairly simple to make. How hard is it to pull the yarn through the layers?
Cynthia Fong
Hi, as long as you have an embroidery/darning needle with a very sharp end, it will be fairly easy to pull the yarn through.
Tammy Amico
I am an embroider as well and nice to see the simplicity in this pattern the running stitch is used even in complicated embroidery. I think this is great to get people involved in an artistic way. I would love to see pictures of people that took the time to try this and added their own ideas to it.
Cynthia Fong
Tammy, thank you for your comment. It is definitely one of our priority to engage those new to crafting, and what better way than to include some of the easiest technique for something that could be quite impressive. Please also share with us your embroidery projects too.
kathi Congleton
I loved the authencity and simplicity of this design. Thank you.
kathi Congleton
I love the beautiful ,authentic simplicity of this design! I am very pleased. Thank you.
Cynthia Fong
Thank you Kathi, we hope this design can inspire you! Please show us your finished project!
Positive
There are no mistakes to creativity just opportunities. ”
“Groovy karma” let’s not be so negative. We have enough negativity and not a lot of positives in this world we live in. There are better ways of getting your point across.
Groovykarma
I am concerned about your terminology. This is a running stitch. Very irregular stitches, at best. This is NOT embroidery, as far as I’m concerned. This is a very simple quilted throw.
Disappointment
Cynthia Fong
Hi, thank you for your feedback. We had hope to introduce something very simple and quick for those that might be new to embroidery, hence a tutorial that includes more of a freestyle design.