Sewing Essentials: Five ways on how to attach a collar Tutorial
If you have ever wondered how to attach a collar and what types of collars there are out there, here’s a good tutorial to look through. This fine detail which adds character to a garment can seem a little daunting at times. Luckily, finding an easy step by step guide’ and practising it a few times can allow you to overcome this obstacle. In this tutorial you can learn’ how to draft and attach a straight edge shirt collar and learn about other collars and ways to finish a neck line beautifully. We’ hope this tutorial will help and inspire those new to sewing and reawaken the desire to make something special with the experts. Who knew making and attaching a shirt collar could be so straight forward?!
Tools
Fabric, Matching sewing thread
Interfacing fabric (Iron on, or glue on)
Pins, tape measure, fabric marker/tailoring chalk
Bone folder/point turner
Steps
Shirt Collar
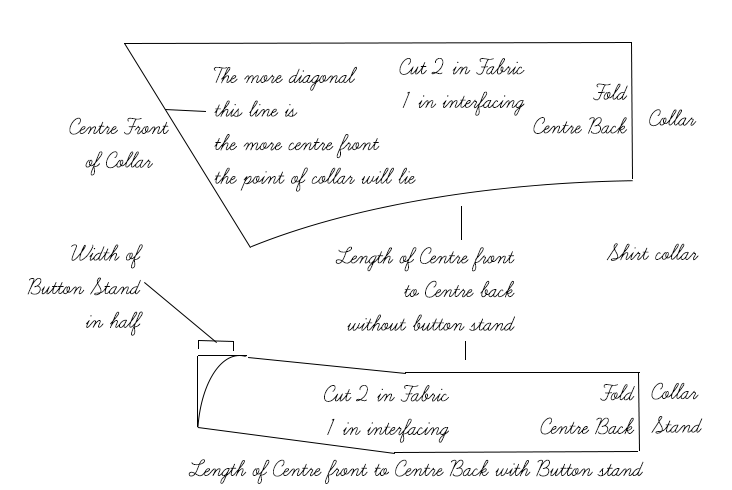
1. Follow this pattern and cut out the relevant pieces for the shirt collar, adding on 3/8 inch (1cm) seam allowance along all seams.
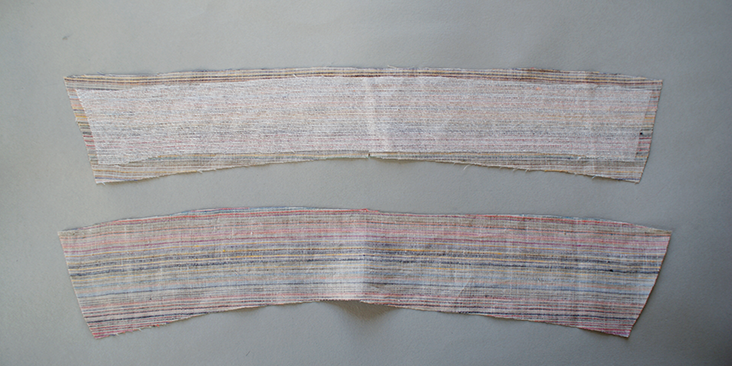
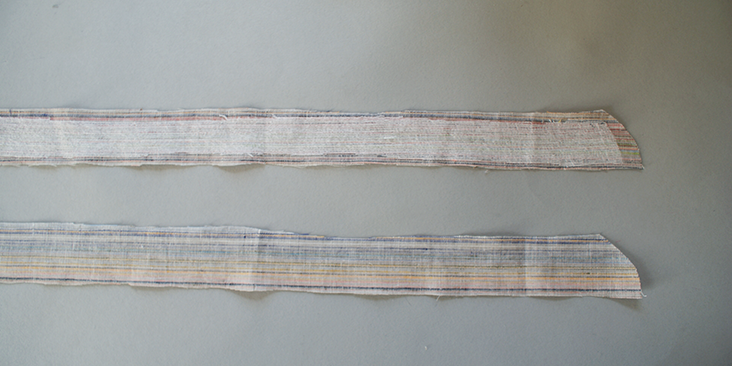
2. Attach interfacing fabric onto one of your collar pieces, and one onto’ one of the collar stand pieces.
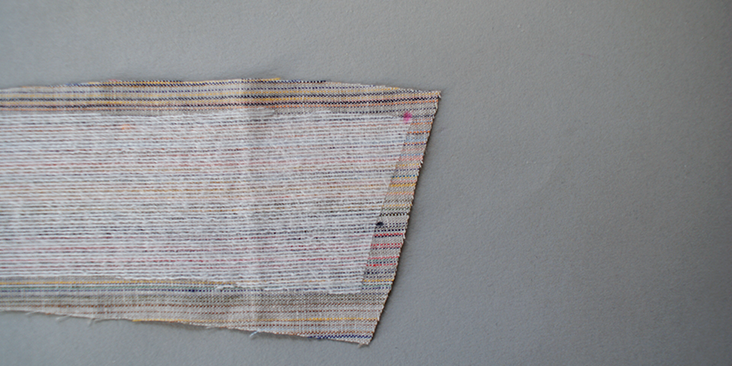
3. With right sides together, place the collar pieces on top of each other, and use a fabric marker to mark the corner point of the collar. This is to ensure accuracy when sewing.
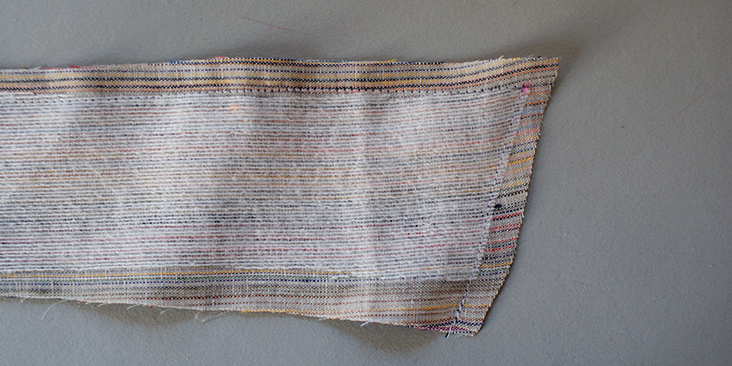
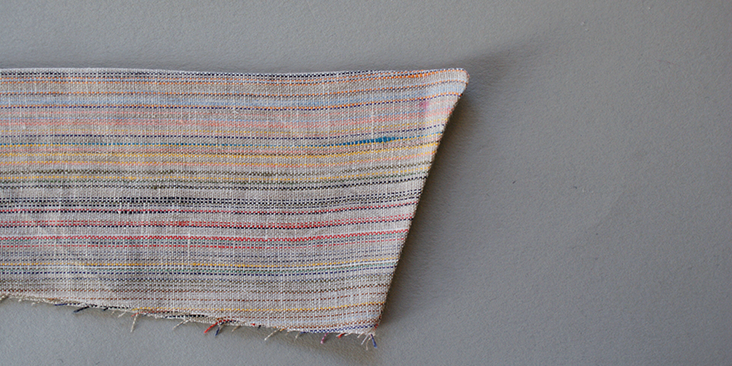
4. Stitch along the seam allowance, leaving the seam which will join the collar stand open.
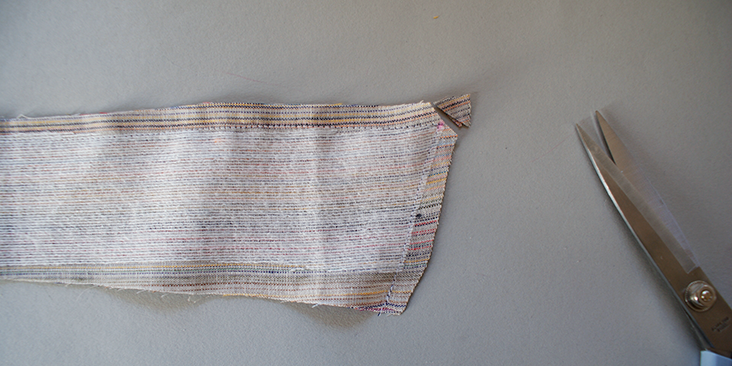
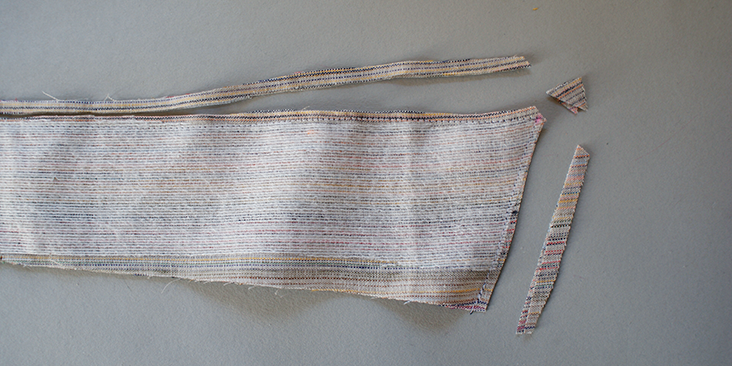
5. Still on the wrong side of the collar, snip the corner, and trim along the excess fabric as close to the stitching line as possible. This is to reduce bulk once you turn the collar inside out.
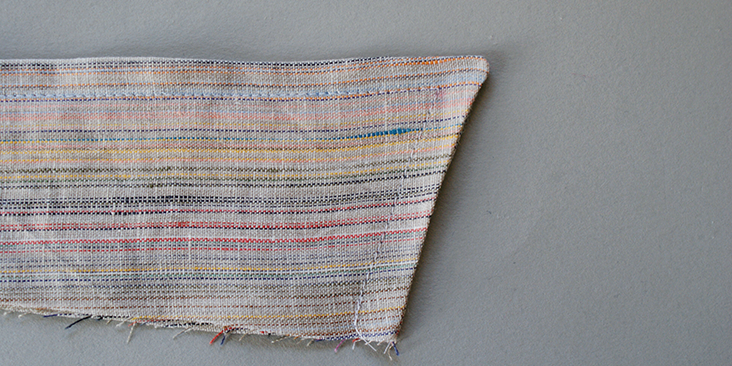
6. Turn the collar onto its right side, use a bone folder/point turner to push the collar tip as precise as possible. Anything sharper could damage the stitching.
7. Once again, using a fabric marker (that can be removed), mark the corners of the collar to ensure accuracy when top stitching. This mark should be 3/8 inch (1cm) away from the seam.
8. Top stitch along the three stitched seams. Press.
9. Make sure’ the shoulder seams, and all the button stands/plackets of the bodice are sewn in already.
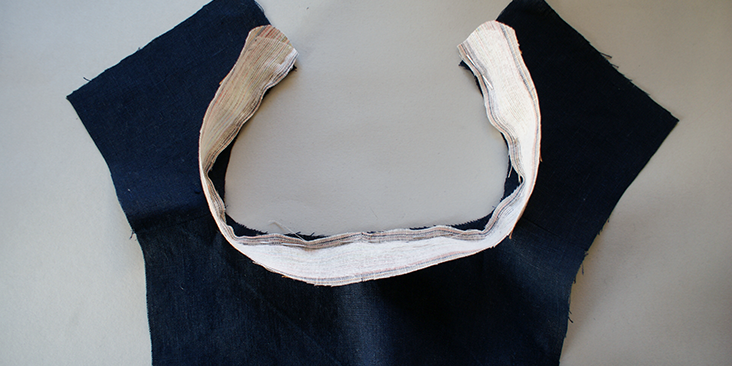
10. With right sides together, pin the bottom seam of the interfaced collar stand onto the neckline of the shirt. Making sure centre notches and centre front seams match up. The collar stand will be longer as it will still have the seam allowance at the centre front seam of its panel, compared to the already put together bodice panels.
11. Stitch along this seam and press open.
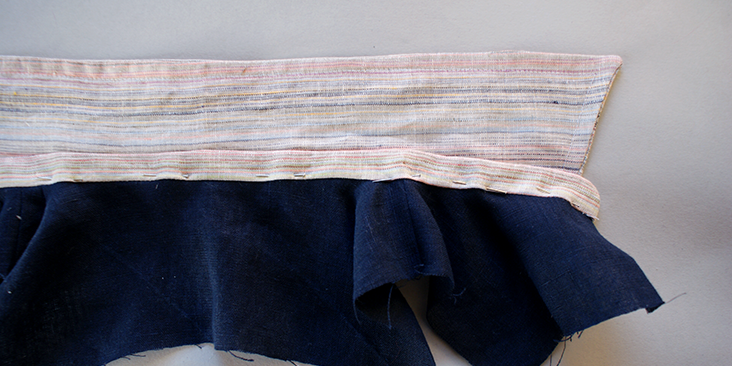
12. Take the other collar stand panel, and press the seam allowance of the bottom seam onto the wrong side of the stand.
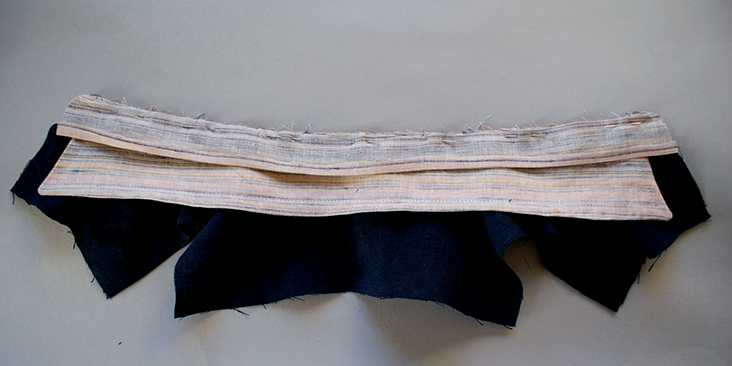
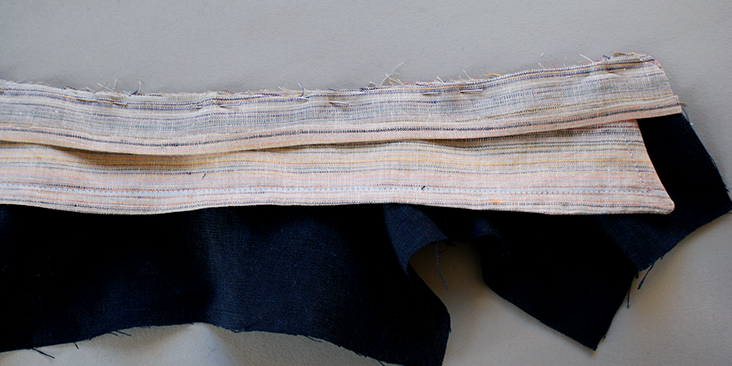
13. With the attached collar stand’s right side facing you, lay the collar panel on top along the top seam of the collar stand. Then, place the pressed’ collar stand on top, with its wrong side facing you.
13. Pin all these layers together, matching up all the centre notching.
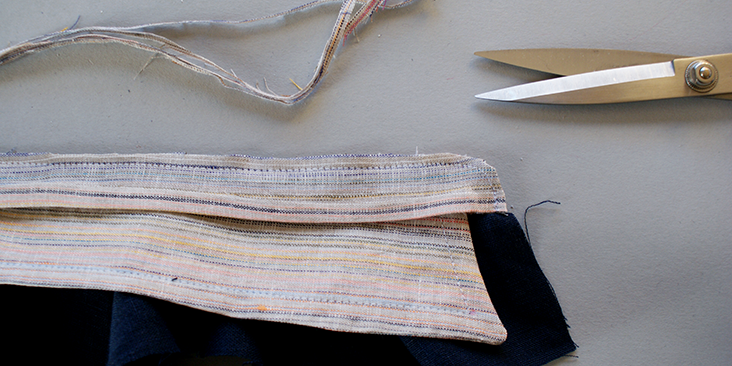
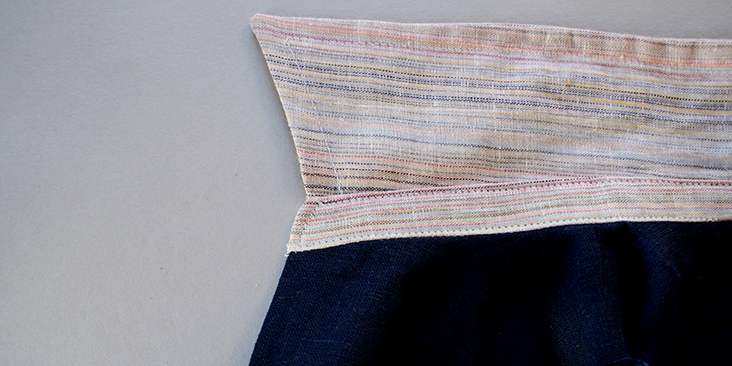
14. ‘ Stitch along this seam, with the curve seam that will occur at the edge of the collar stand panels. Trim along this seam as well to get rid of excess fabric.
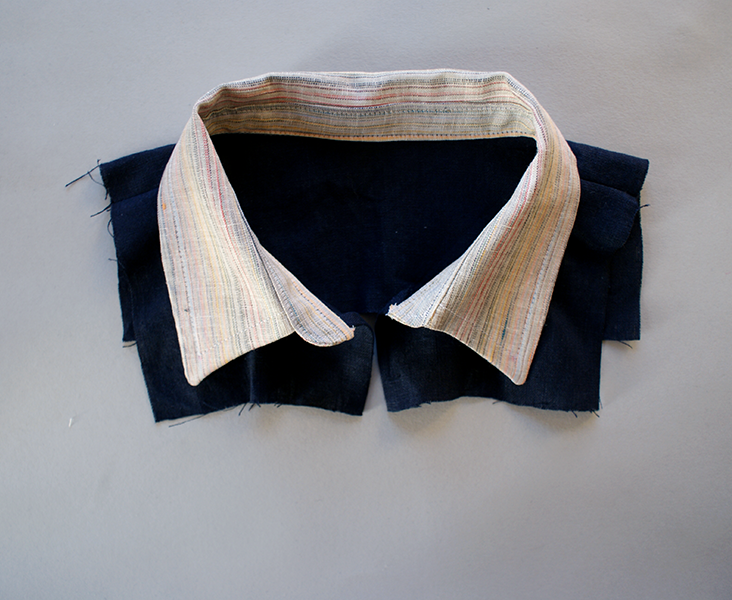
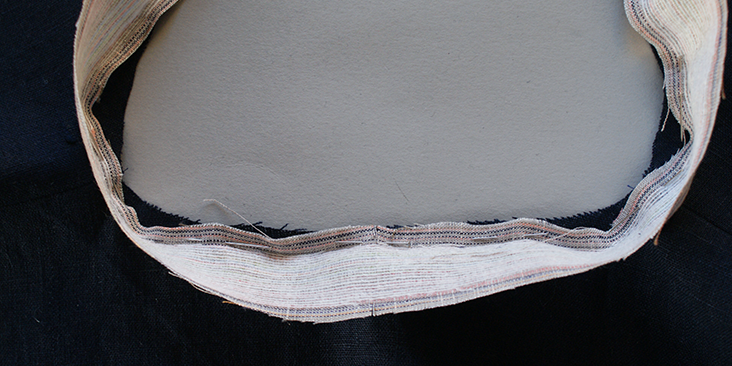
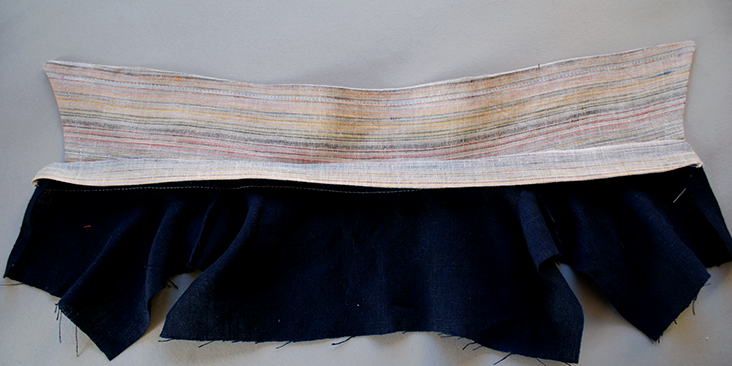
15. Turn the collar stand onto the right side and you will see the collar is sandwiched in between the stand panels, and the inside collar stand is the only panel left to be stitched in place.
16. You will need to top stitch along the whole’ seam of the collar stand, so with the right side of the bodice facing you, pin along the bottom seam of the collar stand, catching the pressed edge of the inside panel.
17. Stitch all the way along. Press.
Next, you are ready to add all the other finishing touches to your garment!
Here are a few more other ideas you can use to finish your collar:
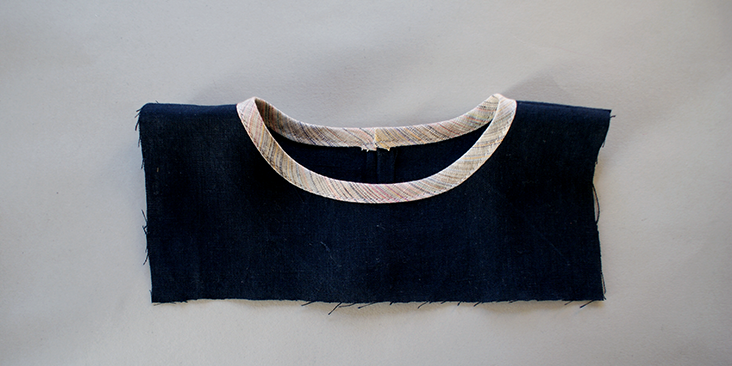
Using Bias Tape
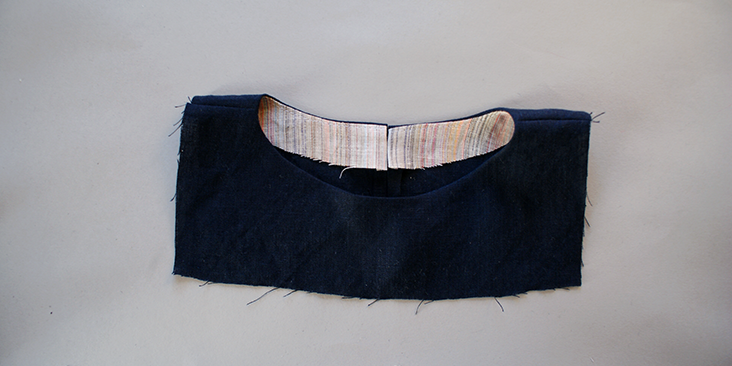
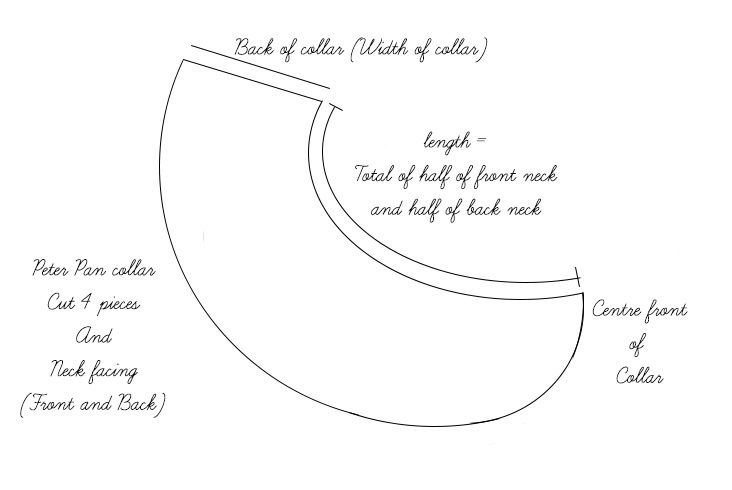
Using Neck Facing
The panels can be made, by tracing the neckline of your front and back bodice pattern, measure the width (along the shoulder seam) to’ around 1-1.5 inch (3/4cm) from the neckline, and draw a curved line that attach the centre front/back to the shoulder point.
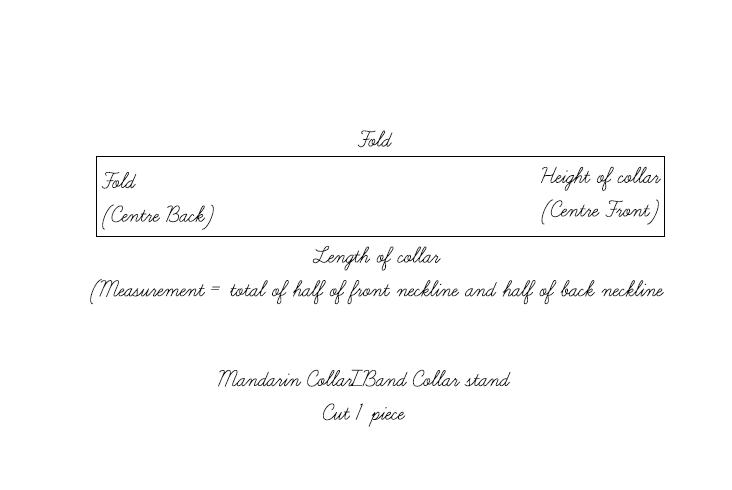
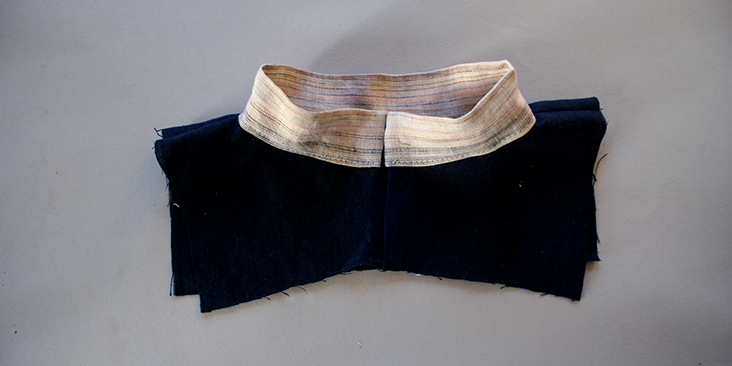
Mandarin/Band Collar
For an easy, standing upright collar this is a perfect collar to choose. The height of the collar can be adjusted to liking.
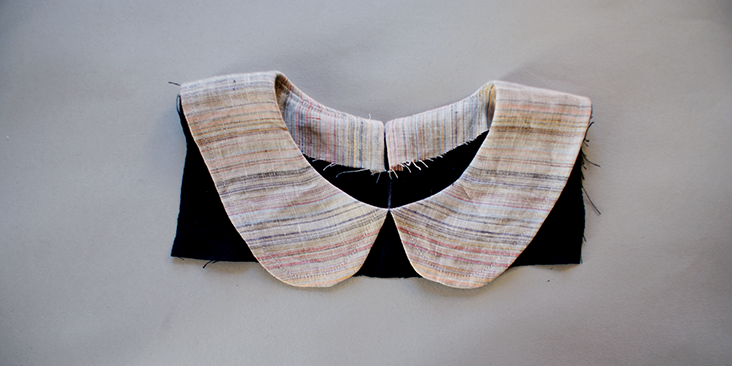
Peter Pan Collar
This collar is mostly used on garment with a back opening, as the back of the collar panels are not joined.
You see, it wasn’t so difficult! Now you can look at’ the plethora’ of fabric‘ we have to offer and’ start practising this newly learnt technique!













7 Comments
Lynn
Love these tutorials. So many things can be done with these as starters. Maybe it was mentioned and I missed it but it’s helpful to note that to lay right, the underneath of the collar has to be slightly “shorter.” Shorter in the up/down sense. If you want it to pop and stay popped, keep them the same and even include a slightly stiff interlining. I love the Peter Pan collar too, as I don’t always like that stand up area. That stand up area came from men’s shirts which needed it to give space for a tie. If you notice on 50’s relaxed shirts, there’s no stand up area. The collars layed flat. So the tutorial for the Peter Pan collar can be reshaped with points, etc. Nice to have the options. Just some walks down memory lane from an old time sewer.
Cynthia Fong
Hi Lynn, thank you so much for your comment. And what a great tip regarding the collar, it will definitely make it easier, especially for beginners. We truly believe that with a good foundation you can make everything, so we really hope these tutorials can encourage even readers who might not sew to pick up that needle and embark on their journey!
Theresa Bretch
I think you should also mention that the neck of the garment should be stay-stitched 1/2 inch in from the outside edge, and occasionally clipped to the stitching, before attaching collar band or collar.
Cynthia Fong
Thank you, Theresa for your suggestion. This is definitely a good tip for anyone who is new to sewing!
Jaimn
Love this, thank you!!
Sylvia Oey
I may have missed it, but I don’t believe your tutorial mentions whether the faced side of the collar or stand should face towards the inside or outside of the finished garment.
Cynthia Fong
Hi Sylvia, thank you for your comment, apologies that we did not mention this. It will be amended as soon as possible. For your information, the interfacing fabric should be attached onto the upper collar. So at step 10, it will be the interfaced collar stand that will be sewn to the neckline first. And at step 13, the interfaced side of the collar (upper collar) is facing up. The uninterfaced side of the collar (under collar) will be facing the interfaced (outer) collar stand.