Sewing Essentials: Attaching a Bottom Panel Tutorial
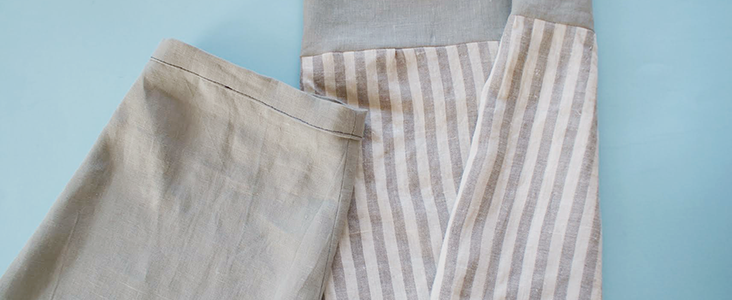
One of the most looked over skills is attaching panels together. In this tutorial, we will teach you how to accurately attach panels together, more specifically, skirt panels onto bodice, as well as skirt panels in between waistbands. You can translate this skill onto other type of garments, like rompers, overalls and trousers. Just remember, notched mark is your best friend!
Tools
Fabric, matching sewing thread
Pin, scissors, tape measure
Steps
We will look at how to attach the skirt panels onto a bodice first. For this tutorial all the panels are sewn together, but we are aware there are other tutorials that require a zip at the back of a dress, and therefore you will have two separate back panels. You can easily match those panels up without a problem.
1. At this point, the bodice panels and skirt panels are sewn at the side seams already.
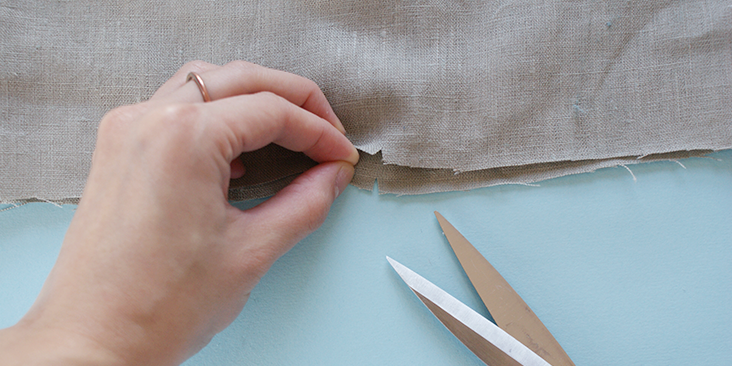
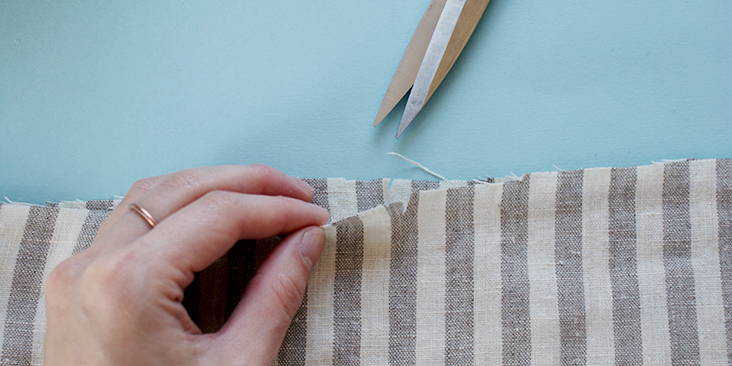
2. Make’ small notched marks at the centre fold lines for the bodice and the skirt.
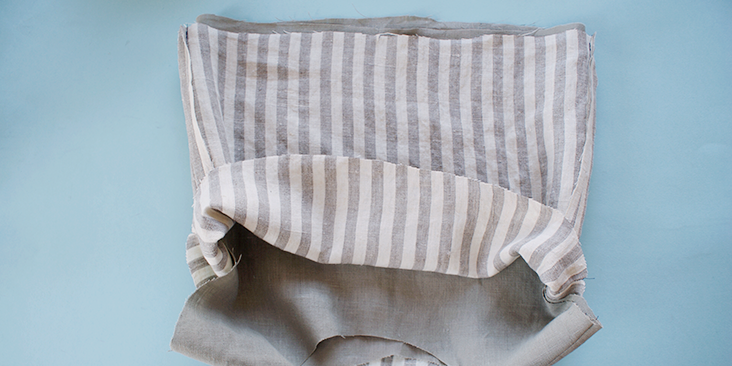
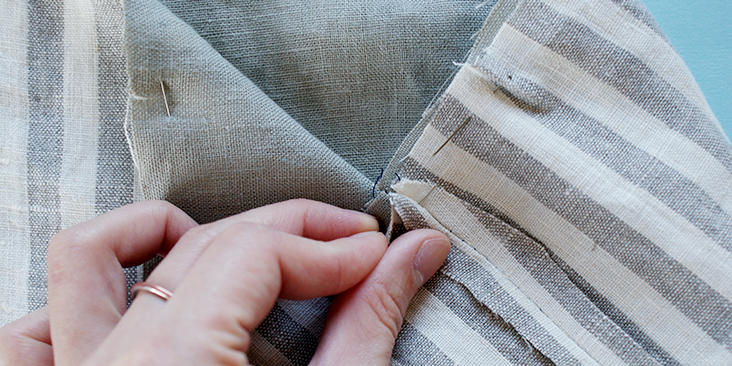
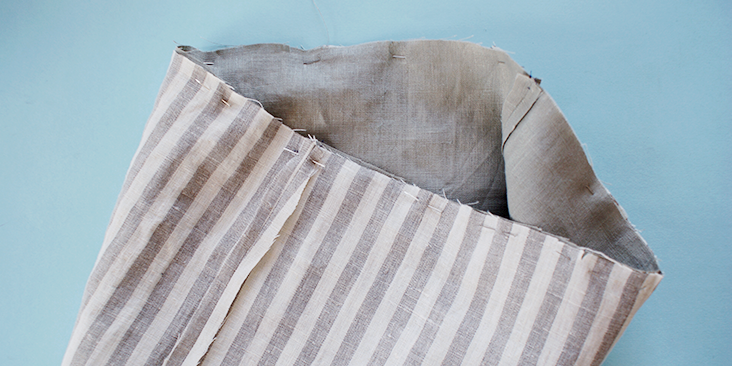
3. With the right sides together, slide the bodice panels into the skirt, where the waist edges meet.
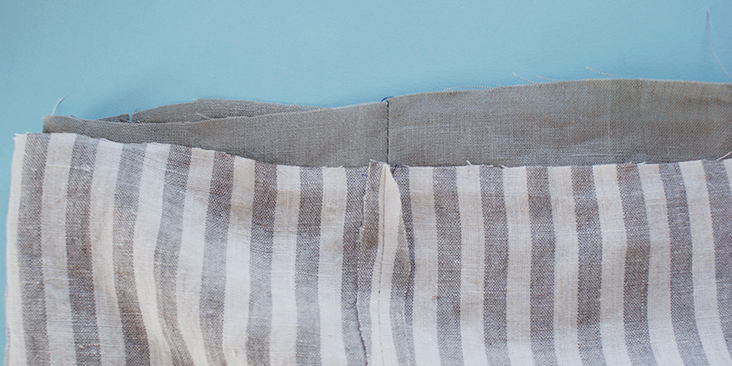
4. Match together the front notched marks, the side seams, as well as the back notched marks of the bodice and the skirt.
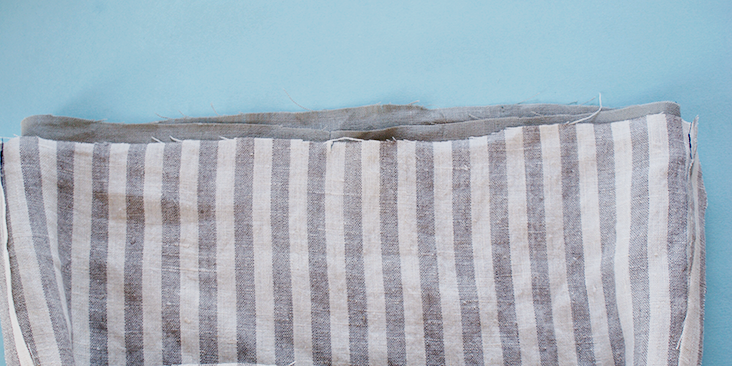
5. Pin at the seam allowance and stitch along this line.
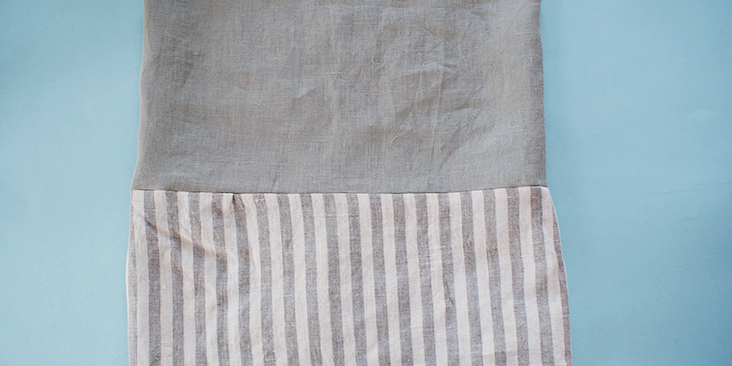
6. Press the seam open and you have successfully attached them together.
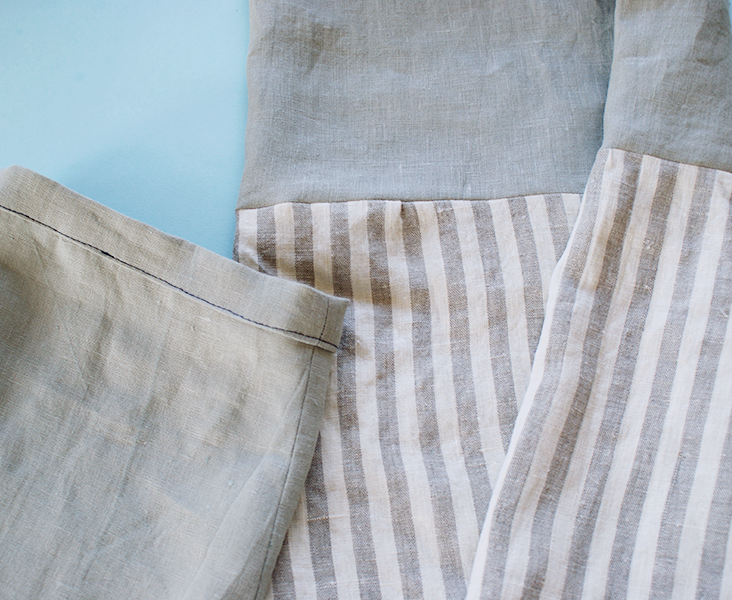
Now onto waistbands. This is more common with trousers and skirts, and is done with waistbands that are folded on the top edge. There might be tutorials where the waistband is longer than the length of the skirt panels, because there is overlapping (for buttons or hooks), simply add a notched mark where the skirt needs to be attached until, and that is the end point for the skirt panel.
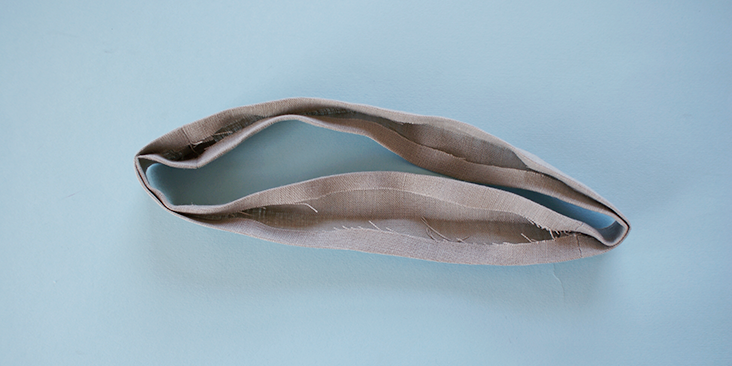
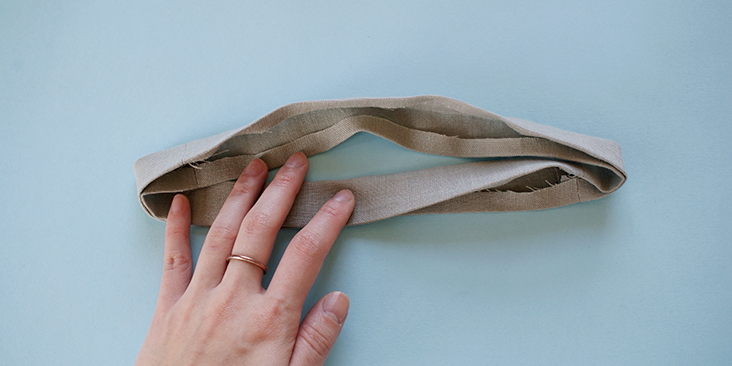
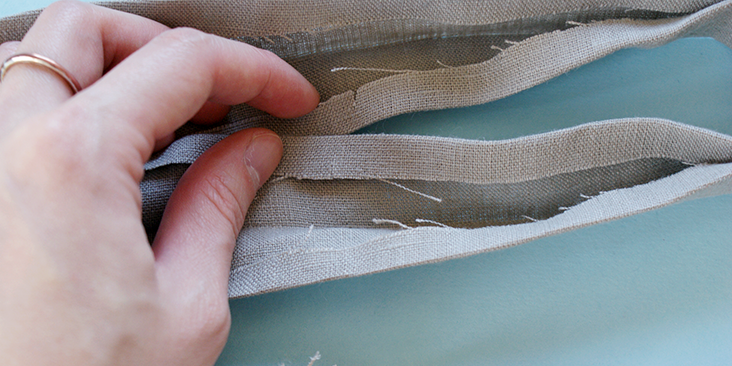
7. Sew the waistbands together at the side seam, and press it in half, length wise. Then press the raw edges into the wrong side of the waistband, towards the pressed centre fold.
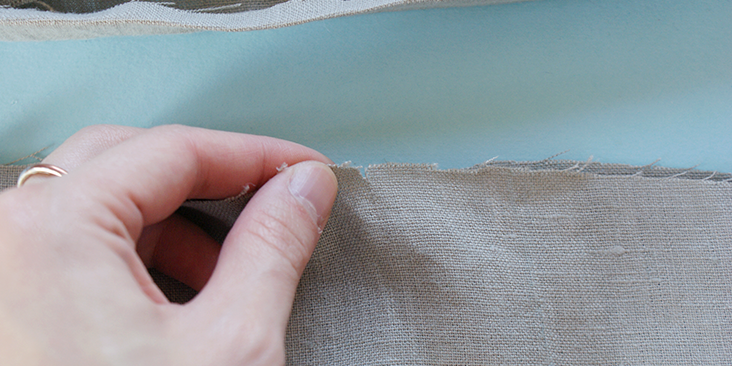
8. Once again, create notched marks at the raw edge (that has been pressed inwards) of the waistband, as well as the skirt panels.
9. If you are making a skirt that is gathered, make sure the notched marks were created before you start to gather the panel.
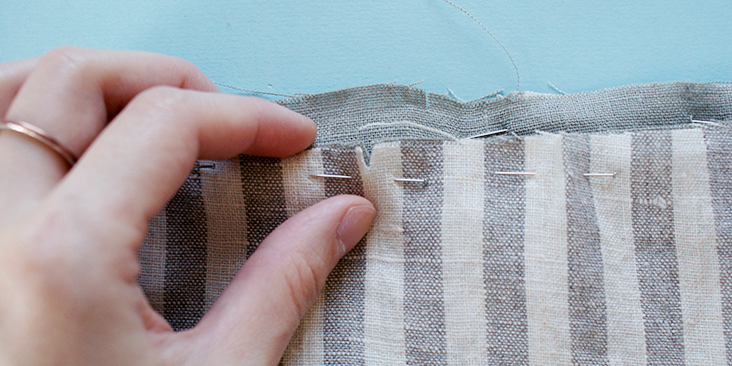
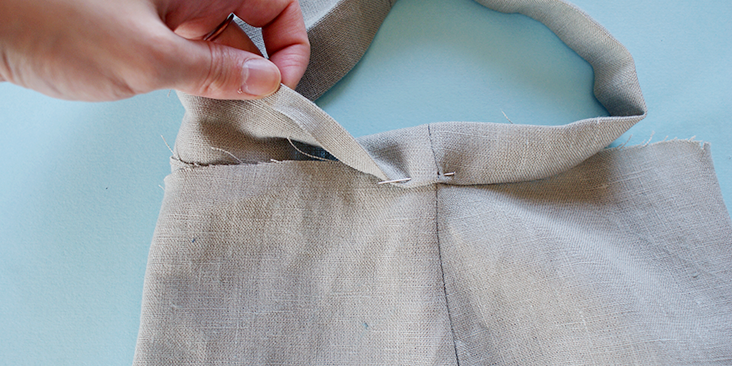
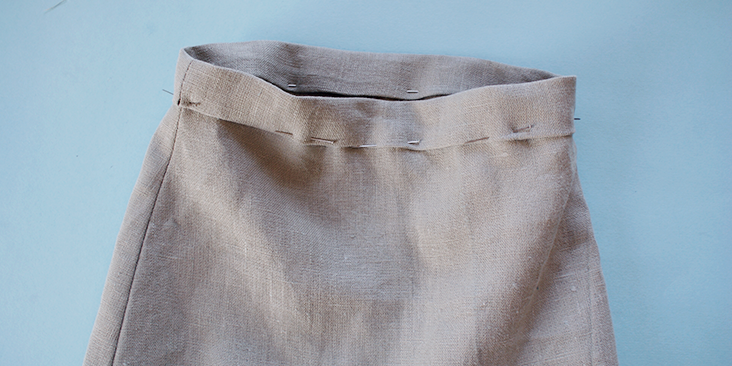
10. Sandwich the waistband onto the top edge of the skirt panel, matching up with notched marks.
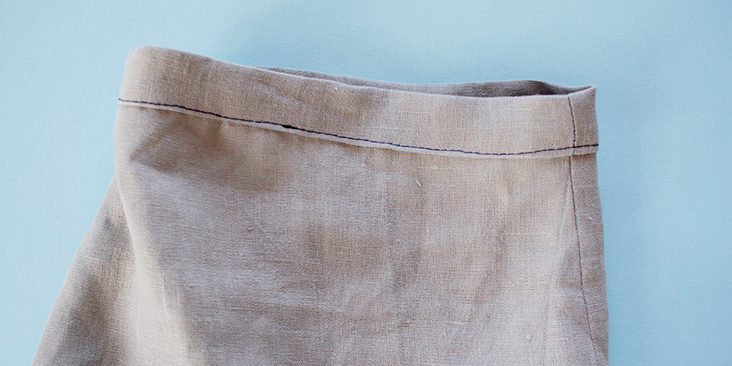
11. Pin on the right side of the garment and top stitch over.
Notch marks are very important when it comes to sewing accurately, and will make your life so much easier! With this new skill why not take a look at our great selection of linen, and decide on something new to sew and attach next!









7 Comments
Beth
I understand this is about attaching the waistband but how then do I get into this garment?!
Cynthia Fong
Hi Beth, this tutorial is strictly for teaching the basics of attaching the skirt panels onto the bodice panel. Regarding openings and closures, these steps would be included in the actual garment tutorials.
Eileen
Also the finished products would present so much better if they were nicely pressed instead of rumpled and with all the fabric fold lines clearly visible.
Laura Graham
The waistband on the skirt fully encloses the raw edge of the skirt. What is the best way to address the raw edge issue attaching the dress bodice to the skirt, which leaves a raw edge in the method you show? A french seam or maybe a flat felled?
Cynthia Fong
Hi Laura, normally I would use a serger to stop the edges of the fabric fraying in the future. French seam is also a good idea, but it is best to do it with thinner material. Also using binding tape to encase the raw edges is a good way of addressing the raw edge issues too.
Theresa
People who don’t like your work are not likely to comment. Let me be of help. Try to be more precise and neat in your examples in your photos. At best your pieces look uneven and home made not hand made. It makes me sad, you have such potential with this blog.
Cynthia Fong
Thank you Theresa for your constructive comment. We always try and ensure our blog is of the best quality. We will continue to improve our samples and photos in the future.