DIY Christmas Stockings Tutorial
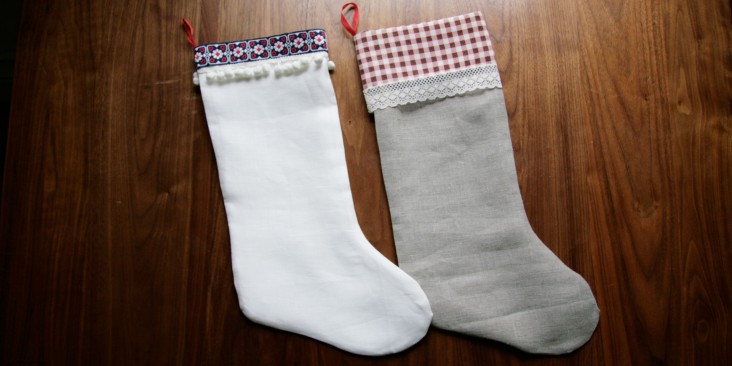
The holiday season is nearly upon us so I though I would share this lined stocking tutorial. It’s very easy to sew and will be perfect for all levels, especially beginners. You can choose any of the fabrics-store.com colors but I went for natural and white linen with some Christmassy fabric for the lining.
These stockings would make a perfect Christmas decoration for your home or gifts for someone special.
Materials
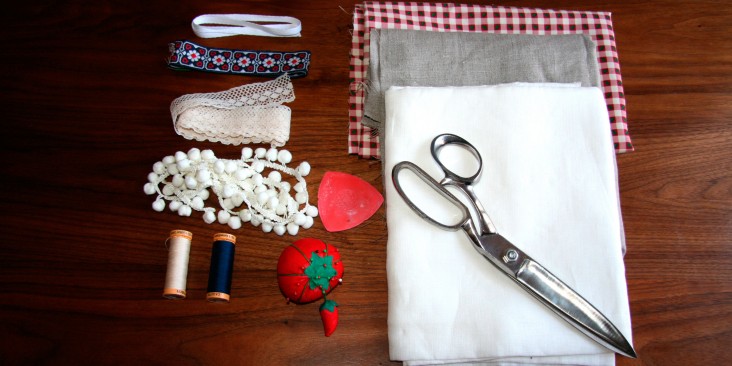
½ yard of IL019 Natural Softened
½ yard of IL020 Bleached White
½ yard of your chosen fabric for the lining
Ribbons, lace, pom pom trimming
Tools
Scissors, Pins, Sewing machine
Matching thread, Tailor’s chalk
Time
2/3 hours
Difficulty
Beginner
Pattern
Link to the printable pattern template HERE.
Steps
Note: Prewash your fabric and tumble dry it until it is still slightly moist, let this dry in room temperature. Iron the fabric so it is easier to work with.
In this tutorial we are going to make two different versions of the stocking: with and without cuffs. However, both of them have linings and both of them are embellished with ribbons and lace.
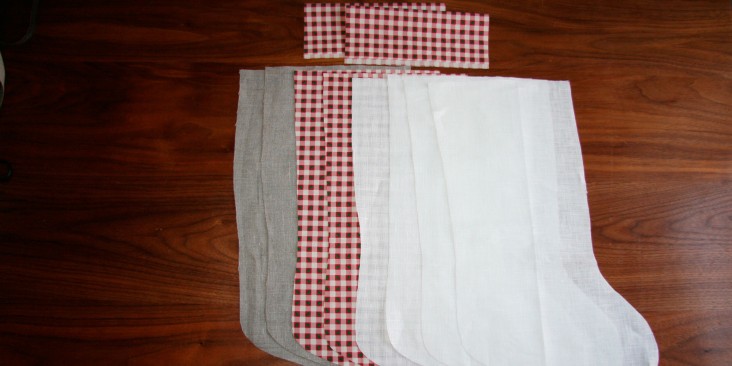
1. Print out the pattern and tape two pieces of the stocking together. Cut out the cuff. Pin the main body and the cuff onto fabric which is folded in half (as shown below) and cut the stocking shapes. You’ll need two pieces of the main fabric (for the outside) and two pieces of the lining fabric (for the inside of your stocking). Cut two cuff shapes on fold. IMPORTANT: By folding your fabric in two you’ll get the shapes where toes are facing both directions. Otherwise if you put the right sides together the main body sock and the lining sock will not match.
2. This is what you will end up with: two stocking shapes of main linen fabric plus two lining shapes and two cuffs for the stocking N#1 and four pieces of the same white linen for the stocking N#2.
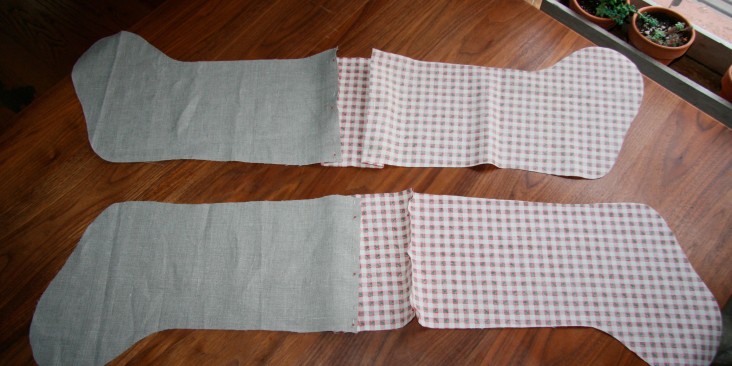
3. Now that we have all of our pieces let’s pin them together face down pairing up the outside pieces (in linen) with the lining pieces (in check fabric). Please note that the toes should be pointing different directions as shown below. If you are doing the version without the cuff, just pin the stocking shapes together face down. Now stitch.
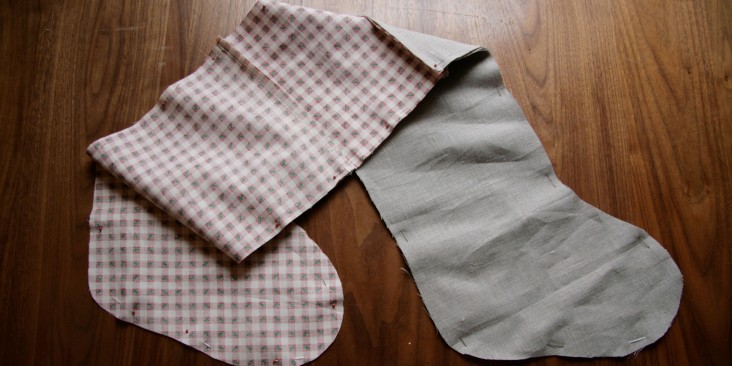
4. Join two right sides together matching the lining fabric and the main fabric and pin all around. Center seams should match too.
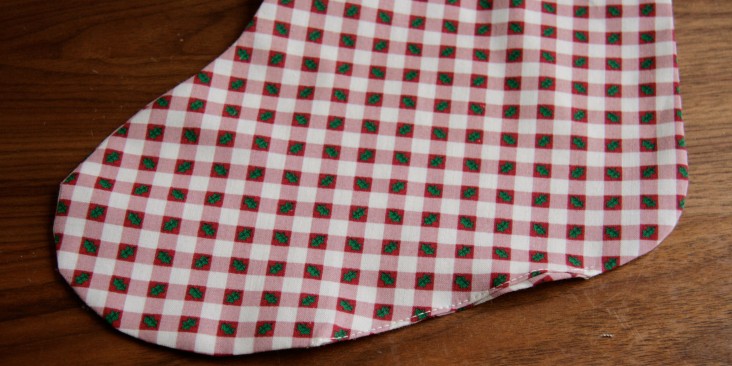
5. Sew all over but don’t forget to leave a 3″ opening at the bottom of the lining foot. This will be your turning gap.
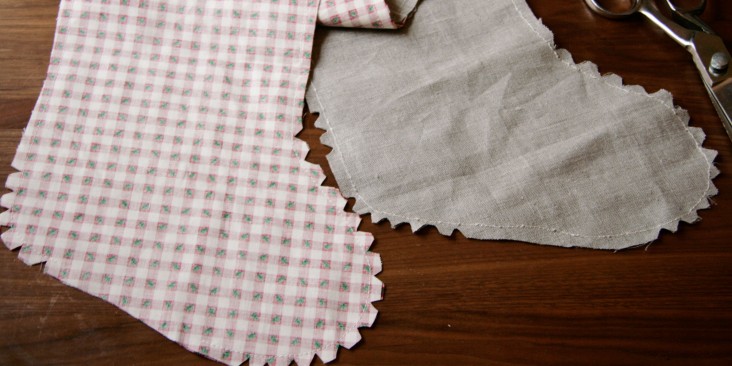
6. Before turning the fabric inside out you need to cut notches in the curves of your sock. This will help to avoid wrinkles and reduce bulk.
7. Now pull the fabric through the gap and turn everything inside out and press. Close the opening.
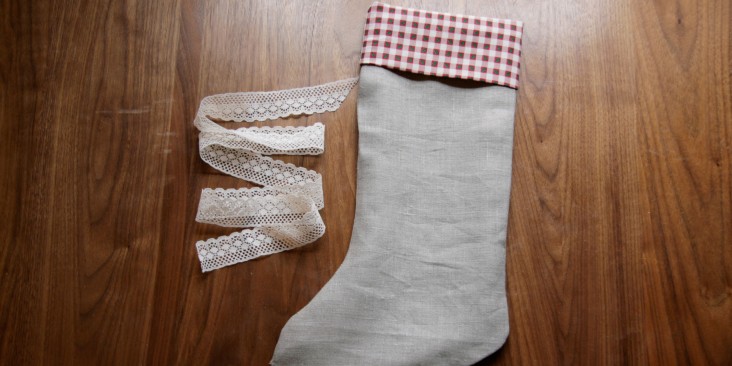
8. Tuck the lining sock into the main sock. Fold over the cuff and press.
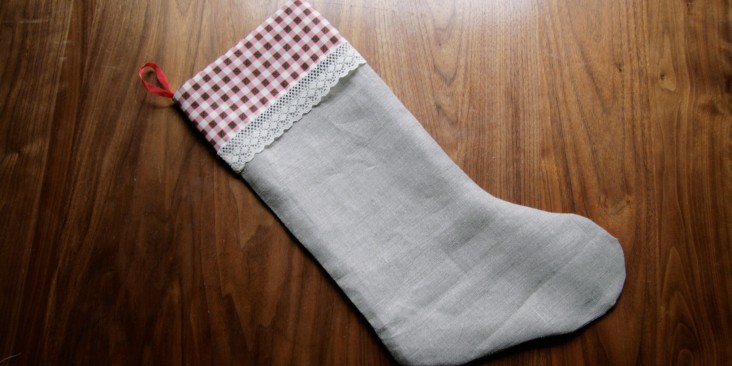
9. Decorate with some lace or ribbon by hand stitching them onto the cuff. Add a hanging loop.
You are all done! Now hang them at home and enjoy the result.



















Leave a comment