Raglan Peplum Linen Dress Tutorial
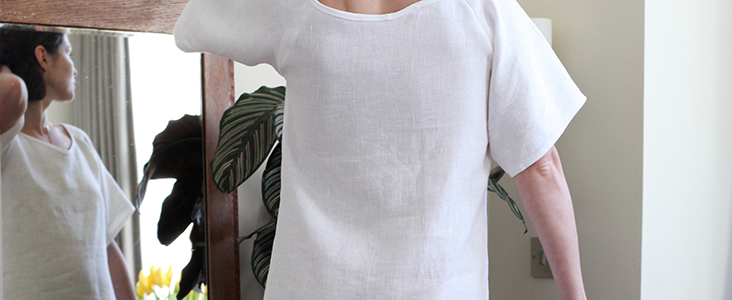
Whilst it’s getting cold outside, lets think to the summer months and make our future selves happy by making another beautiful white dress that’s pretty, comfortable and so simple you might as well make a few for yourself, your friends and little girls in your fam. Here we show you how to make a raglan sleeve, very useful for long or short sleeve shirts, and these simple dress designs. Also, try your skills at making a perfect peplum skirt panel. We’ve made this dress’ out of a mid weight IL019 fabric which is more suitable for summer. However if you wanted to make a warmer version of this dress- choose a warm’ dark color in heavy weight like 4C22′ Tawny Port, Graphite‘ or perhaps Teak and wear it this season with a thin turtleneck layer underneath. Enjoy!
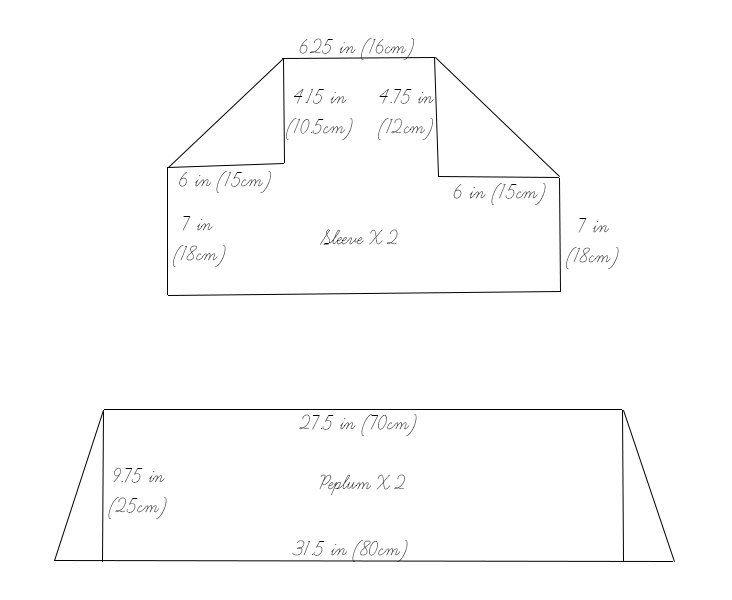
Materials
2 yards of IL019 Optic White Softened
Matching sewing thread
Tools
Pattern master, pattern paper
Paper scissors, fabric scissors
Fabric marker, pins, tape measure
Bias tape maker
Time
2-3′ hours
Difficulty
Beginner
Step
Note: Prewash your fabric and tumble dry it until it is still slightly moist, let this dry in room temperature.
1. Iron the fabric so it is easier to work with.
2. The diagram shows the pattern for US size 4-6 (UK size 8-10).’ Remember to add 3/8in (1cm) seam allowance around all panels. If you need help to grade your pattern, please follow this tutorial. Notch-mark the front and back of the sleeve panels to help’ match them later on.
3. Use a serger, or choose your own method to protect the seams from fraying. Make sure the method you choose does not add weight to the fabric.
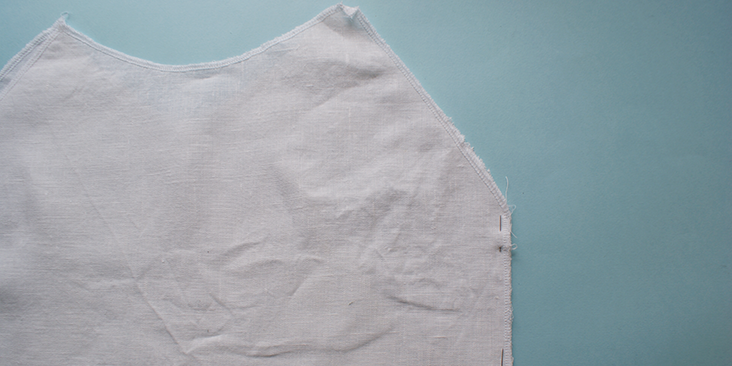
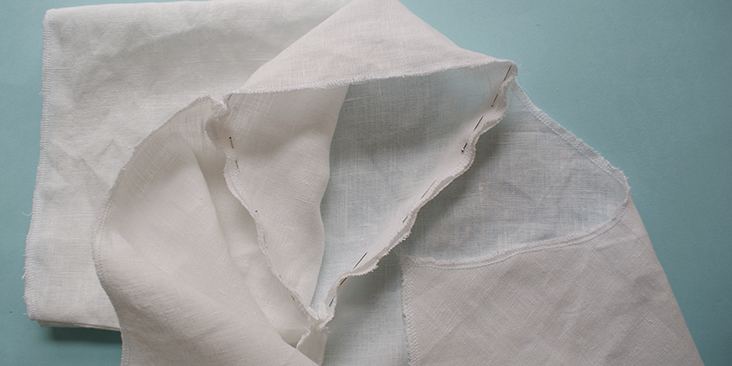
4. Pin together the side seams of the front and back bodice. Stitch on both sides and press the seams.
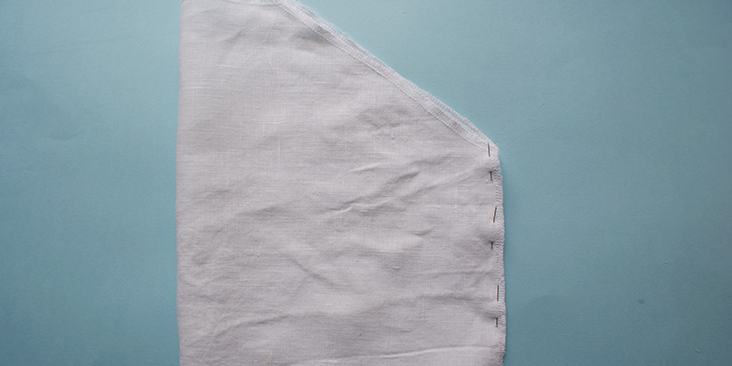
5. Pin the sides of the sleeves together. Stitch and press open.
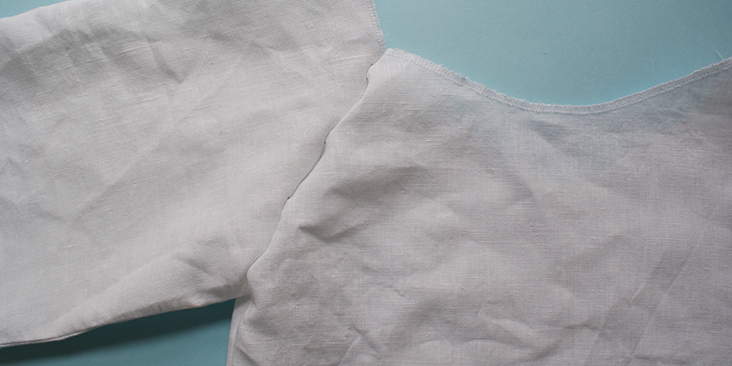
6. Match the sleeve to the right side of the bodice panels, with the notch marks you have made.
7. Pin the sleeves onto the bodice, sew along the seam allowance and press open.
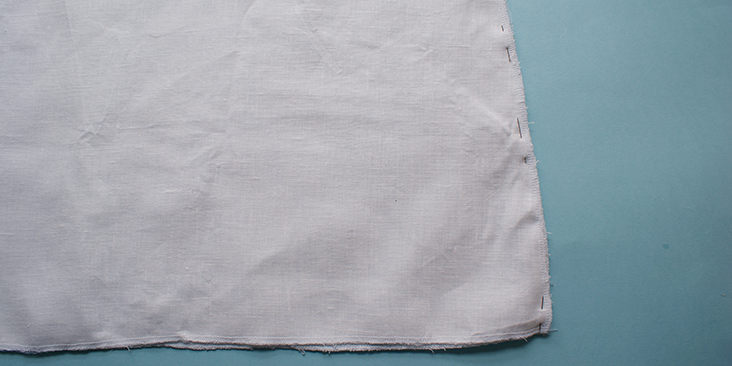
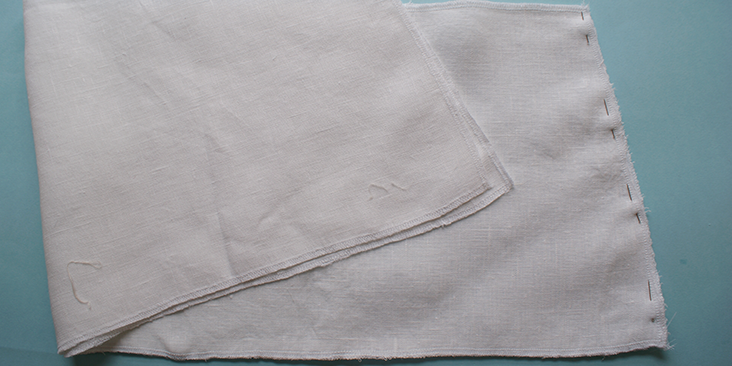
8. Take the peplum panels and join their side seams together.
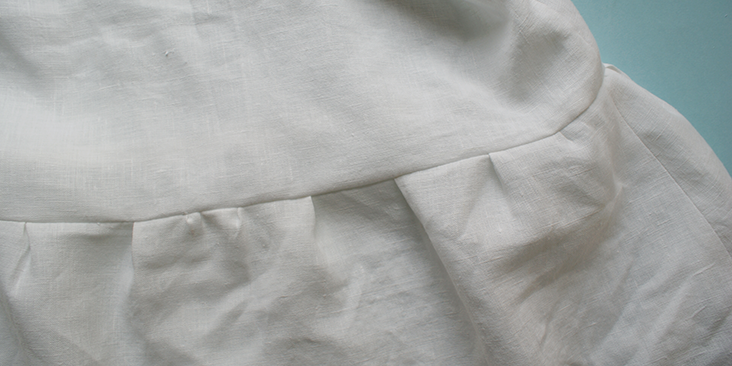
9. Next, pin the panel onto the bottom of the bodice, hand gather the small amount along the way. Stitch along and press the seam.
10. Following this tutorial, make around 1-2 yards of bias tape.
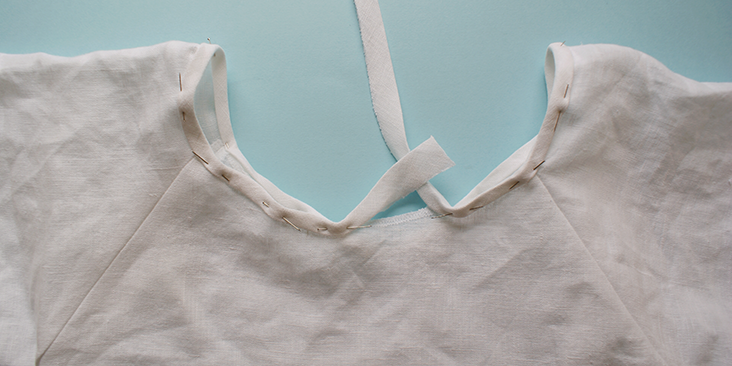
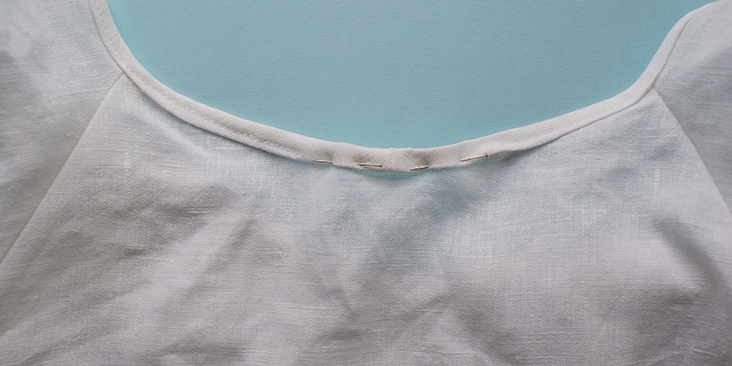
11.’ Leave 1.15 inch (3cm) of tail unpinned, then proceed to pin the tape along the collar, leave around 1.5 inch (4cm) gap from your first pin. Leave 1.15 inch (3cm) of tails at the end of pinning.
12.’ Stitch along this pinned edge.
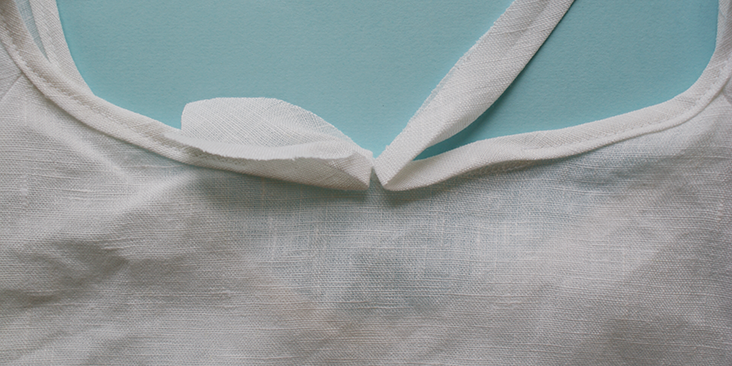
13. Then, manually match up the remaining unpinned edge and fold the tape backwards, forming a distinctive fold line.
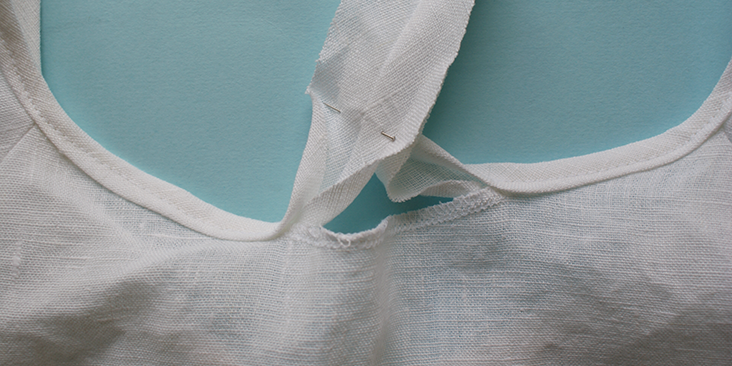
14. With the wrong side of the tape facing outwards, pin along this folded line. Stitch along the line and press. Trim away any excess fabric.
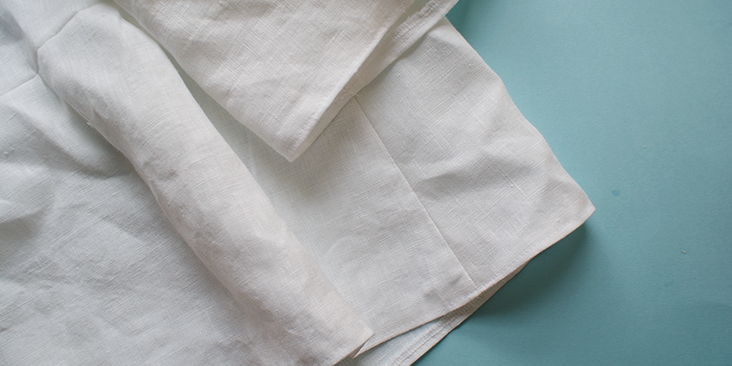
15.’ Refold the tape onto its right side and pin onto the remaining hem, top stitched over and press.
16.’ Finally, press the hem of the peplum’ panels and sleeve panels onto its wrong side and top stitch over these edges.













5 Comments
Debbie
Hi
How do you make this longer as in calf-ankle length
thank you 🙂
Tringa
This is a lovely blog! I just read some of your posts! The dress is beautiful.
Ayesha Rohman
I love all the patterns you have shown
Cynthia Fong
Thank you Ayesha! We hope you enjoy the tutorials too! Do feel free and show us your projects and outcome!
Patti Ellis
I really need the pattern for the blouse with the layers in front. I have had a double mastectomy and this blouse is perfect for a no bra olli which I am needing. Thank you in advance.