Sewing Essentials: How to Sew a Partial Button Placket
This is a partial button placket and today we are going to show you, that actually, it’s not as hard as you might think.
Note: This tutorial, we are creating an opening for a boy’s shirt, if you are working on a female garment, make sure you place the material on the opposite side.
Materials
Small quantity of material that will be your placket
Tools
Pins, fabric marker
Step
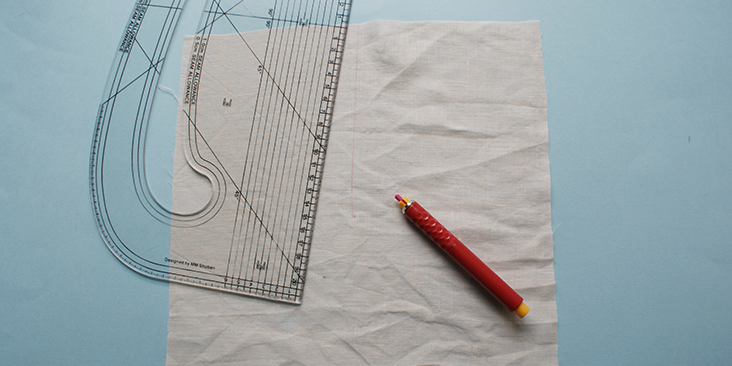
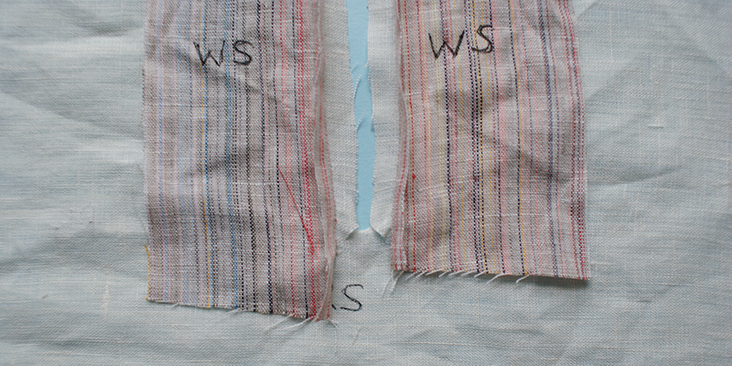
1. First, measure how long the length of your desired opening is, and mark this on the inside of your fabric.
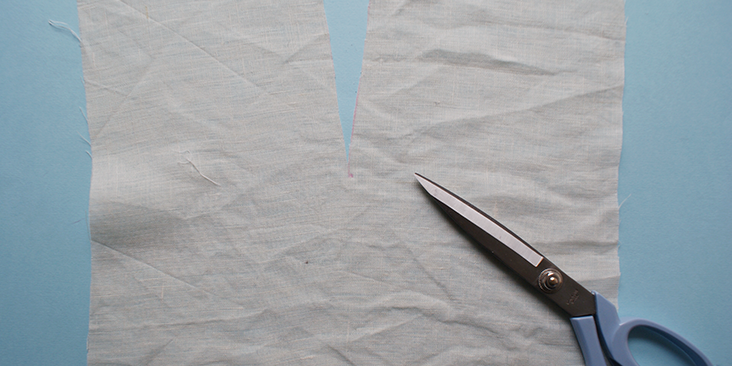
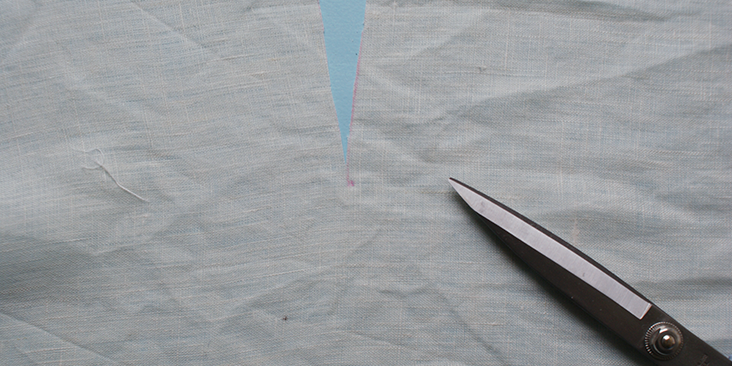
2. Cut down the opening line and stop 3/8 in (1cm) from the end point, leaving part of the opening length still uncut.
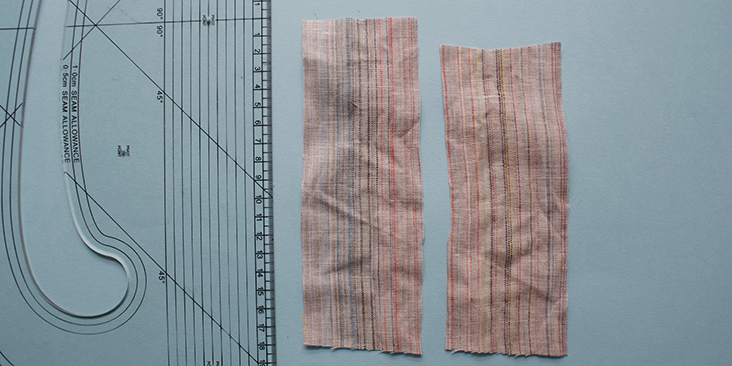
3. Now you need to cut your placket strips. You will need two strips, and the measurements for them are as following:
Strip 1 (Longer strip): Desired opening length + 3/8 in (1cm) + 1 3/8 in (3.5cm)
Strip 2 (Shorter strip): Desired opening length + 3/8 in (1cm) + 3/8 in (1cm)
For the width of both strips, you can decide how wide you would like your placket to be, take that desired width, X 2 and add 3/8 in (1cm) on either side. Apply this width to both strips.
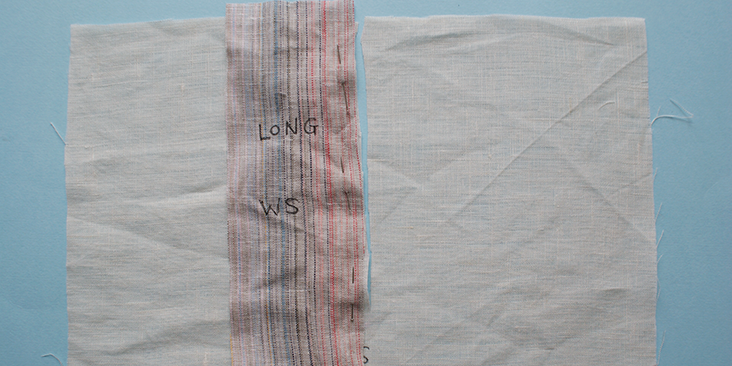
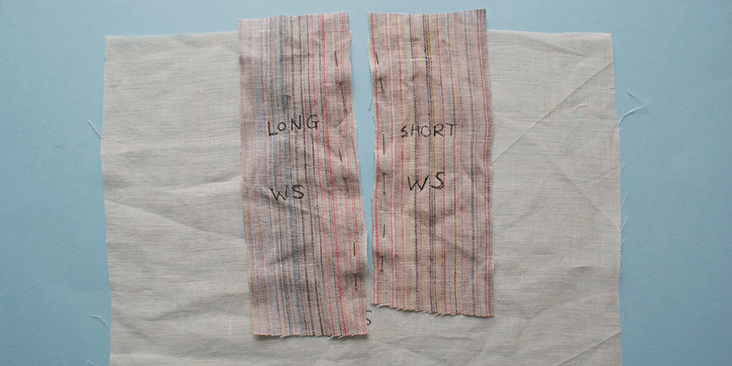
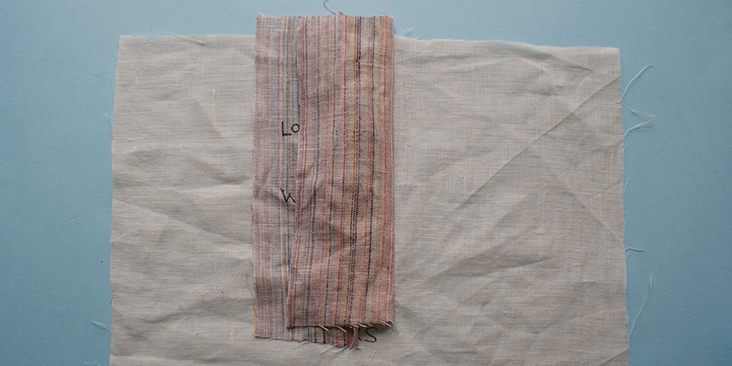
4. With the inside of your main fabric facing you, place the longer placket’ (with its wrong side facing you) along the cut opening of the fabric. Make sure the seam allowance for the strip material is above the neckline.
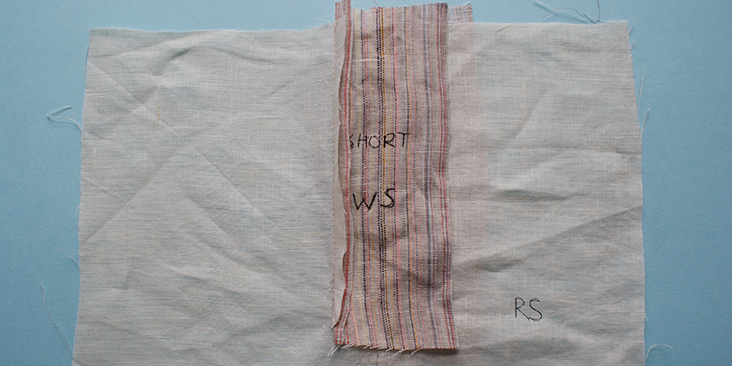
5. Lay the shorter placket along the opposite side of the opening.’ Make sure the seam allowance for the strip material is above the neckline.
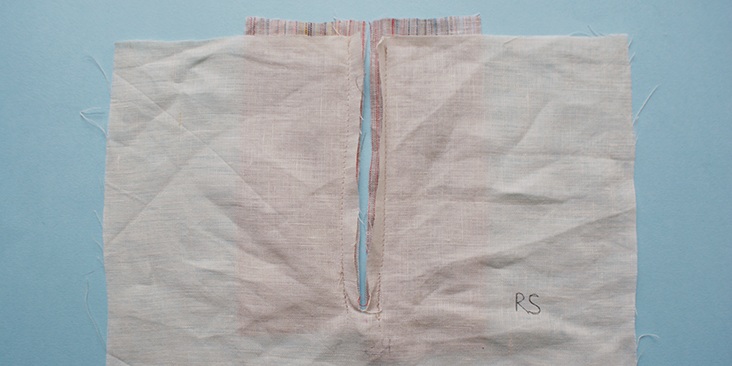
6. Next, sew the plackets onto the material. As you have noticed, you have left 3/8 in (1cm) of the opening uncut, however when you are sewing the strips onto the material, you want to sew the total of your desired opening length.
7. Once you have sewn the plackets on, the length of sewing will be longer than the cut opening, and there should be 1 3/8 in (3.5cm) and 3/8 in (1cm) of unsewn material left on the longer strip and shorter strip respectively.
8. Now turn your main material over so the right side is facing you.
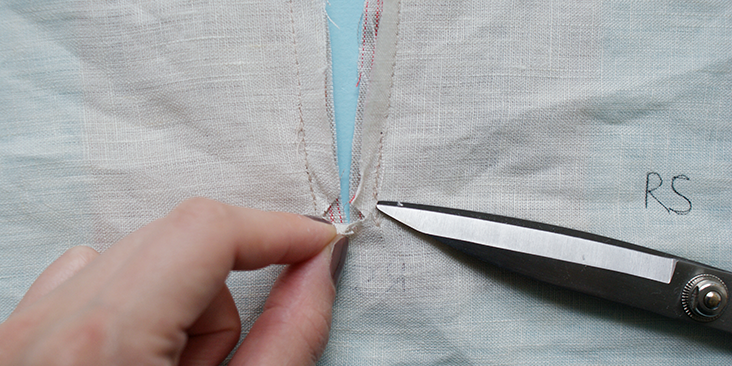
9. Cut two diagonal lines, starting from the centre opening of the material, down towards where the stitching stops. Make sure to not cut the placket material on the other side.
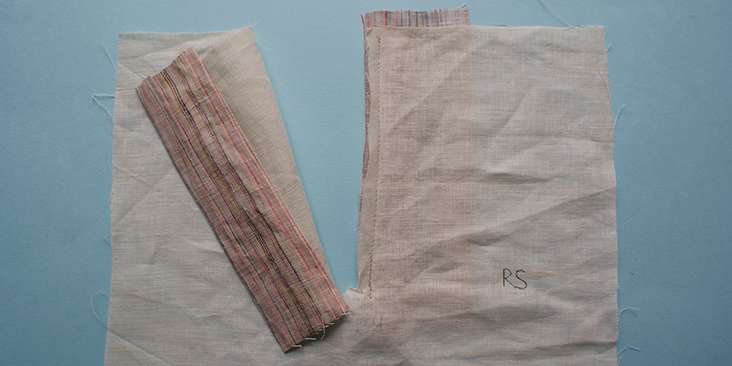
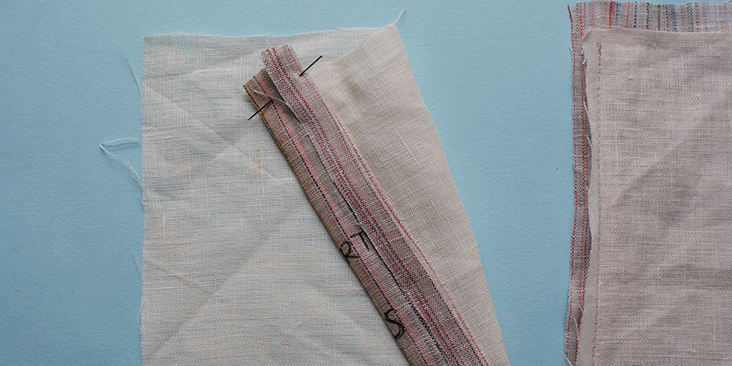
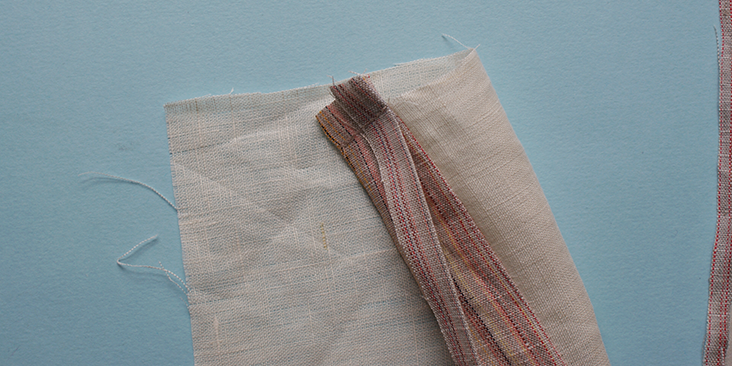
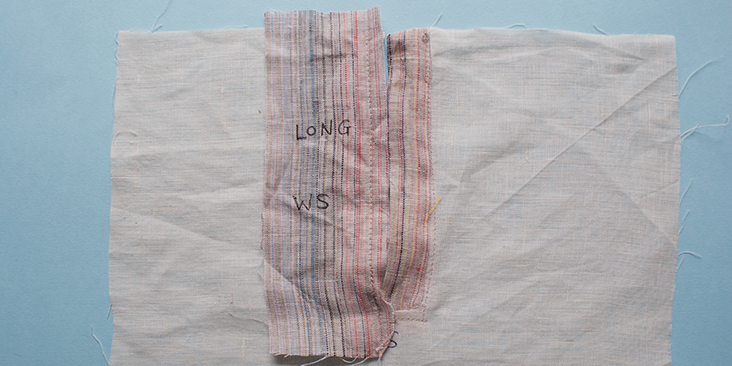
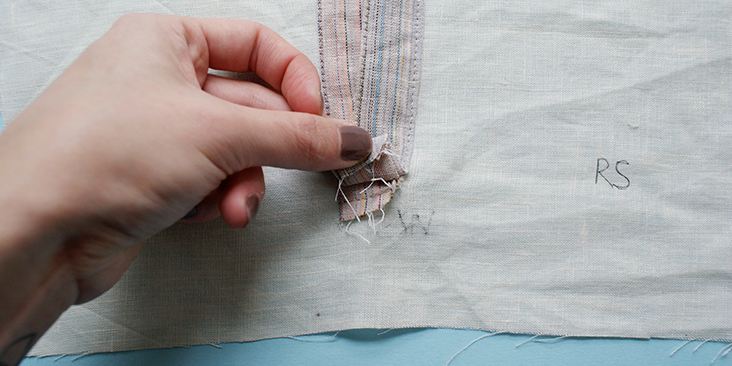
10. Turn your material back onto the wrong side and check the newly cut diagonal opening. Now take the shorter placket’ and flip it horizontally towards the longer placket (as shown below)
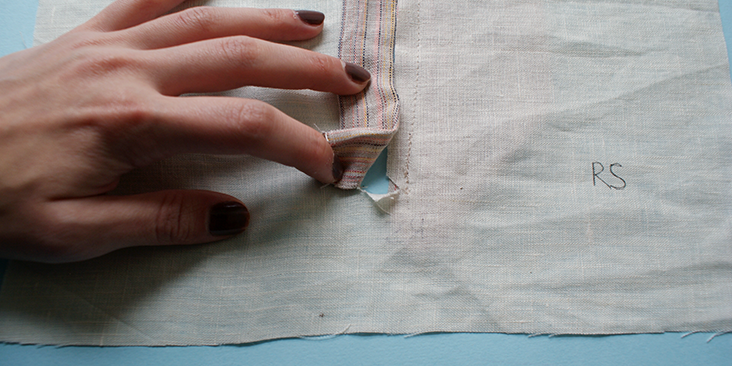
11. Then turn the material’ back to the outside and pull this shorter strip’ to the front through the opening. ‘ The bottom of the strip should fit nicely through the diagonal’ opening.
12. Now fold the seam allowance of the shorter strip onto its wrong side and press it down.
13. Flip this strip all the way to the opposite side again, fold at the stitching line.
14. Then, fold the edge of the material onto itself, halving the strip.
15. Pin the top of the strip, this is the seam allowance part where you have left unpinned to the neckline. Stitch along this line, making sure you don’t sew it onto the material.
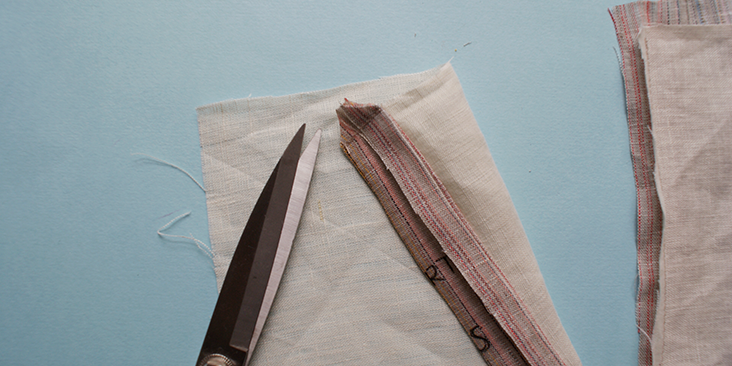
16. Trim the top edge of this strip, to prevent excess material and bulking at the top of the placket.
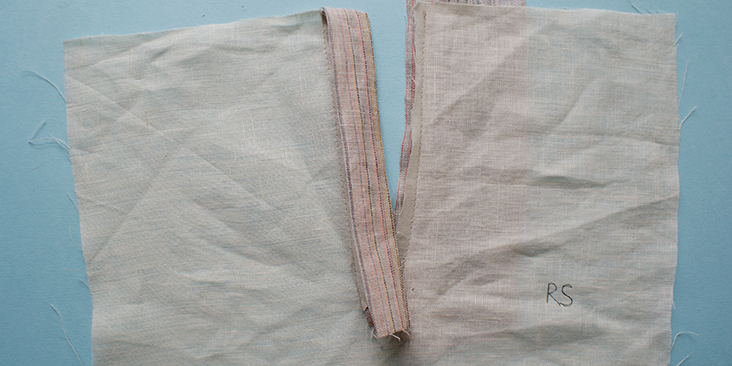
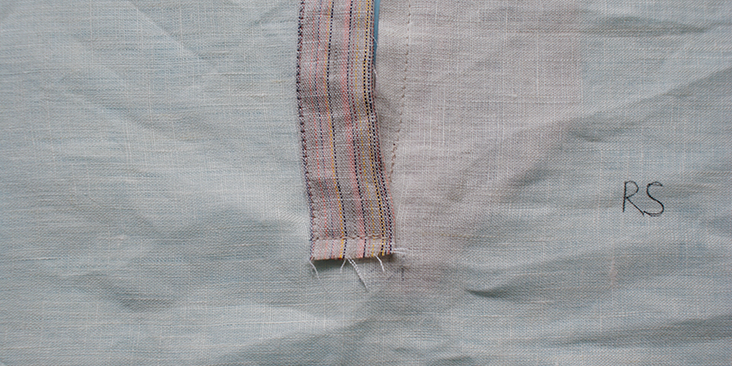
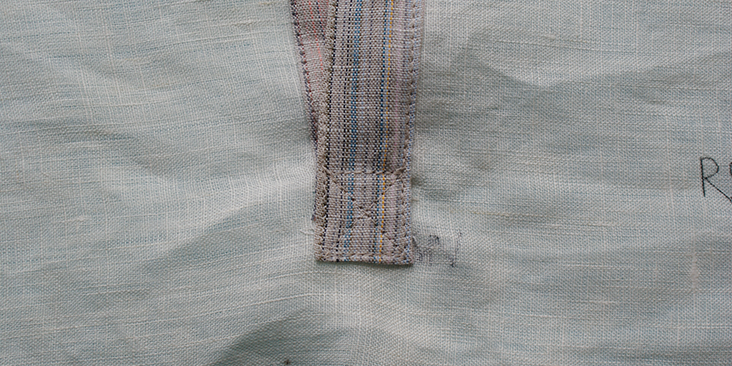
17. Flip this encasing back onto the right side. It should sit nice and flat on the opening.
18. At the bottom of the opening, fold the triangle shape downwards under the short strip and pin it in place.
19. Next, sew along the pressed edge (seam allowance) of the strip, and into an L shape when you get to the bottom of the strip. Stitch the shorter strip along with the folded down triangle. Make sure not to stitch’ onto the longer strip.
20. Now repeat all the steps from step 10 through to step 18 for the longer strip.
21. Next, you will sew along not only the pressed edge of the longer strip (only in a straight line) you will also top stitch along the centre folded line of the longer strip.
22. Take the bottom of your longer strip, and fold the seam allowance upwards onto the inside of the strip. Cover everything (including the edge of the shorter strip).
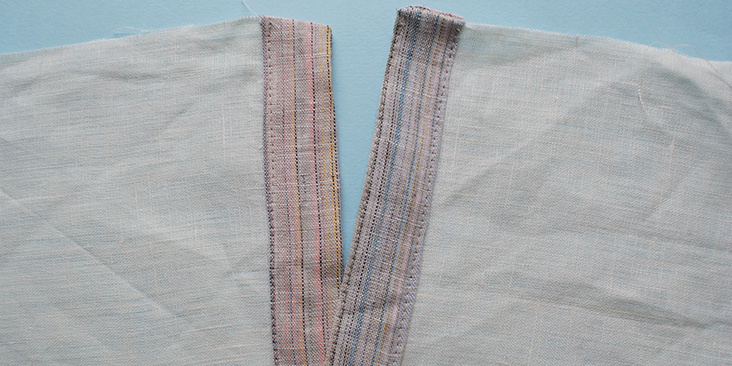
23. Press it down and make sure it’s not too bulky. Then top stitch a square all around this excess part of material with a cross to secure it all in place.
24. Now you can attach any type of closure you want, velcro, buttons, anything at all!




4 Comments
Indy
Oh my goodness! Thank you so much for this tutorial. Plackets are intimidating but this tutorial makes me feel a lot better.
Cynthia Fong
Thank you for your comment Indy, we are glad this has proven useful. I also find these elements of garments quite intimidating, but as soon as you have a step by step, it’s not hard at all!
Madonna Pincus
Thank you. I am sort of a beginner and appreciate the detailed photos along with the instructions; much easier to see what I am supposed to be doing.
Cynthia Fong
Thank you for your comment Madonna. That is great that we are able to help you along your sewing journey.