Linen Stripy Pouch Tutorial
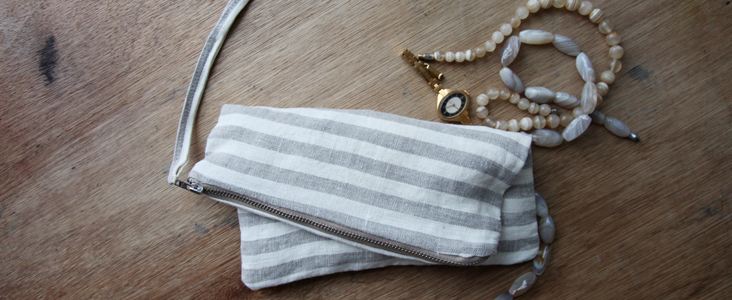
To continue our series on pouches, here’s another fun design to try out. It looks really lovely in our mid weight’ stripy linen fabric. Great to keep your jewellery in. Another great practice for putting in zips. Make it for yourself or give away as a present to your bestie or family.
Materials
IL044 875
IL019 Bleached Softened
9 in (23cm) Close end zip
Matching sewing thread
Tools
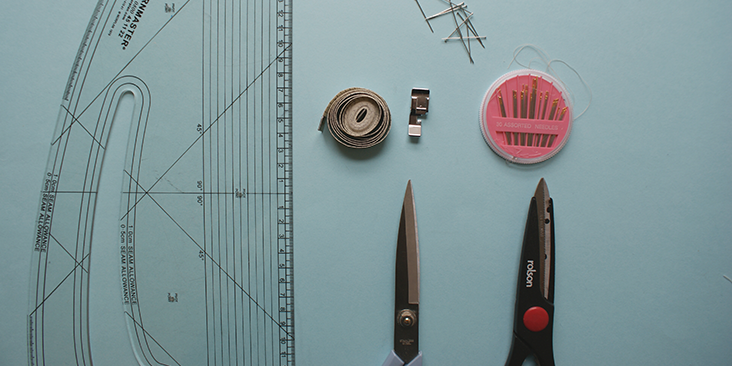
Pattern master, pattern paper
Paper scissors, fabric scissors
Fabric marker, pins, tape measure
Zip sewing foot
Hand sewing needles
Time
1-2′ hours
Difficulty
Beginner
Step
Note: Prewash your fabric and tumble dry it until it is still slightly moist, let this dry in room temperature.
1. Iron the fabric so it is easier to work with. (Apologies for our rather un-ironed linens, we had some tech problems when we made these last week)
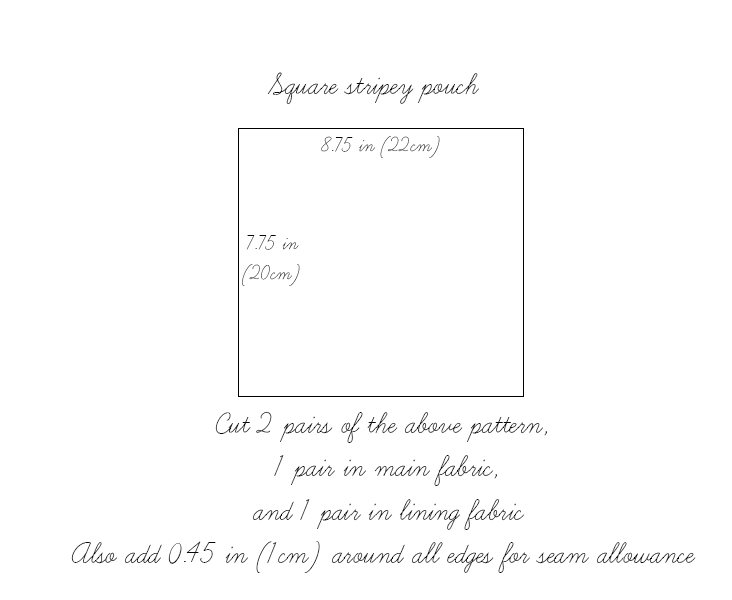
2. The diagram shows what you need to cut out for this tutorial. Very straight forward, just remember to add on 3/8 inch (1cm) of seam allowances around all seams.
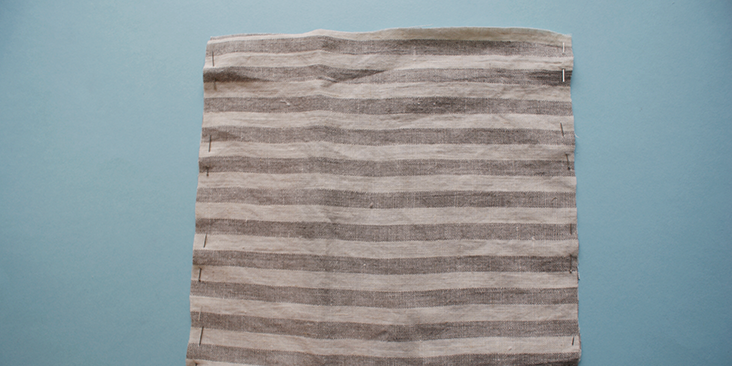
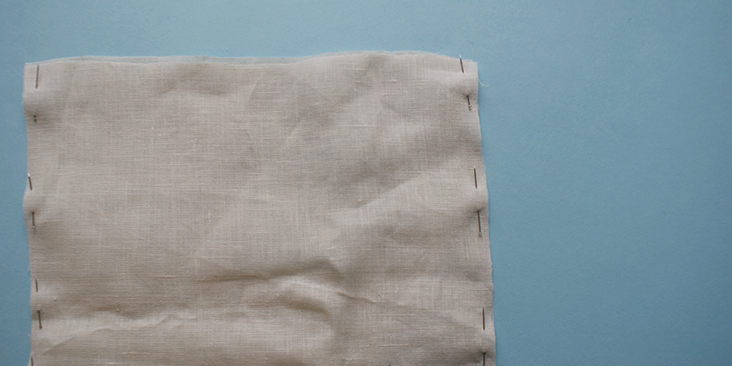
3. Place the outer layers on top of each other and pin along three of the edges. Leave one as the opening for the zips to be sewn on. Sew along the seam allowance.
4. Repeat the same for the inner lining layer.
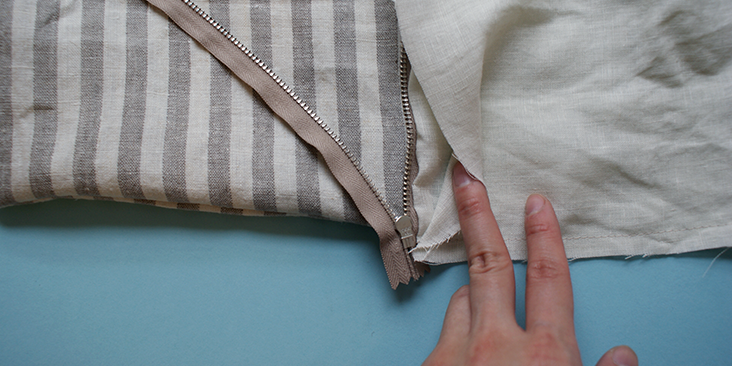
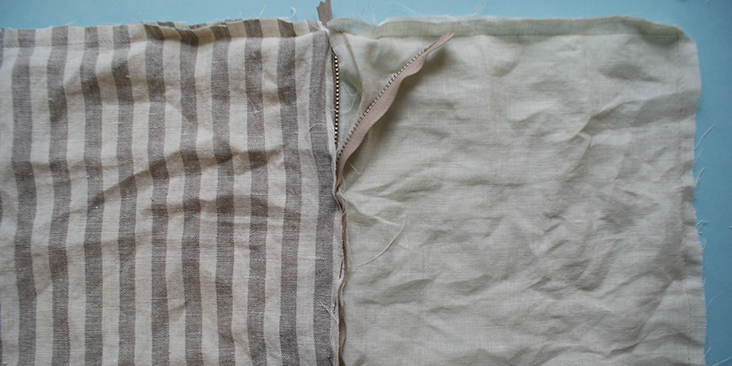
5. With the outer layer turned onto its right side, place the zip tape onto the open seam of the outer layer as shown in the picture.
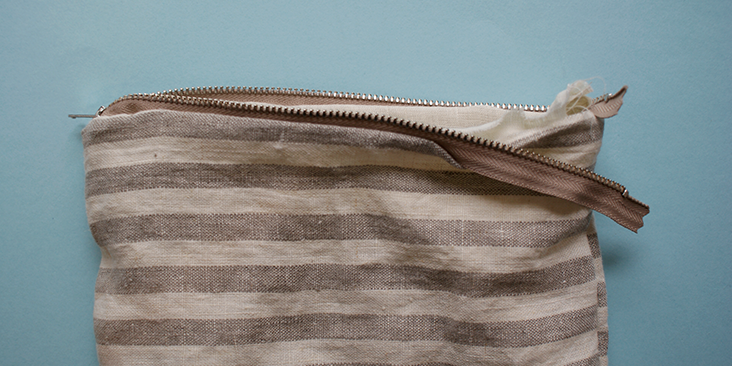
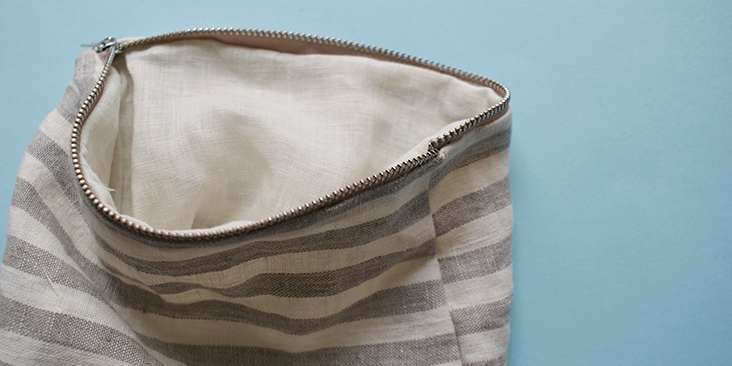
6.With the wrong side of the inner lining layer facing outwards, place the open seam along the newly pinned edge of the pouch. To test whether you have pinned all sides correctly, turn the fabric inside out so the lining layer sits inside the outer layer, as it will once you have finished the pouch. If you have done this correctly, you should have the zip teeth facing the centre of the pouch opening, and you won’t be able to see any pins you used to pin’ the edges together.
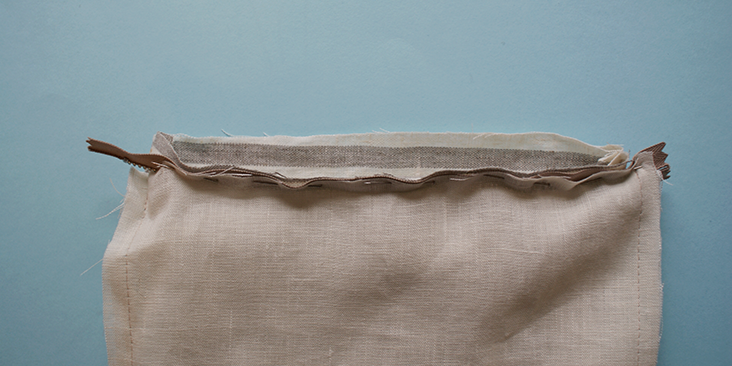
7. Stitch along this seam on the wrong side.
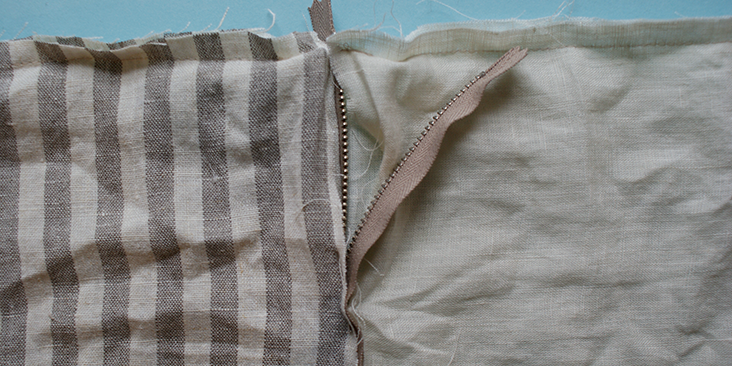
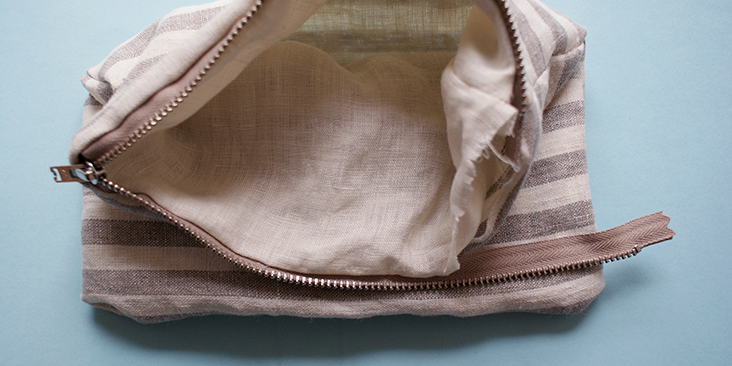
8. Then, repeat the same process on the other side of the zip. Once again this can prove slightly complicated. One of the easiest ways is to make sure the wrong side of both layers are facing outwards, and you sandwich the zip in between the two layers as shown in photo below.
9. Stitch along this seam, making sure there is an opening at the end of this edge to allow you to turn the pouch back onto its right side.
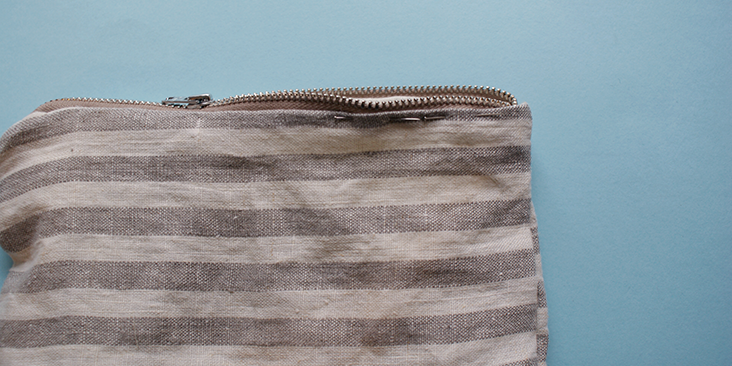
10. Once you have turned it onto the right side, manually fold the rest of the unsewn seam at its seam allowance and pin both the outer and inner layer onto the zip.
11. Hand stitch along this opening. Making sure you can’t see the stitches.
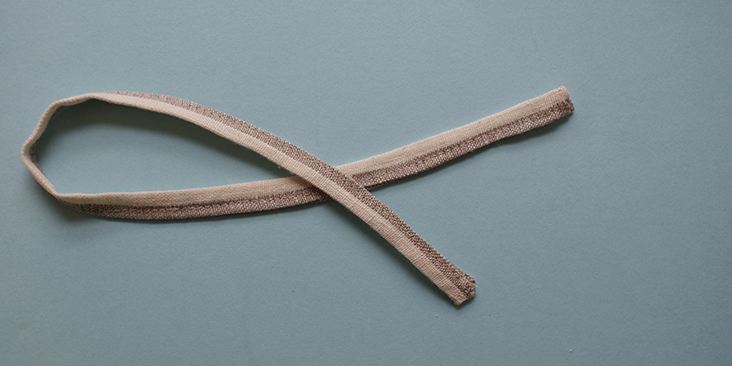
12. To add something extra, take a thin strip of the main fabric (here I have cut a piece that measures 0.75 in (2cm) X 11.75 in (30cm) excluding seam allowance of 3/8 inch (1cm)) and top stitched along the edge.
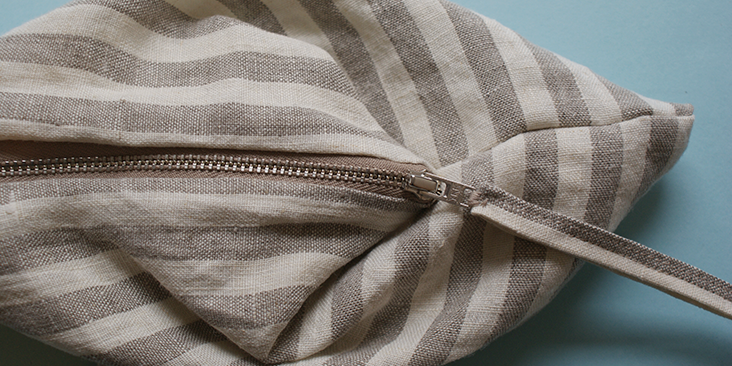
13. Next, fold it in half and insert it into the zip pull.
14. Hand stitch the fabric pull in place.
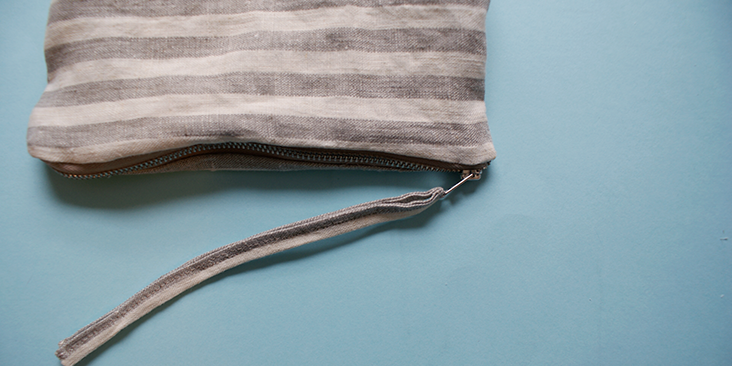
15. And you have created a simple yet very useful linen pouch for all your small items.









Leave a comment