Multi Colored Make up Bag Tutorial
A great way to use up scraps of left over material is to utilise this fabric for useful small projects. For the next three weeks, we have come up with three different variations of pouches that you can make for yourself or give away as impressive little presents.
We will start off with a make up bag that you can hold your make up in, or stationary or anything else you fancy. This design is relatively’ small and slim so super easy to put into your handbag.
Materials
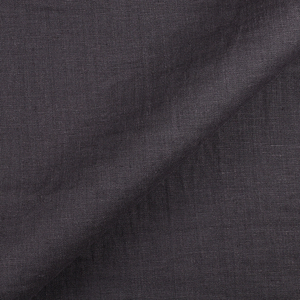
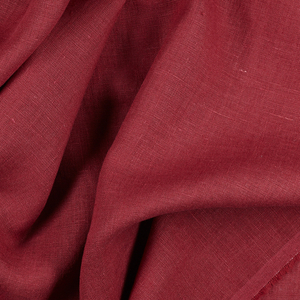
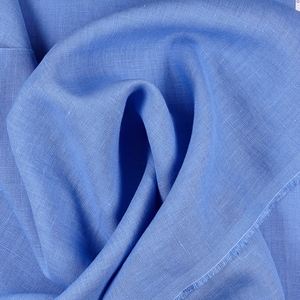
IL022 956 Stripes Softened
IL019 Bleached Softened
9 in (23cm) Close end zip
Matching sewing thread
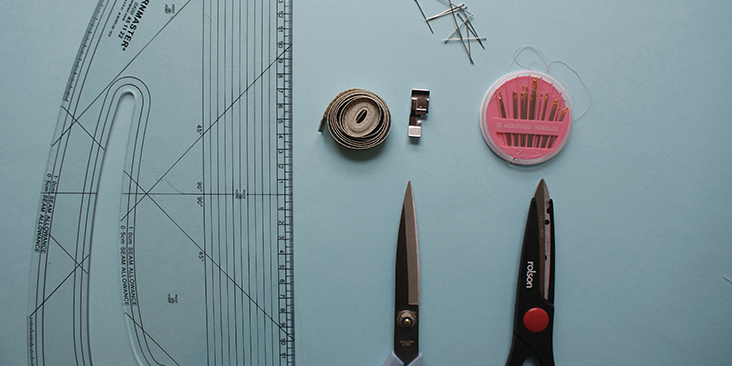
Tools
Pattern master, pattern paper
Paper scissors, fabric scissors
Fabric marker, pins, tape measure
Zip sewing foot
Hand sewing needles
Time
1-2′ hours
Difficulty
Beginner
Step
Note: Prewash your fabric and tumble dry it until it is still slightly moist, let this dry in room temperature.
1. Iron the fabric so it is easier to work with.
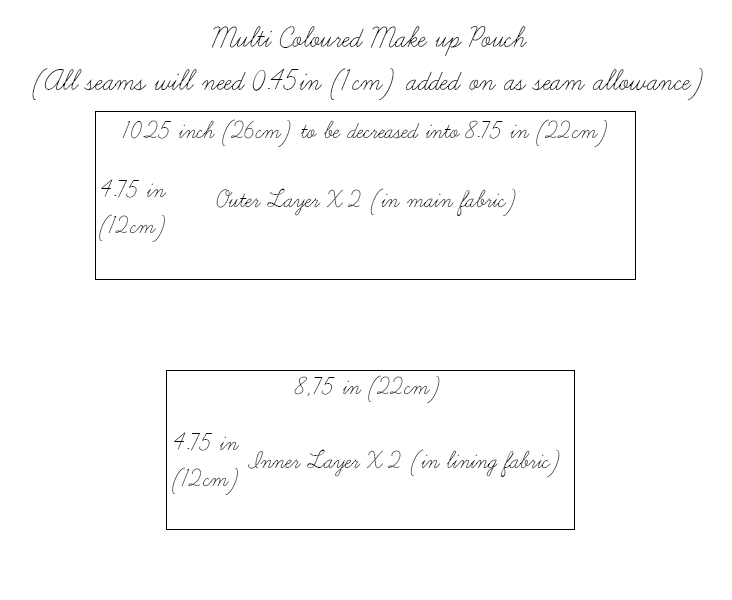
2. The diagram shows what’ you need to cut out for this tutorial. Very straight forward, just remember to add on 3/8 inch (1cm) of seam allowance to all seams.
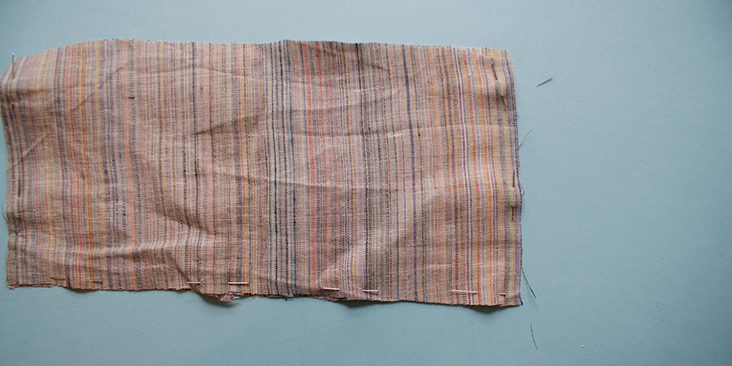
3. Place the outer layer on top of each other and pin along three of the edges. Leave one as the opening for the zips to be sewn on. Sew along the seam allowance.
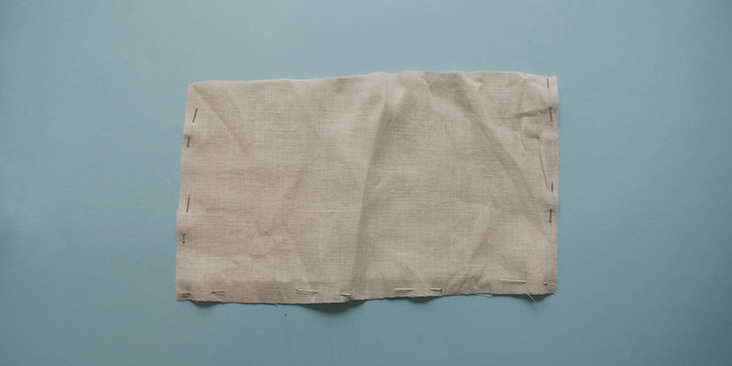
4. Repeat the same for the inner lining layer.
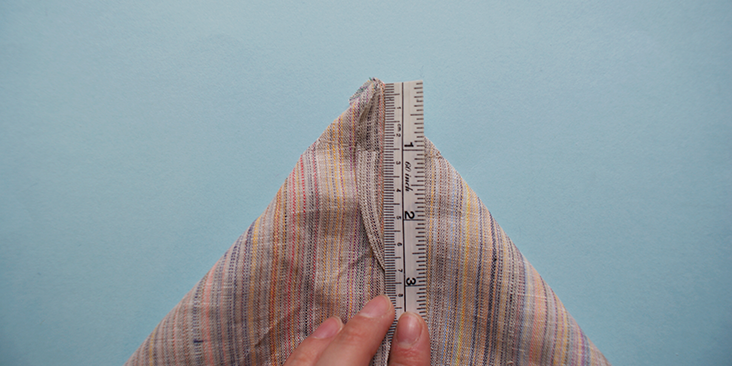
5. Take the outer layer of the pouch, with its wrong side facing outwards, open up the bottom corner’ so when you fold it into a triangle, the bottom and side seams match. Pin and sew at 1 in (2.5cm) mark measured from the corner to create a trapeze shaped bottom for the pouch.
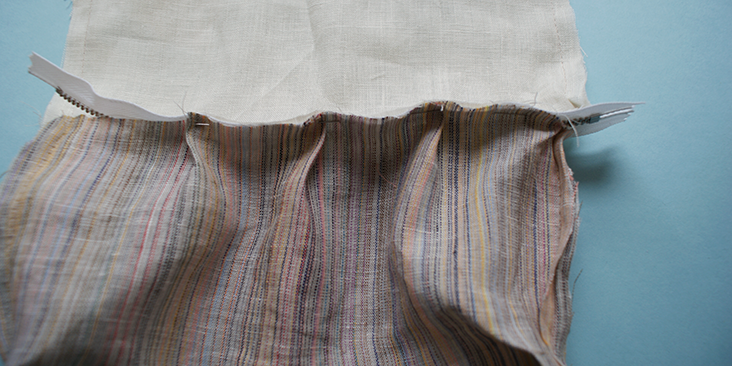
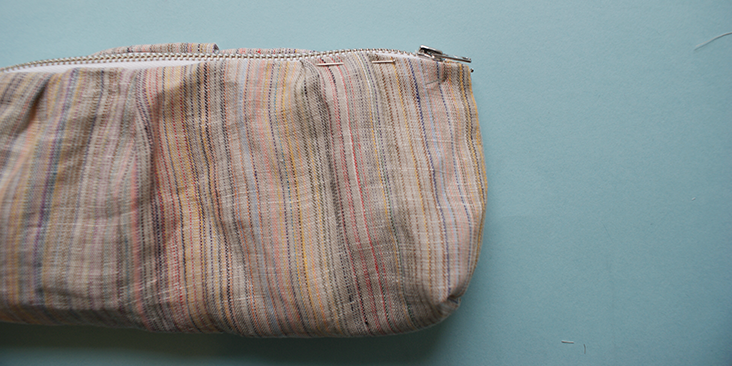
6. With the outer layer turned onto its right side, place the tape of’ the zip onto the open seam of the outer layer. Because the outer layer will be longer than the zip length hand gather the fabric and decrease it’s length down to 8.75 in (22cm).
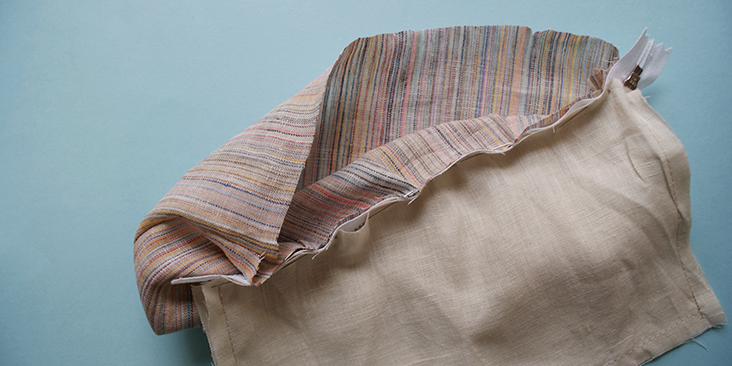
7. With the wrong side of the inner lining layer facing outwards, place the open seam along the newly pinned edge of the pouch. To test whether you have pinned all sides correctly, turn the fabric inside out so the lining layer sits inside the outer layer, as it will once you have finished the pouch. If you have done this correctly, you should have the zip teeth facing the centre of the pouch opening, and you won’t be able to see any pins you used to pin’ the edges together.
8. Stitch along this seam on the wrong side.
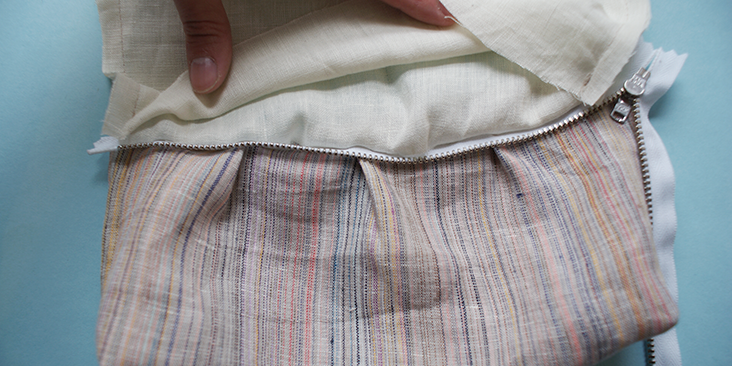
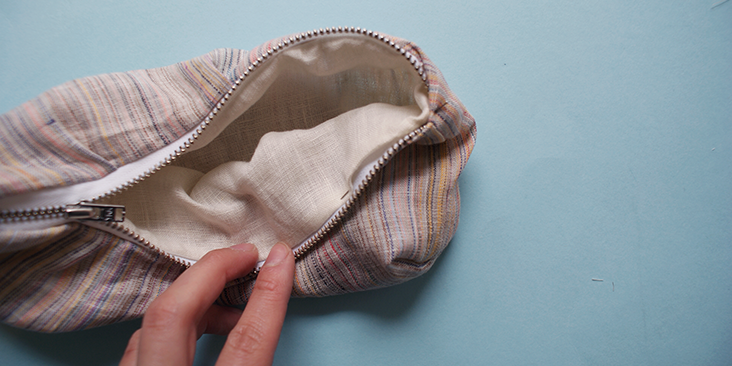
9. Then, repeat the same process on the other side of the zip. Once again this can prove slightly complicated. One of the easiest ways is to make sure the wrong side of both layers are facing outwards, and you sandwich the zip in between the two layers as shown in photo below.
10. Stitch along this seam, making sure there is an opening at the end of this edge to allow you to turn the pouch back onto its right side.
11. Once you have turned it onto the right side, manually fold the rest of the unsewn seam at its seam allowance and pin both the outer and inner layer onto the zip.
12. Hand stitch along this opening, making sure you can’t see the stitches.
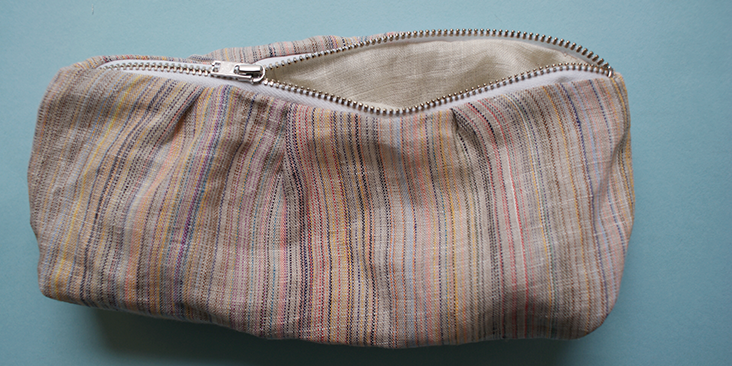
A great little make up bag which you made all by yourself!











7 Comments
Karen
Thank you for this tutorial , great way to use up left over bits of fabric ! 😊
Heaven knows I have a LOT of those
Deegie Gee
How does one print the projects without the jiggery-pokery of cutting and pasting, or ending up with a TON of pages because the pictures are so large.
This is a cute bag and I’d like to have the pattern at hand so I don’t have to keep looking at my computer screen for the subsequent steps. The computer takes up way too much of my workspace.
And I totally agree about the ironing.
Masha Karpushina
Hello, I’m not too sure what your question is? In order to know what you need to cut out for the bag tutorial- you just need to look at the top diagram. It tells you all the dimensions. Do let me know if this solves your problem, otherwise please write more clearly what you would like to achieve. Thank you.
Teri
I love your tutorials, but the lack of ironing fabric/seams makes my teeth itch. It’s just sloppy and almost all projects benefit from a few presses of an iron. Please consider including ironing, if only to promote the practice in those new to sewing.
AmyCat =^.^=
Agree 100% on ironing. At least now they’re including instructions about pre-washing the fabric on most projects, but are suggesting the fabric not be machine-dried fully, but rather taken out while still damp and pressed. Following their instructions will NOT completely pre-shrink the fabric; a garment made this way will ALWAYS need to be line-dried or drycleaned if it’s not to shrink the first time it’s washed and machine-dried. FAR better to machine-dry the uncut fabric COMPLETELY, and THEN dampen it and iron it to be ready to cut out! That way, the finished item can handle any sort of laundering without further shrinkage.
Cynthia Fong
Thank you for your comment. We will take your suggestion onboard to improve our future tutorials.
mary
lovely bag