Sewing Essentials: How to adjust your own Zips
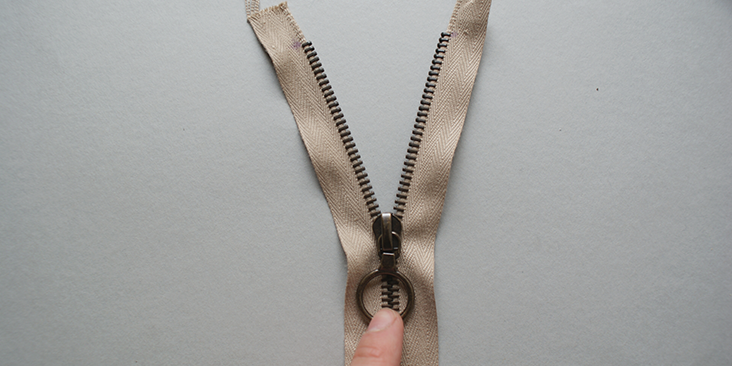
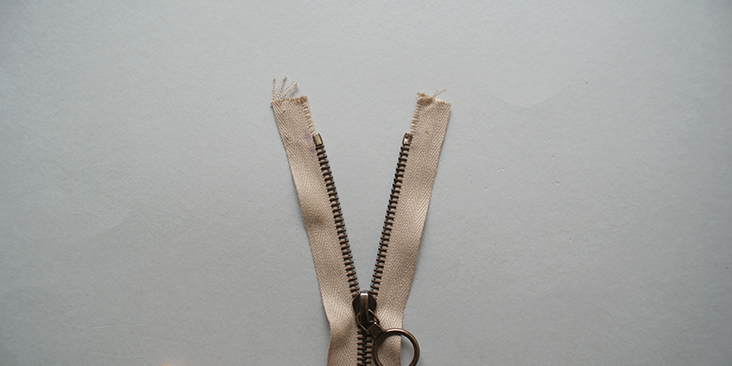
Sometimes you have a specific project in mind, and yet you really struggle to source all the components to match your idea to reality. We had an idea for a project and yet couldn’t find the right length for a metal zip. We were told that long close end zips with metallic teeth’ were simply not manufactured. You could buy’ long open ended zips’ for jackets and coats or short close ended zips for trousers and skirts closures, and yet nothing that would bring our star project to completion.Of course nothing stands in front of true creativity, so we have decided we can adjust the length of the zip ourselves. And since we are friendly and like to help our fellow seamstresses, we are now going to share how you too can do this in the comfort of your own home.
Materials
Tools
Step
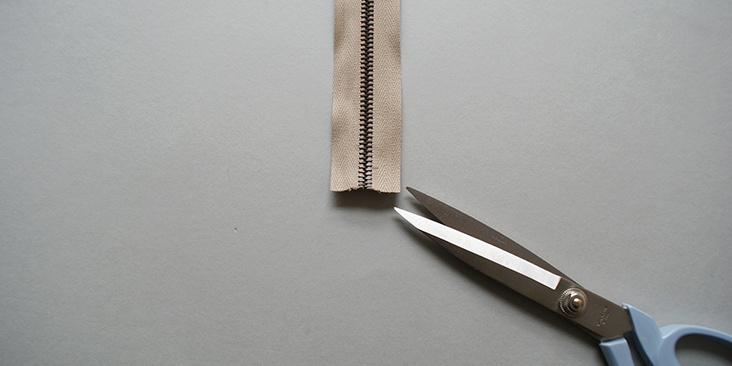
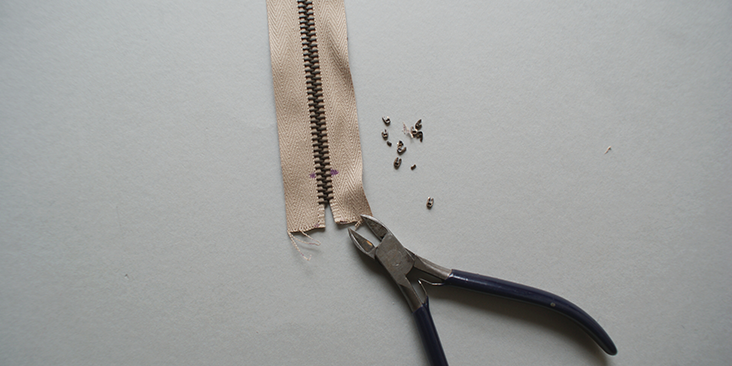
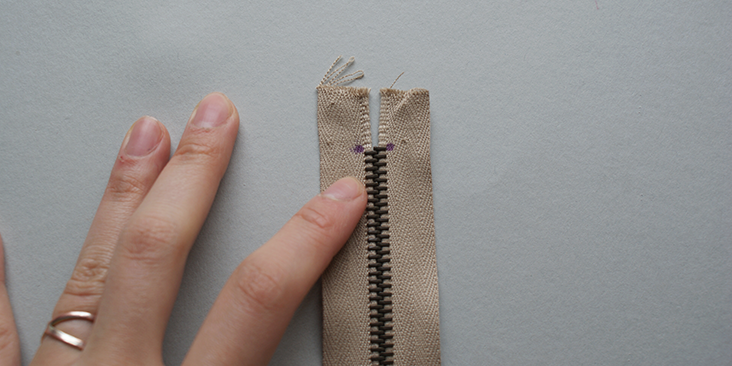
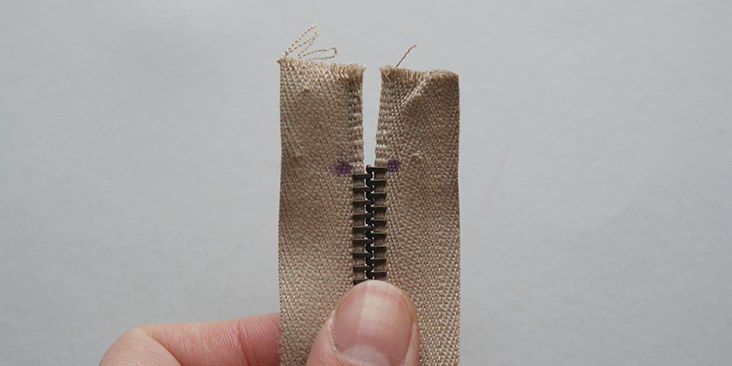
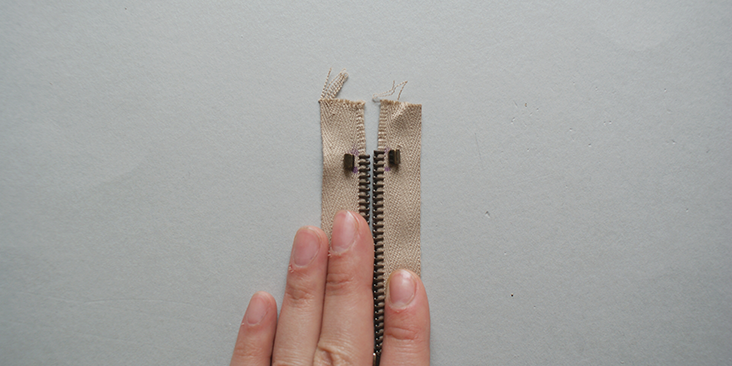
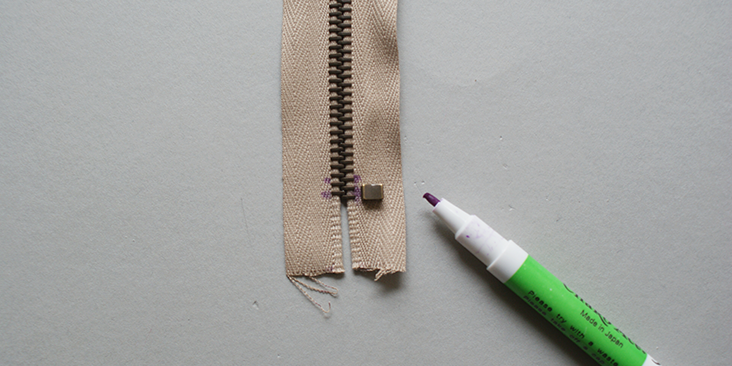
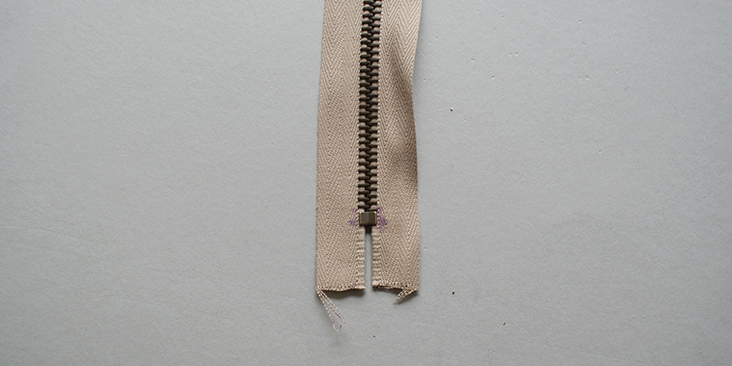
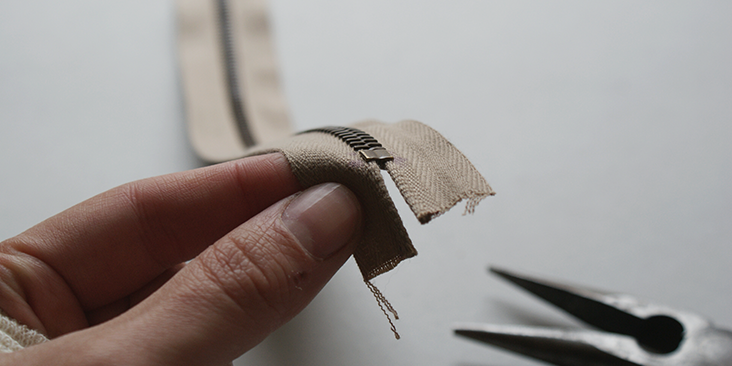
1. Measure the desired length for your zip and add on 3/4 inch (2cm) at the top’ and bottom of the zip.









4 Comments
Valerie Frane
Thank you for the clear and helpful tutorial. I appreciate your free patterns and advice.
Christa Jennings
Please edit your spelling, word choices, and grammar for clarity. I had trouble understanding what you were trying to say in a few places. Also, where do you get the metal bits for both ends, and zipper pulls? I have a whole box of 30″ zippers, and would love to be able to create custom zippers for my projects.
Janes sister
Very interesting, but rather complicated. It is much simpler to leave the top end alone and cut it off at the bottom and hand stitch (bar tack) across from side to side to close it off. The zip will not go past the hand stitching.
Janet
Thanks for this very useful tutorial. I will Pin it for future reference. : )