Linen Paint and Sew Pillow Tutorial
The colder weather is here (at least in London), and the thoughts of soon approaching festivities start to creep in. Halloween, Thanksgiving and the mother of all holidays Christmas is on the cards, thus’ gift list’ pressure will soon be on. To ease the stress, and help you prep early,’ we are going to show you some simple projects which work ideally as your own house embellishment greatness ideas or alternatively, best kind of hand made, unique, one of a kind pressies’ that all family and friends want. And you shall be making it all by yourself, within a reasonable amount of time, so lets get this holiday frenzy rolling. Today, I shall show you how to create a pattern on linen, it should take you no longer than 30 minutes, which you can then turn into some good looking pillows, or a tea towel, or napkins. Of course, why stop there, later on we will also show you how to’ add paint detail to garments.
Materials
(For two 40cm by 40cm pillow cases you will need)
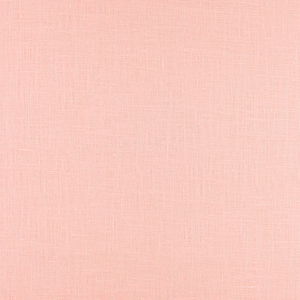
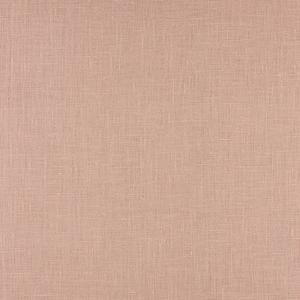
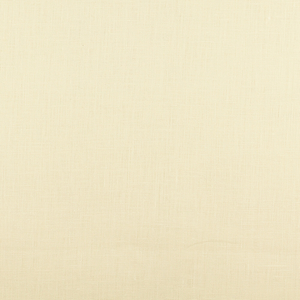
1 yard of 4C22 Bleached
Textile Paint (Marabu Textil)
A size 20 Paintbrush
Time
2 hours
Difficulty
Beginner
Steps
Note: Prewash your fabric and tumble dry it until it is still slightly moist, let this dry in room temperature.
1. Iron the fabric so it is easier to work with.
2. Cut your fabric a little bit larger than needed so in this case, I cut the fabric 48cm by 48 cm (18.8 inches by 18.8 inches). This is so that you will have room to paint on, as well as your seam allowance.
3. We are going to be using very simple mark making. With any of these projects, I would suggest you take some unwanted bits of old fabric to practice on, make sure it’s linen as it will resist the paint differently than let’s say, silk, which is very smooth.
Hold your brush upright, as this way you will have more control over your lines. The following photos show you how’ you will be making your marks- crosses, swooshes, little letter Cs.
4. Make small letter Cs all over your fabric, paint from top to bottom and then go over the same line from bottom to top to have smooth edges. Lay them out randomly, try to keep a relative same distance between them. Don’t worry about painting on too thick, paint looking like it will never dry, we shall fix it with an iron at the end, so everything will be dry and sorted for sewing.
5. Next try some swooshes, as you are using a big brush, lay your hand right into it and make a swoosh movement from left to right.
6. Lastly, we add some contrast with even bigger’ swooshes in a blue. This time it’s ok to go over the elements you have already drawn, it will tie the whole pattern together.
7. The cross pattern starts with crosses. You paint from top to bottom in one stroke, from left to right or right to left in one stroke.
8. Next add the blue swooshes as in the previous pattern, painting from left to right.
Once you are happy with your designs, please follow instructions of your chosen paint manufacturer on how to fix the paint onto the fabric. With Marabu Textil paints you need to iron the fabric for 5 minutes. I would advise to put a couple of layers of fabric on top and bottom as you will have some leaks.
9. Follow this tutorial on how to sew your pillows.
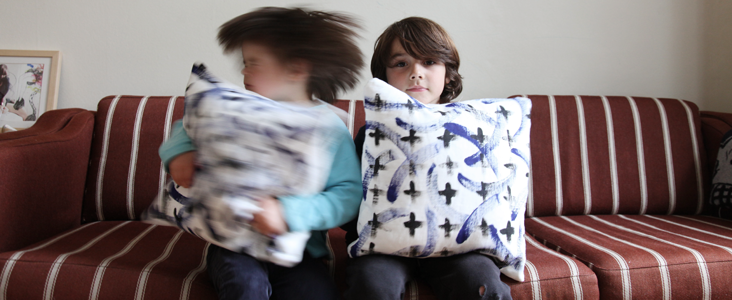
Et voila! Enjoy your new pillows. Please use this as an encouragement to start up your creativity. You can go for more complex, alternative shapes- be all neat with simple elements, little leaves, snowflakes, chaos and abstract lines like’ this, or take use of some charming embroidery skills and make yourself a Kantha Pillow.








Leave a comment