Black and White Layered Dress Tutorial
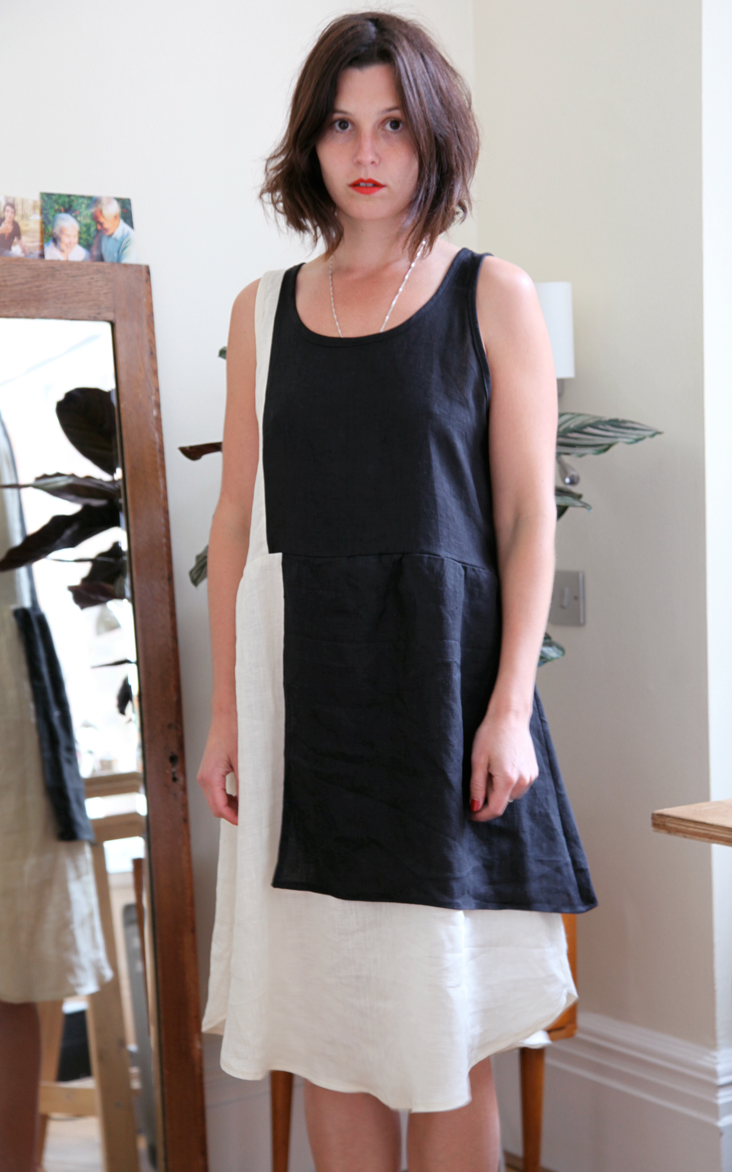
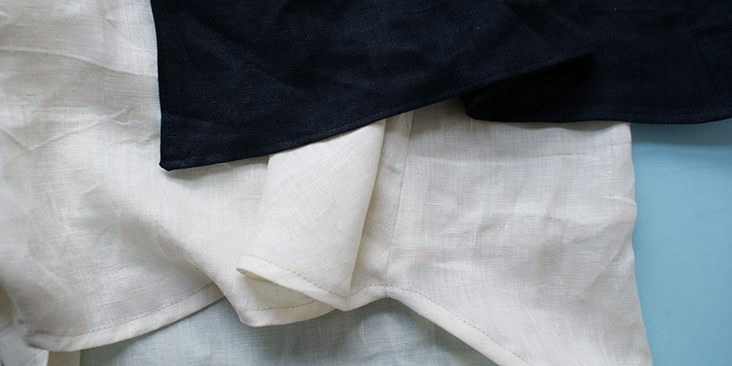
Black and white will undoubtedly forever be the best color combination.’ Guaranteed to match whatever accessories you have in mind to wear with it. This dress takes a very simple shape with the added detail of a top gathered skirt panel, and is easy to wear for all occasions. I hope you like the outcome as much as I do!
Materials
1 yard of IL019 Bleached Softened
1 yard of IL019 Black Softened
Matching sewing thread
Tools
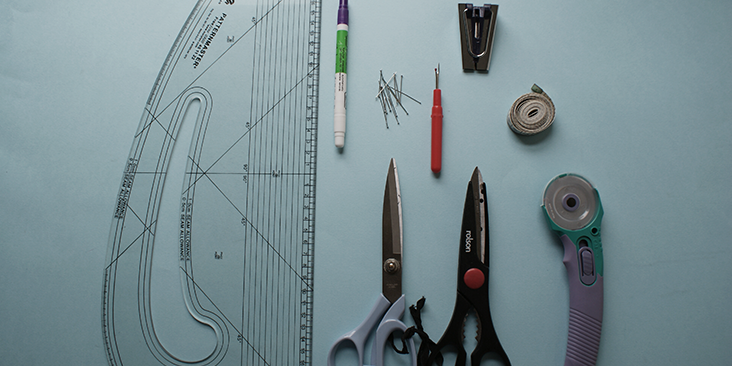
Pattern master, pattern paper
Paper scissors, fabric scissors
Fabric marker, pins, tape measure
Bias binding tape foot, rotary cutter
Time
5-6′ hours
Difficulty
Intermediate
Step
Note: Prewash your fabric and tumble dry it until it is still slightly moist, let this dry in room temperature.
1. Iron the fabric so it is easier to work with
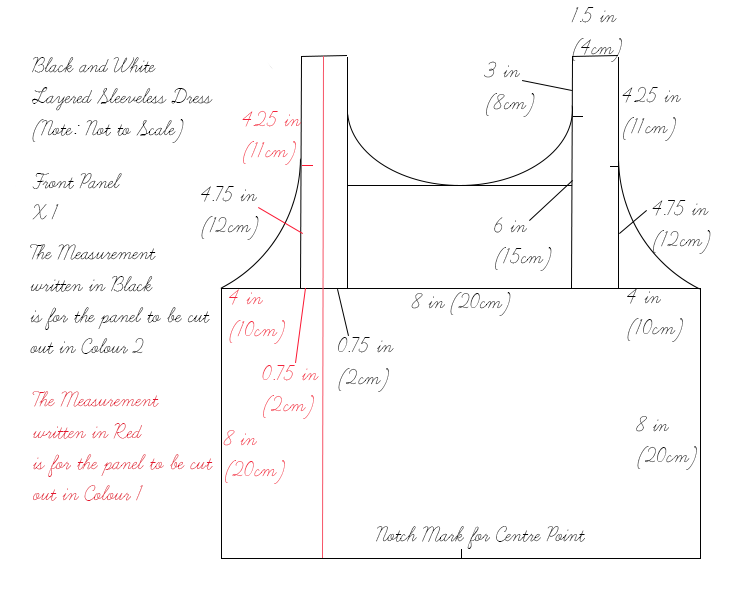
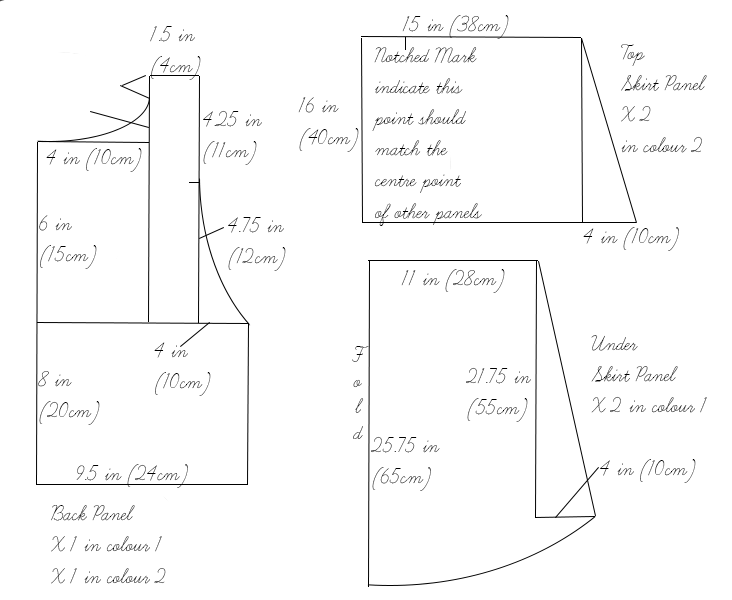
2. The diagram shows the pattern for a size US8-10 (UK12-14). Remember to add 3/8in (1cm) seam allowance around all panels. If you need help to grade your pattern, please follow this tutorial. It will be useful to notch the centre point along the edges of the front bodice panel (collar and hem), and both the upper and under’ skirt panels.
3. Use a serger, or choose your own method to protect the seams from fraying. Make sure the method you choose does not add weight to the fabric.
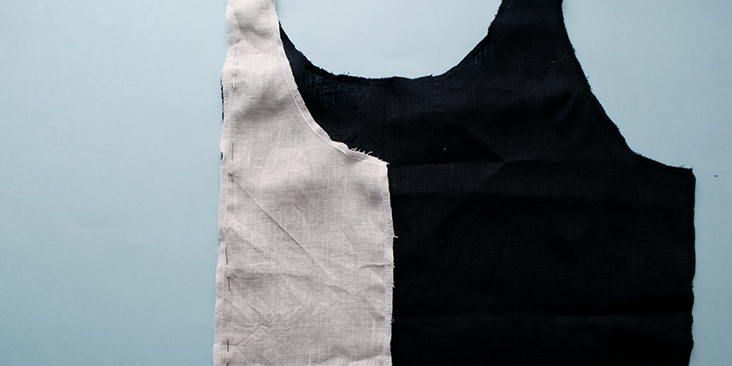
4. Pin the separated panels of the front together along the straight seam. Sew and press.
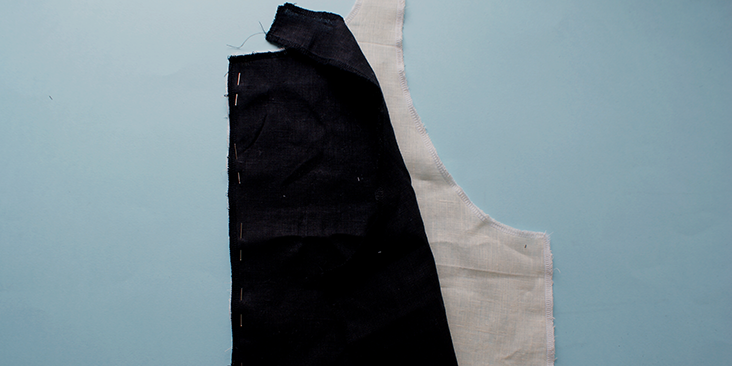
5. Now pin together the two panels for the back of the bodice and sew them together, press.
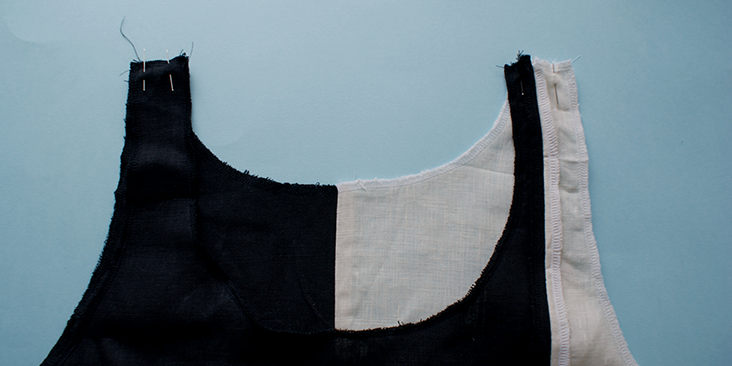
6. With the wrong side of both the front and back bodice panels facing outwards, pin the shoulder straps together. Sew and press.
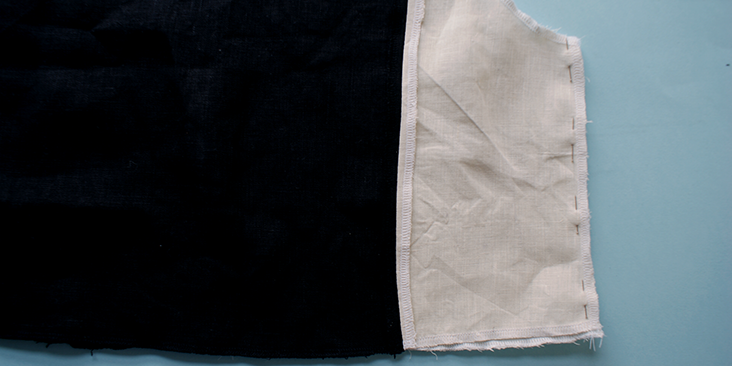
7. Pin the side seams and sew them together. Press the seams open.
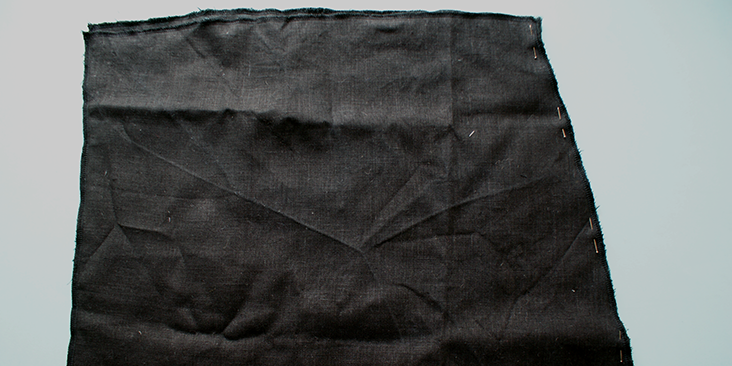
8. Pin the slanted side seam of the upper skirt together. Sew and press.
9. Next, press the seam allowance of the straight, unstitched vertical seam of the upper skirt onto its wrong side. Top stitch along this edge.
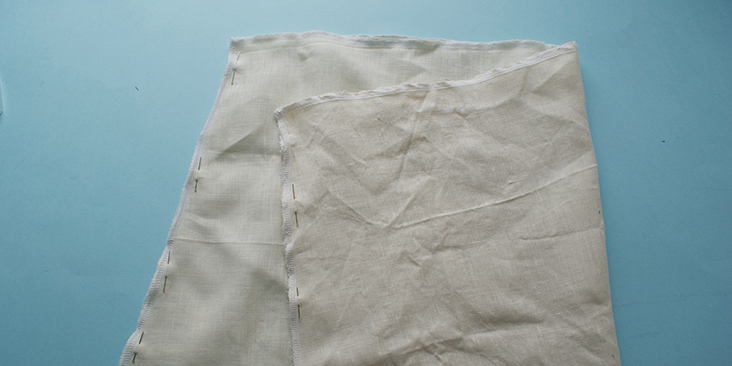
10. Repeat the same with the under skirt, with both side seams. Sew and press.
11. With their right side facing you, layer the upper skirt onto of the under skirt. Make’ sure their side seams and notched centre point of skirt match.
12. Top stitch along these two panels, around 1/8 inch (0.5cm) away from the edge.
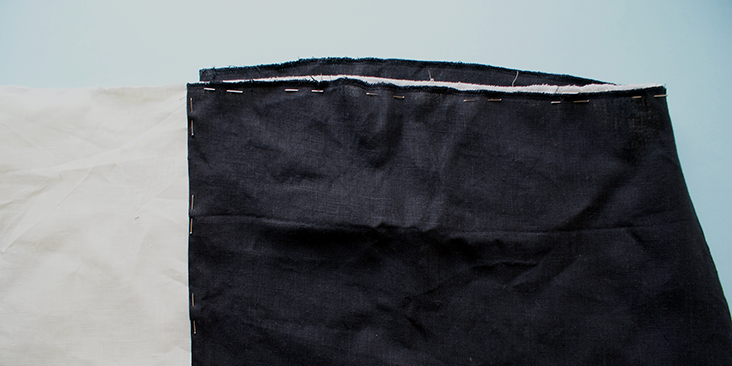
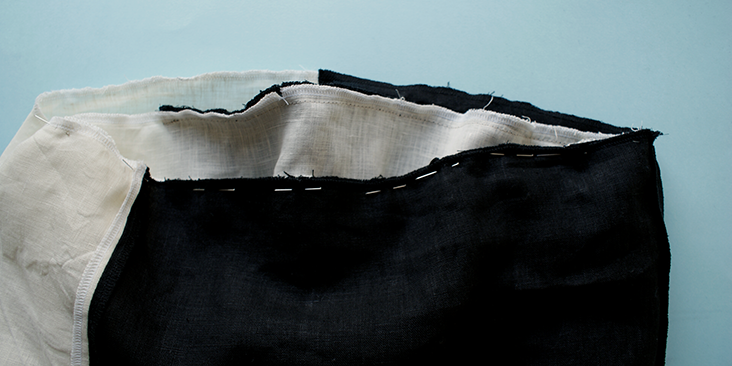
13. ‘ Then, with the skirt’s right side still facing you, turn the bodice panels onto its wrong side and drape this over the skirt. This will allow you to pin along the waist hem of the bodice along the top hem of the skirts. The skirt panels will be slightly wider so gather them as you pin these’ into place
14. Stitch along the pinned edge and give it a press.
15. Next, following this tutorial, create about 1 yard of binding tape from IL019 Black linen, and 0.5 yard from IL019 Bleached linen.
16. First, proceed to bind around the armhole of the dress first.
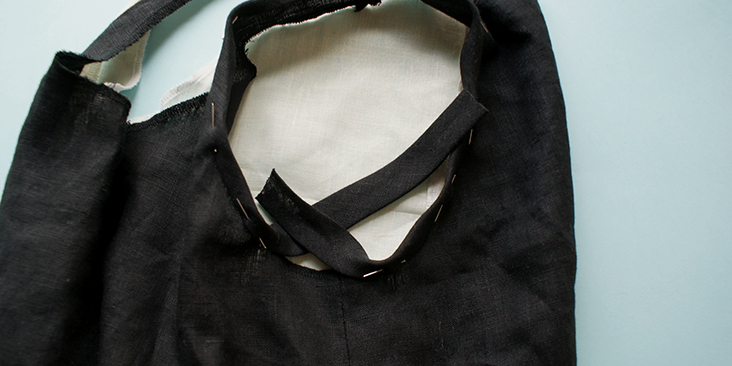
17. Leave’ about 1.15 inch (3cm) of tail unpinned, then process to pin the tape along the curved edge, leave around 1.5 inch (4cm) of gap from the beginning of the pinning. Finally, leave about 1.15 inch (3cm) of tails at the end of pinning as well.
18. Stitch along this pinned edge.
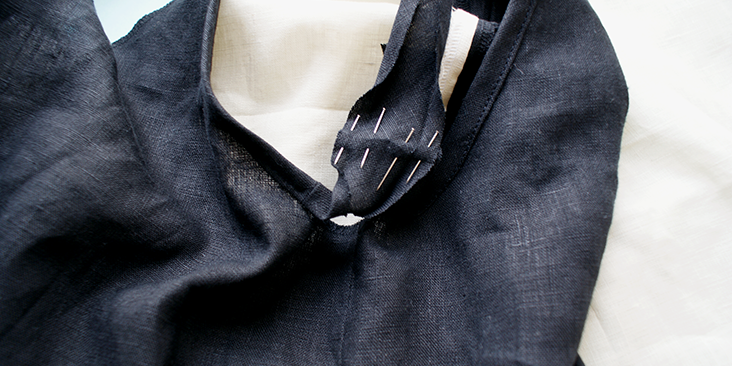
19. Then, manually match up the remaining unpinned edge and fold the tape backwards, forming a distinctive folding line.
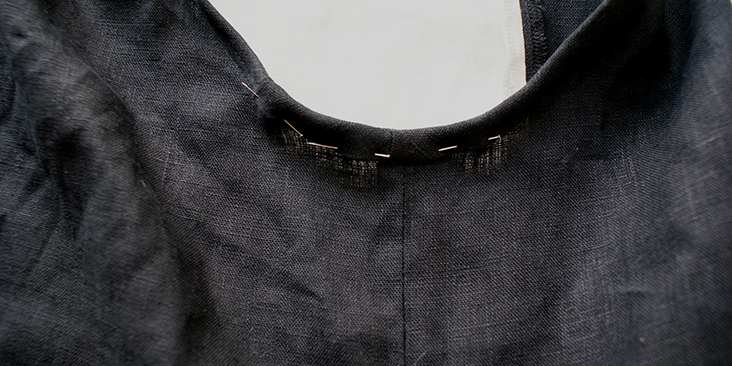
20. With the wrong side of the tape facing outwards, pin along this folded line. Stitch along the line and press. Trim away any excess fabric.
21. Refold the tape onto its right side and pin onto the remaining hem, top stitched over and press.
22. Repeat this for the other armhole.
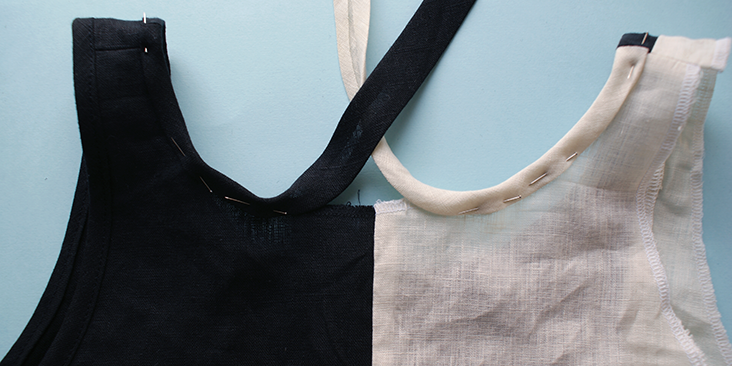
23. For the collar, because of the distinctive colour blocking, we thought aesthetically it would be nicer for the colour of the tape to match, so first we joined the white binding tape and black binding tape together.
24. Place’ the sewn seam onto where the white and black bodice panels are joint. At this point we repeated steps 17 through to 21 for the opposite colour of dress.
25. Finally, press the hem of the skirt panels onto its wrong side and top stitch over these edges.
















2 Comments
Zane
This is so beautiful! Thank you!
pam
Fabulous. thank you