Kids Linen Bathrobe Tutorial
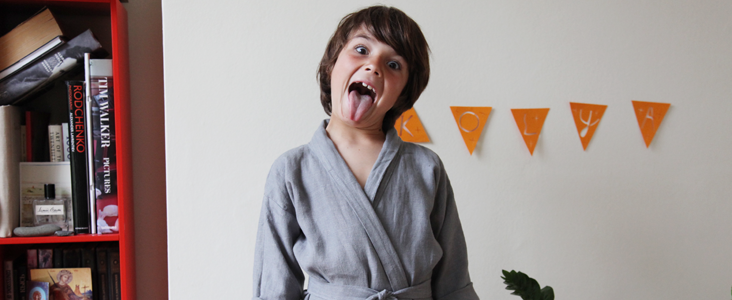
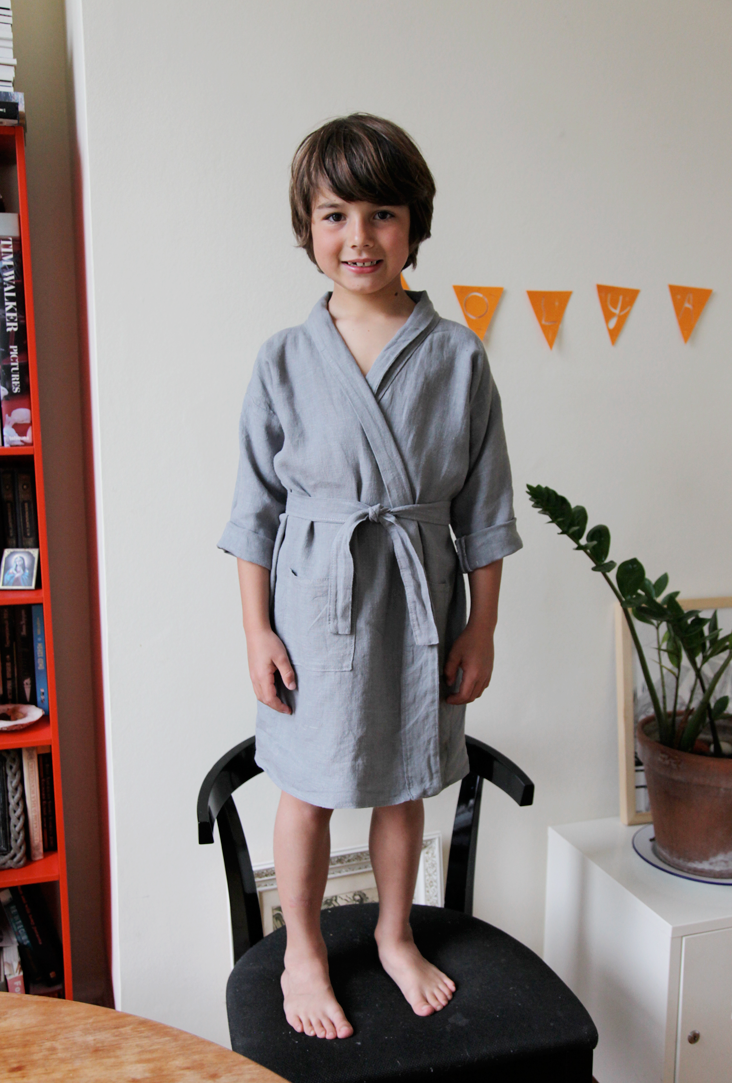
Following our’ previous Bathrobe tutorial, we decided to show you how to make a matching one’ for the kids in your family. These bathrobes will roughly fit’ 4-7 years olds (we know this as we have both a four year old and a seven year old wearing same size around the house, you see the seven year old in the photos). The pattern is extremely’ straight forward (without any curves) and can easily be expanded to fit an older child.
Material
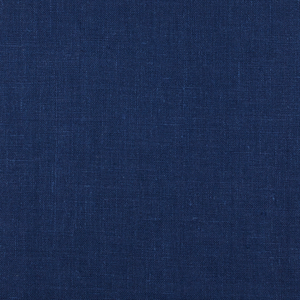
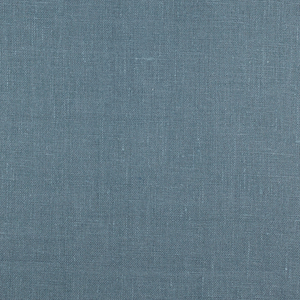
1.5 yards of IL019 Asphalt Softened
Matching sewing thread
Tools
Pattern master, pattern paper
Paper scissors, fabric scissors
Fabric marker, pins, tape measure
Time
2-3 hours
Difficulty
Intermediate
Step
Note: Prewash your fabric and tumble dry it until it is still slightly moist, let this dry in room temperature.
1. Iron the fabric so it is easier to work with
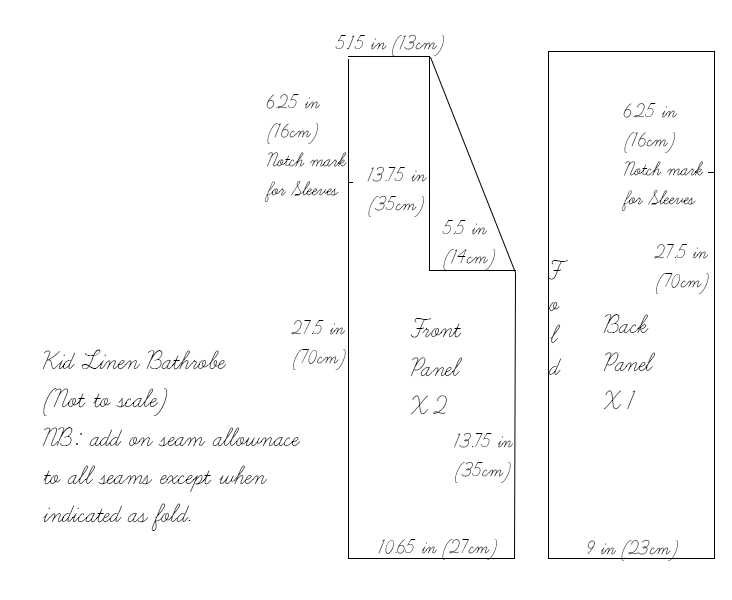
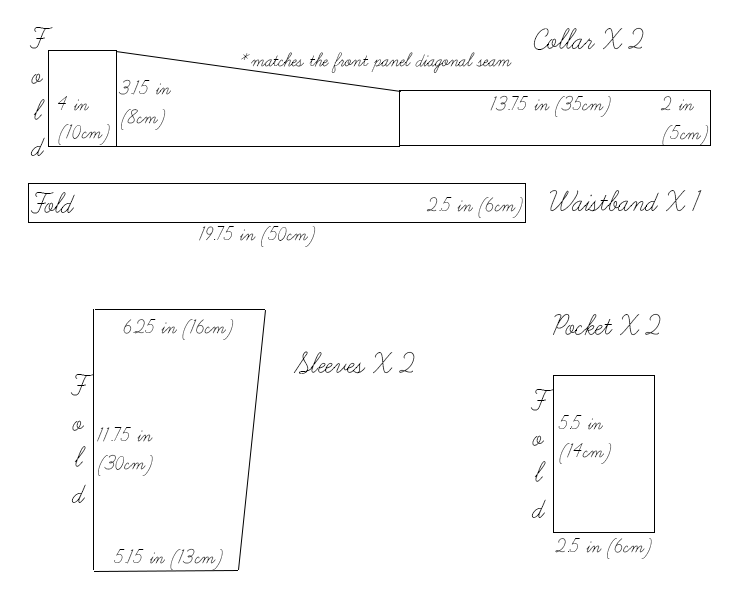
2. The diagram shows the pattern for 4-7 yr old child.’ If you need help adjusting the size of this pattern, please follow this tutorial. Add on 3/8 inch (1cm) seam allowance on all seams apart from the ones labelled with ‘fold’. It will be’ useful to notch marked points as well as the centre point of the back panel and sleeve panels.
3. Use a serger, or choose your own method to protect the seams from fraying. Make sure the method you choose does not add weight to the fabric.
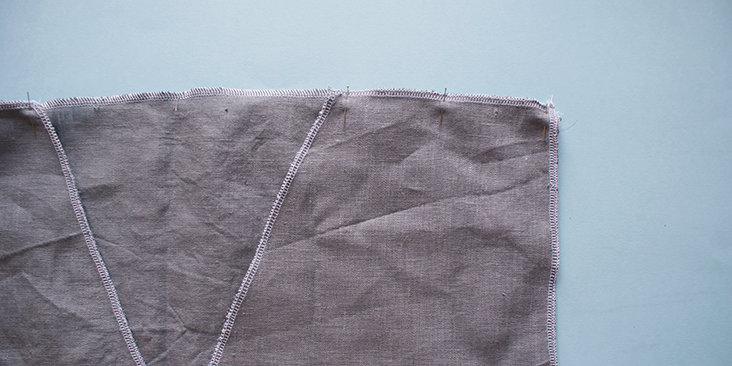
4. Pin the shoulder seams of the front and back panels together. Sew along the seam allowance and press open.
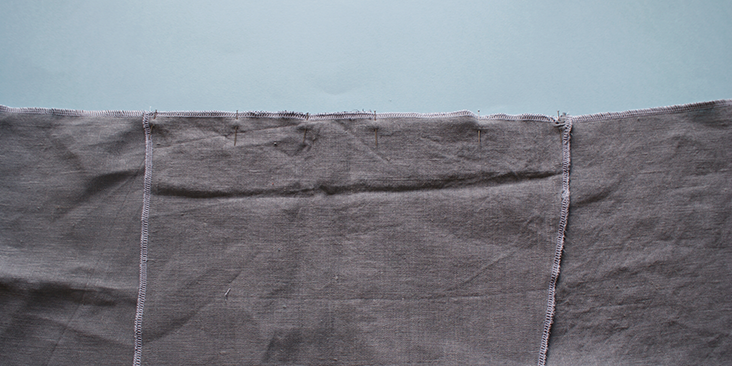
5. Place the top edge of the sleeve panel along the side seams of the front and back panels. Make sure the newly sewn shoulder seam aligns with the centre point of the sleeve. Leaving 3/8 inch (1cm) space from the sleeve edge, start sewing and stop with 3/8 inch (1cm) space still to spare. Press open the seams.
6. With the wrong side of the bathrobe facing outwards, pin the side seams of the front and back panels together, along with seams of both sleeves. Sew along the seam and press open.
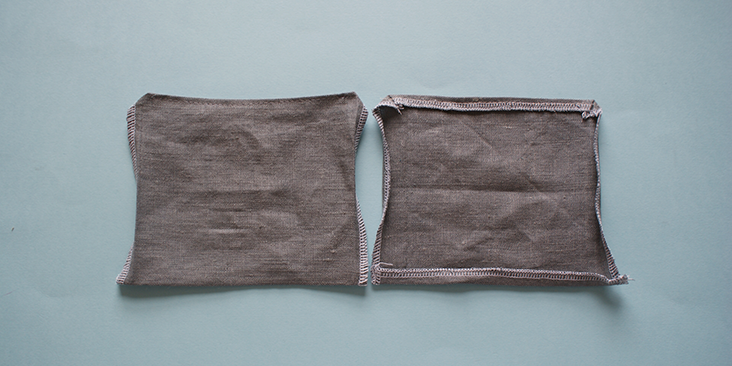
7. Press the 3/8 inch (1cm) seam allowance of the pocket panels towards it’s wrong side, and top stitch only the top edge.
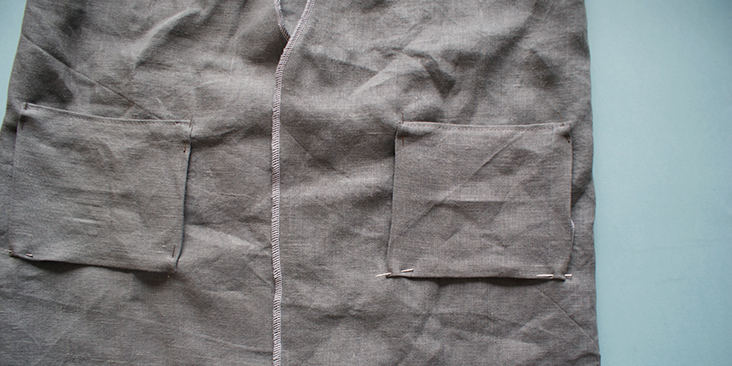
8. Pin the pocket onto the bathrobe, making sure the placement of the two pockets matches on both sides.
9. Top stitch over the remaining three sides’ of the pockets onto the robe.
10. Pin the long straight edge of the collar panels and the short side edge, stitch them together. Press open. Cut the corner to prevent excess material.
11. Along the slanted edge, press 3/8 inch (1cm) of the seam allowance towards the wrong side of the collar panel.
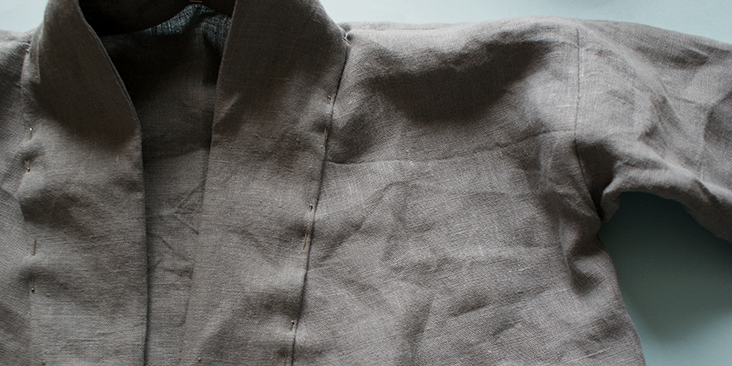
12. Pin the pressed edge of the collar panel along the front and back bodice panel. Sandwich the bodice seam inbetween the collar panel. Make sure the notched back centre mark matches with the centre back notched mark of the collar panel. Stitch along the pinned seam.
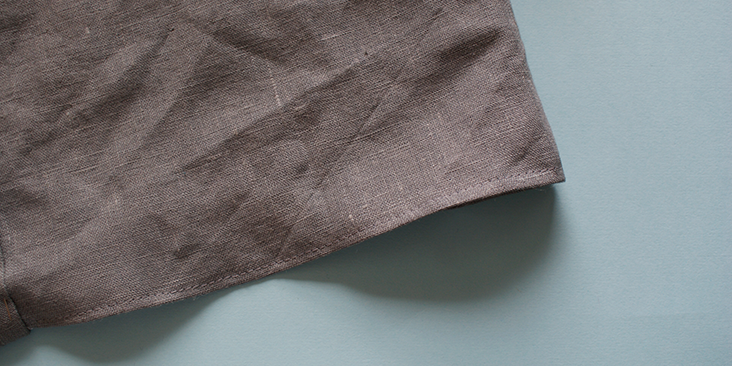
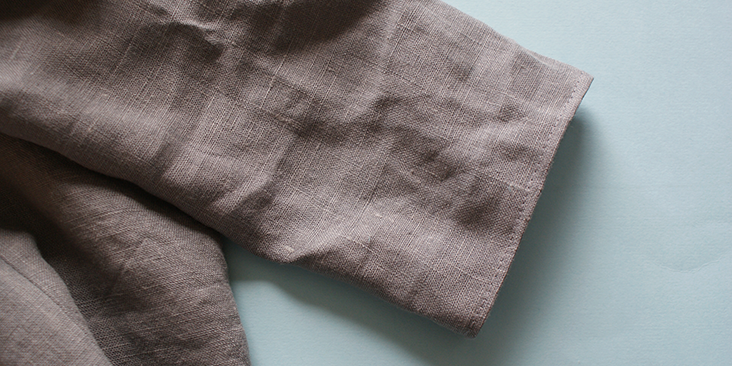
13. Press 3/8 inch (1cm) of the robe bottom edge towards its wrong side. Top stitch over this. Do the same for the sleeve panels.
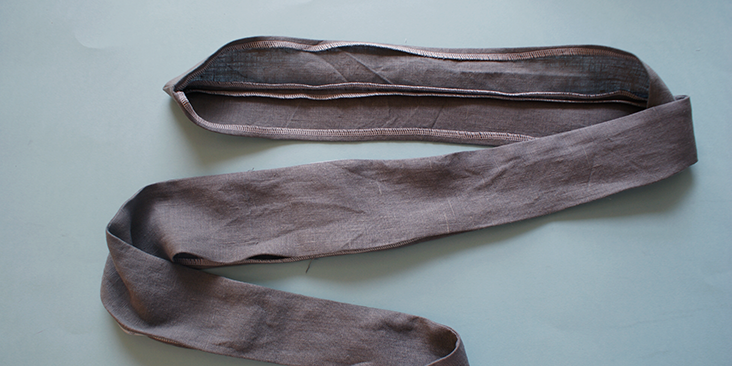
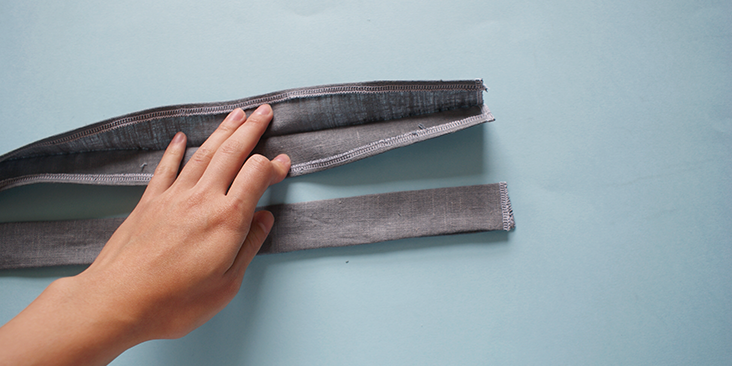
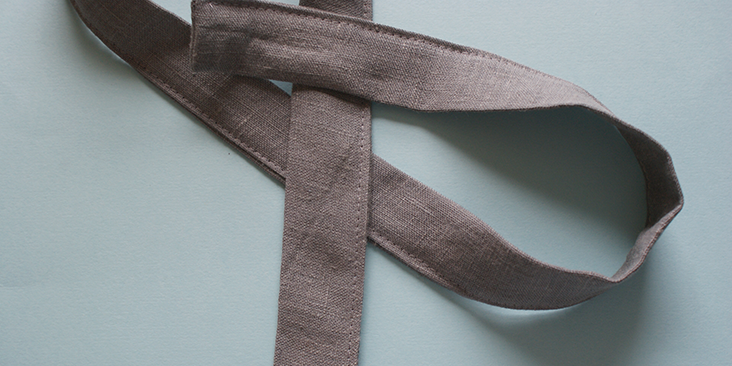
14. For the waist band, press the panel in half, and then towards the wrong side of the band, press 3/8 inch (1cm). Once you have done this, top stitch over this seam.












10 Comments
Harriet Amacher
I would have problems with the pattern. Great idea for grands for Christmas. Thank you for the tute.
Cynthia Fong
Thank you for your comment. Please show us how you get on with the project!
AmyCat =^.^=
Your young “model” is great… Love the silly-face pic! 🙂
As for Mona’s complaint: did you dry it in a dryer on a heated cycle, not “low’ or “gentle” or “tumble only” before sewing? I have NEVER had post-construction “shrinkage” of linen when I pre-washed (warm, normal cycle) and tumble-dried (on HOT) BEFORE ironing and THEN cutting & sewing the fabric. (Wool, however, WILL keep shrinking EVERY time…)
Cynthia Fong
They indeed are very cute models!
For us we wash it on a normal warm cycle (same as your method) and then dry it on a medium heated cycle, but leaving the material slightly damp so easier for ironing. There should not be any shrinkage to the material as you have eliminated that the first time you treat the material already. Thank you for sharing your method with us!
Masha Karpushina
thank you )) he is quite accustomed to his mum constantly pointing a camera in his face, but sweet comment, thank you))
very valuable comment about nature of linen- thank you!
Cheri
I agree with Amy as well, pre-wash and dry, but if you feel the fabric will continue shrinking simply hang it to dry.
Yes, wool continues to shrink and so will silk. I had a lovely silk skirt I had made and wore for several years… until my husband ‘helped’ me with laundry one day and dried it with a load of jeans! 🙁
m0na
So what do you do with your linen clothing when it cant be wahed and dried send it to the dry cleaners?,,
I have used this linen for covers for cushions and washed the material and dried it two times prior to cutting and sewing. When washed and dried it still shrinks. /An answer would be appreciTED
?
Cynthia Fong
For the material, once you have washed and dried the fabric at a normal wash cycle and a medium heat drying cycle, it should be able to eliminate the material from any further shrinkage.
Masha Karpushina
Hi Mona, we always pre wash fabric on the hottest setting, that allows for maximum shrinkage, after that we dry it on normal setting, there is never any shrinkage after this. AmyCat’s comments were also pretty precise about how to handle linen. Hope this helped, let us know if you still have worries.
Michele
Thank you so much for this tutorial! What a great Christmas gift idea for my grandchildren <3