Drawstring Striped Linen Trousers

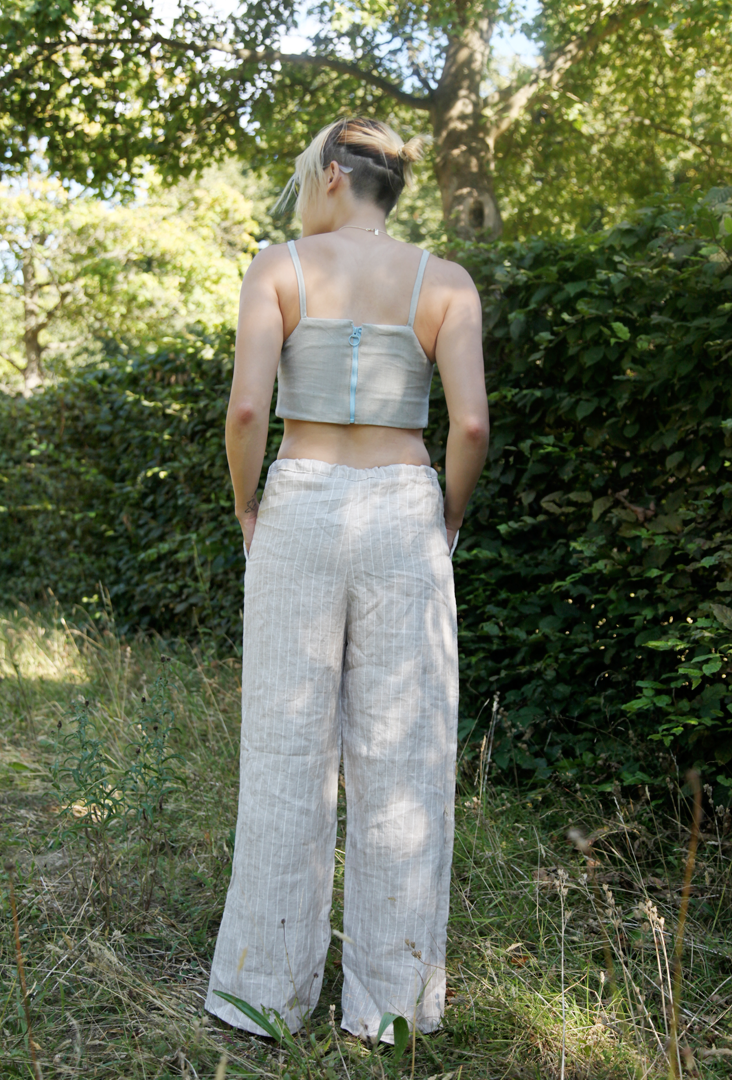 It’s summer and at times it’s even hot enough to sport a pair of linen trousers here in London so we have decided to make the most of the the sunny days and quickly make a pair before the seasons change. Lucky for those of you residing in sun drenched states of America, you can wear these for a lot longer than your average Great British Islander. These are great’ to take out for a drink or wear at home on the sofa.
Material
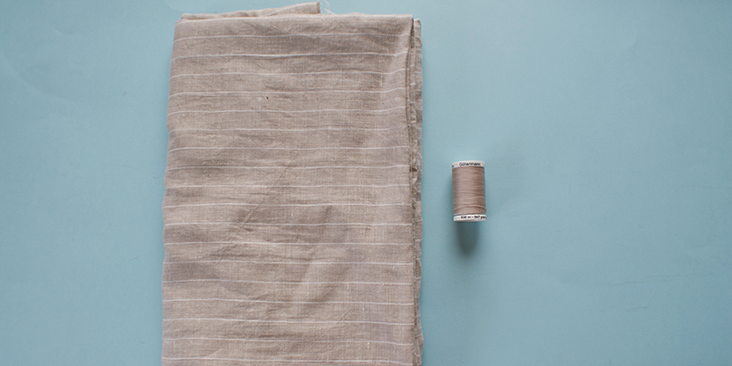
2 Yards of beautiful Mid weight Yarn Dyed Linen Fabrics
Matching sewing thread
Tools
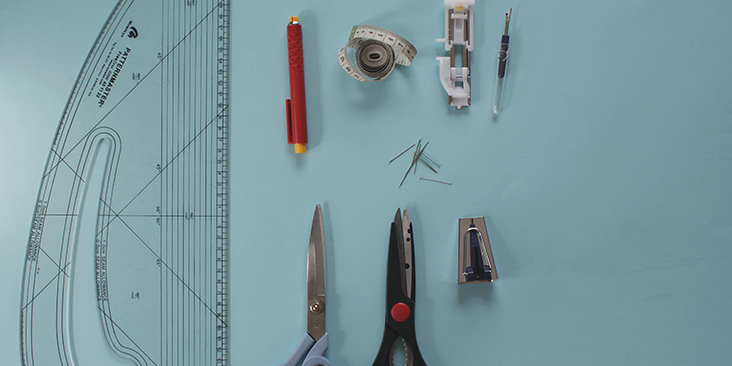
Pattern master, pattern paper
Paper scissors, fabric scissors
Fabric marker, pins, tape measure, Safety pin
Bias tape maker, Button sewing foot, seam ripper
Time
3-4′ hours
Difficulty
Beginner
Step
Note: Prewash your fabric and tumble dry it until it is still slightly moist, let this dry in room temperature.
1. Iron the fabric so it is easier to work with
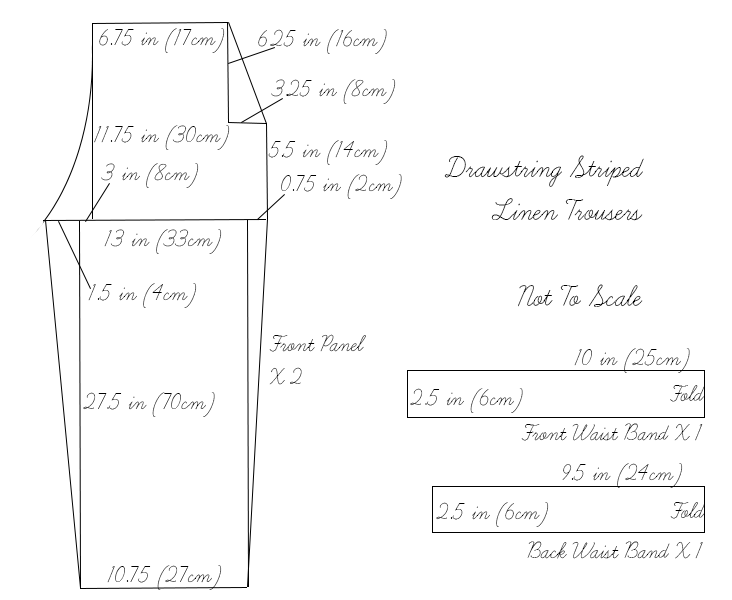
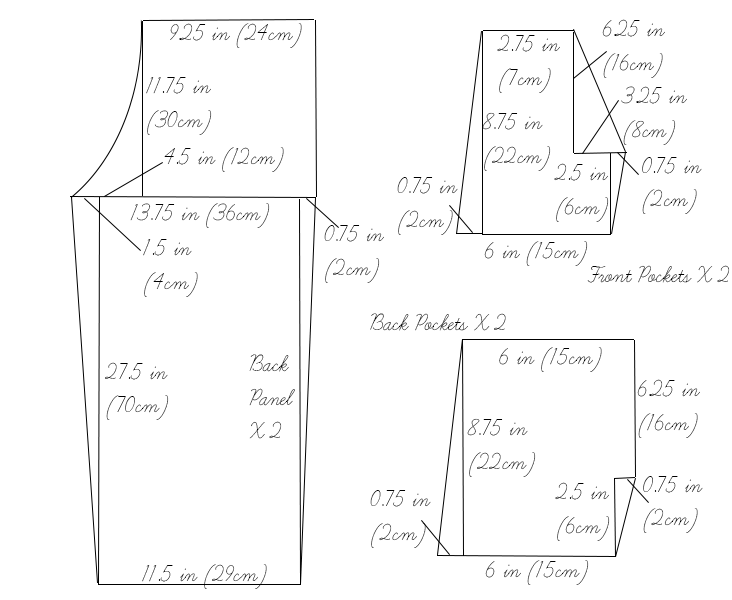
2. The diagram shows the pattern for a size US6-8 (UK10-12). Remember to add 3/8in (1cm) seam allowance around all panels. If you need help to grade your pattern, please follow this tutorial.
3. Use a serger, or choose your own method to protect the seams from fraying. Make sure the method you choose does not add weight to the fabric.
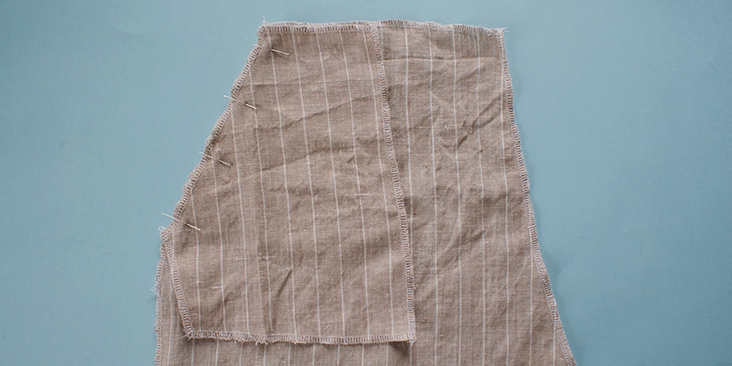
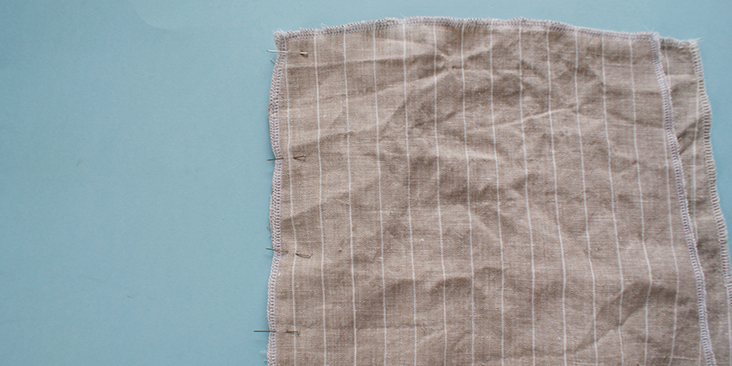
4. Pin the diagonal seam of the pocket Panel 2 together with the front Trouser Panel. Stitch together and press open.
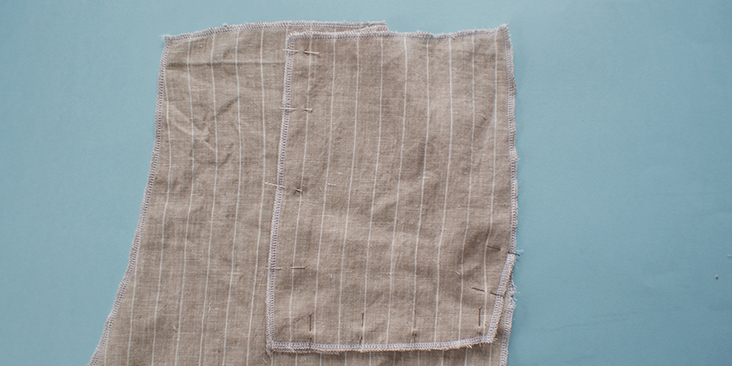
5.’ Pin the side and the bottom seams of the two Pocket Panels together. Stitch the seams together at the given seam allowance.
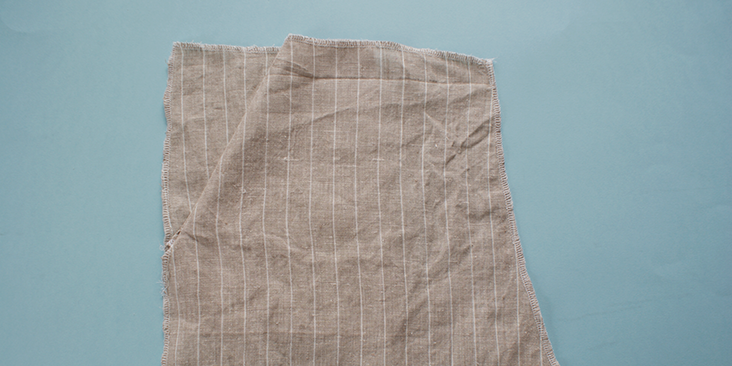
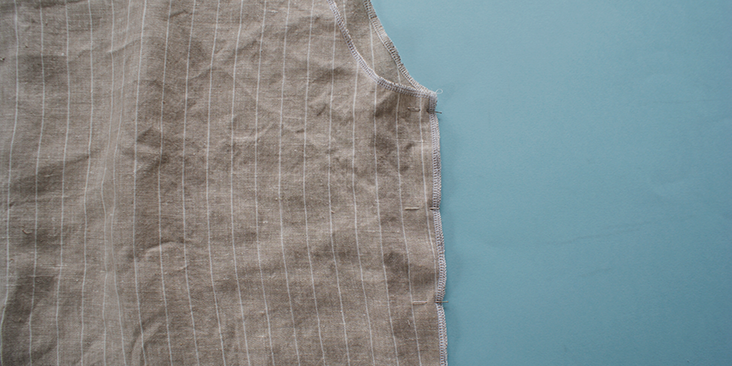
6. Pin the side seam of the trousers together. Stitch along the long seam and press it open.
7.’ Next, repeat with pinning and sewing’ the inner side seam of the trousers.
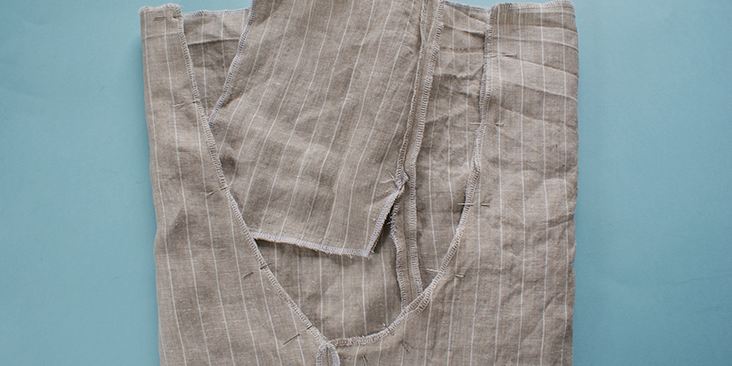
8.’ With one trouser leg on its right side, fit it into the other trouser leg and pin together at the curve. Stitch along this curve and press it open.
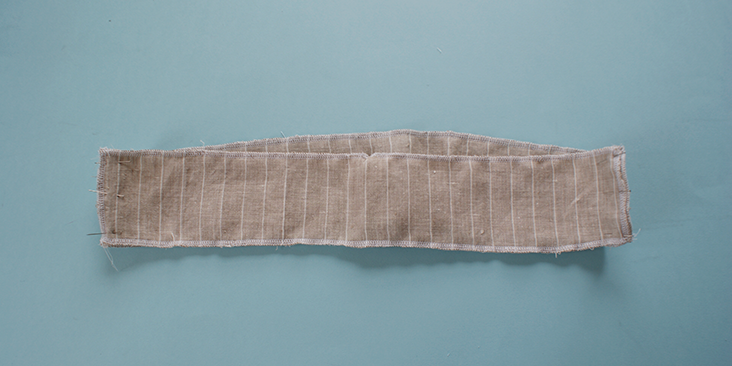
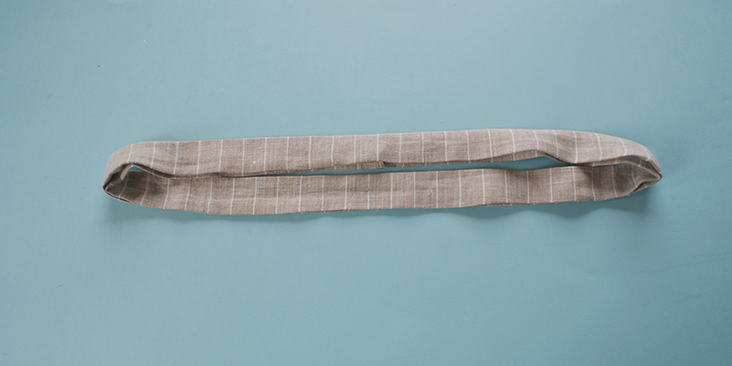
9.’ Pin the side seams of the waistband together. Stitch it and press open.
10.’ Fold the waistband in half and press it. Then, press the seam allowance of the waistband onto its wrong side.
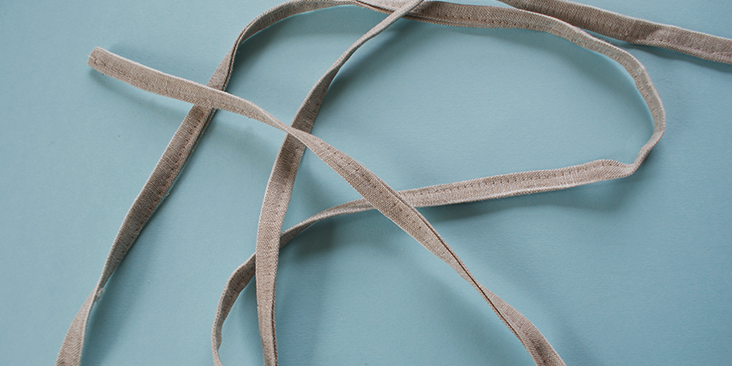
11. Using this tutorial, make around 1.1 yards (1m) of binding tape. The total width including seam allowance should be around 1.5 inch (4cm).
12. Top stitch along the binding tape and securely stitch over the ends too.
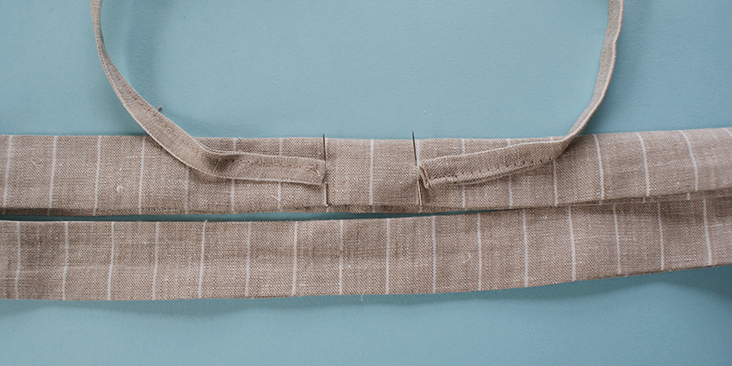
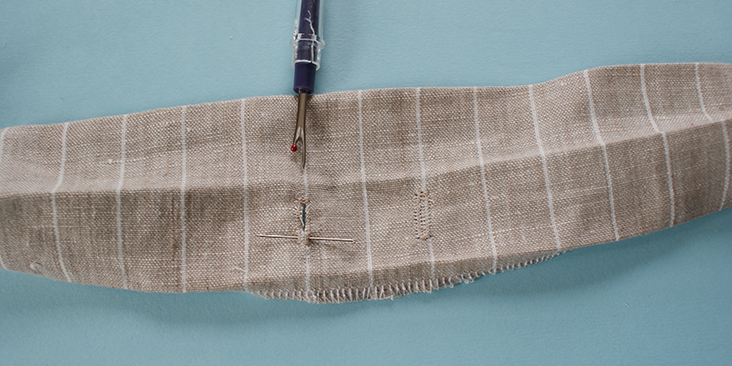
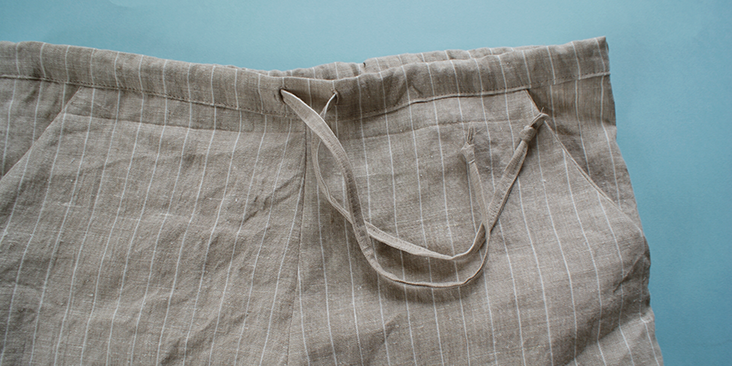
13. Place the tape over the front of the waistband and using some pins, mark where the tape should enter and come out from the waistband. In this tutorial, they are around 1.5 inch (4cm) apart.
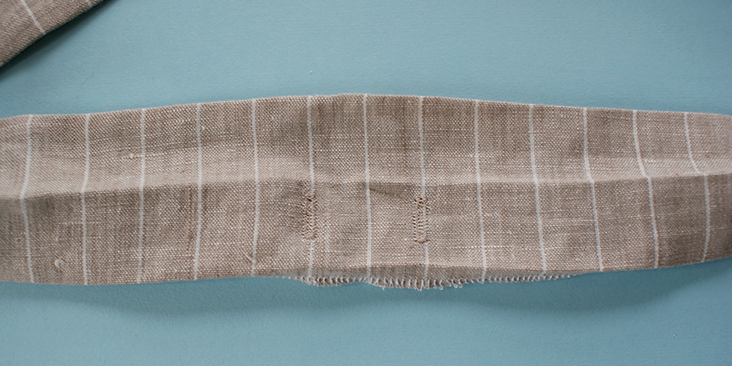
14. Following this tutorial, use the button sewing foot to create the holes suitable for the drawstring.
15. Using the seam ripper, open the holes.
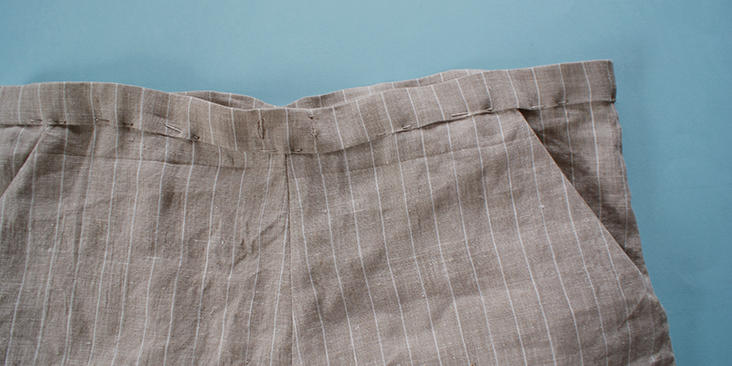
16.’ Pin the waistband onto the trousers. Making sure the side seams are matched up. Stitch along.
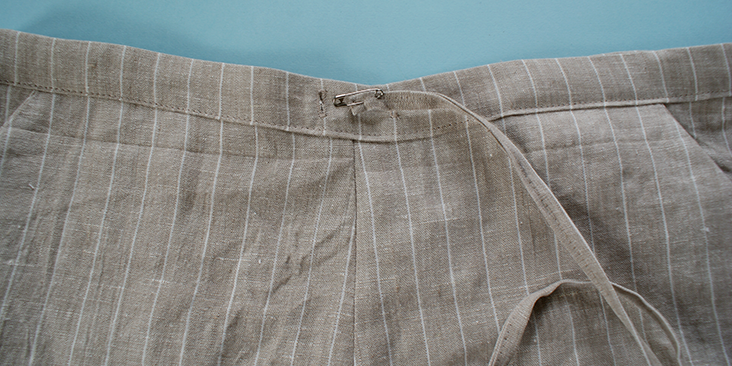
17. Attach the drawstring to a safety pin and carefully thread through the waistband.
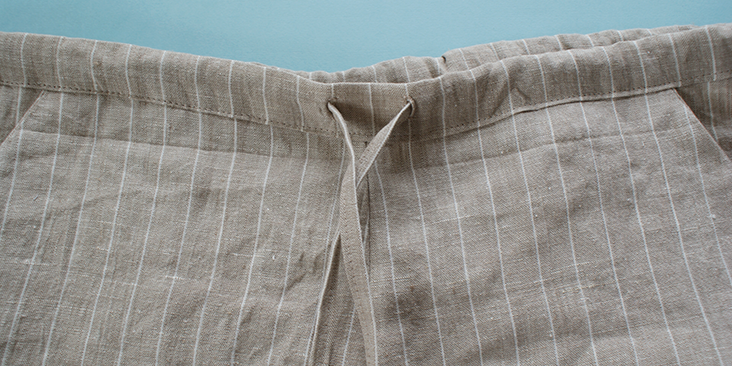
18. Once the drawstring is threaded through, tie a knot at the bottom to secure it. You can also add on beads of little decoration to make it more personal.
19.’ Fold the seam allowance of the trouser hem onto its wrong side and top stitch over this. Press.











9 Comments
Rachel S
Unless I’m mistaken, you don’t mention what to do with the back pockets. I gather they’re sewn onto the seat somehow or another, but it would be nice if the directions were clearer.
Tiki
I’m wearing petite size 4 ; what measurement I should use. Thank you.
Cynthia Fong
Is it a petite US size 4?
Eileen
Comment to Susana,
Colette patterns; http://www.colettepatterns.com, publishes a wonderful online magazine called SEAMWORK. It is very informative. This month’s issue has an interesting article on dying fabrics. It also provides several links for the types of dye that you might be looking for. I suggest you check it out.
AmyCat =^.^=
I may not make these pants, but I’ll use the part of the instructions that’s for the pockets! I’ve made mostly medieval & renaissance costumes, for which side-seam pockets are NOT accurate, so have never made a pocket like this in my 30+ years of sewing… :-}
Cynthia Fong
Thank you for your comment. We hope you are able to use this tutorial for the pockets for all the future projects you have.
emma
Super cute!
Cynthia Fong
Thank you for your comment. I hope you enjoy this tutorial.
Susana
I wish the terminology in some of these articles was more precise. I have a pair of trousers similar to these made in a similar beige and white stripe from a commercial pattern. What I’d like to make is a “broomstick” skirt with each tier in a different shade of one color, so when the article above suggested I click on the link (under the heading “Material”) for “these yarn dyes,” I thought “Goody, maybe they’re going to tell me where to buy dyes appropriate for the linen fabric.” Wrong. It just took me to a page of other fabrics. I would have been clear if the article had said “any of these yard-dyed fabrics.”
Same with the tools required. Any modern sewing machine that does zig-zag can be used (carefully) to sew buttons on, so I’ve never heard of a “button-sewing foot.” Once I read through the instructions, however, I realized the list meant a “buttonHOLE” foot. And you are still listing “patternmaster” in your equipment for a “French curve.” Patternmaster is the trade name on your particular French curve — and it’s also the registered trade name for a computer-based pattern design program by Wild Ginger.
Could we be more precise in the future?