Sleeveless Summer Navy Dress Tutorial

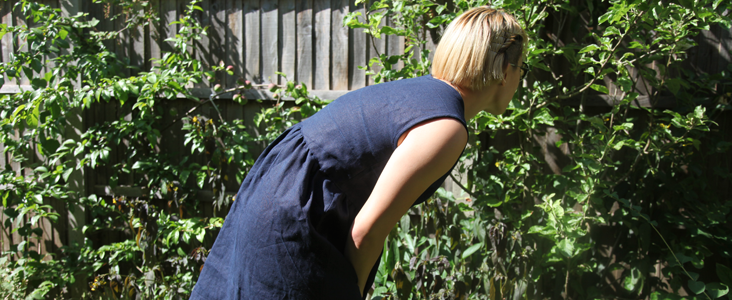
 When it comes to summer,’ you can never have too many’ sleeveless dresses. The lush dark blue shade will mean that you can keep wearing this dress when the weather starts to get cool. Throw a jumper on and you are set. ‘ The bonus with this dress? We are’ revisiting an older pattern so for those hoping to create sleeves for this dress can easily do so by visiting this tutorial.
Material
3 yards of IL019 Dress Blue Softened
Matching sewing thread
Tools
Pattern master, pattern paper
Paper scissors, fabric scissors
Fabric marker, pins, tape measure
Rotary cutter, Bias tape maker
Time
3-4′ hours
Difficulty
Beginner
Step
Note: Prewash your fabric and tumble dry it until it is still slightly moist, let this dry in room temperature.
1. Iron the fabric so it is easier to work with
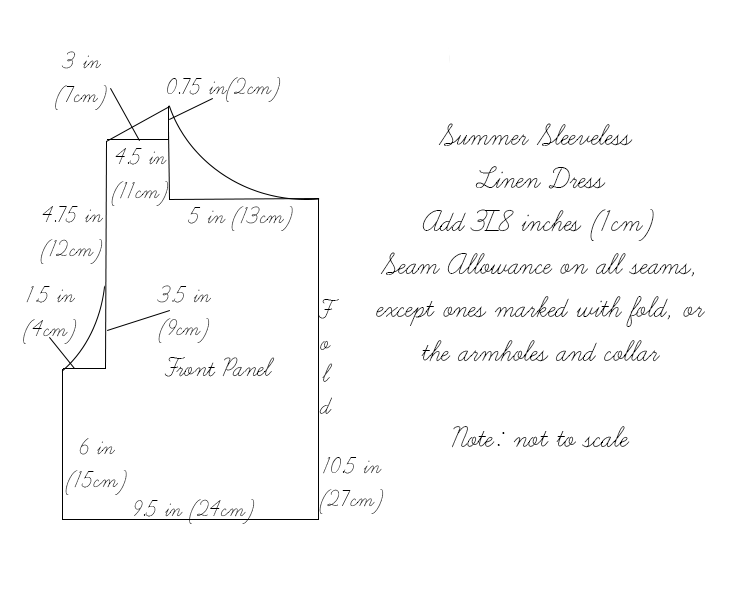
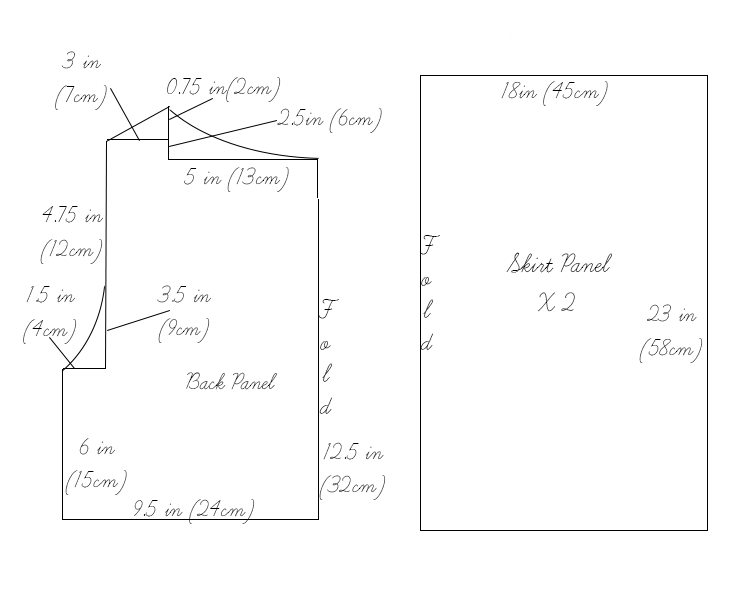
2. The diagram shows the pattern for a size US6-8 (UK10-12). Remember to add 3/8in (1cm) seam allowance around all panels (apart from the arms and collar where you will be using bias tape for binding). If you need help to grade your pattern, please follow this tutorial.
3. Use a serger, or choose your own method to protect the seams from fraying. Make sure the method you choose does not add weight to the fabric.
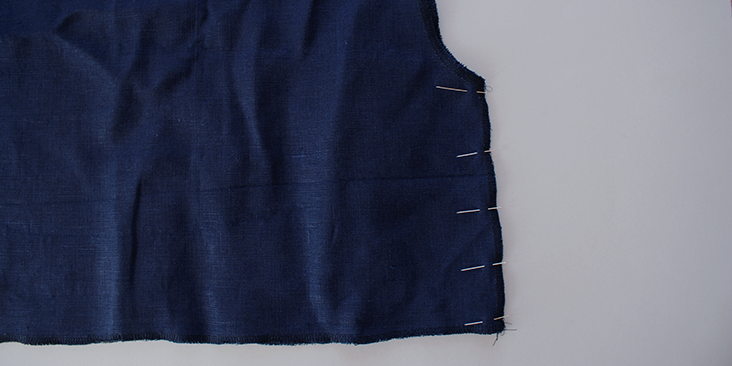
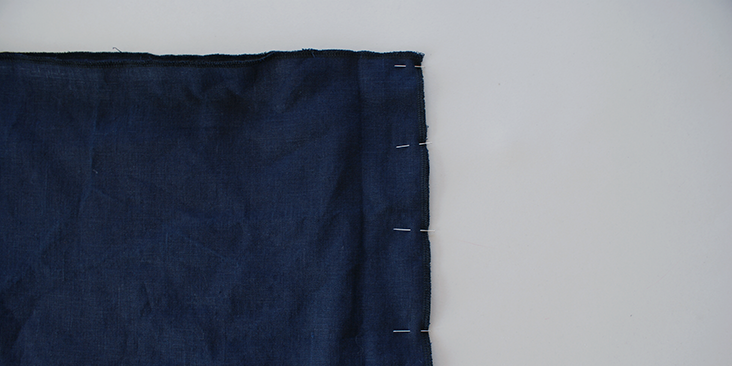
4. Pin together the side seams of the body, on both side. Stitch together and press open.
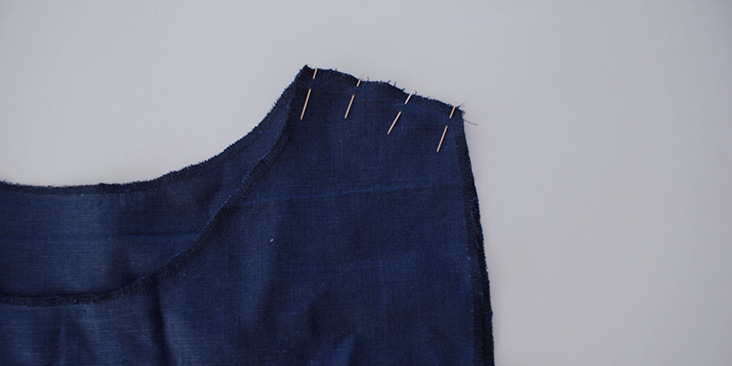
5. Repeat the same for the shoulder seam.
6. Pin the side seams of the skirt panels together. Stitch them together and press open.
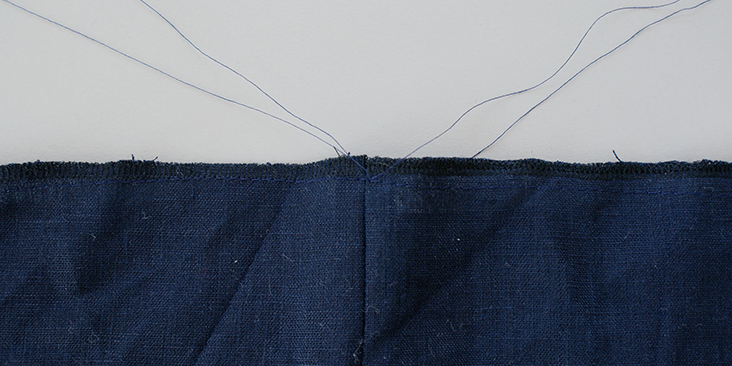
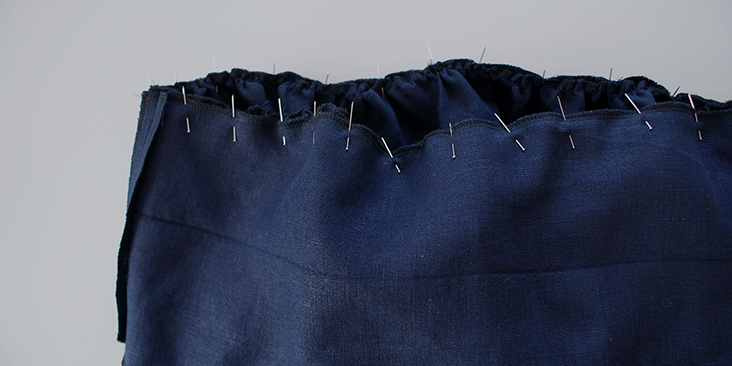
7. With the material facing the right side, stitch a wide running stitch (without going back and forth to secure it at the beginning and end) about 1/8 inch (0.5cm) away from the top edge. Leave a long tail of thread at both ends of the stitching.
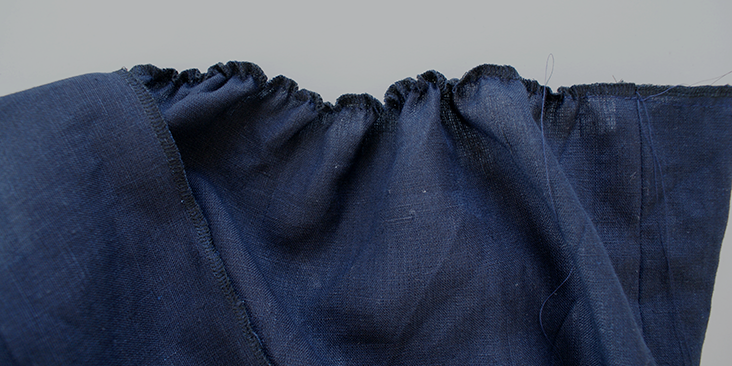
8. Gently pull the thread of the stitching so you will start to gather the material together. The final width of the skirt panels is determined by the width of the bodice panels. Make sure you match the side seams of the skirt and the bodice together. The notch marks at the centre of the bodice and skirt panel will prove to be useful too.
9. Once it is gathered to the right length, with the skirt panel’s right side facing you and the wrong side of the bodice facing you, join the gathered seam together with the bottom of the bodice.
10. Stitch this together at the given seam allowance.
11. Turn it onto the right side and press on the seam. Then run a top stitch over the seam, with the inside seam turned upwards. The top stitch line should be as close to the seam of the bodice as possible.
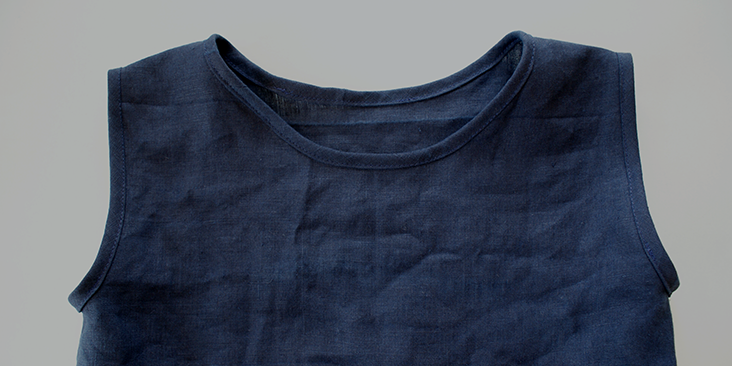
12. Following this tutorial, make enough bias binding tape for both armholes and collar.
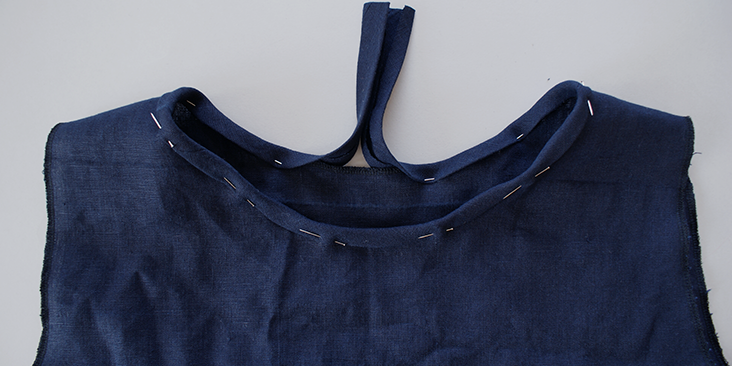
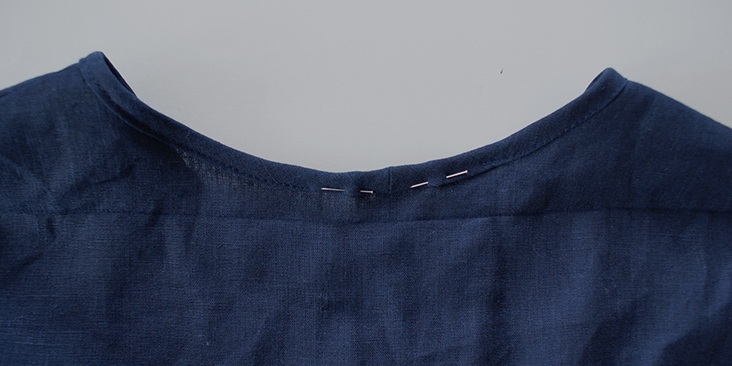
13. Pin the tape along the seams, leaving around 2 1/2 inches (5cm) opening of the seam, and around 3 inches (7.5cm) bias tape tail unpinned.
14. Stitch along the pinned tape.
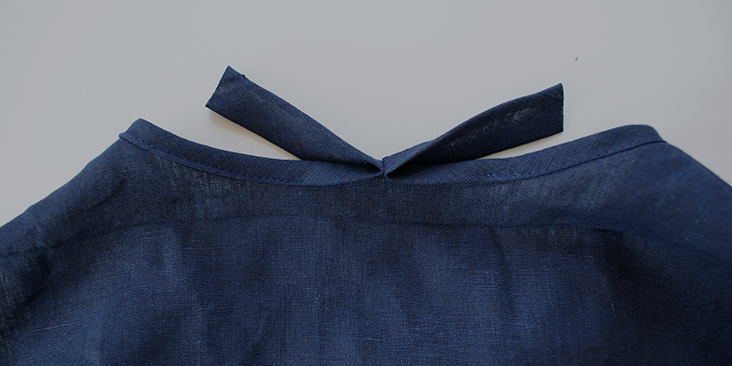
15. Manually fold the bias tape backwards and create a crease where both ends of the tape meet.
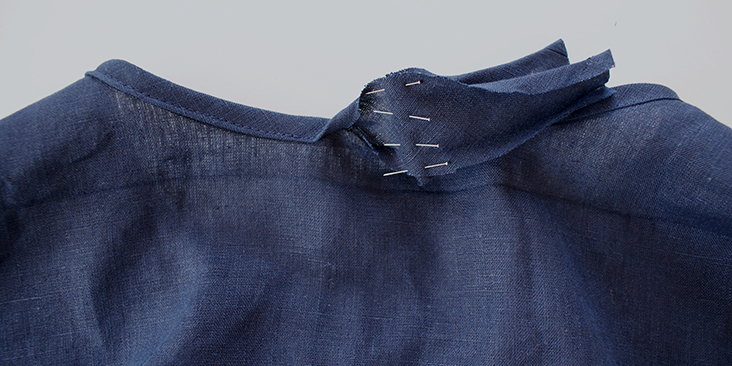
16. Pin the creased part of the tape together with the wrong side facing outwards. Stitch along this line, trim the rest of the tape off and press open the seam.
17. Fold the tape back to its original form and pin the remaining parts onto the seam.
18. Matching the stitching with where you finished, stitch the remaining tape on.
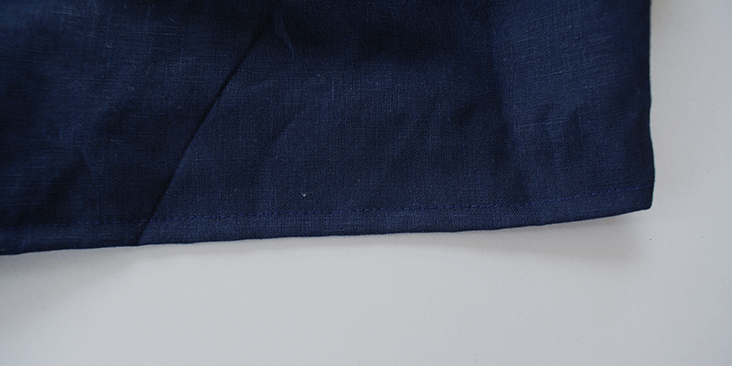
19. Fold the 3/8 inch (1cm) seam allowance of the bottom hem upwards onto its wrong side. Press it and top stitch over this fold.
Possibly one of the easiest and quickest yet impressive tutorial. Why not browse around our website and take your pick of fabric from our plethora of linen?













16 Comments
Marilyn VanOs
This is such a nice dress for an older, thicker woman to enjoy without buttons and zippers. Given my chunkiness, I?ll do the world a favor and add some length. I?m looking forward to making one for my granddaughter to enjoy this summer. She loves dresses and will fall in love with linen after she wears it.
I just took a pattern “cloning” class. This pattern will be my first attempt at increasing the size to a 26. Wish me luck!
Carol Green
This is my favorite of the dress tutorials that you have… because it is a pull-over type dress that doesn’t need a zipper or button opening, and because you can add sleeves to this bodice.
PLEASE make a multi-sized pattern! and include a sleeve pattern option! and bust dart option!
PLEASE! PLEASE! PLEASE! I messed up the bodice measurements somehow, and it didn’t turn out right. I know I’m asking a lot because there is so much work that goes into making your layered .pdf patterns, but PLEASE make this one! I’ll pay for the pattern! PLEASE! 🙂
Amaranth Rose
I like the patterns shown and would like to make some things for myself. However, I am a plus size lady, and don’t know how to translate your size 8-10 to a 24-26. Could you give some tips for us larger ladies, or am I doomed to drool in vain? For example, this pattern would make a nice dress for church in Summer, but I can’t imagine it fitting me.
pam
https://blog.fabrics-store.com/2015/06/01/how-to-grade-a-pattern-tutorial/
Cynthia Fong
Thank you for your comment. We will take your suggestion in the consideration for future tutorials, to make them easier for grading for the larger sizes.
HELENE CHUTJIAN
I ALWAYS SEW DOUBLE ROW OF STITCHING TO GATHER SKIRT, ETC., FOR A SMOTHER LINE AND SEWING EASE.. WOULD ALSO LIKE SEAM ALLOWANCE INCLUDED ON PATTERN. HOWEVER, THE SUMMER SLEEVELESS DRESS LOOKS GREAT!
Cynthia Fong
Thank you for your comment.
rei
Thank you!
It is Beautiful and I will try to make it
Cynthia Fong
Thank you for your comment. We look forward to seeing how you get on with the tutorial!
Susana
Rhedia makes a good point. If the front bodice were numbered 1 and the back 2, it would be easier to mark the fabric pieces 1 and 2. (Although, Rhedia, you could do this on your own. Just number the paper patterns pieces and transfer those numbers with chalk to the corresponding fabric pieces.)
Also, why exclude the seam allowance for armholes and collar (of which there is none in this project)? It would be easier to be consistent. In fact, making us add the seam allowances used to be what the European Burda patterns did, but they have changed that policy and now show seam allowances on their printed patterns.
When stitching the top edge of the skirt, one will get a smoother line of gathers by stitching one row of stitches at 5/8″ and a second row at 1/4″, starting at the same spot so that the needle entry points are even in both rows. Then, pull up the bobbin threads of both lines of stitching at the same time. This will make pinning the bodice to the gathered skirt much easier and will result in a more professional gathered seam.
Otherwise, this is a very nice, simple style that should be good for all ages — except that in my senior years, I would make the skirt longer, at least 2″ below the knee (even tho my legs are still every bit as attractive as your model’s), and possibly even to the ankle.
Cynthia Fong
Thank you for your comment. The seam allowance was excluded from the armholes and collar because they were going to be hemmed with the binding tape, which means the tape will be sewn on to the actual measurement of the bodice. If we add seam allowance onto these seams, the measurement of the holes will actually be smaller.
pam
Lovely dress Cynthia. Thank you.
Cynthia Fong
Thank you for your comment.
Rhedia k. Stark
Would really like it if the tutorials had an actual pattern number like Mcalls etc. as I need to put pattern pieces on my fabric and not try to figure the math out to. Pattern suggestions would work to. Rhedia
Sharon
Set yourself free from pattern dependency! You can do this.
Cynthia Fong
Thank you for your comment. We will take this into consideration for future tutorials.