Panel Linen Skirt Tutorial
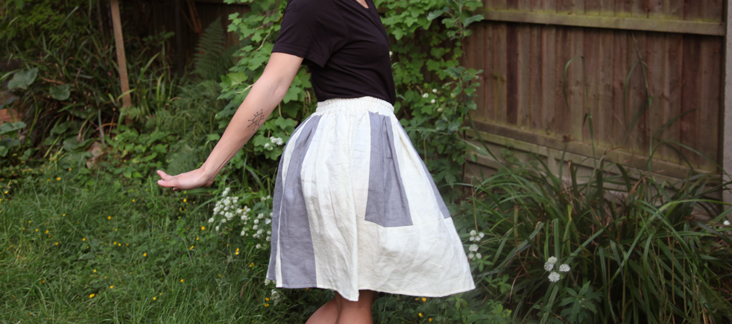
One of my favourite aspects in’ making my own clothes is that I can solely decide on what’ pattern and colours I want to choose.’ In this tutorial, we used two basic colours from the monochrome family and a basic layout for the pattern design. You can always take it a step further and invent your own patterns and colour combinations!
Material
1 yard of IL019 Bleached FS Signature Finish
1 yard of IL019 Asphalt Softened
Matching sewing thread
Tools
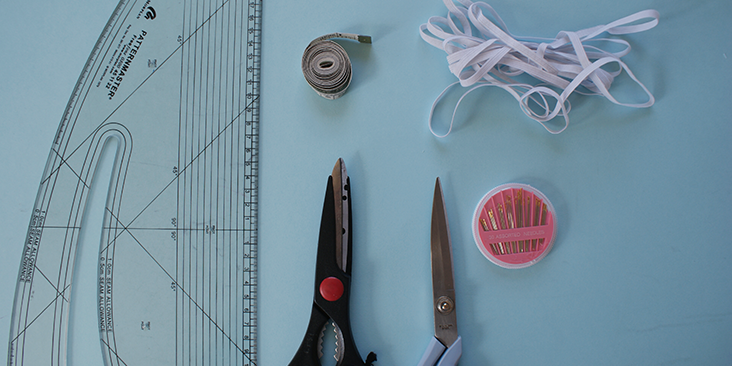
Pattern master, pattern paper
Paper scissors, fabric scissors
Fabric marker, pins, tape measure, safety pins
Elastic, sewing needles
Time
2-3 hours
Difficulty
Beginner
Step
Note: Prewash your fabric and tumble dry it until it is still slightly moist, let this dry in room temperature.
1. Iron the fabric so it is easier to work with
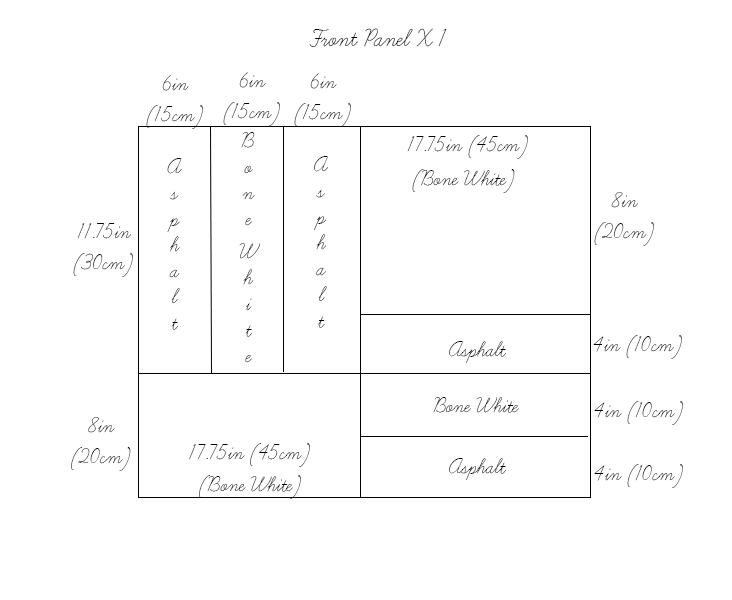
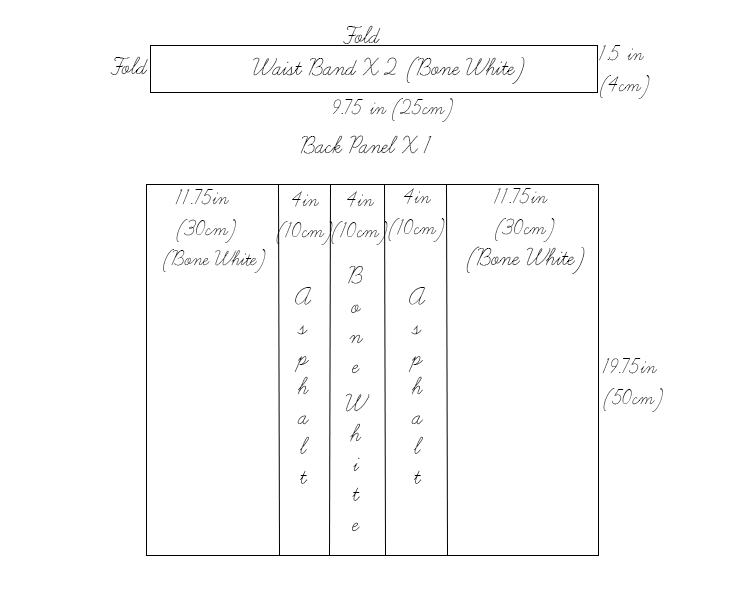
2. The diagram shows the pattern for a size US6-8 (UK10-12). Each panel has been indicated which linen it should be cut out of, remember to add 3/8in (1cm) seam allowance around all panels (unless marked with Fold, ie for the waistband). If you need help to grade your pattern, please follow this tutorial.
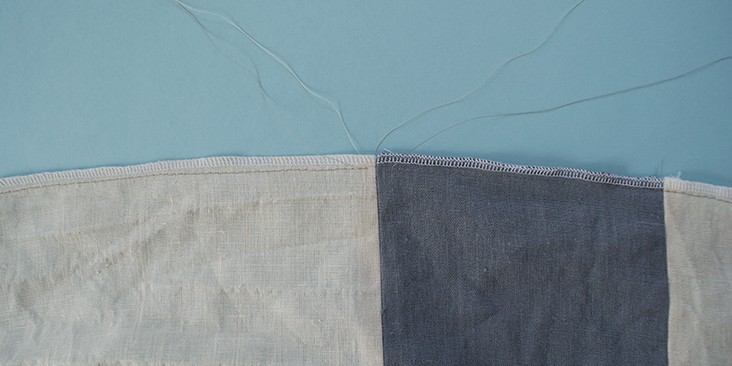
3. Use a serger, or choose your own method to protect the seams from fraying. Make sure the method you choose does not add weight to the fabric.
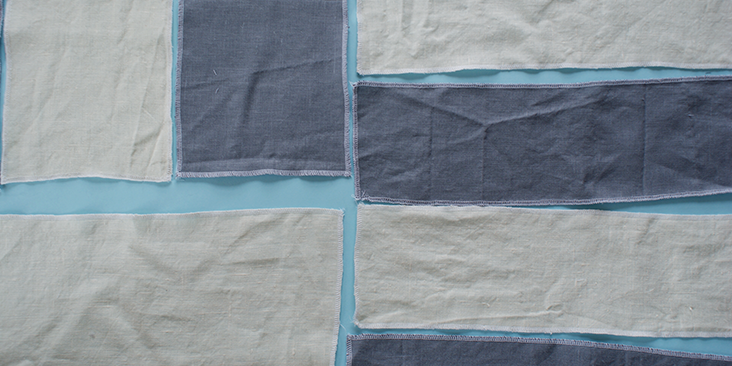
4. Lay out all the panels as indicated on the diagram.
5. Pin them together and stitch along all the panels on the seam allowance given, pressing each seam as you progress.
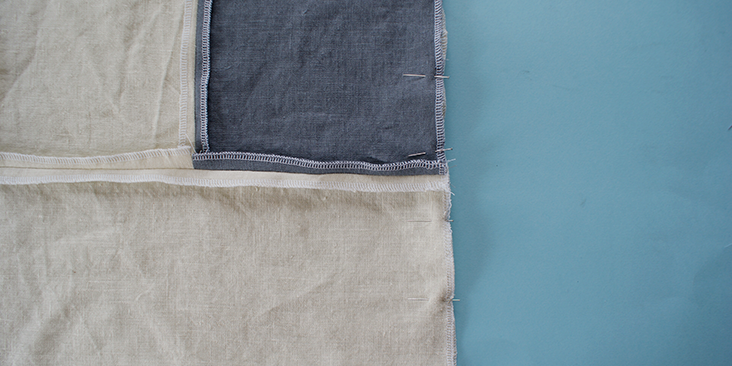
6. Once all the panels for the front and back of the skirts are sewn together, pin together the side seam of the skirt, stitch on the seam allowance and press the seam open.
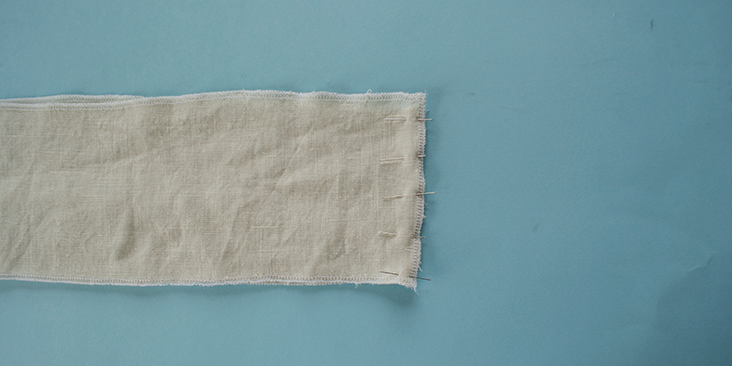
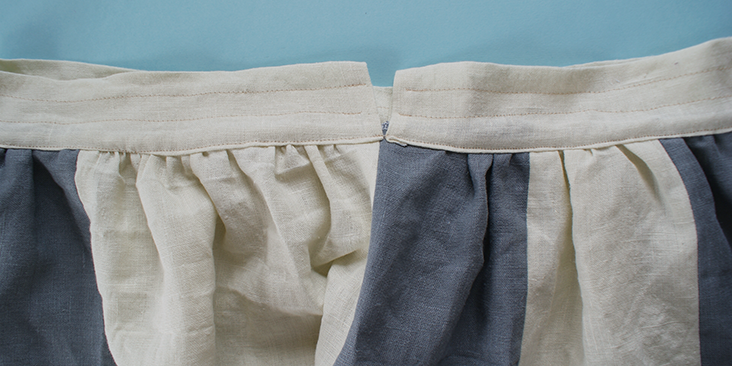
7. Pin together one side of the waistband.
8. Stitch it together, press the seam open.
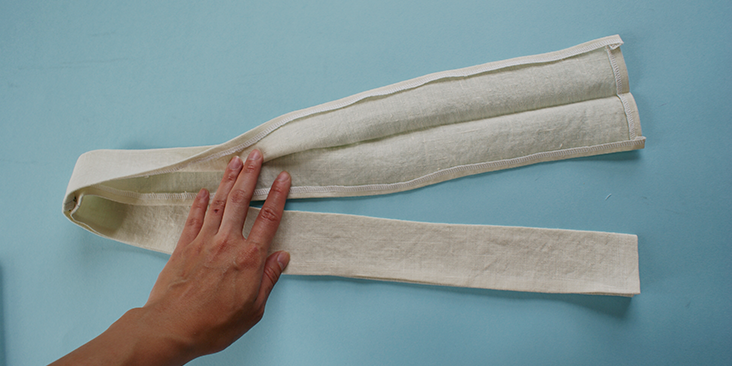
9. Fold the band in half and press along the folded line. Then proceed to fold the seam allowance of 3/8in (1cm) on both long edge towards the wrong side of the band.
10. Do the same for the unsewn side seam.
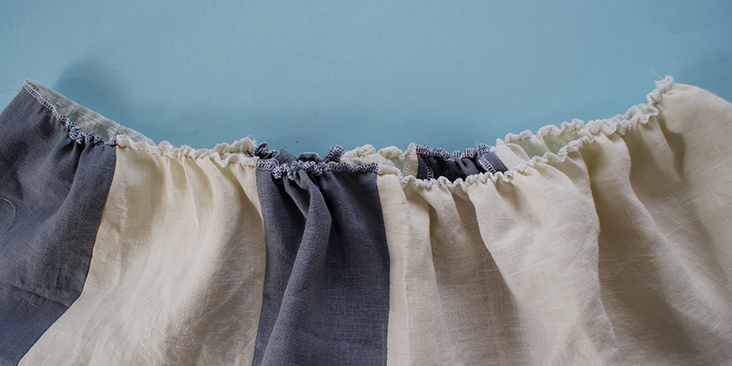
11. Change the stitch length to the widest option and stitch along the top edge of the skirt, at around 1/8in (0.5cm) from the edge. Remember to leave a long tail at the beginning and at the end. Also do not go back and forth to lock the stitching.
12. Gently pulling the bottom thread, slowly gather the skirt panels until it matches with the length of the waistband.
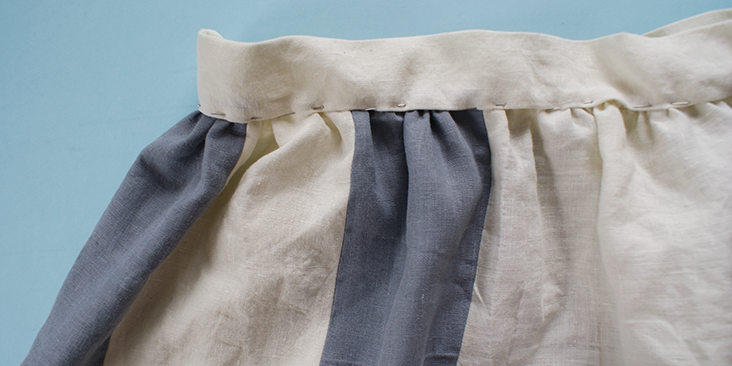
13. Pinned the waist band onto the skirt panels and top stitch along the pinned seams.
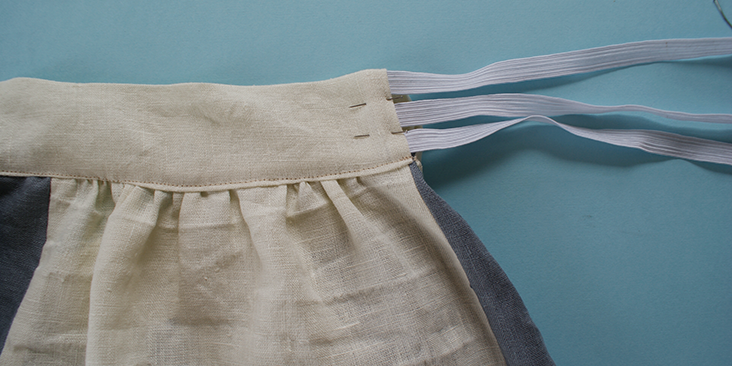
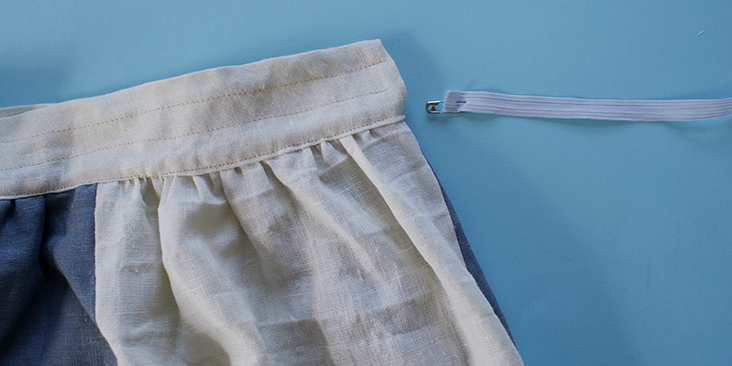
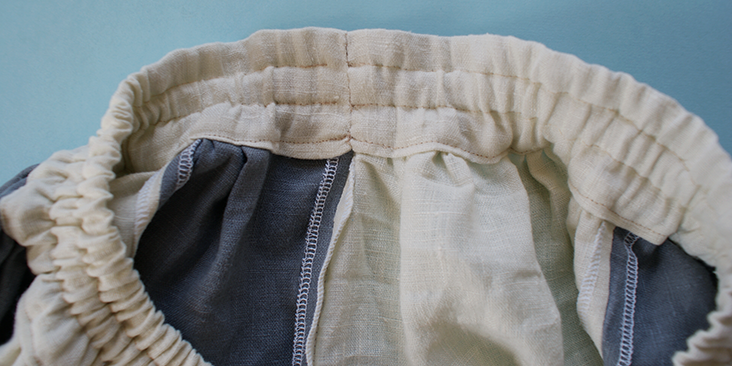
14. Cut out three pieces of elastic, measuring 27.5in (70cm) each, and use them as an indicator to how wide each elastic section should be on the waistband. Pin the indicated width and top stitch along the whole skirt.
15. Using a safety pin, careful thread the elastic through each section, sewing the ends together by going back and forth on the machine to secure them.
16. Once all the elastic bands have been put in the waistband, hand sew the opening together.
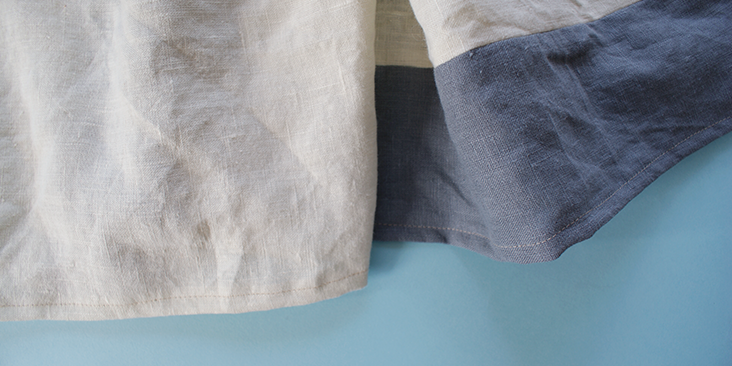
17. Turn the 3/8in (1cm) seam allowance of the bottom edge towards its wrong side and top stitch along the edge. Press the hem.













6 Comments
Beth Pritchett
I have a question regarding measurements, is the waistband length supposed to be 9.75 inches, or 19.75? Or another measurement? Is the a good ratio to go by for casing length to elastic? I’m going to make one for my six year old, so I don’t need a 27-inch waist but I’m slightly confused by the 27 inch elastic in 18-inch casing. Looking forward to making it!
Benita
Is there some reason you don’t just serge the seams as you go? Perhaps they don’t feel right on the finished product. Just curious. Your skirt is very cute!
Cynthia Fong
Thank you for your comment. We mentioned serging the seams at the beginning simply as this might be easier, without having to switch back and forth between the machines. But this is just a guideline, depending on how you like your finishing, you can always treat each of the seams differently too.
AmyCat =^.^=
Agree with Nadine: I’m too plump to look good in a skirt with too much “busy-ness” going on (the fancy patchwork), but will use the waistband instructions on a gored skirt (6 or 8 gores) to eliminate the need for a zipper. 🙂
Nadine
Oh this is just lovely. I really think you waist band is the icing on the cake. Good directions and easy to follow .
Cynthia Fong
Thank you for your comment. It is nice to always do something different for those small details. We are glad you like this.