Spaghetti Strap Top Tutorial
You probably own a few of these in cottons and stretchy jersey fabrics, but make it out of linen, and you have something quite special. It is easy to wear, super comfortable and looks great by itself as well as an under a shirt or a sweater. This is a great and quick tutorial for everyone to make, especially for the beginner sewers amongst our readers, to become confident with the sewing machines. We have kept the straps quite long, please play around for your own figure to see what suits you best and whether you want to make them shorter. Have fun!
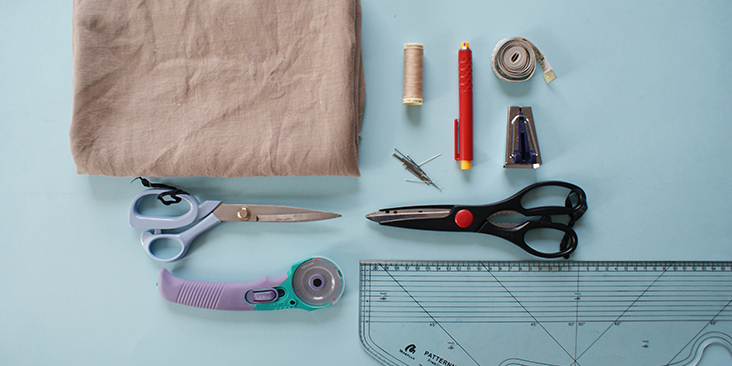
Material
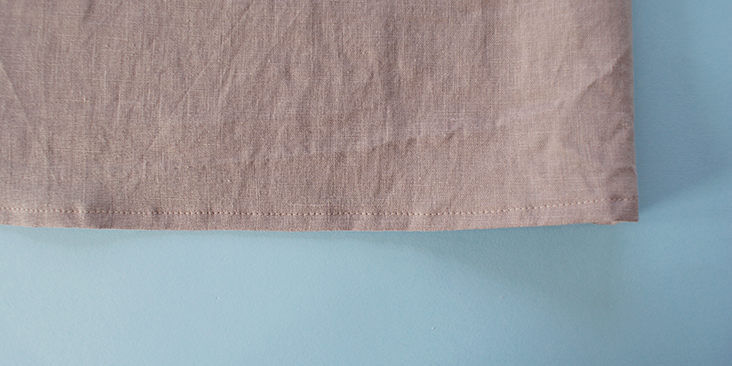
1 yard of IL020 Driftwood Softened
Matching sewing thread
Tools
Pattern master, pattern paper
Paper scissors, fabric scissors
Fabric marker, pins, tape measure
Rotary cutter, cutting board, biased tape maker
Time
2-3 hours
Difficulty
Beginner
Step
Note: Prewash your fabric and tumble dry it until it is still slightly moist, let this dry in room temperature.
1. Iron the fabric so it is easier to work with
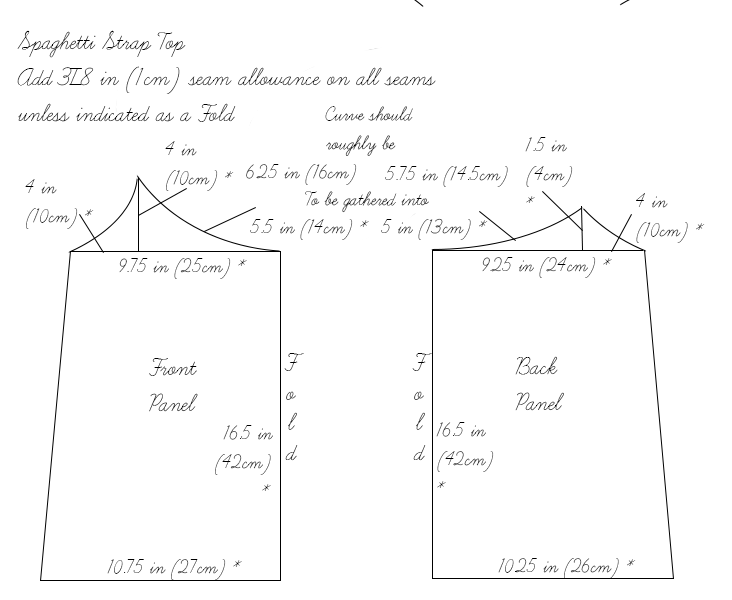
2. The diagram shows the pattern for a size US6-8 (UK10-12).’ If you need help adjusting the size of this pattern, please follow this tutorial
3. Use a serger, or choose your own method to protect the seams from fraying. Make sure the method you choose does not add weight to the fabric
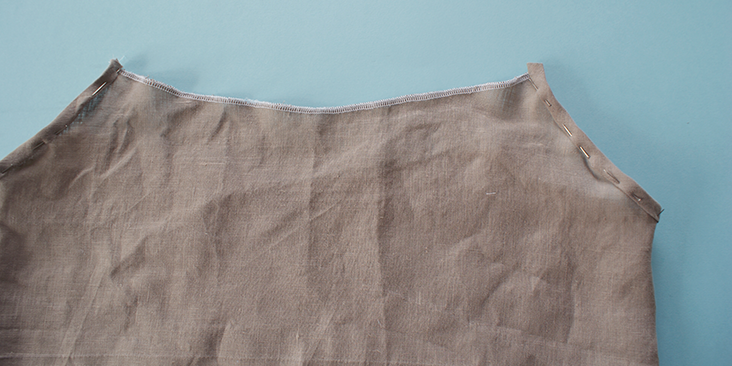
4. Pin the side seam of the bodice together. Stitch and press the seams open
5. Following this tutorial, make around 2-3 yards of biased binding tape. Make sure the binding tape you make will end up with is 3/8 inch (1cm). This is to create a really thin strap
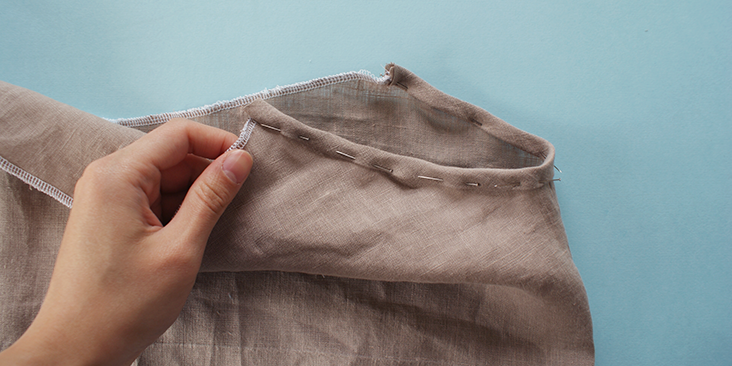
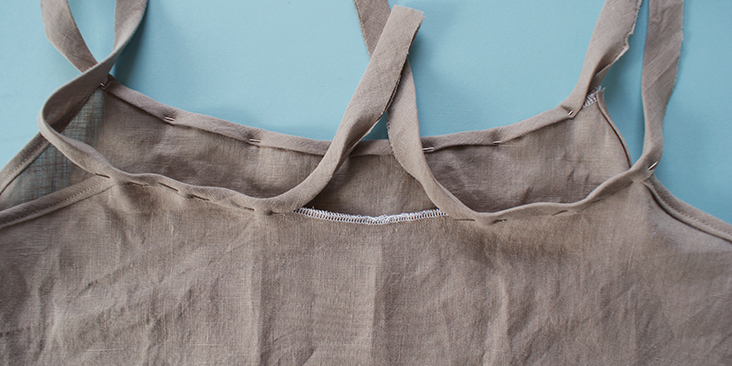
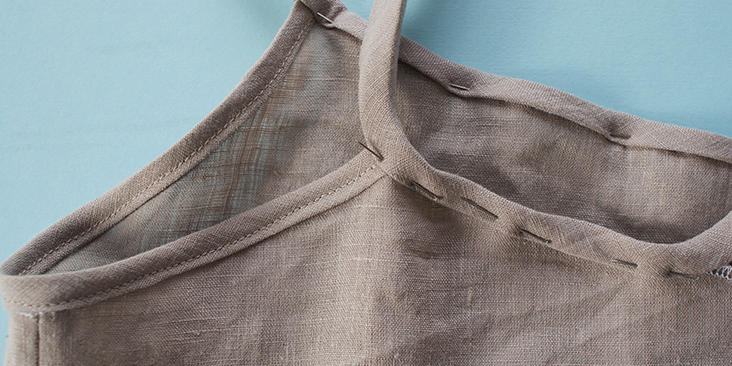
6. Take the bias binding tape and pin it around the arm area, stopping at the top of the bust curves and back curves
7. Top stitch over that and give it a little press
8. Then, leaving around 4 inch (10cm) tail at the centre of the back bodice panel, start the pinning and following the instructions on the pattern diagram, gather the bodice seam to the right length
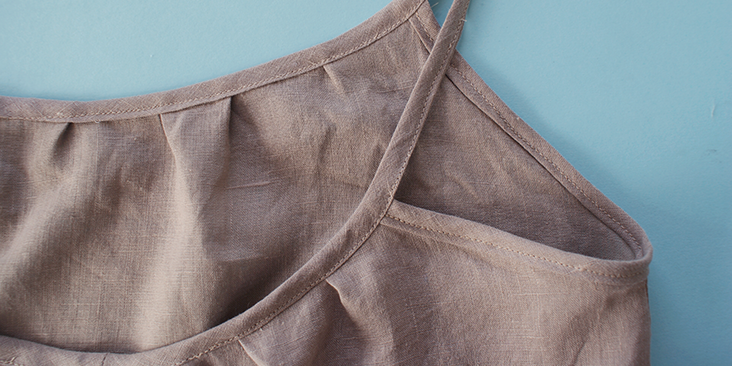
9. Once you reach the top of the back curve, leave about 14 in (36cm) of bias binding tape as the strap and re-join it at the top of the front bust curve.(Note: This is the length of strap based on a US size 6-8 top, depending on the size you are working on, proportionately increase and decrease the length required.) Go along this top seam with the correct gathering and repeat the strap technique for the left side of the body
10. Once you get to the back bodice again leave about 3 inch (7.5cm) of gap from’ the beginning of the pinning and once again leave a long tail.
11. Top stitch over the pinned bias binding tape
12. Once you get to the opening, manually measure the rest of the bias binding tape needed along the seam (including some gathering in that space).’ When the tape joins in the middle of the seam, using your hand manually fold the tape outwards and press to create a fold line. This will be the indicator as to where to stitch the tape together.
13. Pin along the folded line on the wrong side and stitch it. Press open the seam.
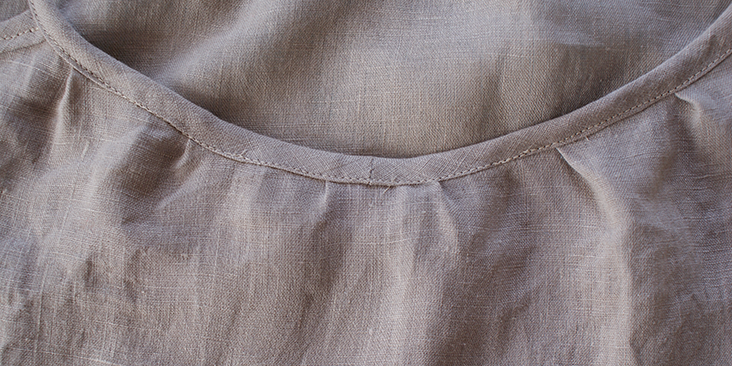
14. Fold it back the right side along the gathered back opening
15. Pin it and top stitch over this opening. Match the beginning and end of the stitch with your previous stitching
16. Press the seam allowance of the bottom seam towards its wrong side. Top stitch over that
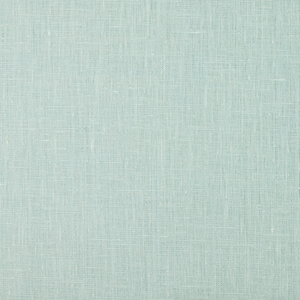
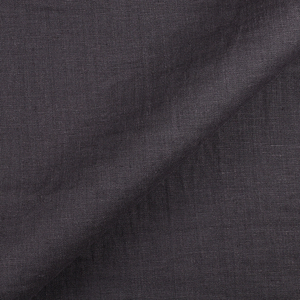
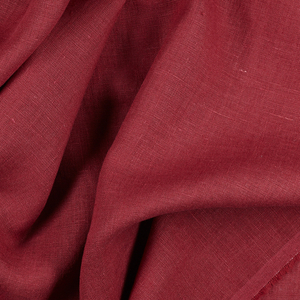
Get inspired by different colours from our’ great selections of linen‘ you could work with.














13 Comments
Michelle
This tutorial makes almost zero sense. Everything was fine until around step 8. I’ve been sewing for over 10 years and I can comprehend how you read back all these steps and thought it would be understandable to a beginner, or almost anyone honestly. I would love if you could try to make this tank top again and take more pictures and describe everything in more detail. I don’t understand how you could possibly make hemming sound complex but you did congrats.
Stef
You are very unpolite. That is a FREE tutorial. You could tell her it privately.
Internet is full of bullies!
Naomi Ellis
I cannot believe the level of rudeness and entitlement that exists from people on the internet receiving FREE advice from creators! If you are not experienced enough to decode the instructions, perhaps you could politely ask for clarification. It’s not that difficult to be kind and grateful.
Susan
I just lengthened this pattern to make a dress for my daughter. It was my first time making bias tape and it makes the peice look so finished compared to the rolled hems I normally use on my tank tops. I will make wider tape next time, though. I had a lot of difficulty with the 3/8 width, but I will make another soon. My daughter loves it. Thank you for all the great tutorials!
Cynthia Fong
Thank you for your comment. We are so glad this has inspired you and you took the opportunity to create something personal. We look forward to seeing your future project. And also we are happy that you daughter enjoys the dress.
Barbara
“8. Then, leaving around 4 inch (10cm) tail at the centre of the back bodice panel, start the pinning and following the instructions on the pattern diagram, gather the bodice seam to the right length”
Gather the bodice seam to what right length?
Cynthia Fong
Thank you for your comment. On the pattern diagram, it should instruct you what the curve should be measured at, and what it is to be gathered into. So for the back panel, its curve would measure a total of 11.5 inches but will need to be gathered into 10 inches. We hope this helped.
Kate
Thank you for a great tutorial!
Very easy to understand, even just by looking at the pictures.
Janet
Your pictures and instructions totally lost me after step 8, and I do not consider myself a beginner, but intermediate level sewer. Try to tweak the instructions with better labeling and more specific. for examples: ” top of the curve” is that at the armhole? If I just run the 14 inches to the front of the garment, how do I know if the straps are the right length? Step 10 leave 3 inches of space where? step 12 makes no sense to me. I hope you redo the instructions for the website.
Cynthia Fong
Thank you for your comment and apologies in regard to the instructions written for this tutorial.
Regarding ‘top of the curve’ this is a term correlating with a previous steps, with photos showing the top of the bust curve, and top of the back curve, showing exactly where to pin the binding to. We are incredibly sorry to make the assumption that by using these terms throughout the tutorial as a way to label the seams, it would be easier to comprehend.
With leaving the length for the strap, this tutorial is based on a US size 6-8 garment, and therefore the strap length correspond with this sizing. Although we will edit the tutorial now to remind the readers to calculate the right length to leave for the strap.
For step 10, it states to leave 3 inches of space before the beginning of the pinning. Perhaps the wording did not make sense, but it meant to leave the 3 inch gap between the end and the beginning of the pinning of the biased binding tape.
And we will re-write step 12 again to make it more comprehensible.
Thank you again for your feedback.
Bonnie Brannon
PLEASE re-write not just step 12, but steps 13-15 also. I was very happy to see this tutorial, but am unable to follow steps 12 through 15. Photos would help VERY much. Thank you 🙂
linda
Thank you. I understand your instructions very well. I have been sewing for many years. You did a great job!!
Cynthia Fong
Thank you for your feedback. We hope you have enjoyed this tutorial.