Simple Linen Summer Dress Tutorial
There are moments when you are feeling inspired by the gorgeous’ weather coming up to summer, alas’ when you look into your wardrobe there’s little there to match that gleeful uplifting feeling. So in this tutorial, we have decided to’ teach you how to make’ a very’ simple and equally as useful linen dress, which you can wear out to a plethora of occasions, from picnics to summer night garden parties. Besides, with all the colours to choose from, you can have one in a different colour for every’ day of the week.
Material
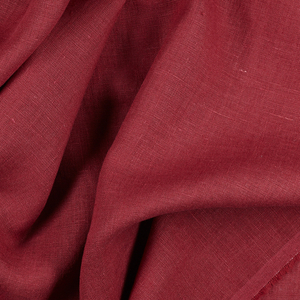
1 yard of IL019 English Rose Softened
Matching sewing thread
Tools
Pattern paper, Pattern master
Paper and fabric scissors
Erasable fabric marker
Measuring tape, Pin
Bias tape maker
Sewing machine, Iron
Time
2-3′ hours
Difficulty
Beginner
Step
Note: Prewash your fabric and tumble dry it until it is still slightly moist, let the fabric dry at room temperature.
1. Iron the fabric so it is easier to work with.
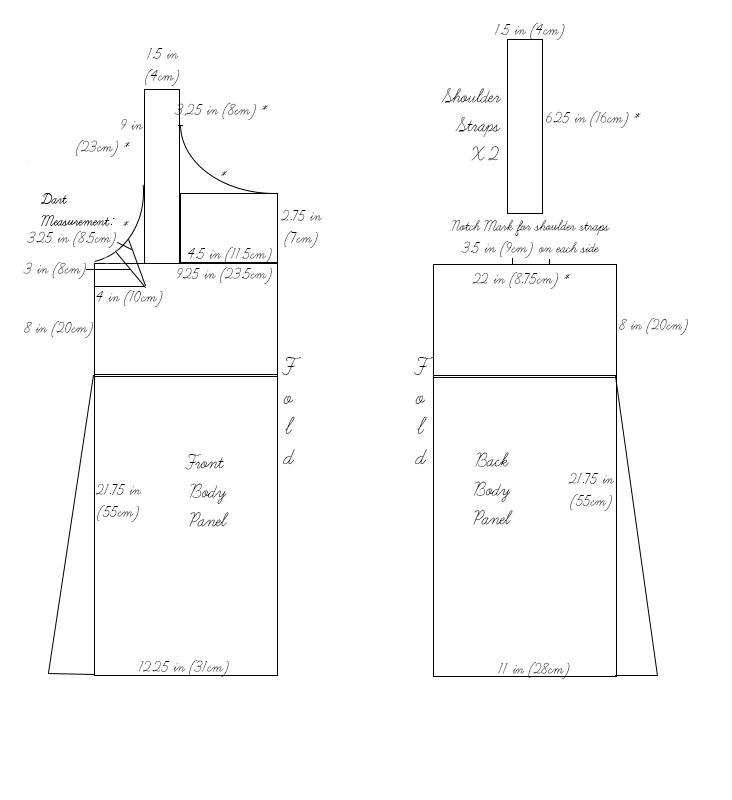
2. Follow the diagram and cut out the pieces. There will also need to be a’ seam allowance of 3/8 inch (1cm) at all seams, apart from the ones marked with *, and they will be 2/8 inch (0.5cm) ‘ and the notch marks.
3. The diagram shows the pattern for a size 4-6 (UK size 8-10). Adjust by adding 1 inch (2.5cm) to each seam for each size up, or take away an inch (2.5cm) for each size downwards.
4. Use a serger, or choose your own method to protect the seams from fraying. Make sure the method you choose does not add weight to the fabric.
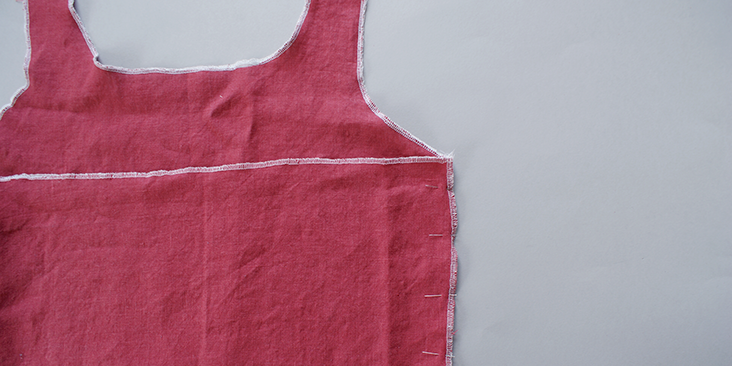
5. Pin the side seams of the front and back panels together. Sew at the given 3/8 inch (1cm) seam allowance. Press the seam open.
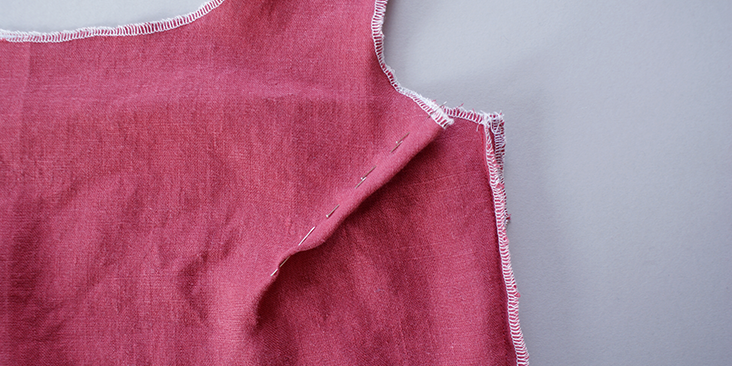
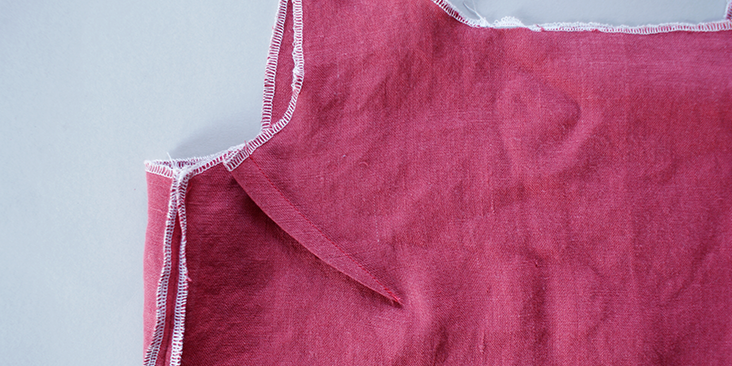
6. Pin together where you have marked the beginning and the end point of the dart on the wrong side of the fabric.
7. Stitch along the pinned line, making sure you end the stitching as close to the end point as possible. This is to reduce excess fabric at the bust point.
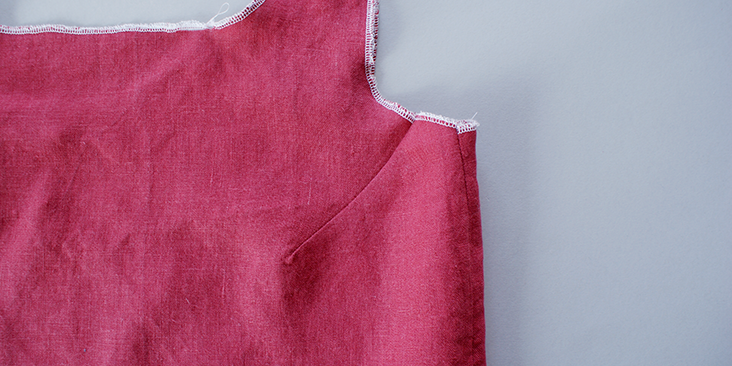
8. Press the darts downwards on the wrong side of the garment.
9. Turn the panel around and check the placement of the darts.
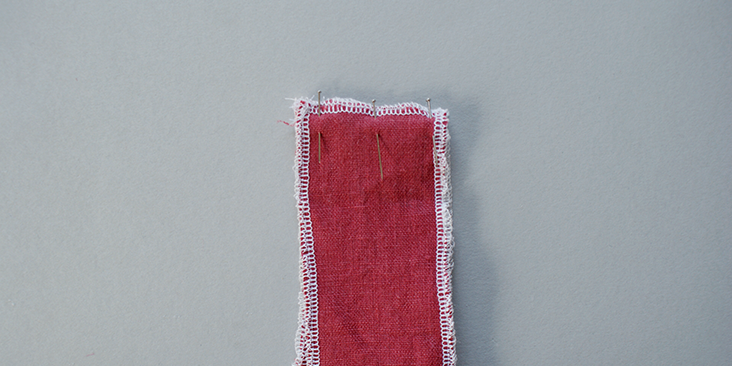
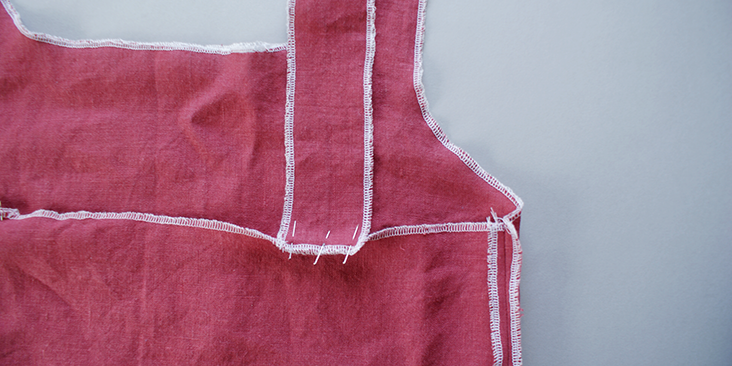
10. Pin the short shoulder strap to the front strap on its wrong side. Stitch along the seam allowance and press open.
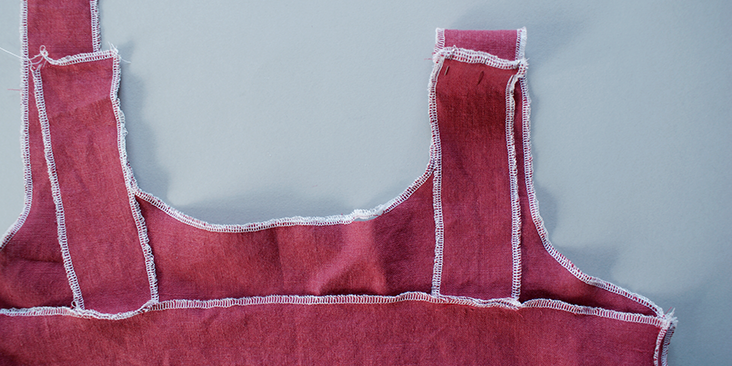
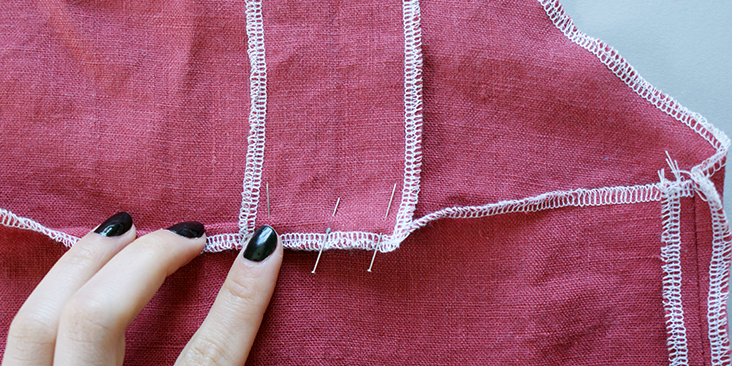
11. Match up the bottom of the short shoulder strap to the notched marks you have created on the back bodice panel.
12. Pin the strap on, and stitch on the wrong side. Lightly press the seam open.
13. Following this tutorial, make 4 yards (3.6m) of bias binding tape with the material you have. You have to cut the tape on the bias as you will be sewing along curved seams.
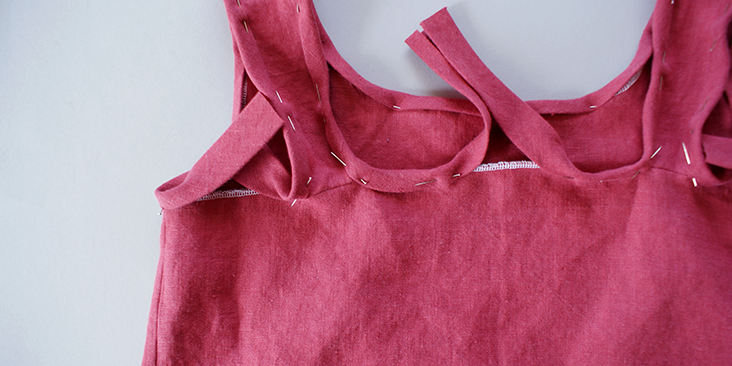
14. Pin the tape along the armholes, and the neckline, leaving about 3 inches (7.5cm) opening between the start and end of tape, with around 4 inches (10cm) of tape unpinned. Try to avoid having the armholes side seam as the centre point of this opening as it will have excess fabric at one point.
15. Sew along the pinned areas.
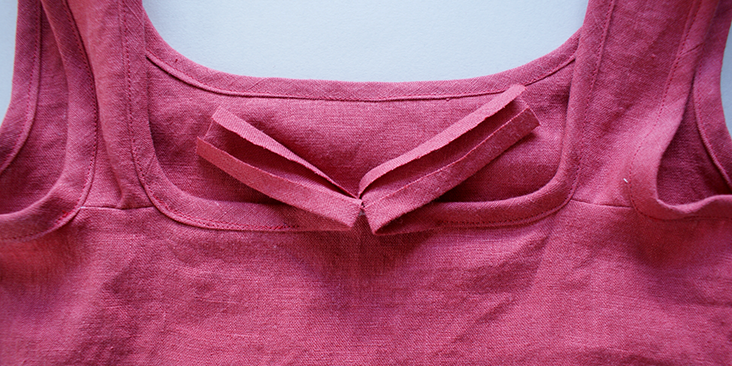
16. At the opening of the tape, bring forward both ends of the tape until they meet and manually press the binding tape onto its wrong side.
17. Make a mark with your fabric marker at the folded point.
18. With the wrong side of the tape facing out, stitch along the folded line. Trim the unsewn part and press the seam open.
19. Pin the newly sewn bias binding tape onto the remaining unsewn area of the garment.
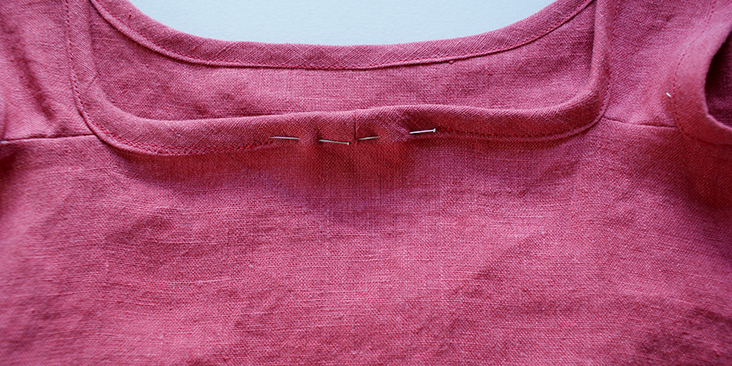
20. Stitch over the pinned area, making sure the beginning and end of the stitching matches up with the previous stitching.
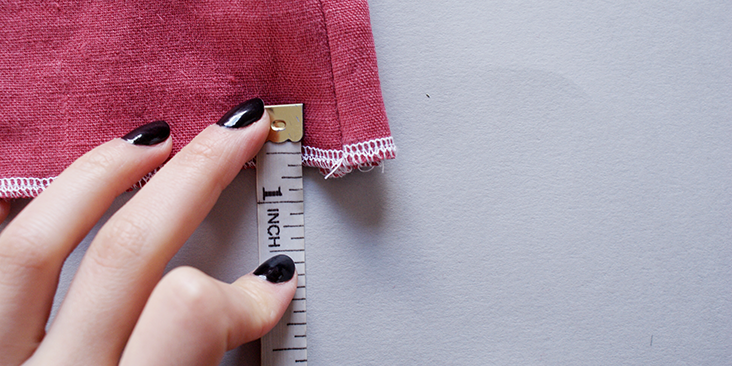
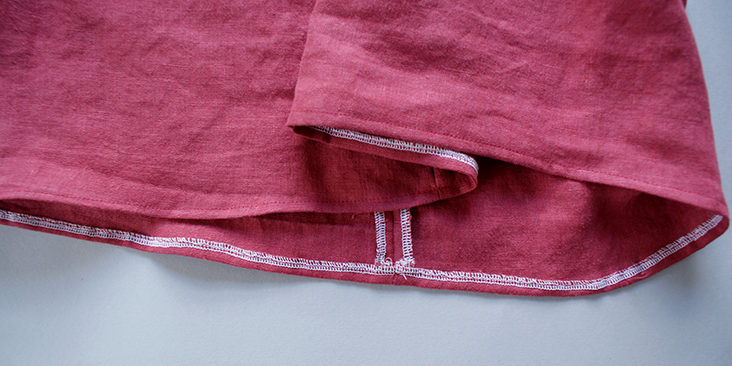
21. For hemming, measure 3/8 inch (1cm) of the bottom seam and fold it up towards its wrong side. Press and pin it.
22. Top stitch along the bottom.
A simple dress to make that will last throughout your wonderful summer days. Why not take a look at the plethora of colour to choose the fabric that will match your wardrobe?












6 Comments
Linda Chartier
is there a patten available for this dress?
Diane
Great info. I would like to design comfortable, stylish uniforms for nurses— where do I start??
Cynthia Fong
Thank you for your comment. One of the best way to start is to decide what will be done whilst the uniform is being worn. This normally can help determine the kind of collars, sleeves and also length of garment. Let us know how you get on!
Shirley Lea
Same here..need some coverage on the arms too! A little bit of sleeve
Rhonda
Celia, You can add a shrug over it to make it more modest.
celia
This dress looks adorable and fun! I would love to see a tutorial for something easy like this but a bit more modest for us older gals. Thank you for all you do!