Linen Swag Tote Tutorial


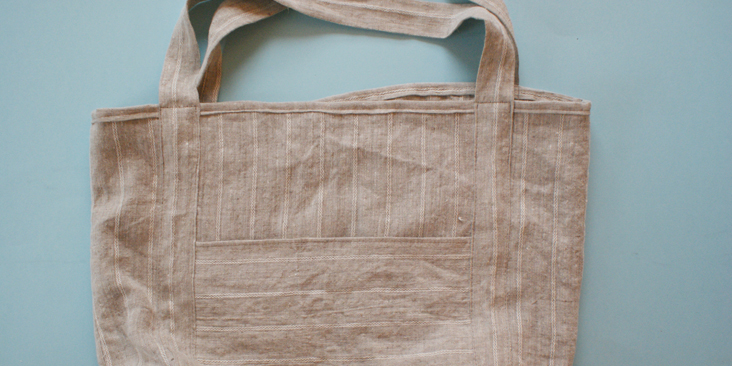
 Making your own tote bag is one of the easiest, and most fun projects to do. With a plethora’ of colours and patterns, you can whip’ something stylish and personal in no time. Check out our fresh take on a tote bag made from our mid weight stripy Linen Yarn Dye. And the best part about a tote bag is its positive effect on our environment. Forget plastic, go for linen swag.
Materials
2 yards of IL042 889 FS Premier Finish
Colour matching sewing thread
Tools
Pattern maker, Tape measure, Erasable fabric marker/Chalk, Pin, Binding tape maker
Sewing machine
Iron
Step
Note: Prewash your fabric and tumble dry it until it is still slightly moist, let this dry in room temperature.
1. Iron the fabric so it is easier to work with
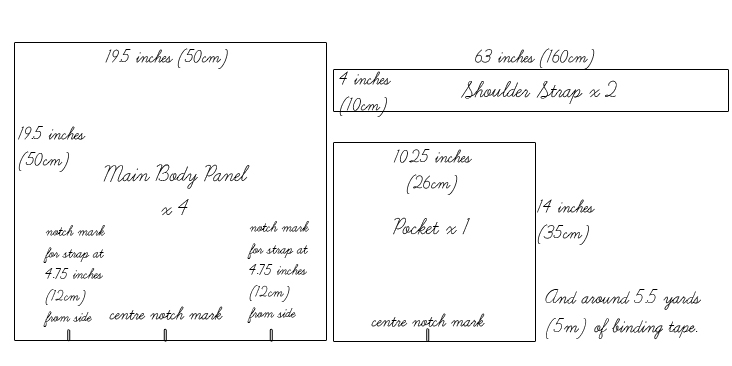
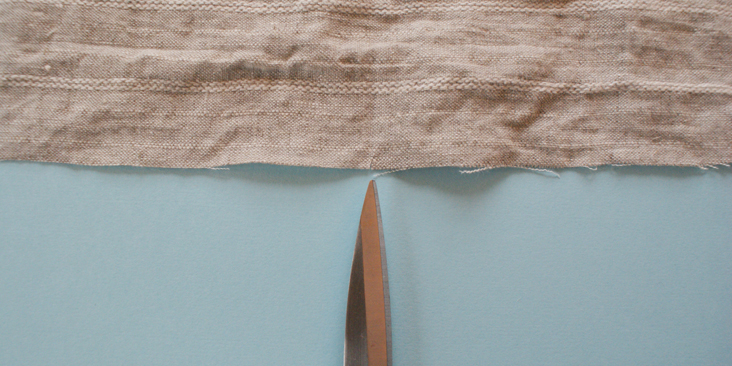
2. Follow the diagram and add on 3/8 inch (1cm) seam allowance on all seams. Then cut out the pieces, create notched marks accordingly.
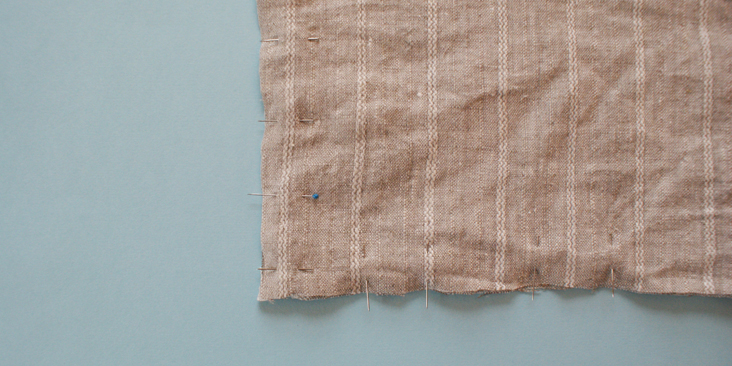
3. Pin together 2 pieces of the main body parts around the seam, at half of the given seam allowance, 1/8 inch (0.5cm). Sew around all four sides for the front and the back pieces.
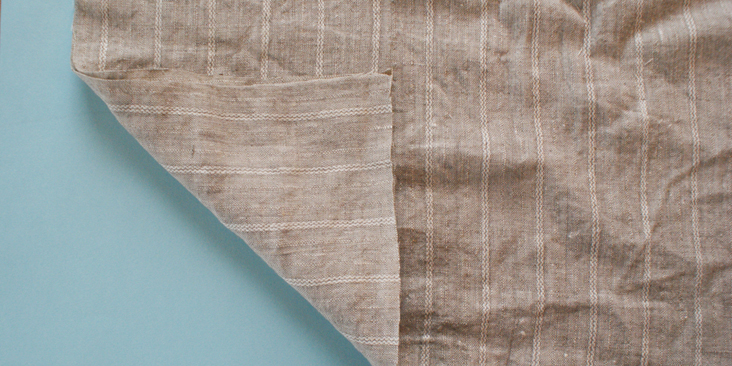
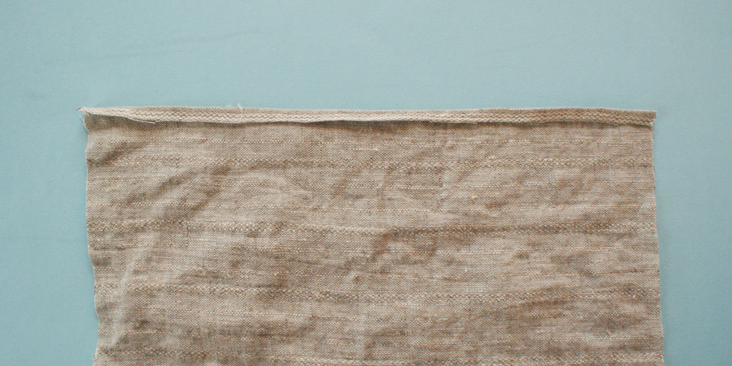
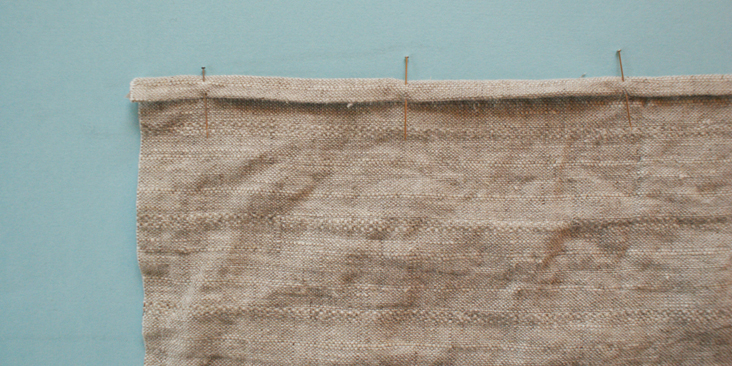
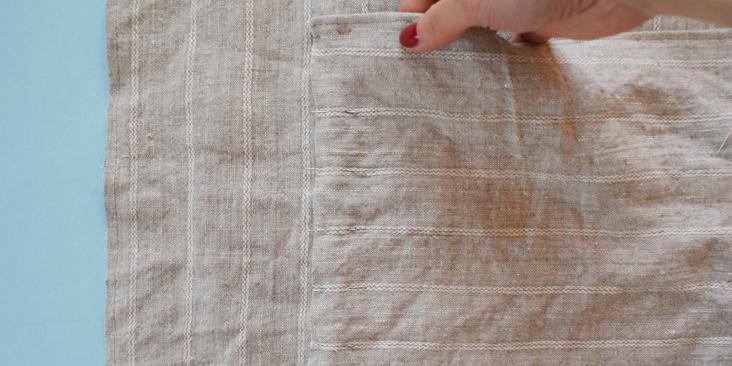
4. With the pocket panel, fold 1/8 inch (0.5cm) of top edge towards its wrong side. Give the material a press. Then fold another 1/8 inch towards its wrong side again.
5. Top stitch over the folded edge, then press it.
6. Match the centre notch on the bottom seams, of the pocket panel and the front bag panel.
7. Pin and stitch over the two layers around the 1/8 inch (0.5cm) seam allowance of the pocket panel, apart from the top folded edge.
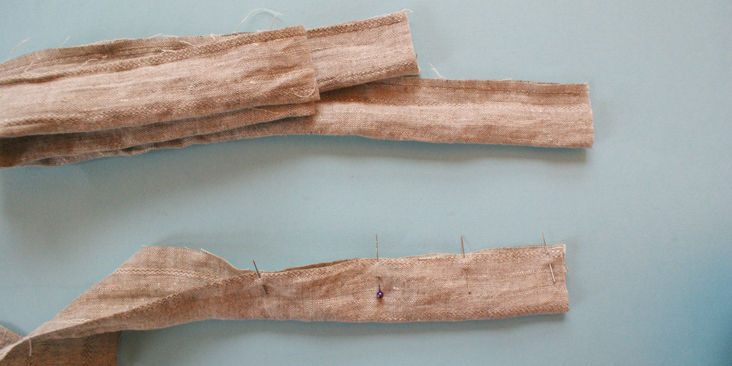
8. With the wrong side facing you, pin along the long edges of the shoulder straps. Stitch it together.
9.Press the seam, making sure it lays in the middle of the straps.
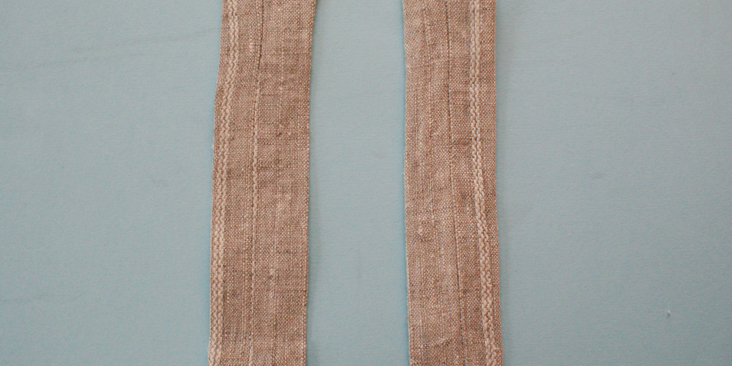
10.’ Reverse the straps by pulling the fabric through itself. Press the strap again.
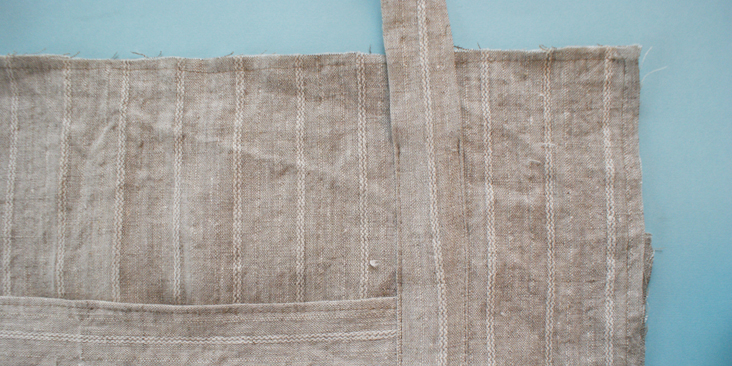
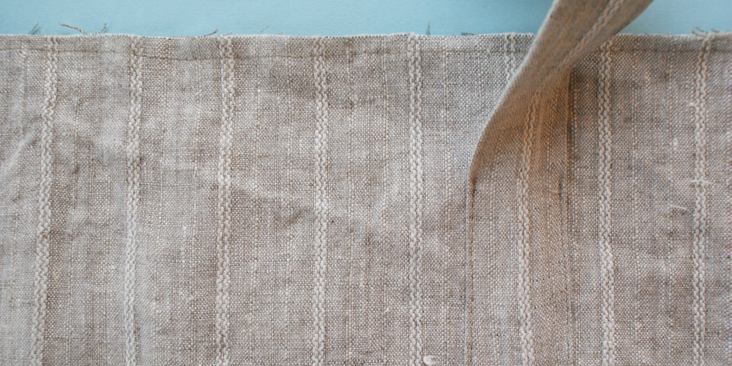
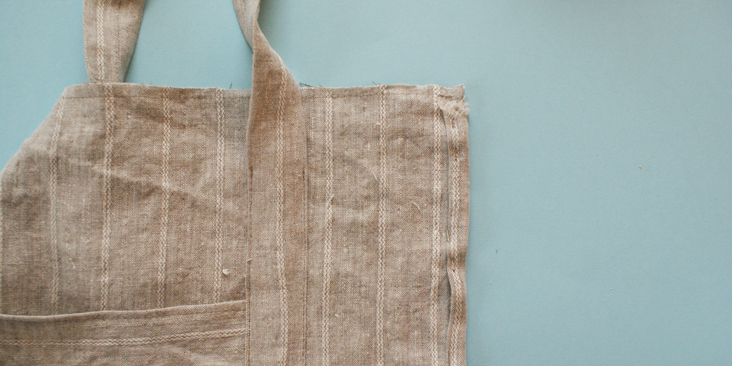
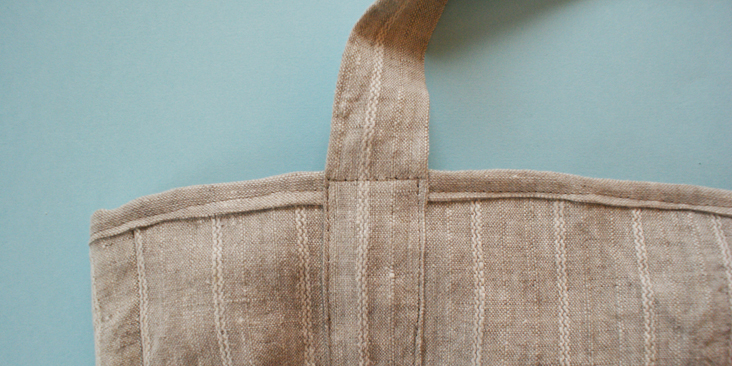
11. With the shoulder straps seam facing inwards, lay it over the body panels. Make sure you match the seams of the straps with the notch on the bottom seam of the panel. Then pin it in place.
12. For the front panel, with the seam facing inwards again, make sure you match the notch and that it covers the stitch where the pocket panel is sewn onto the main panel.
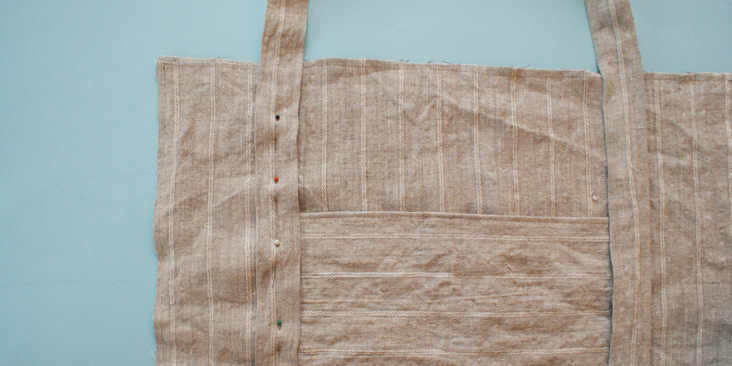
13. Now, stitch along both edges of the shoulder strap onto the body panels.
14. Leave around 2 inches (5cm) towards the top of the bag panel. This is to allow for hemming at the end.
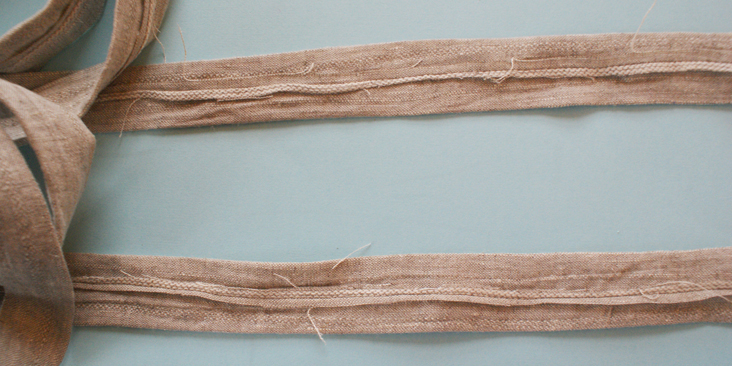
15. Now, join and stitch the binding tape together. The tape doesn’t not need to be cut on the bias because they will be sewn across straight seams.
16. Follow this tutorial, to press the binding tape, ready to be used.
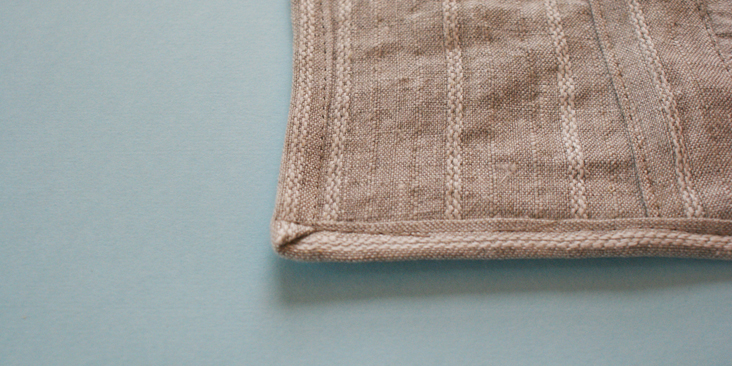
17. Following this seam tutorial, sew the binding tape around all the seams of the body parts, apart from the top seam.
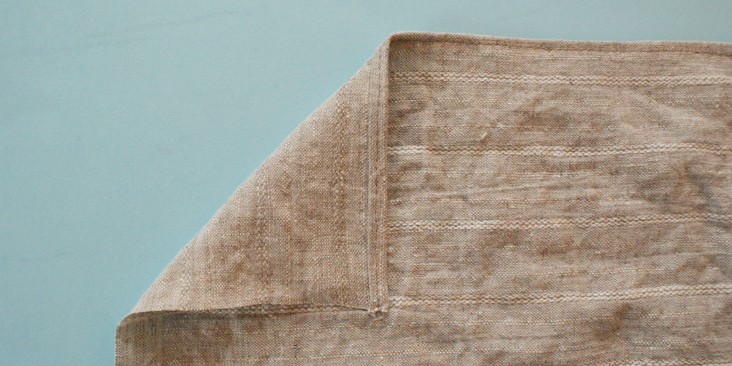
18. Pin together the front and back panels, at 3/8 inch (1cm) seam allowance. Making sure the straps, and notches are all matched up, stitch along it and press the seams open.
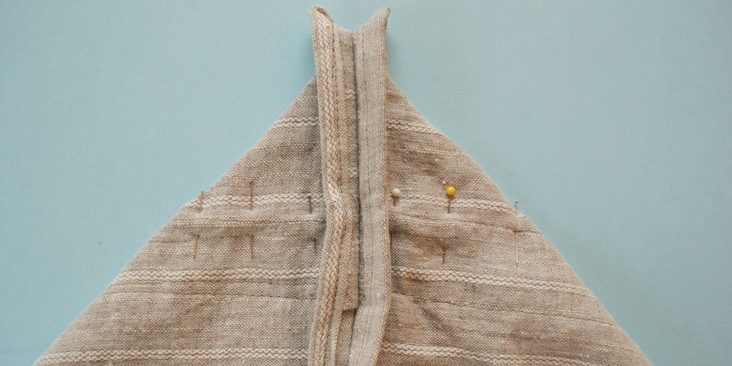
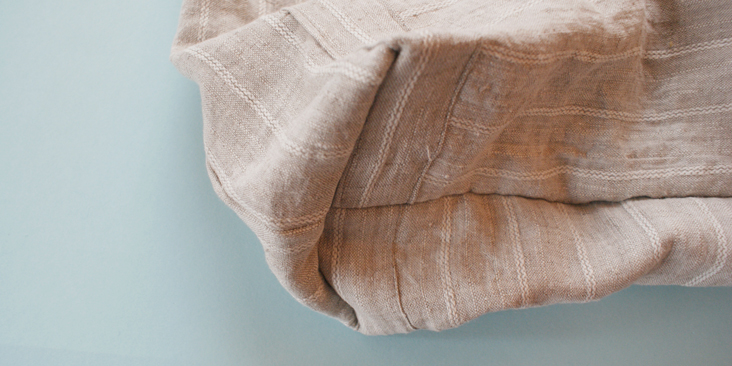
19. Reverse the bag and at the bottom corner, open it up so when you fold it into a triangle, the bottom and side seams match. Pin the bottom of a triangle 1/8 inch (0.5cm) from the strap on the main body panel.
20. After stitching along the pinned line, reverse the bag to check it is ok on the other side. The stitching should just be right next to the strap.
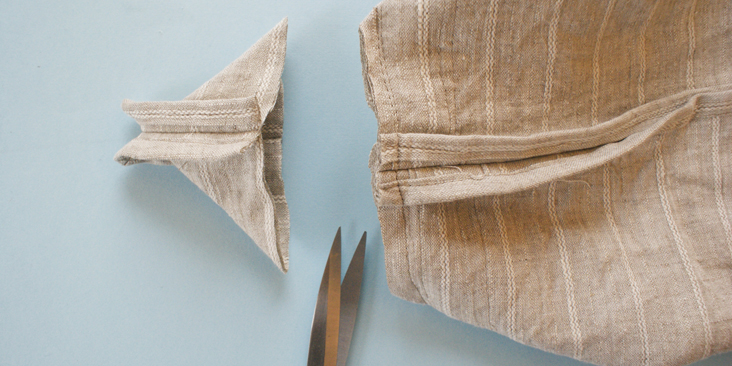
21. Cut the triangle from inside to reduce excess fabric.
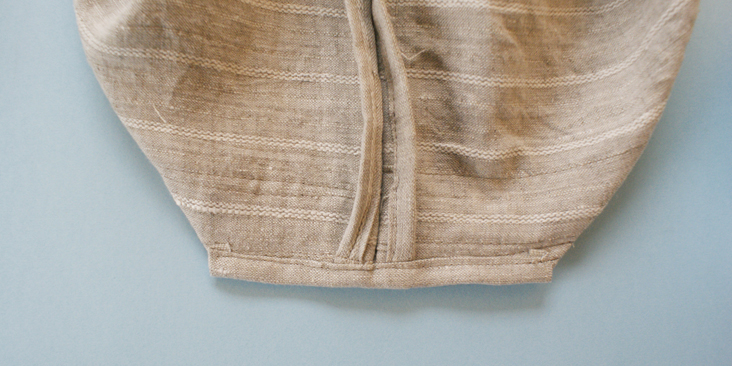
22. Use the binding tape to bind off the newly cut seams.
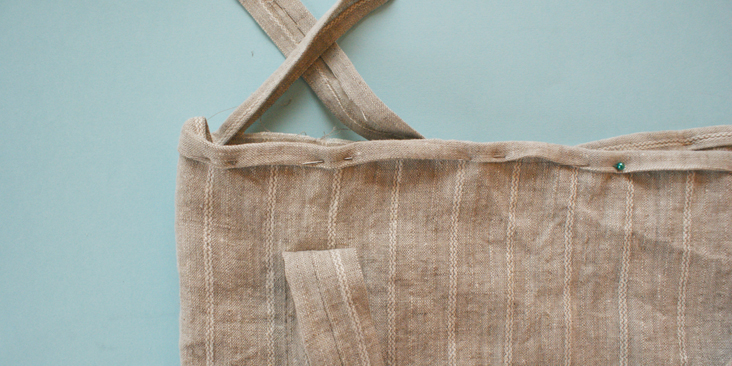
23. Reverse the bag onto its right side. Pin the binding tape along the top edge of the tote bag.
24. Leave 4 inches (10 cm) of the tape as a tail at the start. Stop pinning leaving a’ 3 inch (7.5 cm) gap from where you started pinning. Leave another 4 inches (10 cm) of tail unpinned.
25. Top stitch along the binding and stop once you reach the unpinned gap.
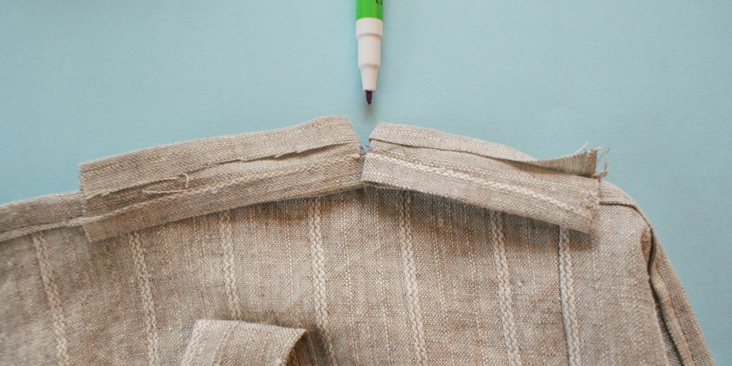
26.’ Manually, press the bias tape along the remaining unsewn gap until both ends meet. Finger press the bias tape outwards so the wrong side of the tape is now facing up.’ Mark where the tails meet, unfold’ the side seams’ and’ pin both ends together with the right sides inwards.
27.’ Stitch on top of the marked line, cut the remaining fabric, leaving a 3/8 inch (1 cm) seam allowance. Press open the seam.
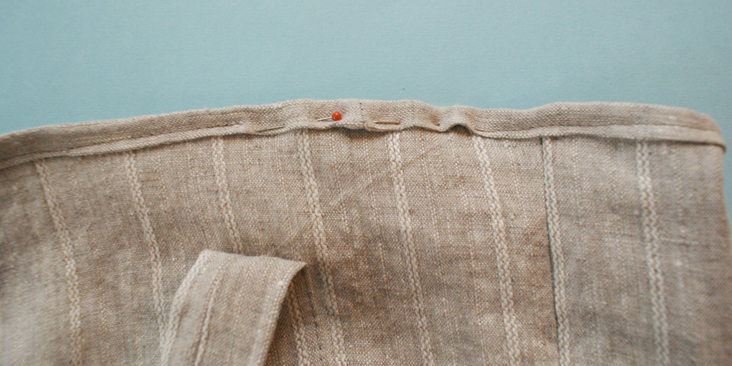
28.’ Refold the bias tape into its original position with the wrong side facing inwards. Pin the tape securely over the remaining unsewn 3 inches (7.5 cm) gap. Top stitch over.
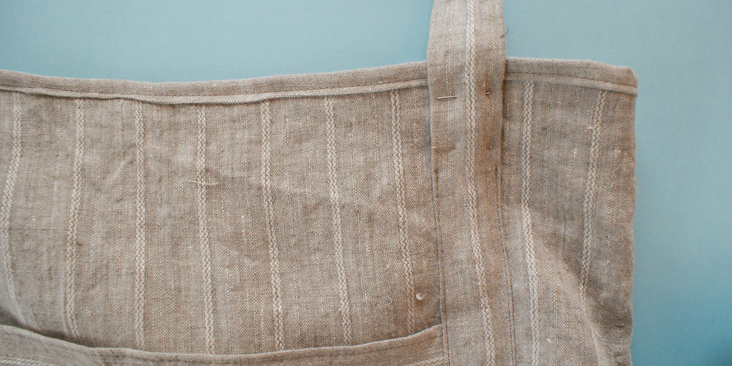
29. Pin the remaining unsewn part of the shoulder strap down.
30. Stitch across the strap, making sure the stitch lines line up with the previous stitch marks.
This fabric is great for creating the tote bag, because you can play around with the pattern, but why not take a look at all our other choices of fabric and create your very own tote bag?








6 Comments
Nadine
Perfect for summer to use for beach or farmers market. Easy directions to follow. I think it’s up to the individual to line it or not. Lovely !
Cynthia Fong
Thank you for your comment. We hope you enjoy this project and please send us photos of the outcome!
Carole Maynard
Where can I buy that linen material?
Masha Karpushina
Hello Carole, please follow link to get the Ivory Yarn Dye http://www.fabrics-store.com/first.php?goto=big_fabric&menu=&fabric_id=1355
K Kittrick
I think I missed something. The pattern shows cut 4 body pieces (x4), but the directions do not mention anything but single layer. I was assuming a lining, but nothing in the directions.
Cynthia Fong
Thank you for your comment. At step 3, it says sew together two pieces of the main body panels together, for both front and back. We did not use the term lining as the material we are using is the same and its purpose was doubling up the material to create a stronger fabric for the tote bag. We hope this helps.