6 Ways to Finish your Seams
In this tutorial, there will be instructions for various types of finishing you could apply to your sewing, to ensure your fabric doesn’t fray any further and you can keep your results for much longer period of time. All the samples are stitched with contrasting colour thread, for your actual project, we suggest matching the thread colour.
Difficulty
Various
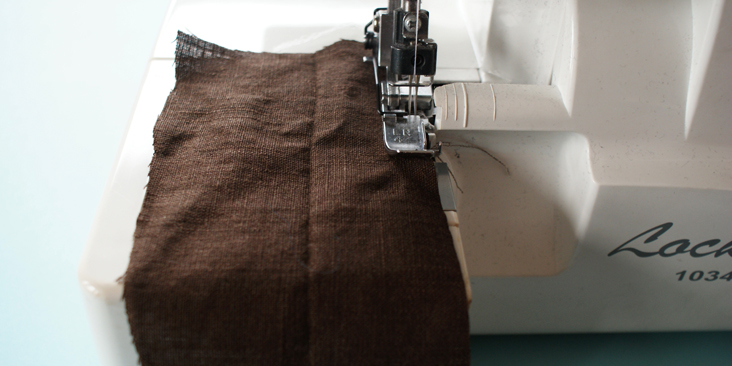
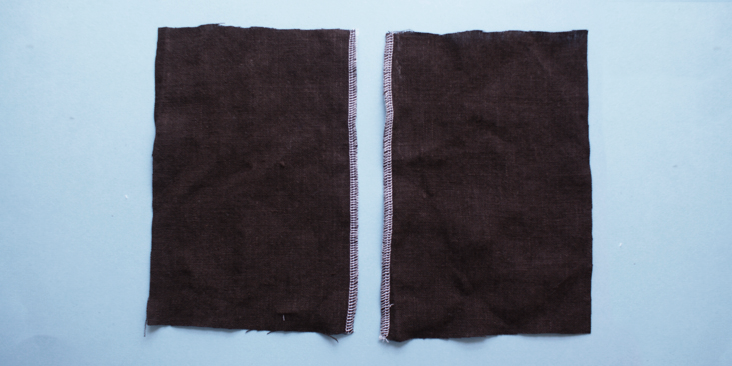
Overlock (Serger)
– suitable for all seams
1. After cutting the fabric, place each piece in the overlock.
2. You can either keep the cutting fabric function, or take it off, depending how confident you are.
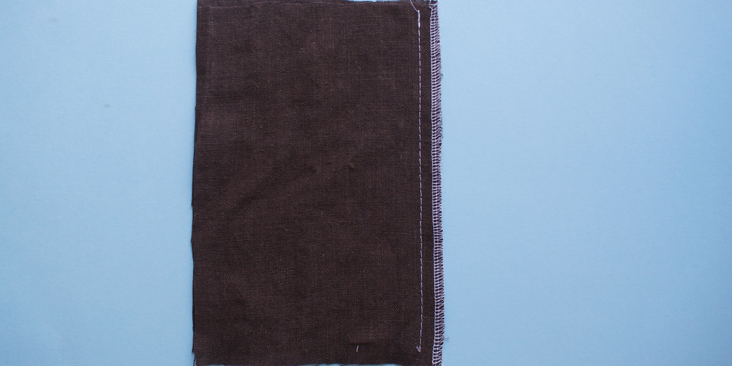
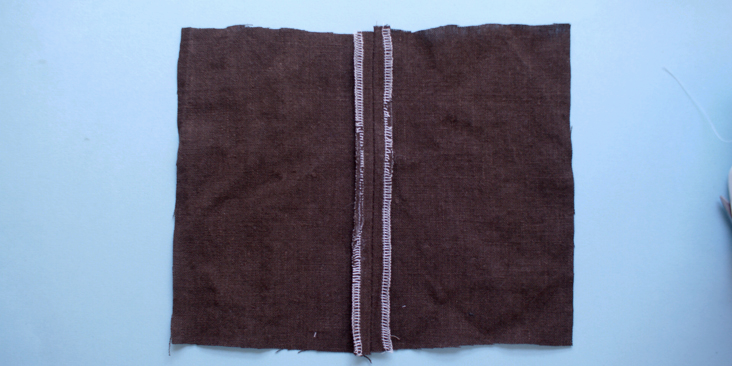
3. Sew the pieces together at the given seam allowance.
4. Press the seam open.
Zig-Zag stitch
– suitable for all seams
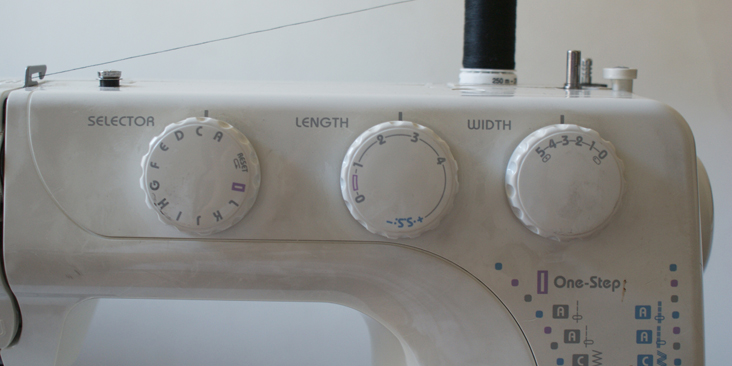
1. After cutting the fabric, choose the zig zag function on your machine.
2. Make sure the stitch length is not too long, set it around 2-3 (medium length). This is to ensure you don’t bulk up the fabric during the process.
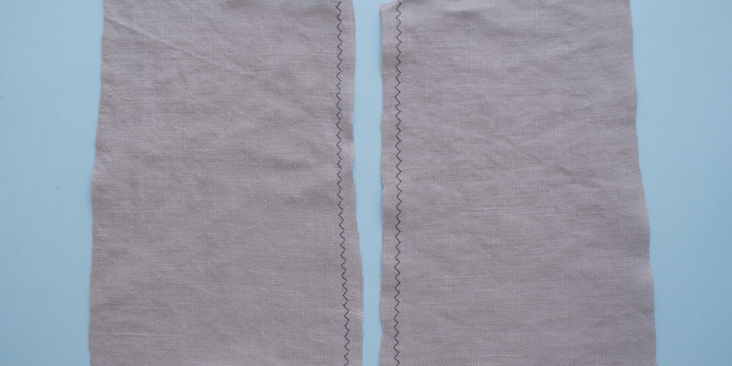
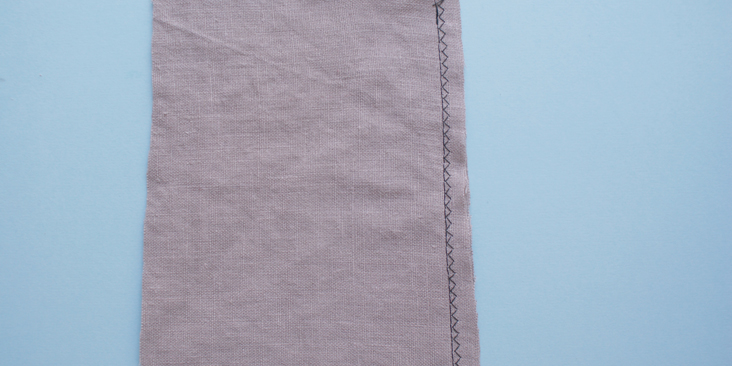
3. Use the zig zag stitch around all the seams.
4. Sew the pieces together at the given seam allowance.
5. Press the seam open.
Double fold
– suitable mostly for edges and finishing
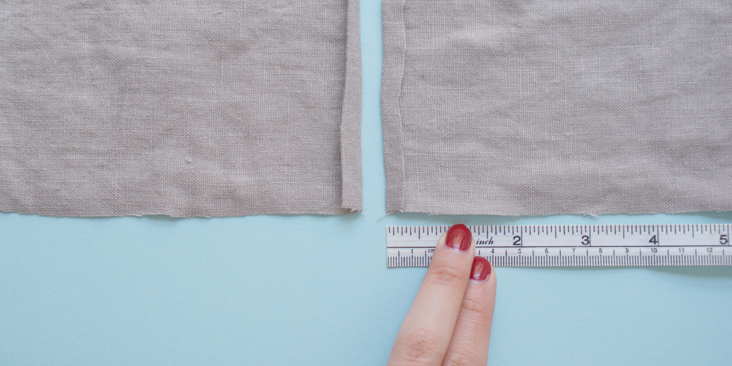
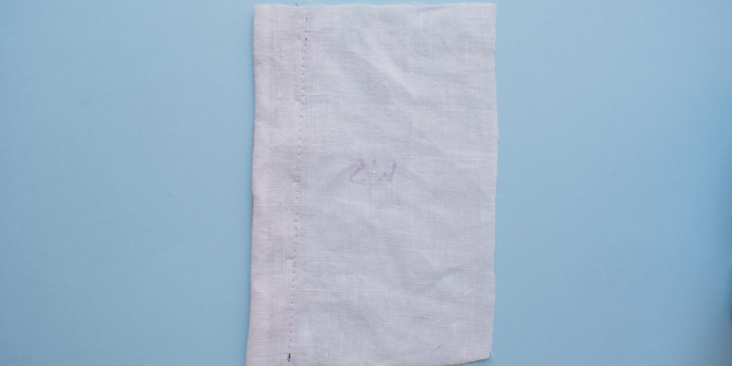
1. Usually, you can use the given seam allowance for this method, however, you can add in a further 1/4 inch (0.5 cm) at all the seams. This is to give yourself more fabric room to work with.
2. Fold and press 1/4 inch (0.5 cm) of the edges towards the wrong side of the fabric along all seams.
3. Fold and press another 1/4 inch (0.5cm) of the pressed edge towards the wrong side of the fabric again.
4. Pin along the edges.
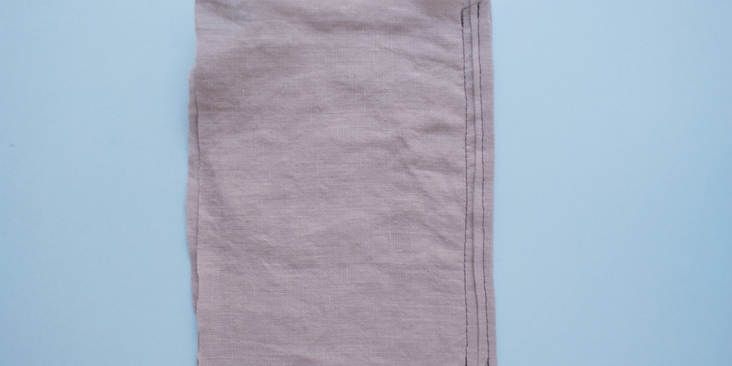
5. Stitch as close to the inner folded edge possible. This is to ensure your stitch has secure both folds.
6. Give the fabric a press.
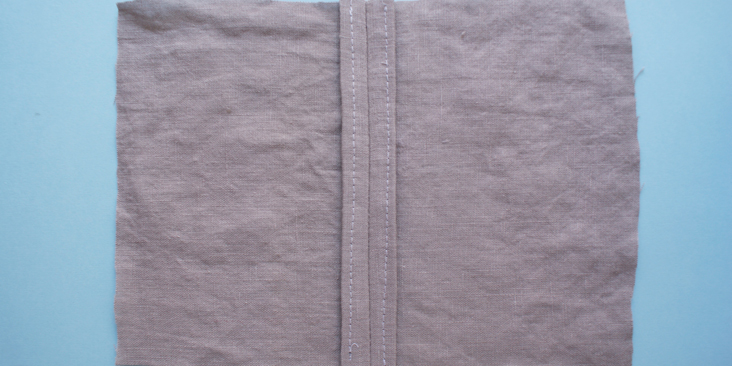
7. Sew the pieces together at the given seam allowance. If you have given yourself an extra 1/4 inch (0.5 cm) to work with, there will be room between your seam allowance and the double fold.
8. Press the seam open.
Bias binding 1
– suitable for structured inner seams, also for collar and sleeves
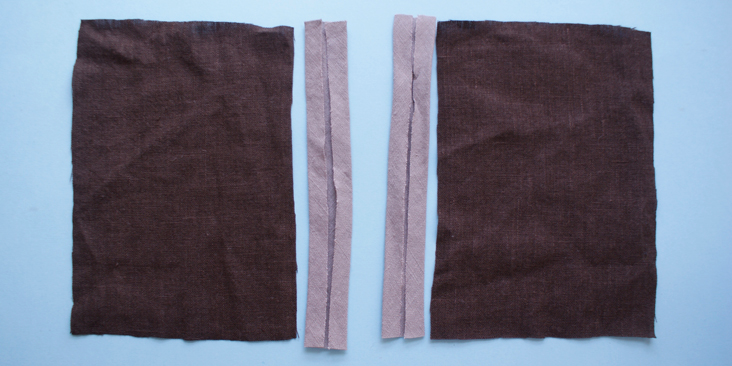
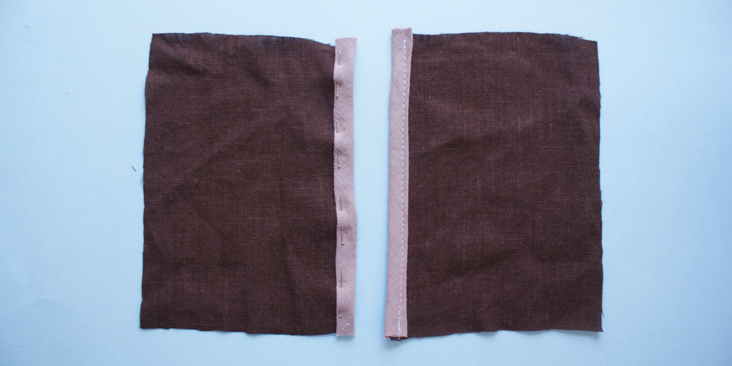
1. Using the bias binding tape, keeping it folded, pin it along all the seams.
2. Stitch on the machine, making sure both side of the tape is sewn through.
3. Sew the seams together.
4. Press it open.
‘ Bias binding 2
– suitable for finishing on clothing edges, i.e. collar, sleeves and bottom seams.
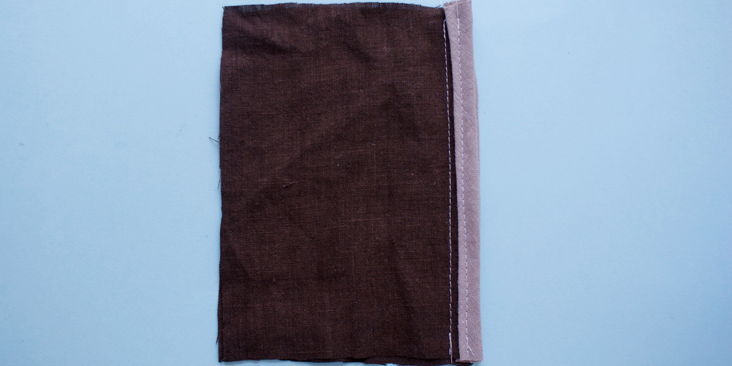
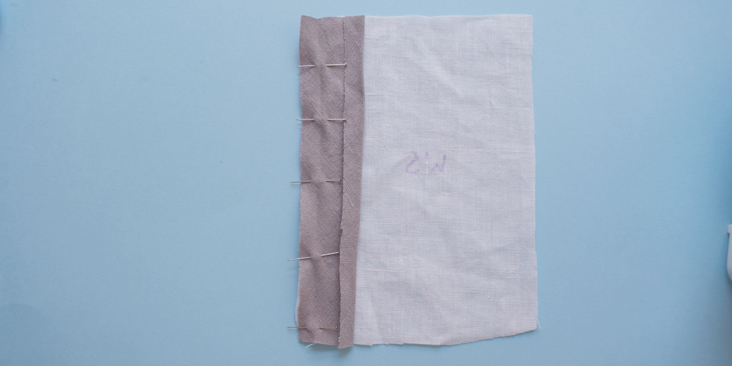
1. Open the bias binding, and with the right side of both fabrics facing each other, pin the seams together. The folds of the tape should match the seam allowance of the fabric.
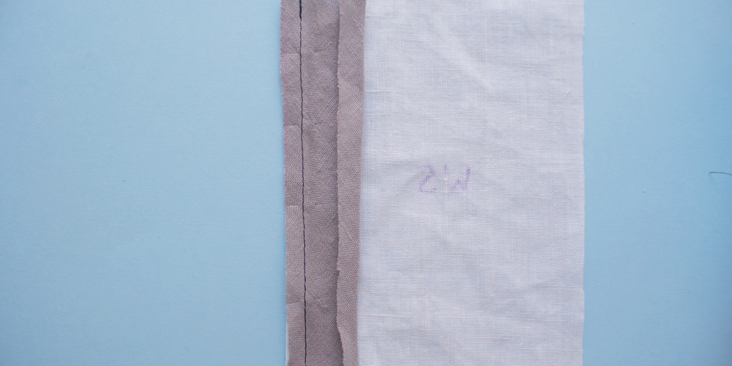
2. Sew along the folded line of the bias binding.
3. Press open the seam.
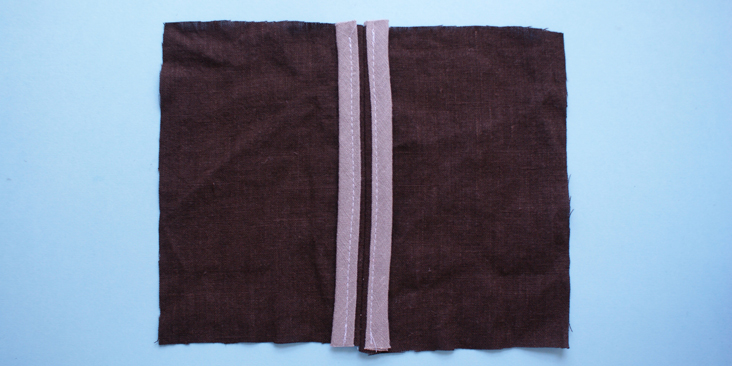
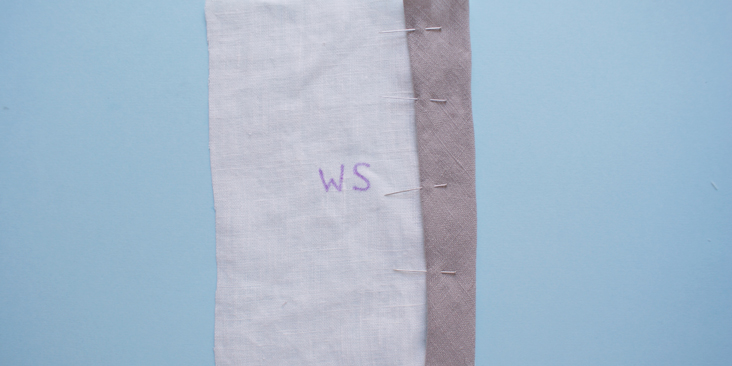
4. Fold the bias binding tape over, so now the wrong sides of both fabrics are facing each other.
5. Keep the bias tape folded, pin along its edge.
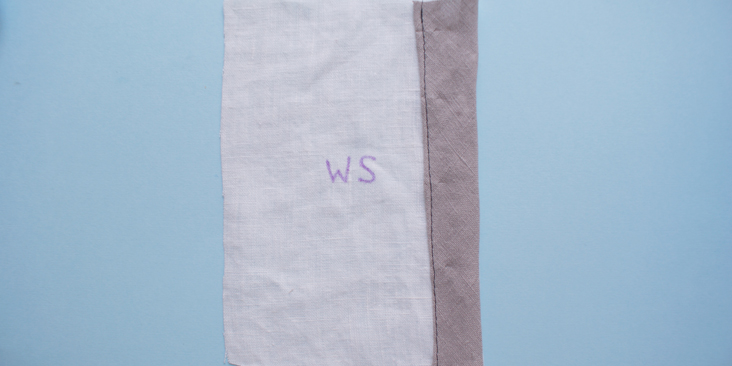
6. Top stitch along the edge of the tape.
7. Press the fabric flat.
French seam
– suitable for all seams
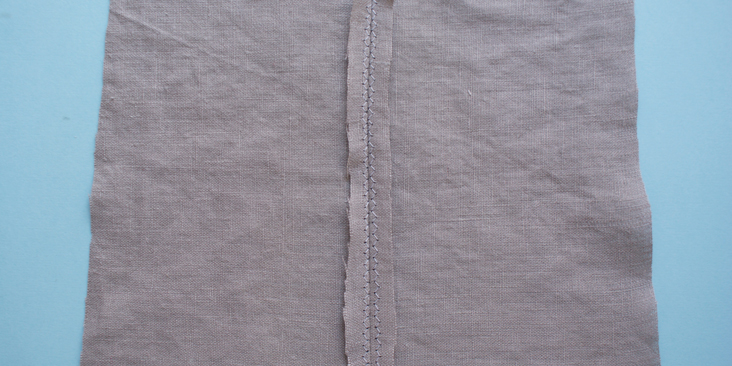
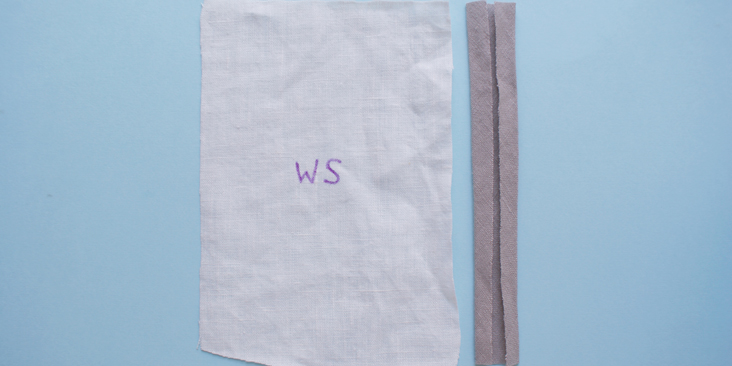
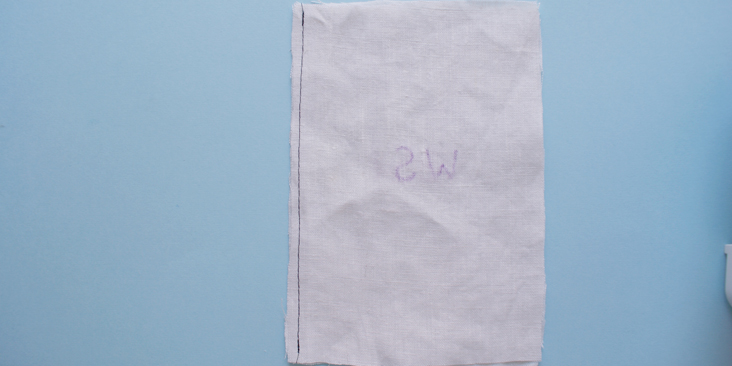
1. In order to work with this method, you must add an extra 1/4 inch (0.5cm) to all seam allowance.
2. With the right sides of the fabrics facing outward, pin at the extra 1/4 inch (0.5 cm) seam allowance.
3. Sew along and press open the seam.
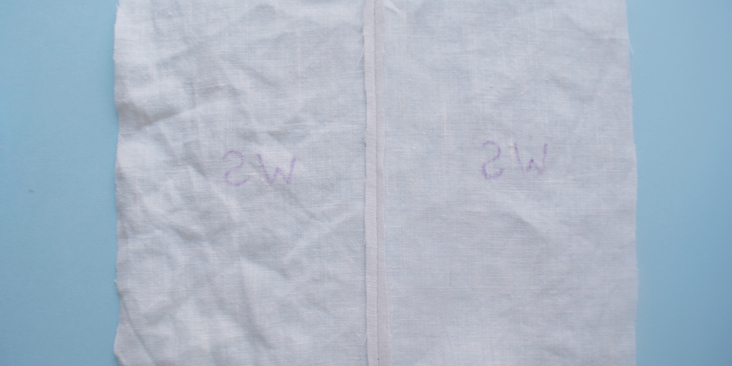
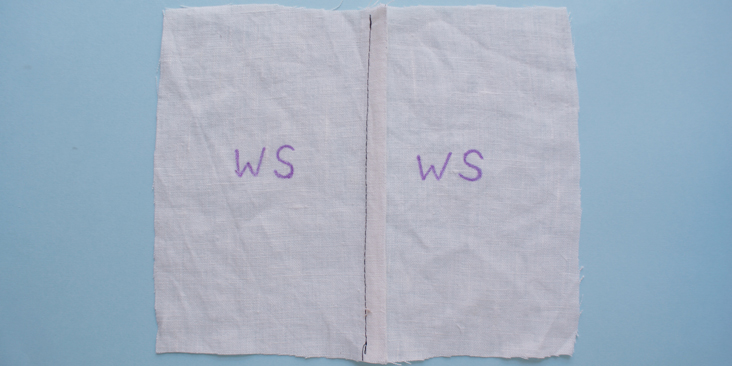
4. Now turn the fabric over with the wrong side facing you.
5. Pin at the original seam allowance mark.
6. Sew along the seam allowance and give the edge a press, this will take away any bulge from the sewing.
And there are some ways to help you prolong the life of all your lovely projects!









37 Comments
Karen Alexander
A little surprised that you didn’t suggest the easiest method of all. A singe step – Serge the seams together. They can be topstitched to one side from the outside if designed. 4 or 5 thread will do. I don’t find even heavy linen seams to be to bulky when serly by a decent machine. The seams are every bit as sturdy as sewing machine sewn seams. When I added a serger to my sewing tool kit about 10 years ago it changed my sewing life for ever! So much time saved, with a much more professional look to everything. Just get one, preferably from some place that will teach you how to use it! it doesn’t replace a sewing machine, but it certainly improves many aspects of sewing from time spent, to the look of the work.
Textilekid
I think there is another seam treatment that works well with linen particularly and it is the felled seam. It is very neat ,strong and encloses the seam allowence completely. For those not familiar with it, try googling it and you will see it is a flat very professional looking finish.
Ramona Evers
I forgot to tell you, I don’t have a serger.
Ramona Evers
I am helping my 11 year old granddaughter learn to sew. This is her forth year of sewing in 4-H. She is making a jumper. The knit fabric she chose is light and can see through. She got a knit fabric to line it with. She is treating the two fabrics as one. She basted the two fabrics together for each piece. How would you suggest she finish the seam edges?
Cynthia Fong
Thank you for your comment. I would suggest the zig zag stitch, as the fabric you have will be a little too thick for other types of treatment. Hope this helps.
Nancy
If you have Serger use! If your tension is adjusted properly for the weight of the fabric, I don’t see how you could get a better seam!! It’s finished and it’s strong. There is now need to sew a straight stitch and then serg; except in special situations. And for me, I find the zig zag stitch for finishing seams deplorable. I hate it. It’s ugly. And it really does not prevent fraying. A straight stitch along a seam edge works just as well. If I didn’t have my serger I would use a three step stitch such as zig zag or a blind hem stitch to finish seams. And some of you are pretty hard on the author/s. Everyone has different ways of doing things and we all can learn from each other, but do it nicely. I don’t care how long you’ve been a master seamstress. There are newbies here looking for help and ideas. And it’s the art of sewing we want to keep alive.
Helene Chutjian
I must say, the lady is right. These are seams, not hems. Hems are usually at the bottom of garments. Thanks for the tips. I have sewn many garments during my years of sewing and have used three methods I prefer to edge my seams, overcasting, french seams and bias tape binding.
Cynthia Fong
Thank you for your comment. We apologise for the wrong use of terminology and we have corrected it accordingly.
TerriSue
I would just reiterate what both Dianne and Kathleen said. I would also add that most seam allowances are 1/2 inch so there is no reason to add any more in the French Seam. This is my usual seam preference. If you are using one of the big name patterns you have to cut off 1/8 inch as their seam allowances are 5/8 inch. If I finish a seam with a zig zag stitch I always do the stitch on the edge to encompass the threads there to keep them from fraying. My 9th grade Home Ec teacher had me do it your way 45 years ago when my mother had had me doing it the much more reasonable way for years. The whole time I was zig zagging I was thinking to myself that what I was doing was for naught. As I look at your tutorial I am thinking that you were taught by someone who was taught by someone who was taught by my Home Ec teacher who needed some common sense.
Cynthia Fong
Thank you for your comment and feedback.
J.A.B.
Surely the zig-zag method illustrated was originally intended to prevent a loosely-woven fabric from slipping at the stitching line. Someone passing the instructions along showed how, but forgot to mention when and why.
Wendell Cochran
I’m a retired costumier and as such I’ve had to learn to deal with almost every known problem fabric ever made since World War II. I found that the zig zag stitch in the seam allowance, although perfectly acceptable to use on medium to light-weight calicos and shirting, it isn’t the best application to preventing fraying edges on heaver weight woven cottons and cotton blend tabby-woven fabrics such as linen weaves, sports denims, novelty damask and piques. My experience is that the “blind hem stitch” is probably the wiser choice. It can be run very close to the raw edge of the seam allowance which allows the blip, or zig stitch made to the right of the needle, to over cast the raw cut edge. Adjustments are made, depending on the attributes of the fabrics that tend to fray more or less, by shortening the length of the stitches that are made within the seam allowance, and by widening the width, or bite, of the “blip” or zig stitch…providing your automatic zig zag machine band allows adjustments. Regarding bias bindings, they are excellent for use for finishing seams of unlined or partially lined garments, such as sports jackets, party dresses made of metallic brocade, boucle, and sequined taffetas and machine embroidered novelty goods. The choice of binding should be made of firmly woven, light weight goods, such as rayon or silk taffeta. Try to avoid polyester and nylon “china silk” type fabrics because when cut on the bias they will slip, stretch, curl and bunch up under the needle in the most uncooperative ways. A good practice is to always shrink and dry the bias making fabrics, then lightly spray starch and iron it before you begin to cut the bias strips. Spray starch adds sizing to the goods and stabilizes the fibers evenly in both directions of the grain. It also gives crisp edges to the turnings and under folds as you press and steam the seams flat and/or open. Bias finishes are a must on garments that are closely fitted to the body, such as formal sheath dresses and form fitted bodices. Make it a rule to bias bind the seam allowances of center back zipper openings, even if you intend to fully line the garment. It will reinforce the fashion fabric and give extra body to the seam allowance the makes up the placket and overlap.
Jeanne
Thank-you Wendell, I completely agree with you on all of your points. I was dismayed to see that this article teaches the reader to use the zig-zag stitch so far from the raw edge. I like the inside of my garment to look almost as neat on the inside as it does on the outside. Leaving a raw edge allows for lots of loose threads. I also agree with Diane, this article has nothing to do with hemming, very misleading information. It could confuse a beginner.
Beth H,.
Wendell Cochran, that is excellent information too. Thank you! With your experience, sounds like you should have a blog of your own.
Cynthia Fong
Thank you very much for your very informative comment and feedback. We will take on board everything you have mentioned.
Lydia
Great information. I use the French seams the most. It does bring up a question. Is it a good idea to zigzag a regular hem on a blouse or dress before doing the hem on linen? Or would that be largely unnecessary? I have recently started sewing with linen.
Cynthia Fong
Thank you for your comment. In regards to using a zigzag method on regular hem, it will be useful because it can prevent the fabric from fraying and actually affecting the stitched seams.
Dianne
I am a very experienced sewer/costume designer, and I was intrigued to see any new and interesting hemming techniques, as posted. However this is NOT about hemming, this is about SEAM FINISHING. there is a big difference. Some instructions were a bit confusing, but , except for the surger, I am familiar with most. I don’t use a surger any more. Note: the previous commenter is very right about the bulky ones, and the zig-zag one is done ineffectively. It would stabilize the seam sewing, but do nothing about fraying. There was no mention of other methods, such as (without mentioning the Brand name) the liquid that stops fraying, and some very neat (and decorative) hand-finishing techniques known to most period costumers.
Cynthia Fong
Thank you for your comment. We are very sorry about the mistake and we have corrected it accordingly. And also thank you for your suggestions and feedback on other ways of finishing seams.
Carla Fiedler
For the seam finishes using bias strips, instead of using self fabric, use a lightweight fabric such as silk or cotton organza. Be sure to actually cut it on the bias.
Cynthia Fong
Thank you very much for your feedback and suggestion.
Lydia
Thank you. I will be zigzagging on new bottom hems on future projects.
Beth
I agree with Kathleen about the ‘hem’ tutorial. I, too, was puzzled about hem finishes until it got to Bias binding 2. But I did find the french seam information interesting as I have tried it using the seam allowance on the pattern and it has worked, too. Thanks for all the other tutorials. And love your fabric!!
Cynthia Fong
Thank you for your comment. Apologies on the incorrect use of terminology, we have corrected it accordingly now.
Janny
Thank you, Kathleen. I was going to make the same comment. Zigzagging the edge is a substitute for serging, so it should bedone as close to the raw edge as possible.
with the French seam it should be noted that the typical seam allowance on most commerial sewing patterns is 5/8 inch. You may end up with a little more ease using this method. It is usually used for sheer fabrics and lingerie.
Cynthia Fong
Thank you for your comment and feedback.
Cindy
that link is dutch, but the instructions are in English
Christine beatty
Kathleen— hem tip– look in your machine manual for instructions for “blind stitch hem”. You will need a blind stitch presser foot. It takes some practice but once you have mastered it, you will be able to hem almost anything with speed and ease. Hope this helps
Sophie
If you have a serger then just use it! It’s ridiculous to serge your raw edges only to finish with a straight stitch. Not only would it be a weaker seam, it’s also 3 times the amount of work and makes absolutely no sense.
Cynthia Fong
Thank you for you feedback.
Kathleen Buckley
I’m not a good seamstress but I’ve done a lot of sewing over the years through necessity and I find some of this tutorial a little puzzling. For one thing, it’s about finishing seams, not hems (I was really hoping for some nifty hem advice). For another, the section on zig-zag. It doesn’t finish the edges of the fabric–they’re out there in plain sight, looking tatty and waiting to fray. It would make more sense to run your zig-zag stitch along each raw edge instead. It would still be a little rough-looking but it would prevent fraying. And it seems to me that the bias tape method would make your seam awfully bulky.
kate
agree, it’s finished seems not hems? what’s up with that?
Cindy
Here’s a good pdf showing 20 different ways to finish a hem
http://www.farbenmix.de/freebooks/7019-perfect_hem.pdf
Stephanie
Excellent link. Good ideas.
Cynthia Fong
Thank you for your comment. Apologies on the use of terminology, we have corrected it accordingly. The bias tape method would indeed be a little bulky, however it can help keep a shape if the project being worked on required such details. Thank you for your feedback.
ldk
Nicely put together, and very good article on finishing SEAMS, not hems. (And it is a serger, not surgur.)
Cynthia Fong
Thank you for your comment. Apologies for the mistakes and we have correctly it accordingly.