How to sew buttonholes
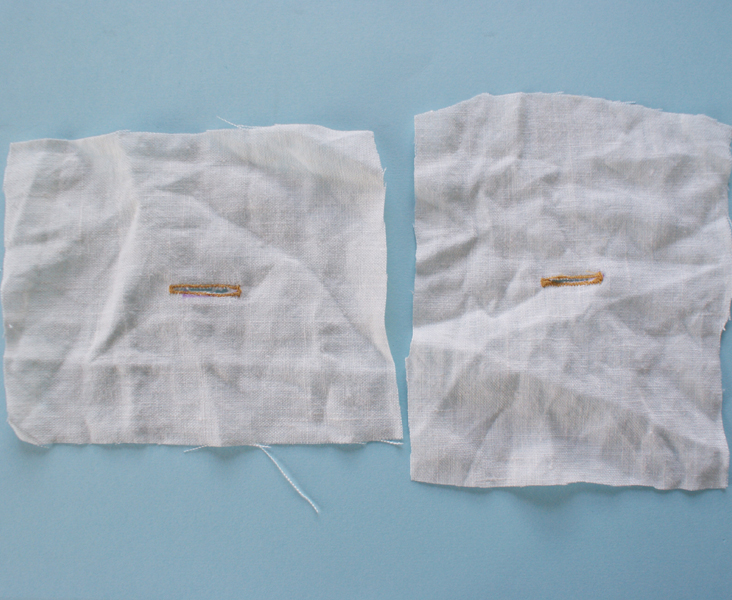
Sometimes people will avoid sewing their own buttonholes as much as possible, because it can be quite daunting, however with this tutorial you will be able to master this skills in just a few steps. It will teach you how to utilize your sewing machine and learn how to make a buttonhole, with or without a button sewing foot.
Tools
Fabric
Button
Sewing Thread
Tape Measure
Pins
Seam Ripper
Erasable Fabric Marker
Scissors
Button sewing foot (optional)
Sewing Machine
Steps
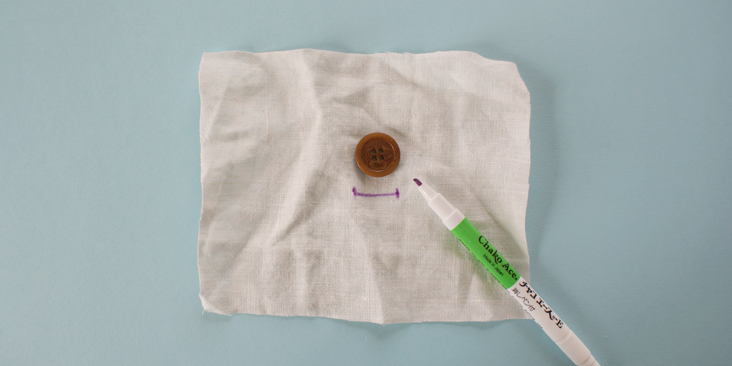
1. On your fabric, mark where the button is going to be. Make sure you mark its width as it will help to guide the placement of the start of your stitching.
If you have a button sewing foot
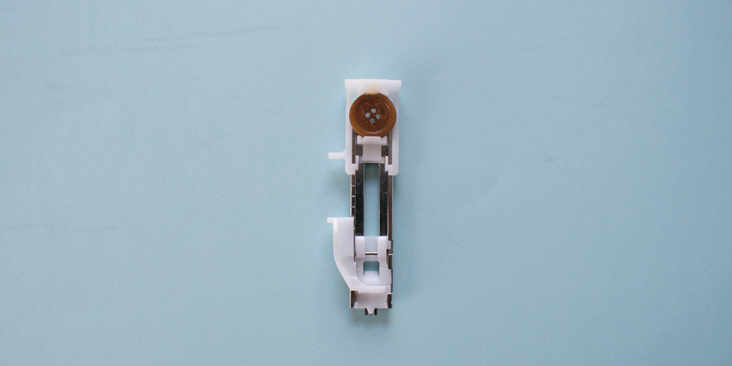
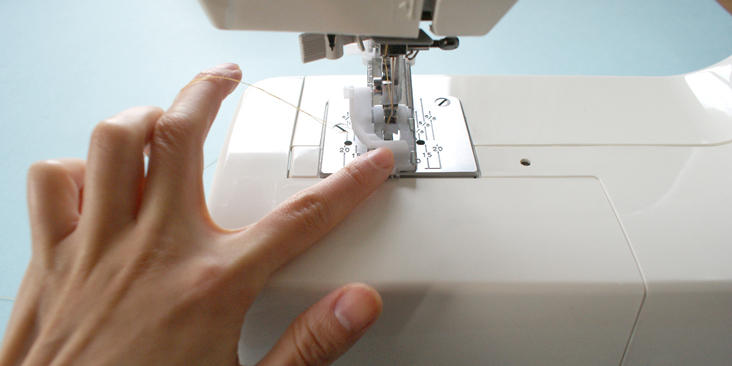
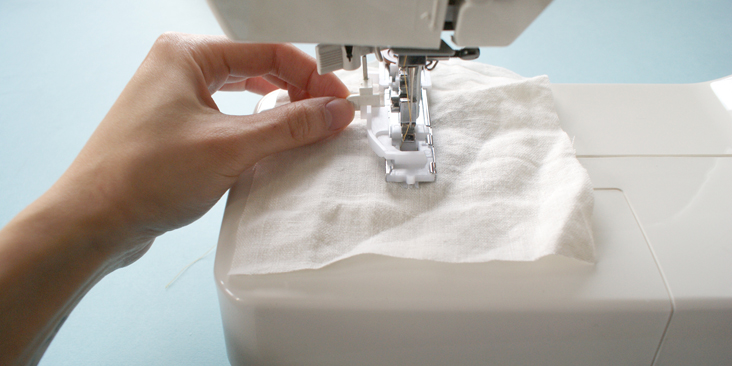
1. Place the button into the slot and push it in place.
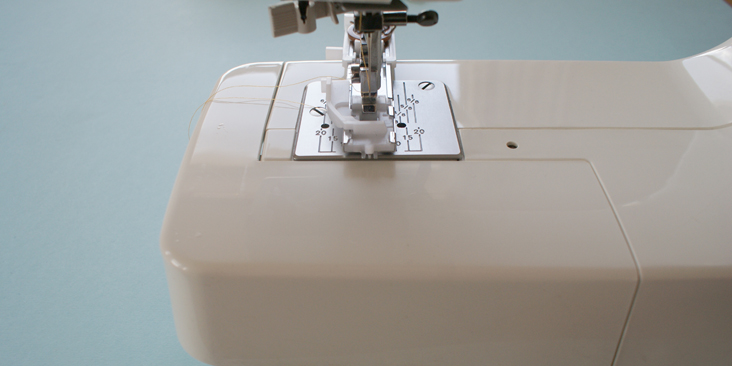
2. Latch the foot onto the machine, with the top thread above the foot.
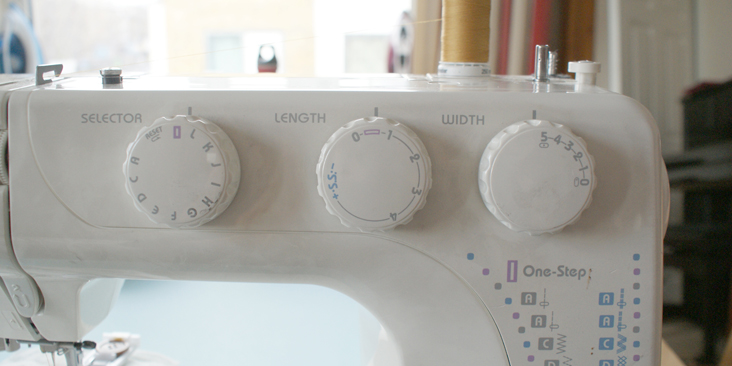
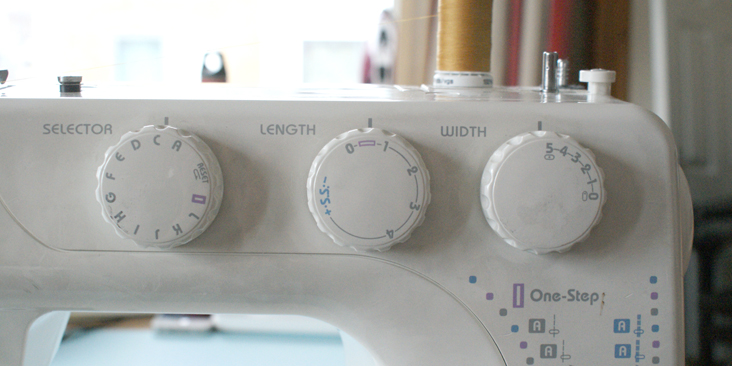
3. Change the setting of your machine accordingly. On’ the buttonhole option, select the matching stitching length and width.
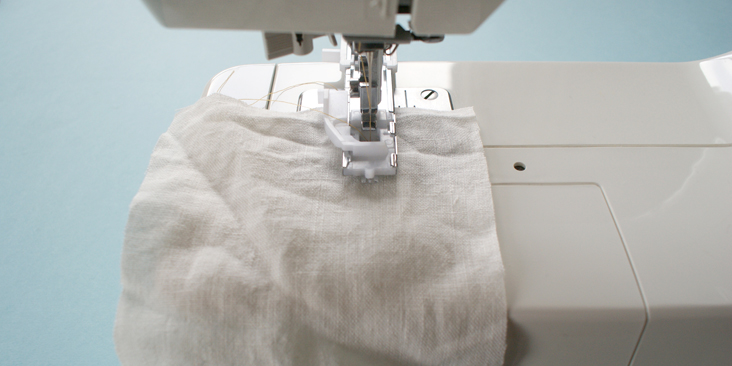
4. Place a piece of scrap fabric under the foot and turn the handwheel slowly towards you with your right hand until the needle goes down and continue turning the handwheel until the take-up lever is at its highest position.
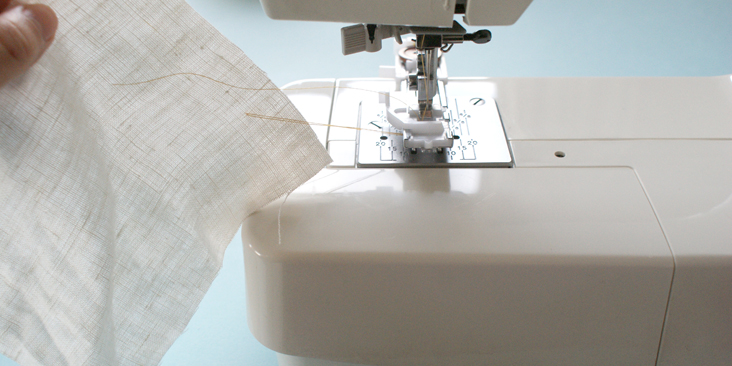
5. Remove the fabric to the left to draw both threads to the left.
6. Now you will have your sewing thread at its sewing position.
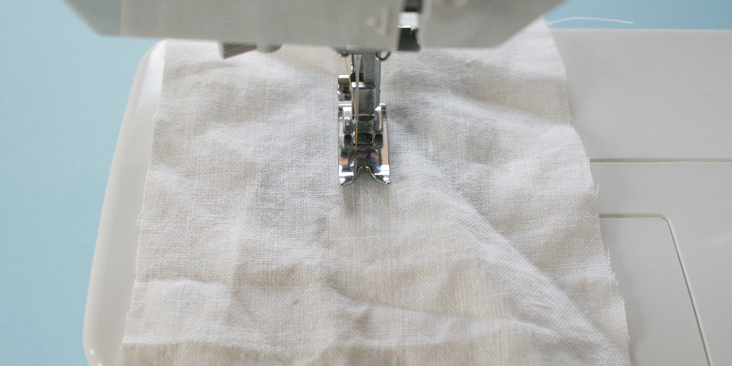
7. Insert the fabric under the foot and lower the needle at the starting point, which is the left side bottom of the marked button hole. (The machine sews the front bar tack and left row first, then the back bar tack and right row, in a clockwise direction.)
8. Then lower the buttonhole lever.
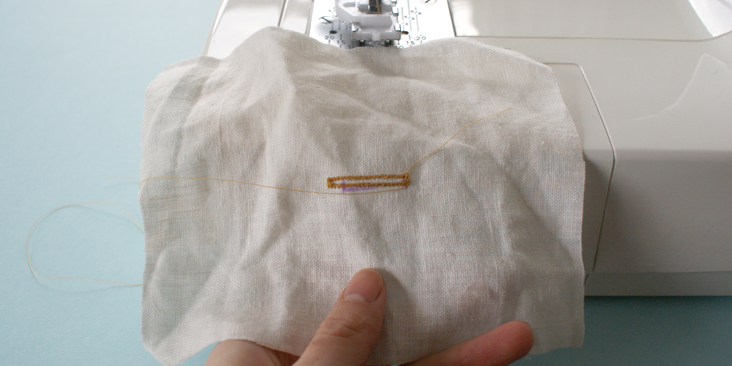
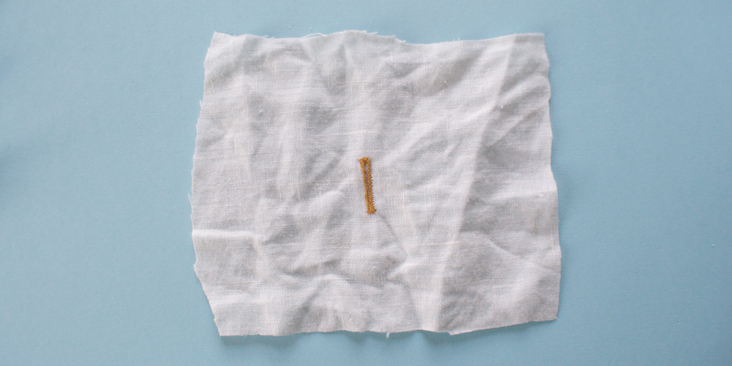
9. Sew slowly and stop the machine when a buttonhole is complete.
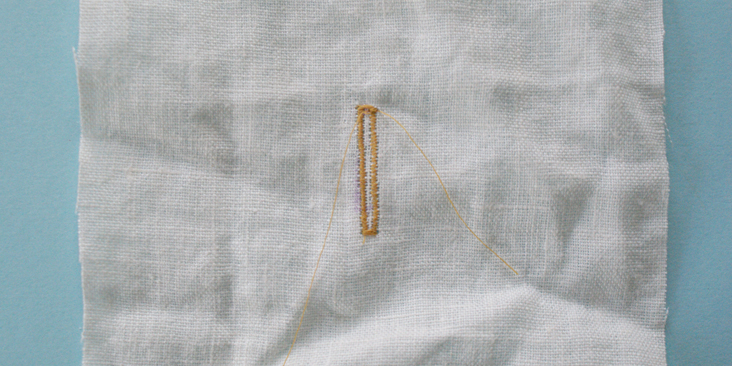
10. Cut both needle (top) and bobbin (bottom) threads leaving about 4 inches (10cm) thread ends.
11. Draw the needle thread to the wrong side of the fabric by pulling the bobbin thread. Then knot the threads.
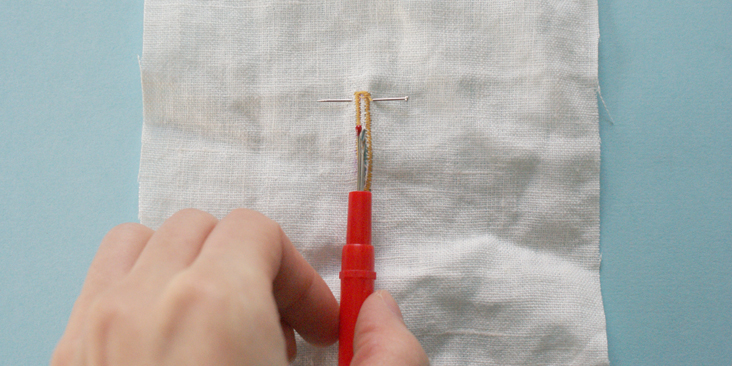
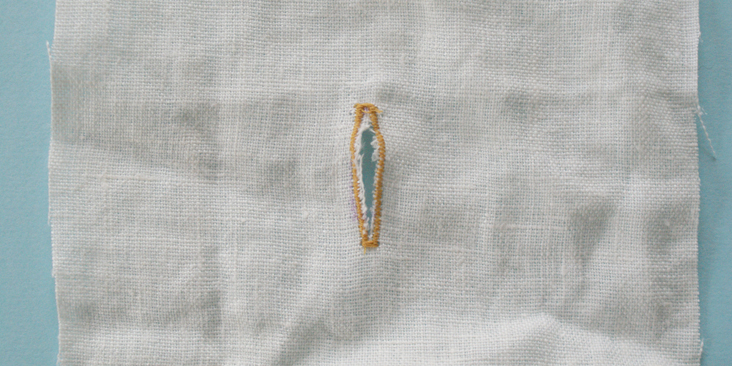
12. Insert a pin inside the bartack. Cut the opening with the seam ripper. Be careful to not cut the stitches.
13. To repeat buttonhole sewing, turn the stitch selector to reset and back to buttonhole setting again.
If you do not have a button sewing foot
1. Select the Zig Zag stitch option for your stitch selector, with the length between 0-1. The width at 5 (or higher point).
2. Place your fabric under the general sewing foot and lower the needle into the left side of the buttonhole mark.
3. First step will be sewing the front bar tack first, the fabric will not move during this stitch. Once it reached a thickness you desire, stop the machine.
4. Change the stitch width to around 1-2, at this setting you will be knitting the length of the buttonhole. Also change the stitch length to between 1-2.
5. Holding your fabric on both side, make sure you stitch the follow row as straight you can while going backwards and stop the machine once it reached the length of the buttonhole.
6. Repeat the previous two steps for the back bartack and the right row.
7. Then follow steps 10 – 13 to complete the buttonholes.
That wasn’t so hard. Now you can create buttonholes for all of your projects, without having to worry about it.















12 Comments
JANET MORTON
What size should I make the buttonhole in relation to the button size?
Patricia Spayd
This is where my vintage 1951 Singer 15-91 soars among the beloved treasures of sew-manship. I have a vintage buttonhole device and this old Singer -which never disappoint! Always sew a sample before making anyting on your fashion fabric is a great caveat. Learm your machine throughtly, practice!
AKS
The technique for sewing machines without auto buttonholes won’t work on many machines — unless you have three hands! The instructions tell you to hold both sides of the fabric (two hands) while sewing backwards, and you’ll need that third hand to hold down the reverse lever or button.
Karen Alexander
Lovely, but pretty unrealistic. The first step is to buy a good sewing machine that will make buttonholes in any size (6mm to 50mm), and with complete density and width adjustment. Also should have several styles, from keyhole, to oval as well as the modern stretch. Types for leather, or heavy material even better.. Buttonholes in a minute, rather than an hour… Then you can spend more time on your hand embellishment!
Cynthia Fong
Thank you for your comment. Having a machine that can sew buttonholes is definitely a lot easier.
AmyCat
Agree with David: I’ll use that pin trick… but once again, a tutorial with clearly UN-ironed fabric! The FIRST thing every expert tailor/seamstress I know will teach is: “IRON your fabric before you start working (sewing, cutting, etc.), ESPECIALLY if (as ALWAYS with linen!*) you’ve laundered and dried the fabric to pre-shrink it. (Oh, and don’t try to skip a step by laundering and then ironing the wet fabric; the entire point of laundering before beginning work is to run it through the hottest wash AND DRY cycles you can to completely shrink the fabric before you measure, cut, and sew. Once you’ve made the item, taking it from the wash and ironing while it’s still damp is fine…)
* If you pre-shrink linen, you can then launder the finished garment at home; if you don’t, you’ll need to pay for professional dry-cleaning or else risk the finished garment shrinking and not fitting properly any more. This is not only an unnecessary expense and environmentally less friendly than laundering, it also means you won’t get the wonderful softening effect as your linen garment ages.
Helen
Be careful with the pin and seam ripper trick. One time I used it the seam ripper slipped sideways and I ripped a big slit in an otherwise perfect and nearly completed garment. Never used it again.
Susan Rice
I agree that the ripper is not safe and can cause many accidental rippings not intended.
I have a buttonhole knife that I use that is much safer and accurate.
Trish Wagler
I love this series of tutorials teaching basic sewing skills. Truly, it’s the little things that can make a huge difference, like knowing how to make buttonholes or not. Can’t wait for the elegant shirt tutorial next week!
Cynthia Fong
Thank you very much for your comment. We are glad that you are enjoying this new series. And we can’t wait for the tutorial next week either!
David Wills
Any way you manually see buttonholes, it’s tedious. I once made a Revolutionary War soldier’s garment set. Coat, waistcoat, fall front knee breeches. About 60 buttonholes altogether. By hand using the famous Buttonhole Stitch. That took half a day
. Made me wonder when the tailors and seamstresses of that day found time to do anything else.
Machine made buttonholes are easier, but very unforgiving if you make a mistake… Especially a cutting error. The pin trick is brilliant. Good tutorial.
Cynthia Fong
Thank you for your comment. Buttonholes are definitely tricky, but breaking it down step by step hopefully it will encourage more people to give it a go.