Embroidered Placemats Tutorial
I love having people over for dinner. I also love making the meal presentable and one of the key elements, in my mind, is how I set the table. There can be wonderful cutlery and china, but without placemats it’ might not feel as cosy. This is why we thought it would be a great idea to show you’ how to make your own set of placemats. Besides,’ what a great conversation starter!
Sizes can be adjusted according to your liking. You can mix and match the colours as well as the embroidery patterns. The possibilities are endless, so enjoy!
Materials
Measurements below will make you six placemats.
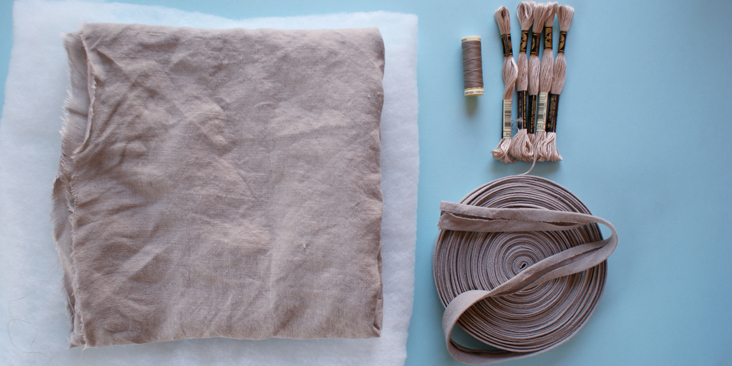
2 yards of IL019 Atmosphere Softened
2 yards of batting
Sewing thread
5 packets of standard embroidery thread
10 yards of biased tape (Tutorial on how to make your own biased tape)
Tools
Scissors, Rotary cutter, Embroidery needle, Pins, Awl, Erasable Fabric marker/Chalk, Tape measure, Pattern maker, Cutting board, Paper
Sewing machine
Iron
Time
4 – 5 hours
Difficulty
Beginner
Steps
Note: Prewash your fabric and tumble dry it until it is still slightly moist, let this dry in room temperature.
1. Iron the fabric so it is easier to work with.
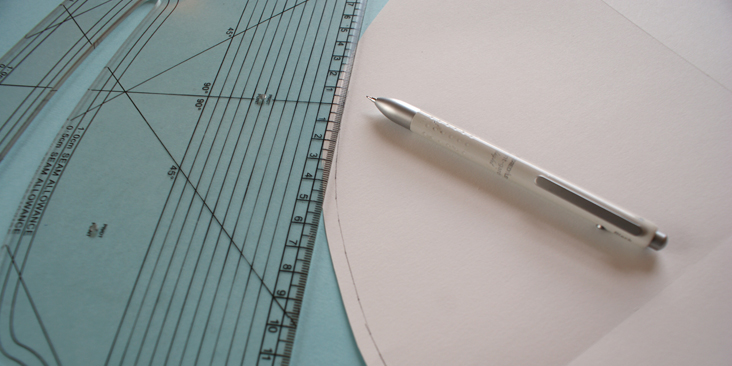
2. To make your circle template, cut a circle out of card or pattern paper, that measures 15 inches (38 cm) in diameter with a 3/8 inch (1 cm) seam allowance all around. The total diameter will now measures 15 3/4 inches (40cm).
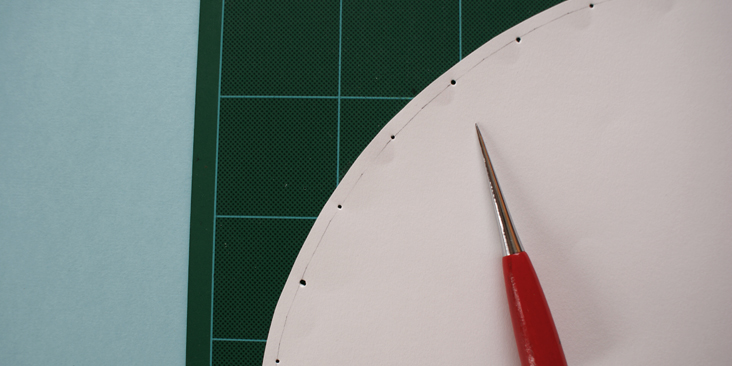
3. At 1/8 inch (5 mm) from the edge of the paper, draw a circle.
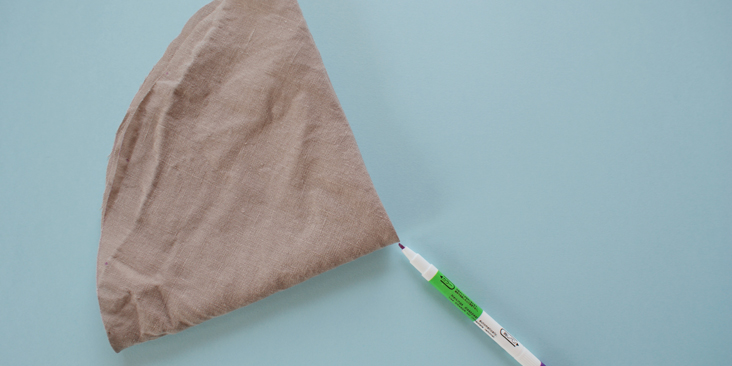
4. Use an awl to create small holes along the line you just drew. This is so you could mark your top fabric later for indication.
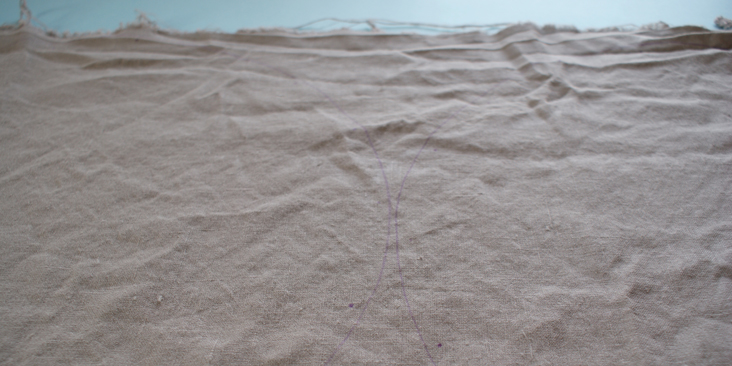
5. Place the paper template’ onto the fabric and draw round’ each circle with your fabric marker. Try to place them as close as possible to reduce waste.
6. In order to indicate the top layer of your placemat, for each placemat mark the circumference of one of the linen circles through’ the holes you have made in your paper template.’ Check to make sure they are visible.
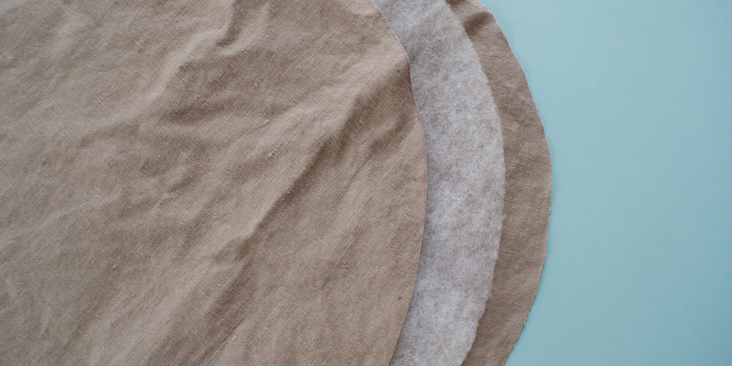
7. Cut out all linen and batting circles using scissors or rotary cutter. For six placemats you should have 12 linen circles in total (six marked as top layer) and six batting circles.
Here are some ideas for embroidery patterns
MACHINE EMBROIDERY PATTERN
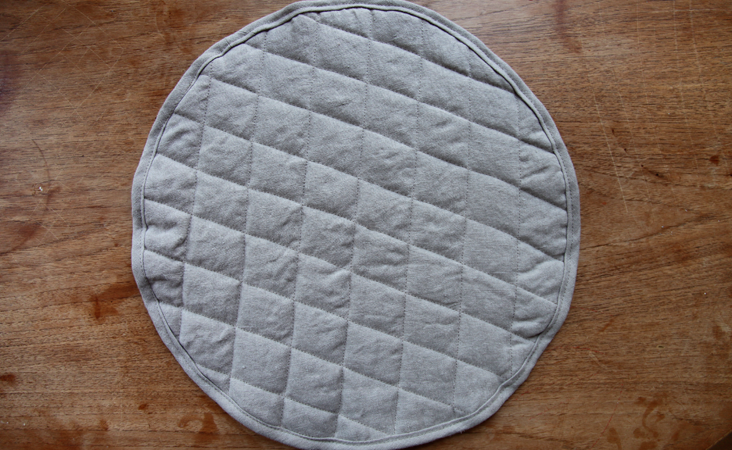
Diamond pattern:
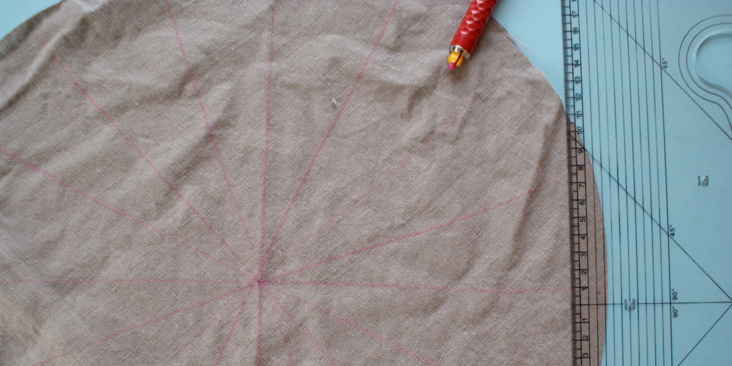
1. To make the diamond pattern, fold the circle (marked side towards you) in half, and then in half again. Mark the centre point like so.
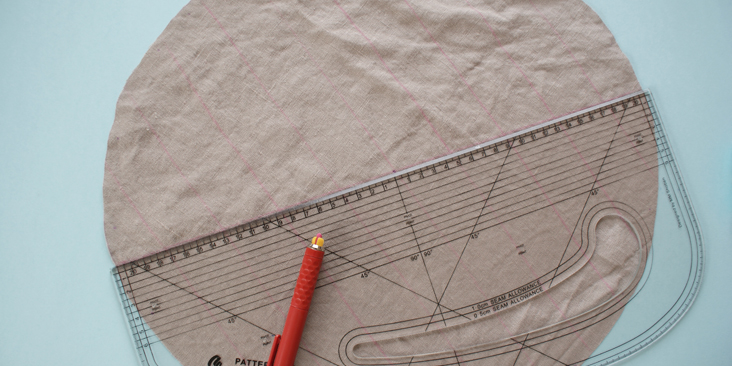
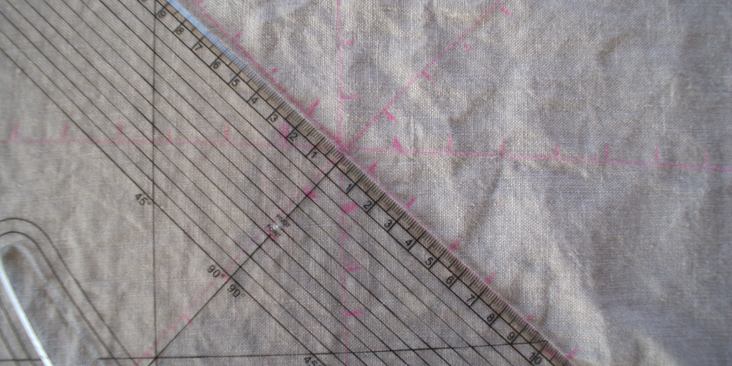
2. Measure out how many lines’ you want and make sure they are all’ parallel. A pattern maker is great for this step.
3. To draw the lines at opposite direction, slightly shift your pattern maker so it is not directly at 90 degrees. (This would just make square pattern). Ideally, shift it so the new lines are at 25-30 degrees from the already drawn lines.
4. Again, mark all the lines with chalk or fabric marker, making sure they are all parallel and with equal space in between.
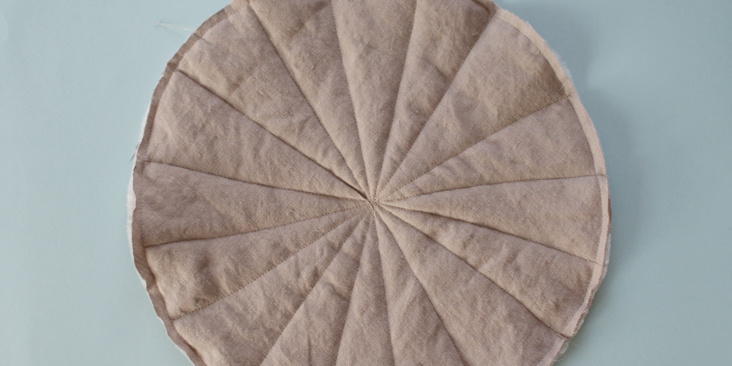
Pie chart pattern:
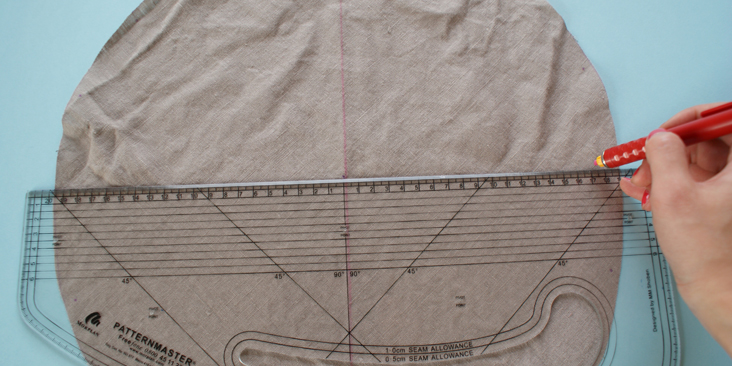
1. Mark the centre of the circle as in’ the above method.
2. Using your pattern maker, mark the first line intersecting the centre point. From here on, work at 45 degree angle and’ draw the rest of the lines, making sure each line will intersect at the centre point.
JOINING TOGETHER
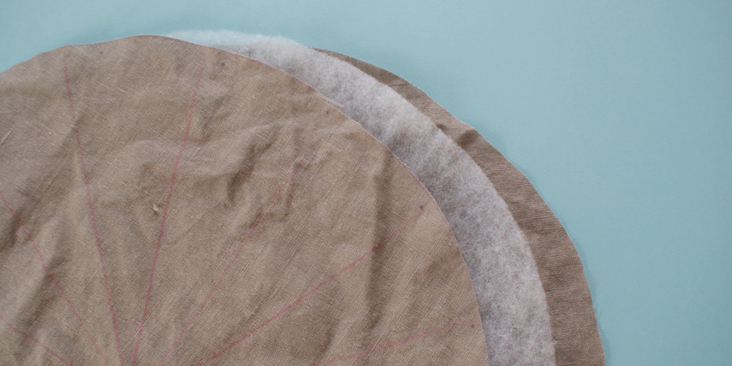
1. Align your layers together like so: linen at bottom, batting in the middle, marked linen at top.
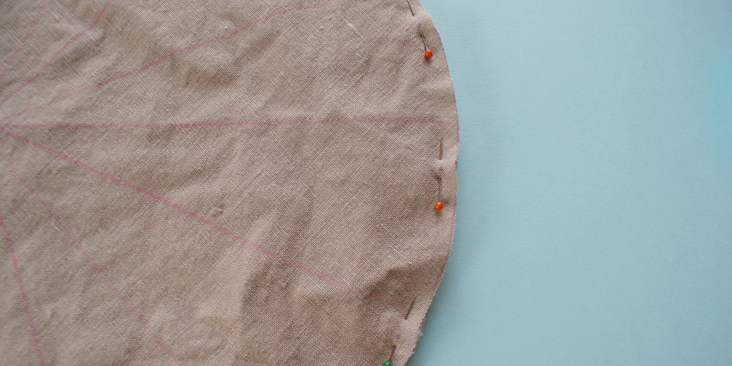
2. Carefully pin all three layers together where the marks are, at 1/8 inch (5mm) from the edge.
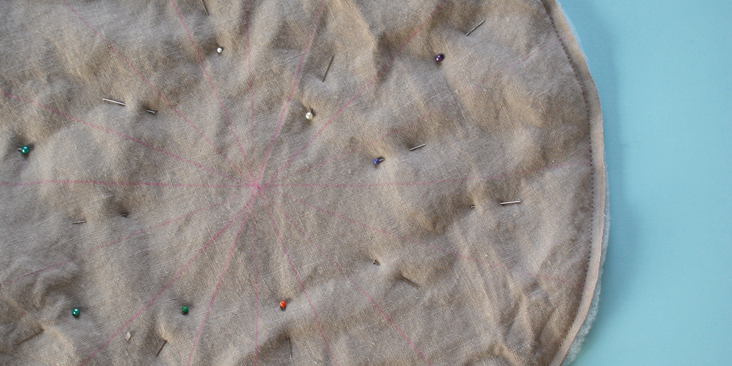
3. Also, pin throughout the placemat to ensure the batting and excessive fabric are not bunched up at any point.
4. Sew around the placemat first.
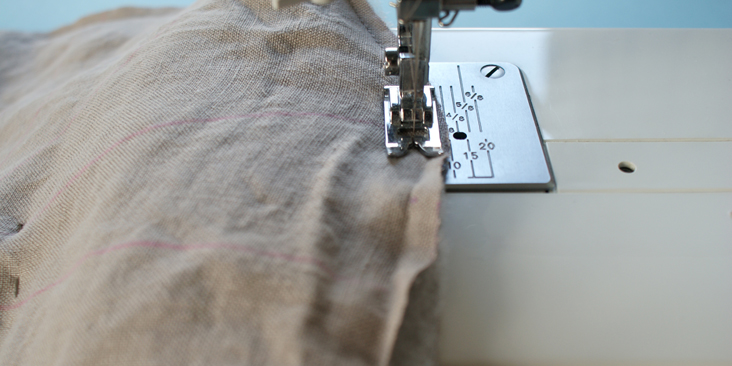
5. For the machine embroidery pattern, follow the marked lines and stitch on top of them. Make sure you hold onto your piece of fabric sandwich on both right and left side, as flat as possible. This is to make sure your sewing foot is not pushing any fabric as it is stitching.
6. For the hand embroidery pattern, do NOT stitch together the layers. This is because you need the layers to be separated whilst you work the embroidered designs on by hand.
HAND EMBROIDERY
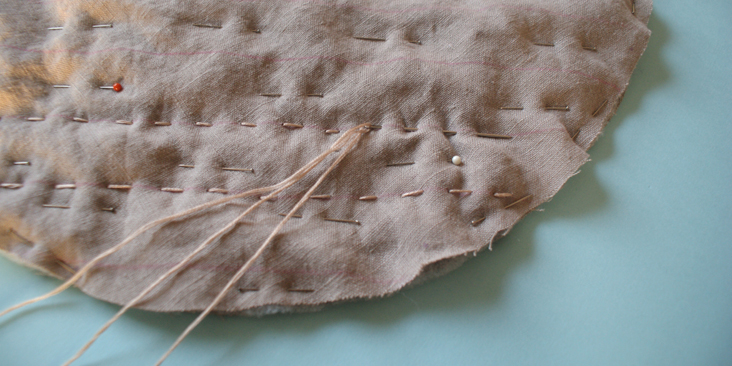
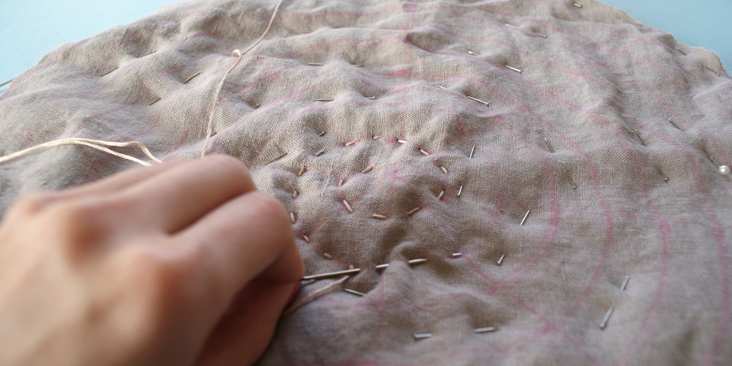
All hand embroidery will be stitched on by a running stitch. This means you continuously stitch through all layers of fabric in one direction. This is to ensure the placemats can be reversible.
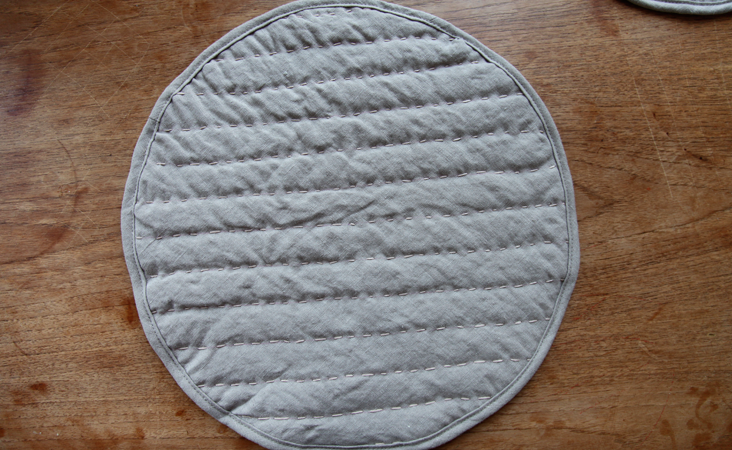
STRAIGHT LINE PATTERN
1. Mark the centre of the circle as in’ the above method.
2. Using your pattern maker, make the first line intersecting the centre point. From here on, measure out parallel lines from the centre of the circle. Here each line is 1 1/4 inches (3cm) apart.
3. After marking the lines, pin as much as you can on all parts of the placemats, making sure you pin through all three layers of material.
4. Then, with an embroidery needle and a strand of the embroidery thread, start from the edge and work your way across the placemat, following the marked lines. When your thread is finished, stitch the thread through only the top layer, and knot it. This will prevent the ends from being visible.
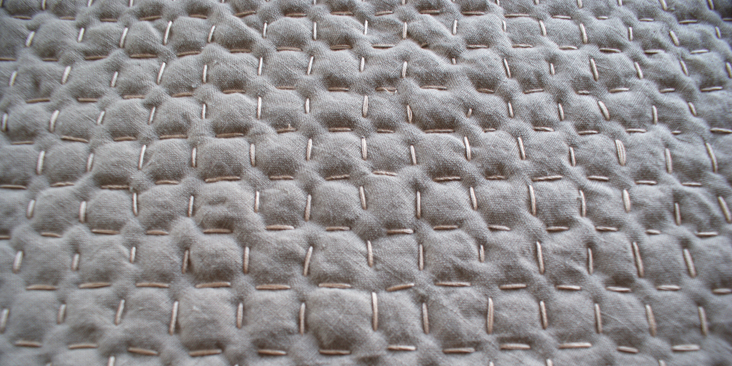
CROSS STITCH PATTERN
1. Mark the centre of the circle as in’ the above method.
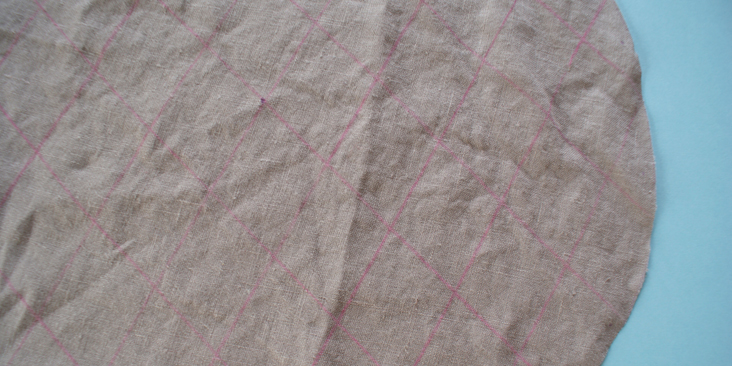
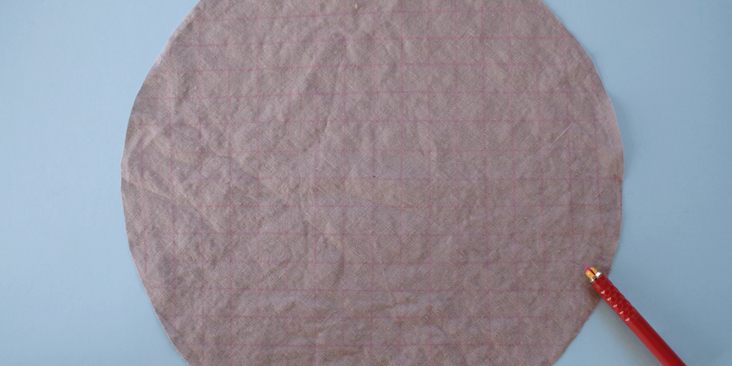
2. Using your pattern maker, make the first line intersecting the centre point. From here on, measure out parallel lines form the centre of the circle. Here each line is 3/4 inches (2 cm) apart.
3. Repeat the same, with a perpendicular line intersecting the centre point of the fabric. And repeat marking parallel lines. Now you have a grid.
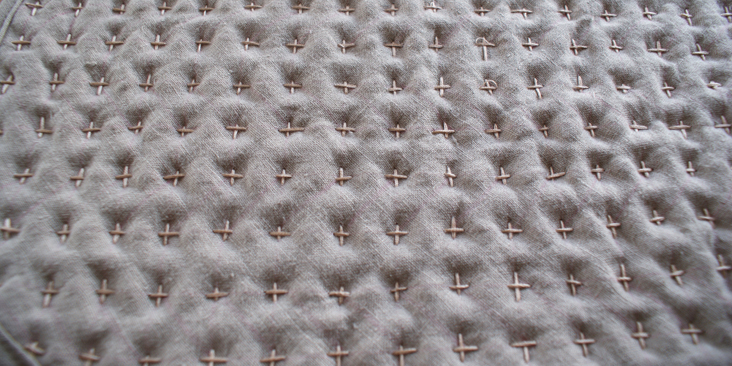
4. Start from one direction, running stitch through the fabric, making sure the thread is visible on the top layer over each crossing point of the grid.
5. Afterwards, work all the perpendicular lines, again, making sure the thread is on the top layer when stitching over the crossing points.
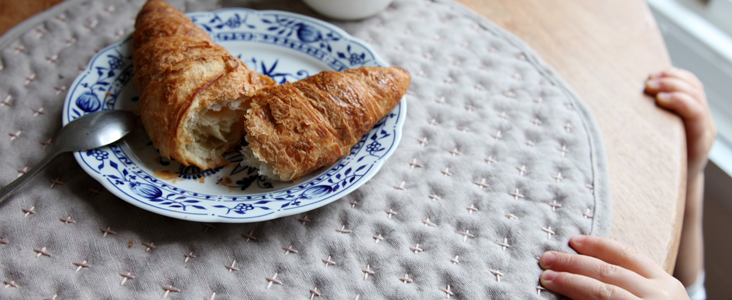
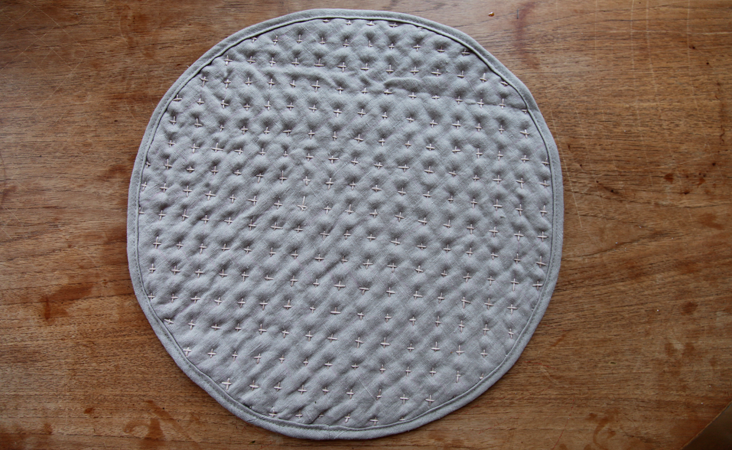
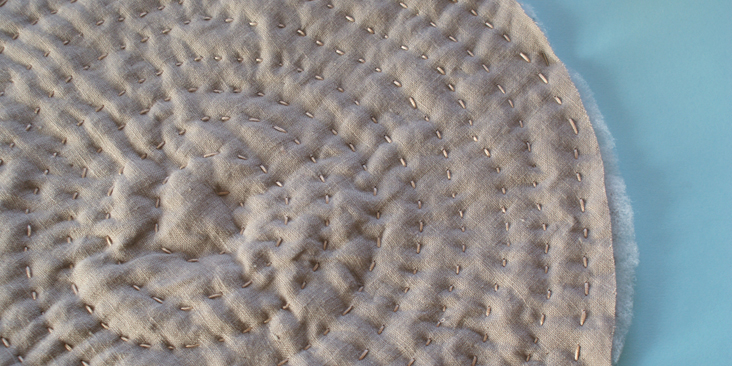
Here is what it looks like on the front.
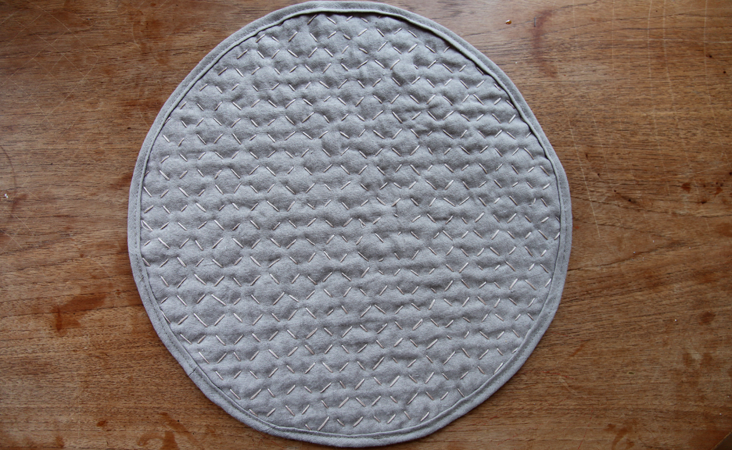
And the back.
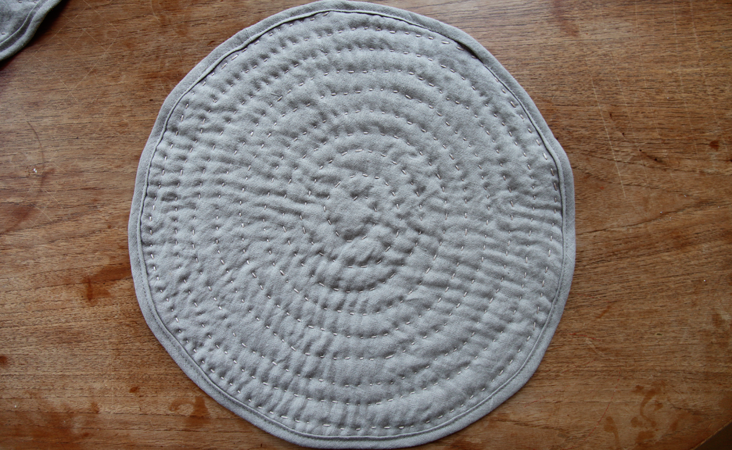
CONTINUOUS SWIRL PATTERN
1. Mark the centre of the circle as in’ the above method.
2. Using your pattern maker, make the first line intersecting the centre point. From here on, work at 45 degree angle to draw the rest of the lines, making sure each line will intersect the centre point.
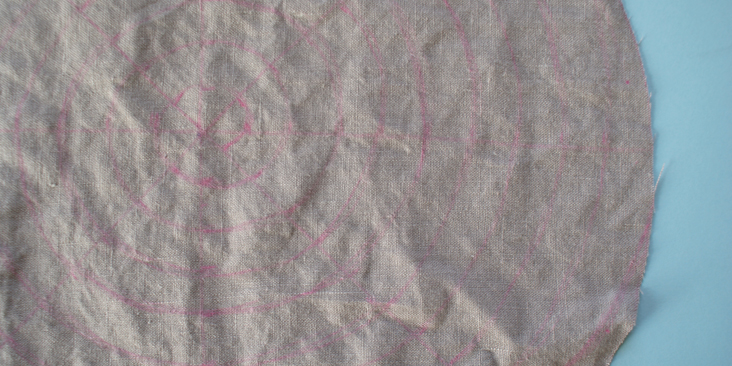
3. Then, at each line (apart from one), mark at certain points where you wished for the circular line to pass through. On here, the mark was made at every 3/4 inches (2 cm) mark.
4. With the one exception line, starting from the centre, mark at 3/8 inch (1cm) mark, and then every 3/4 inches (2cm) afterwards. This is to ensure there is a point at each circle to connect to the next line of circle.
5. To connect all the marked points, lightly draw curve lines between the points to form a long continuous circular swirl.
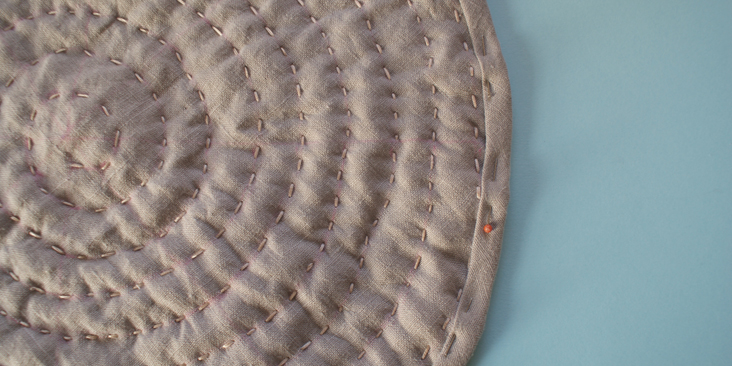
6. Using a running stitch, starting from the centre of the placemat, slowly work yourself outwards to the end of the marked pattern.
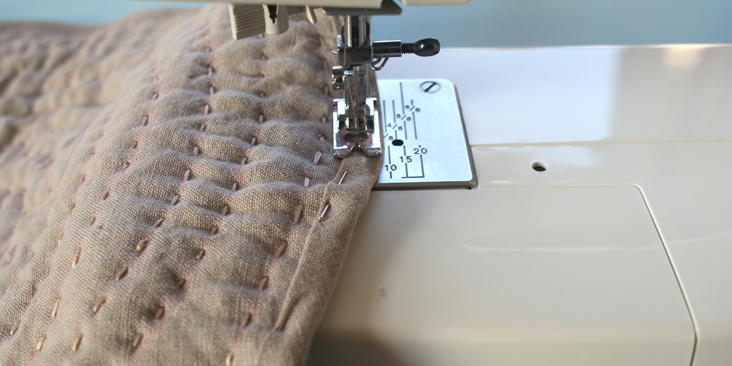
After you are finished with your hand stitching, follow the marked line at 1/8 inch (5mm) from the edge and top stitch all three layers together. Make sure you hold onto your piece of fabric sandwich on both right and left side, as flat as possible. This is to make sure your sewing foot is not pushing any fabric as it is stitching.
BIAS BINDING
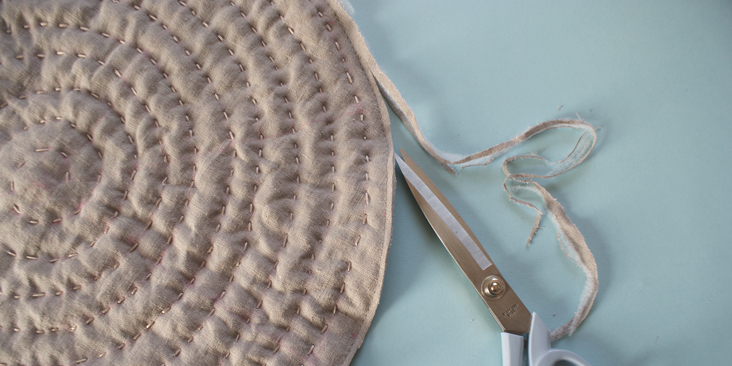
1. Trim all the placemats as close to the stitching on the edges as possible. This is to reduce bulk for the next steps.
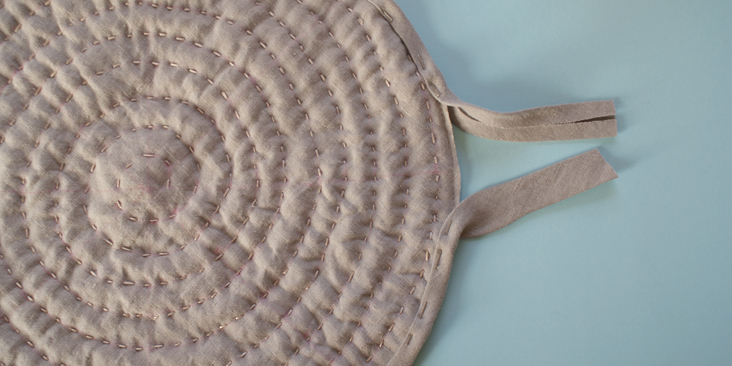
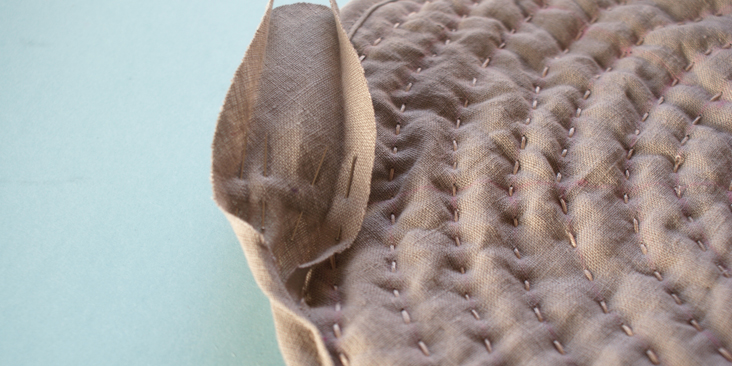
2. Using the bias binding tape, leave 4 inches (10 cm) of the tape as a tail, then start to pin it around the mat. Stop pinning leaving a’ 3 inch (7.5 cm) gap from where you started pinning. Leave another 4 inches (10 cm) of tail unpinned.
3. Start top stitching only on the pinned bias tape section at 1/8 inch (5 mm) from the inner edge of the tape. Make sure you are stitching through to the other side of the tape with your placemat in the middle. Check constantly.
4. Stop stitching once you reach the beginning of the 3 inch (7.5 cm) gap.
5. Manually, press the bias tape along the remaining unsewn gap until both ends meet. Finger press the bias tape outwards so the wrong side of the tape is now facing up.
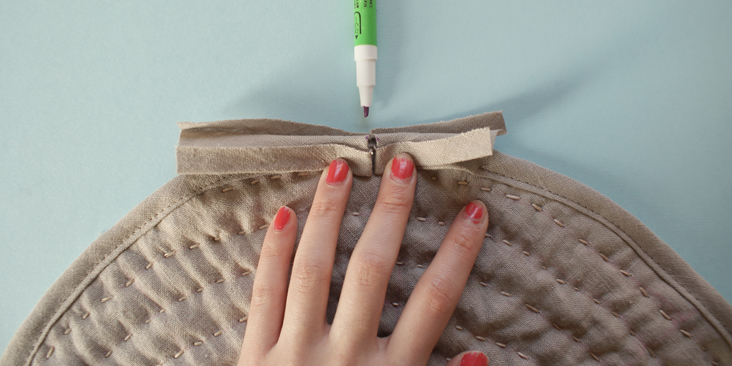
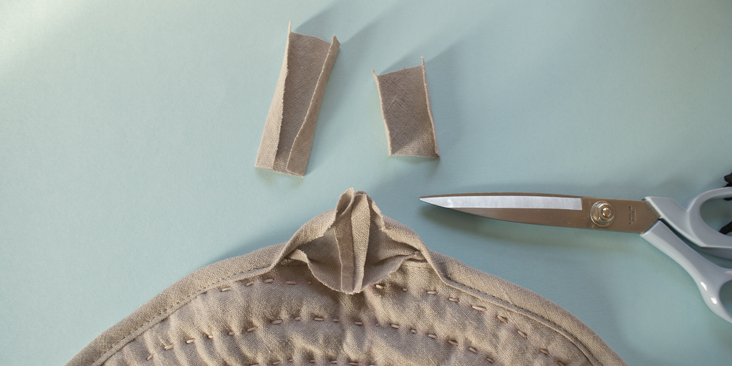
6. Mark where the tails meet, unfold’ the side seams’ and’ pin both ends together with the right sides inwards.
7. Stitch on top of the marked line, cut the remaining fabric, leaving a 3/8 inch (1 cm) seam allowance. Press open the seam.
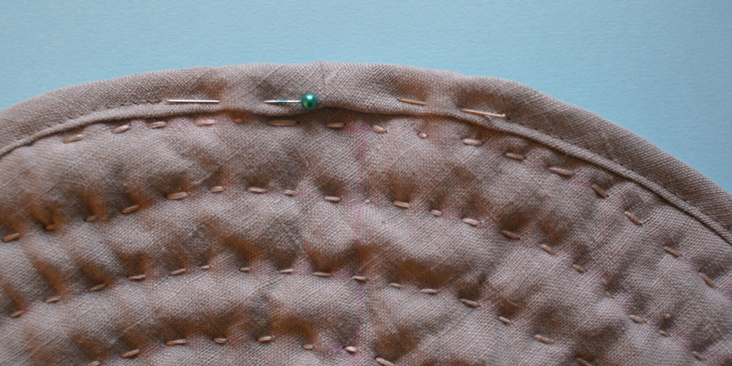
8. Refold the bias tape into its original position with the wrong side facing inwards. Pin the tape securely over the remaining unsewn 3 inches (7.5 cm) gap.
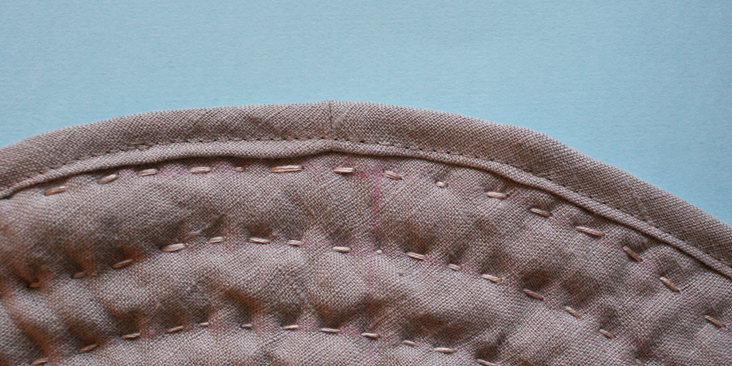
9. Stitch on top the remaining section, try to match up with the previous stitch line.
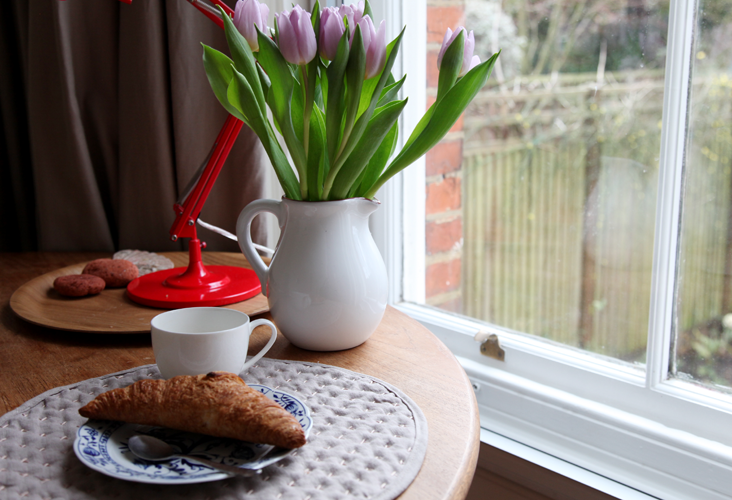
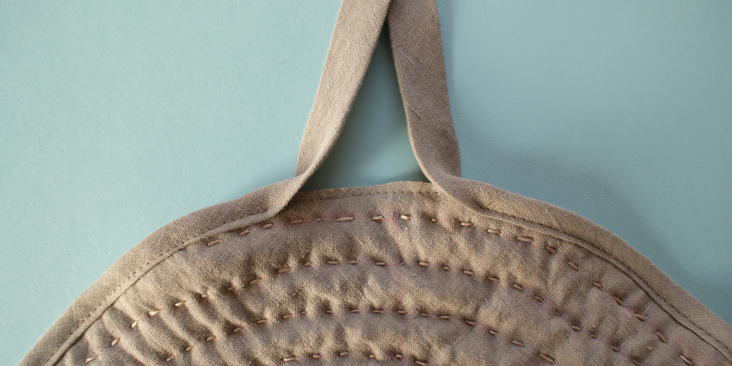
And now with the placemats done, you are ready for your next dinner party, or even making them as gifts for your loved ones! With so many’ design possibilities, do not forget to check out all the other colour options we have, to create your very own personal sets of placemats.

















10 Comments
AmyCat
From the look of these photos, the linen was pre-washed and dried to pre-shrink it (good!), but NOT ironed after washing (BAD!). Your results will be much better if you iron the linen before cutting. Once it’s all embroidered and sewn, go ahead and leave it un-ironed after future washings… but wrinkles in the fabric while you’re working with it translate into sloppy and inexact cutting and finishing.
Cynthia Fong
Thank you very much for your feedback. We will make sure that we will really give the fabric a good iron for future tutorials.
Heidi
Hello,
I’ve never embroidered before–are you using embroidery floss? How many threads are you using? Thanks!
Heidi
Cynthia Fong
Hi, yes we are using embroidery floss. For maximum effect, we used all six threads. But if your design is more intricate you can always halve the thread count. We hope this helps.
TerriSue
These are beautiful. I would be doing the hand embroidering ones. If I start now I could have enough done for all of the extended family Christmas presents we do every year. They wouldn’t be very expensive, but wow would they look it. I would make matching napkins of course.
Cynthia Fong
Thank you for your comment. We are glad to have inspired you. Please post or send us photos of your placemat and show us your progress. And the napkin idea is wonderful.
Ruth
These look wonderful! I my experience in sewing with the prewashed linen, if you make your template from freezer paper, iron it onto the fabric, cut organics and batting, layer, pin all together, stay stitch all around (with freezer paper still on), then bind ( with freezer paper still on), then mark your stitching on the freezer paper, and sew. Now you caregivers freezer paper. The fabric is so soft, the freezer paper helps to control it, making it easier to sew.
Cynthia Fong
Thank you so much for your feedback.
Sharon
Thanks for posting these great tutorials. I love to sew quick and easy projects like these but as yet haven’t made any placemats from anything but cotton. Keep up the great work! I love sewing with your fabrics!
Cynthia Fong
Thank you so much for your comment. Please send us photos of your work and let us know how you got on.