How to make bias tape binding
The great thing about bias binding tape, is that because of the direction of weave it has the most stretch, so its handy for’ sewing’ something round or irregularly shaped. If you can’t find the right matching bias tape in the shop, with the help of this tutorial you can now make your own bias tape.’ You could even utilise scraps from another project instead of throwing them away. You can even mix and match different fabric and colour, there are no rules!
Materials
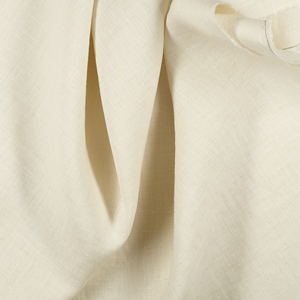
1 yard of IL019 Atmosphere Softened
Sewing thread
Bias tape maker (Optional)
Scissors, Rotary cutter, Pins, Erasable’ Fabric marker/Chalk, Pattern maker, Cutting board
Sewing machine
Iron
Time
3 – 4 hours
Difficulty
Beginner
Steps
1. Prewash your fabric and tumble dry it until it is still slightly moist, let this dry in room temperature.
2. Iron the fabric so it is easier to work with.
3. Place the fabric flat onto the table.
4.’ Warp is the length of the fabric and weft (woof) is the width of the fabric.
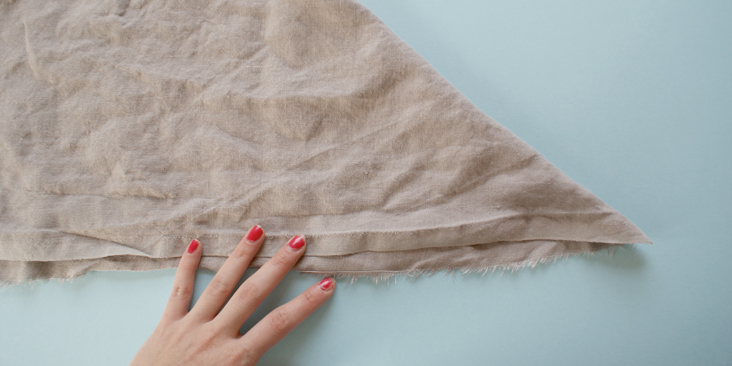
5. Diagonally fold the fabric so one side of the warp meets one side of the weft. The diagonal line is the bias.
6. Pin along the outer edge. This will secure the material as you are working on it.
7. Parallel to the bias, carefully measure out and mark the width of each stripe with chalk, or any kind of fabric marker.’ If you have a bias tape maker, make yours according to its measurement. However, if you do not have a bias tape maker, take the width you need to cover (i.e. If you have 3/8 inches (1 cm) seam allowance, you need 3/4 inches (2 cm) of binding to cover it. Then you need to double that width so you also have the seam allowance on your bias tape.
8. After making the lines, use a rotary cutter and carefully cut out each stripe. Work your way from outside of the fabric, into the bias fold.
9. Trim off any selvedge from the stripes.
10. Pin’ the stripes like so, make sure the diagonal seams overlap so once this is sewn together and pressed open, the tape will be straight.
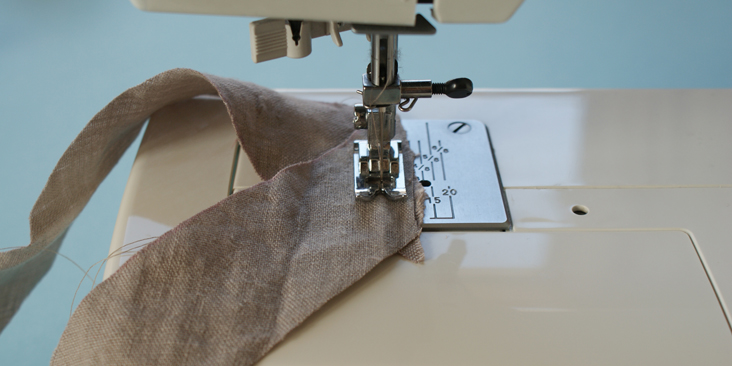
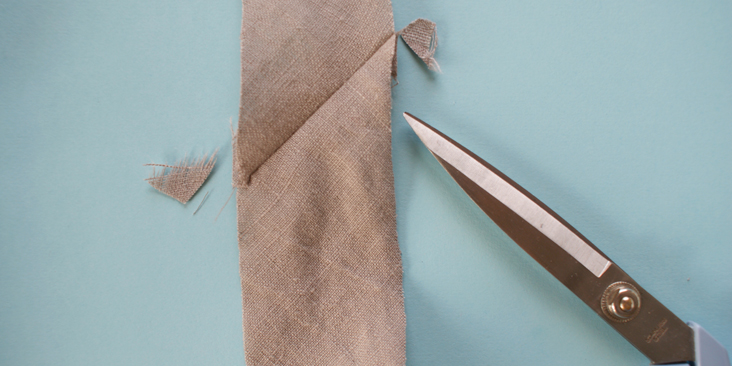
11. Sew’ together at 3/8 inches (1 cm) seam. Press open the seam and trim off the triangles sticking out.
12. Remember to check you are sewing all the strips on the wrong side, make sure you are not twisting the fabric.
Now we are going to split the tutorial up, so if you do NOT have a bias tape maker, stay with me, if you DO have a tape maker, you can proceed onto the next section.
WITHOUT BIAS TAPE MAKER
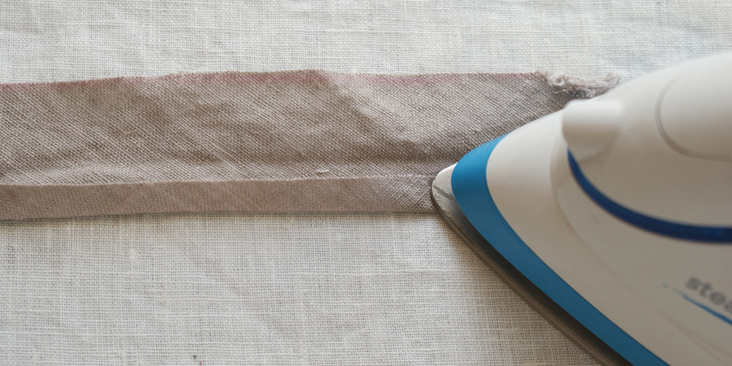
1. Fold the stripe in half and iron it, to mark the crease.
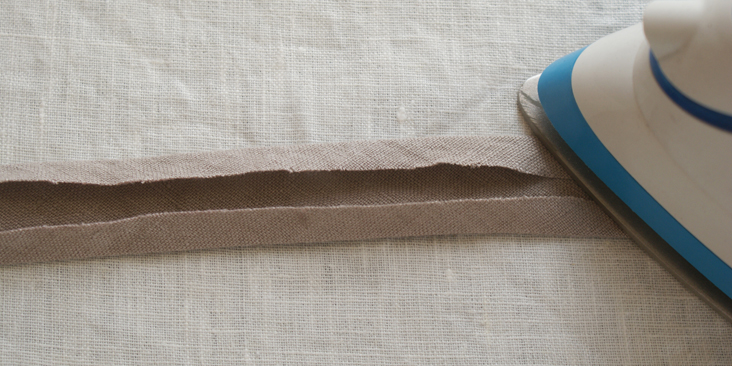
2. Open the stripe, and take one half of it, iron the edge into the centre crease.
3. Do the same on the other side.
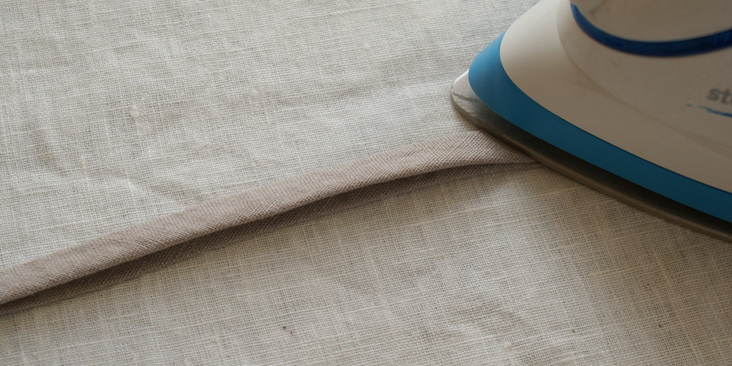
4. Once both edges have been iron towards the centre, fold at the crease again and give it an extra press.
WITH BIAS TAPE MAKER
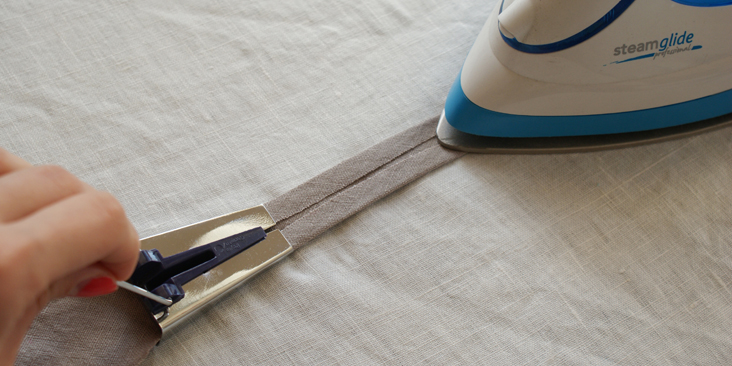
1. Thread the fabric through your maker. You might need a needle to pull the fabric through.
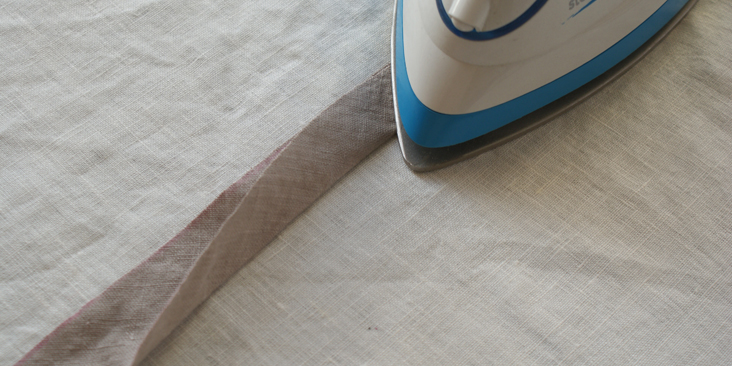
2. Once that is through, slowly and gently move the tape maker as you iron on top of the fabric.
Roll it all together and this is how easy it is to make your own bias binding tape.
With all the possibilities of fabric and colour choices, you can really add that extra personal touch to all your projects. Check out our whole selection here!















17 Comments
Wanda Williams
Will this Bias Binding feed through a Raw Edge Binder Foot? Thank you!
Lauren Gates
Hello Wanda, I don’t have one of those on hand, but I can’t see why not. I would test the fabric out in the foot first to be sure.
Jenna
The word is “strip” with the plural “strips.” (Not “stripe” and “stripes”) Might be over-presuming on author’s language (based upon “centre” and not “center”) but a strip is still a strip in non-American English.
Joy
This tutorial has been up for ages and they *still* haven’t corrected that distracting typo.
“Strips” and “stripes” are not the same in anybody’s dialect.
Wanda Williams
It was obviously an unintended error. Be grateful for the free useful information on this site! Must be nice to live in an error free world. “Authors language?” Clearly whatever the “author’s language”, their manners are superior to yours, and they’re obviously busier than you.
Meanwhile, thank you Fabric Store for your consistently excellent products and information.
Ivy
This was very useful to me as I am making a series of nightgowns and a nightshirt and binding all the edges with tapes of the same material. I’m working from my own patterns and one thing I find difficult is what to do with closed round holes, such as a neckline or armhole. It’s very tricky because I assume you have to make a ring of the tape in just the right size for, say, the neckline, and attach the two ends together. Is there some easier way to deal with this issue? Thanks! Love the linen here and the tutorials!
Cynthia Fong
Hi Ivy,
Very glad that you find this useful. To see how the ends can be sewn together, I would suggest you take a look at our other tutorials such as:
https://blog.fabrics-store.com/2015/11/27/raglan-peplum-linen-dress-tutorial/
and
https://blog.fabrics-store.com/2015/09/28/black-and-white-layered-dress-tutorial/
and follow the instructions we have written out for sewing the tape around the armhole and neckline. Hope this helps and please share with us the projects when you finish them!
marie
idon’t under standard what size to cut the material for size bindind needed. and what bais tape maker to use
i have one that says 1 1/4 on it what size to cut the material?
Athena PN
I’ve never done this & feel more confident with your tutorial; just a question, or is this two questions? 🙂
how much bias tape will 1yd of linen make in ‘¼” and how much in ‘½” – since those seem to be the most common sizes in pre-made? Thanks!
claudia
Thank you for the nice tut. I love the idea of your new sewing basics.
Cynthia Fong
Thank you very much for your kind words. We are very glad you like this tutorial.
Susana
Excellent tutorial. I concur with Textilist about using a hotter iron (and perhaps steam also) to make very sharp folds.
In Step 2, the ironing should be carefully done with the grain of the fabric. Later, in pressing the folds, they should be “pressed” as opposed to “ironed” so as not to stretch the bias.
According to a sewing glossary I read this past week, to “iron” is to move the hot iron over the surface of the fabric; to “press” is to set the hot iron down, then lift to move.
Cynthia Fong
Thank you so much for your comment. We will be sure to use the right wording and terminology in future tutorials.
Trish Wagler
I love this tutorial of bias tape creation. So useful and resourceful. And I love that you will be posting basic sewing tutorials in the future.
Cynthia Fong
Thank you so much for your comment. We hope to have inspired you with this tutorial, and be sure to check in with our future basic tutorials too.
Textilist
Very good tutorial. Two pointers: The tapes can be cut right up against the ruler with the rotary cutter. Faster! I also suggest you use a much hotter iron to press the fabric. Linen can take the hottest settings on most irons and there will be better results.
Cynthia Fong
Thank you for taking your time for the comment and suggestion. We will be sure to include all the correct information in the future tutorials.