Mitered Corners Napkin Tutorial
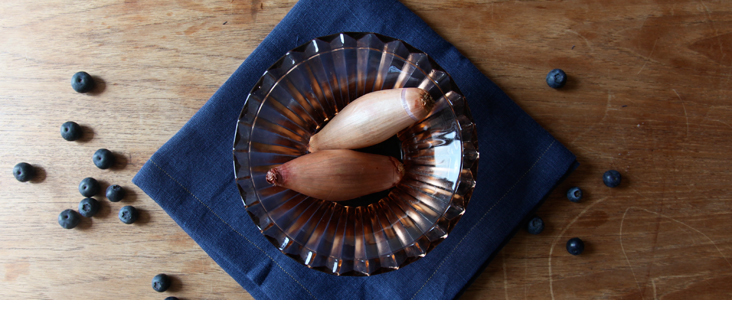
Very simple and yet undeniably elegant way to decorate your table. If you use a heavier fabric, with its weight it adds a certain sense of chic. Perfectly fine in a medium weight. The colour I chose too carries a certain quiet brilliance. Looks great on natural wood.
To make a set of six’ 18-inch square napkins:
Materials:
Six 20″ squares in Cobalt IL019
Contrasting thread
Pins
Sewing machine
Time: 2 hours
Level: Beginner
1. Cut your’ linen into a 20 inch square.
2.’ Press each side of the solid square 1 0inch towards the inside of the square.
3.’ Unfold the corners so you can see the marks the pressing made.’
4. Fold diagonally at the point where the pressing marks intersect as shown above.
5. Iron
6. Unfold, place both sides together and straight line stitch 2/3 alongside the mark you just made with the iron.

7. Once stitched, cut off the corner.
8. Using the folding marks you initially made, double hem all four edges, tucking in the corners as shown below.
 9. Top stitch the folds down around all four sides, pivoting at the corners and making sure to back stitch at the beginning and end of the seam.
10. Repeat with the remaining linen. Enjoy.
Leave a comment Cancel reply
Related posts
How to Select and Use Interfacing: A Simple Guide
Iron-on or sew-in, woven or non-woven, lightweight or heavyweight. With so many different types, weaves, and weights to choose from, how do you know which interfacing is best for your project? In this article, I will explain the two main types of interfacing before diving into the differences in weave and weight. Hopefully by the…
An Introduction to Common Crotch Adjustments
Recently, I drafted a pattern and made a toile of a pair of drop-crotch pants. When I tried them on, I straight away noticed (and felt) they weren’t quite right. The most obvious issue was that the back crotch felt tight and pulled uncomfortably, especially when bending over. Walking also felt a little restricted, with…
How to Thread a Sewing Machine: A Beginners Guide – Part 2
Now that we’ve covered the basics of threading a sewing machine in Part 1, let’s move on to some additional functions. In Part 2, I’ll show you how to change both the needle and the presser foot. I’ll also introduce the twin needle, and share some helpful troubleshooting tips for common issues that can happen when…
SEW THIS LOOK
LATEST COMMENTS
- Tutorial: How to Install the Invisible Zipper in the Charlie Pants
15 Oct 2023 @ 1:00 am by Elizabeth Jacobs - FS Colour Series: Dusty Rose Inspired by Pierre Bonnard’s Mauve Haze
20 Feb 2026 @ 12:46 am by Vicki Lang - How to Select and Use Interfacing: A Simple Guide
17 Feb 2026 @ 8:45 am by Emma Cartmel - How to Select and Use Interfacing: A Simple Guide
17 Feb 2026 @ 8:45 am by Emma Cartmel - How to Select and Use Interfacing: A Simple Guide
17 Feb 2026 @ 8:45 am by Emma Cartmel


5 Comments
Kathy Borst
In steps 4-7, it’s not clear whether you are sewing and marking on the right or wrong sides. It has to be that you sew with right sides together… but I’m not clear where it flipped over. Is this a new version of this tutorial? I am returning to it and it seems less clear than the first time I tried it. Maybe it’s me though.
millie
Unless I am missing something, step 2 should say double fold 1″. One fold will not provide the miter
millie
Unless I am missing something, step 1 should say double fold 1″. One fold will not provide the miter
AmyCat
Great tutorial, though…
AmyCat
Unless you’ve got linen that magically breeds when nesting in your fabric stash, you aren’t going to get *12* 18″ napkins from only *SIX* 20″ squares! 🙂