


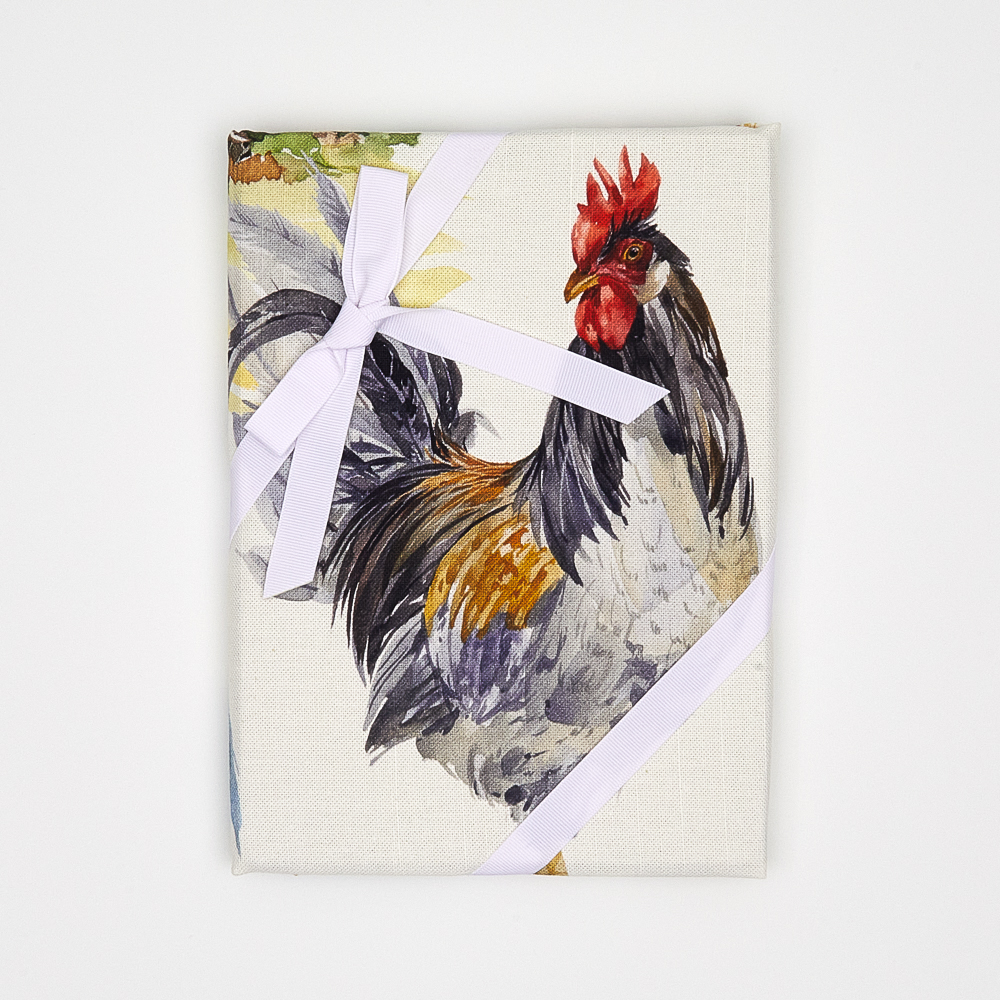
Double Sided Gorgeous Linen Napkin Tutorial
These will work perfect as a mothers day present, otherwise keep them to yourself for those special family get togethers. Very simple to make, you will be pro at folding those corners in no time.
To make a set of six’ 16-inch square napkins:
Materials:
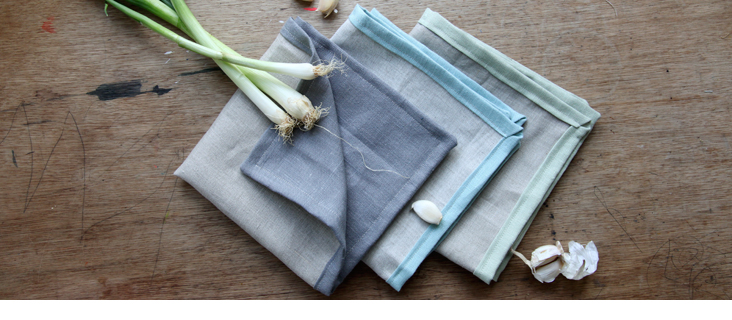
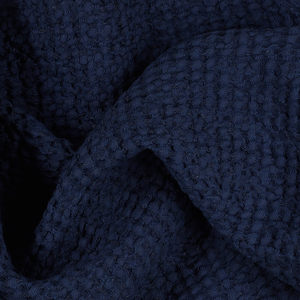
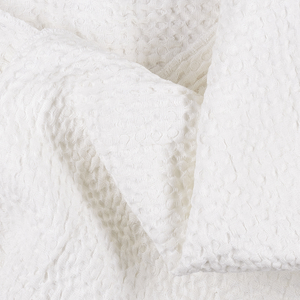
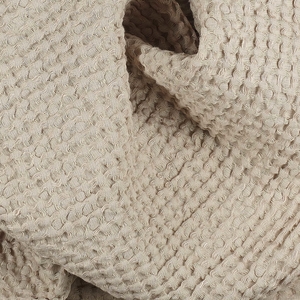
Six 16″ squares of IL020 Natural
Two 18″ squares of IL019 Monument
Two 18″ squares of’ IL019 Willow
Two 18″ squares of’ IL019 Meadow
Time: 2.5 hours
Level: Beginner
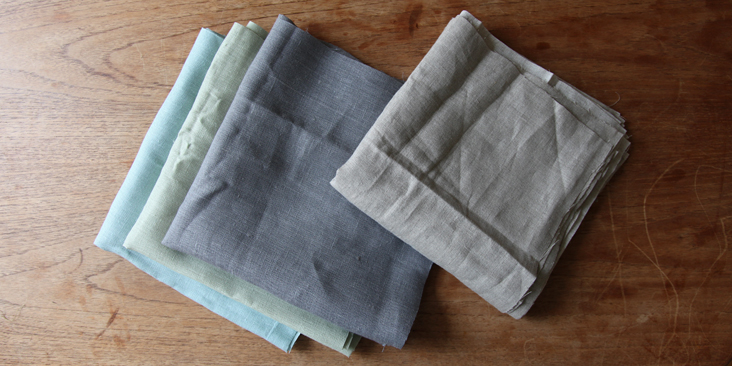
1. Cut your ILo20 into six 16″ squares. Cut the rest of the fabric into 18″ squares.
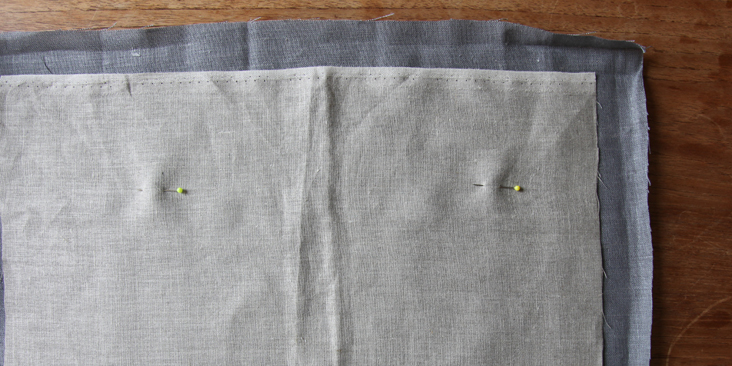
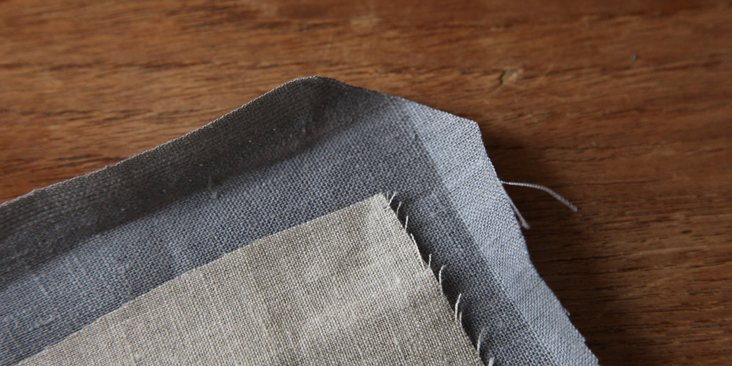
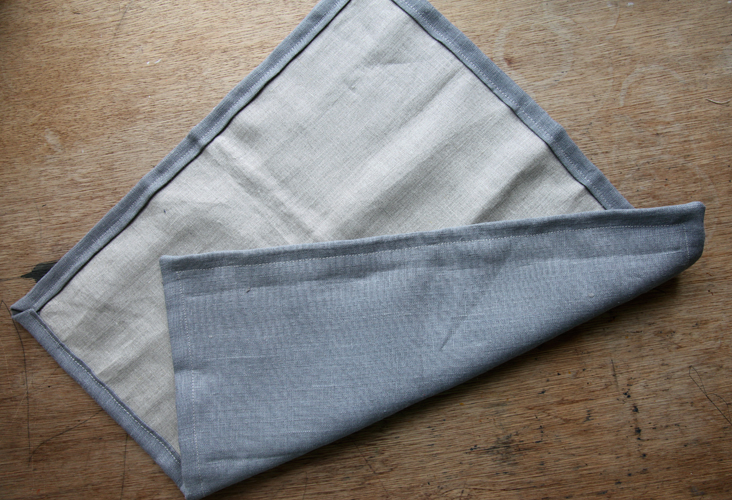
2. Pin the natural linen into the center of the larger solid colored square. You will have an inch of the coloured fabric framing the natural linen.
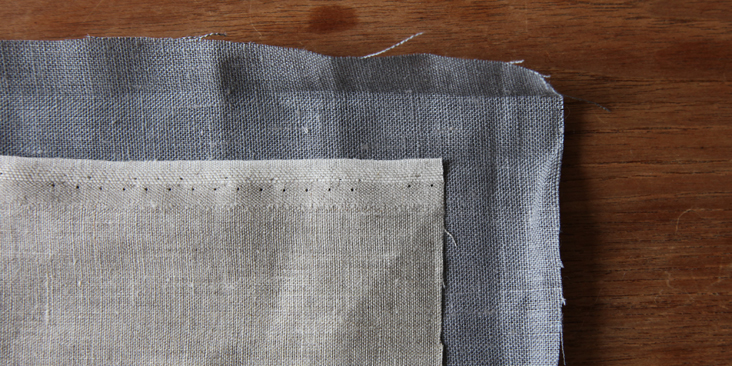
3. Press each side of the solid square 1/2 inch towards the inside of the square.
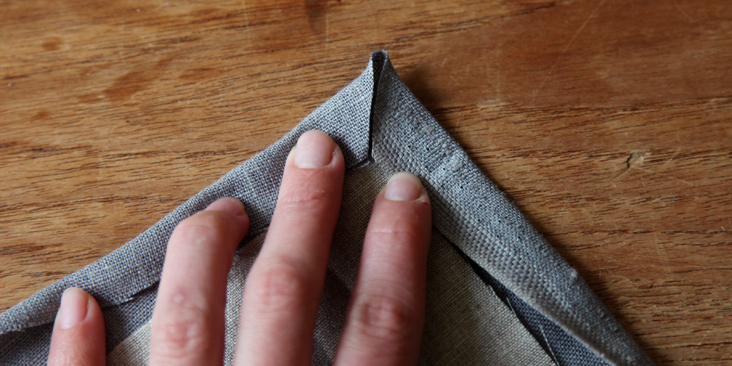
4. Unfold the corners so you can see the marks the pressing made.
5. Cut off the corner diagonally at the point where the pressing marks intersect as shown above.
6. The corner will now lay flat as shown below.
7. Fold the corner down at 45 degrees as shown.
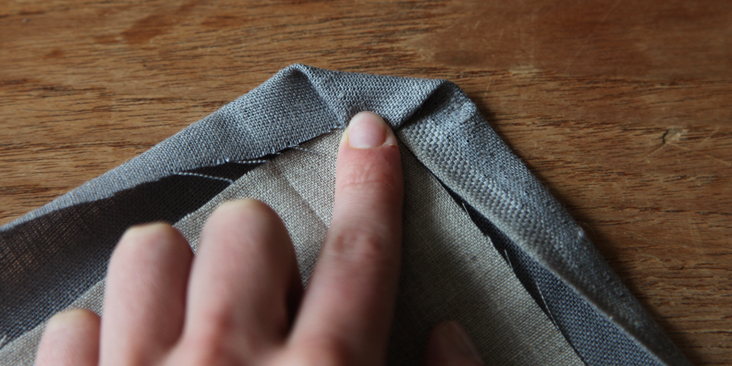
8. Then fold the sides down a 1/2-inch again, pinning down the corner so it forms another 45-degree angle.
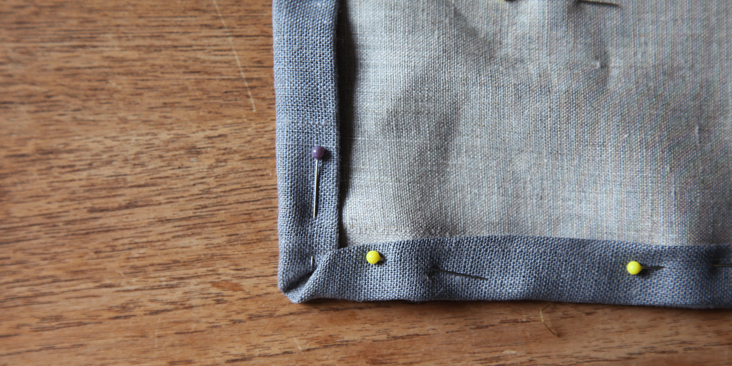
9. Repeat’ to the opposite side. Fold down and pin all the sides in this manner.
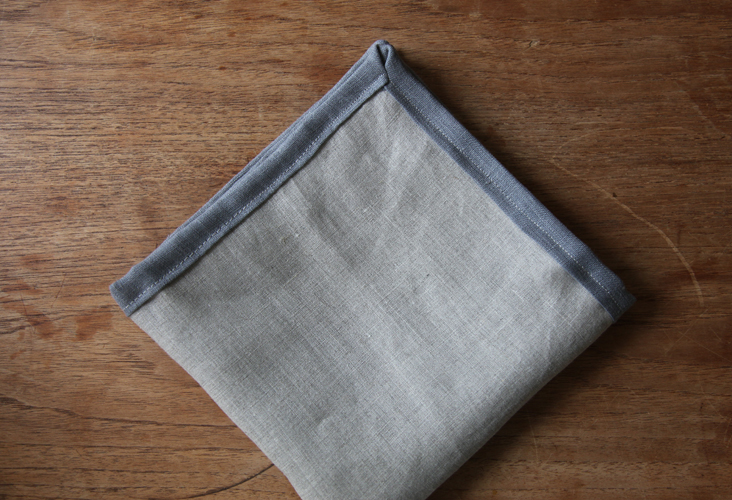
Repeat for the remaining linen. Et voila.
Leave a comment
Related posts

Sewing Essentials: Stitch Width, Stitch Length & Needle Position
Thinking back to my high school textiles days, I remember having to test stitch settings on every fabric we planned to use for our projects. We would cut out little squares of fabric and experiment with different stitch lengths and widths, and edge-finishing techniques. At the time, it felt unnecessary, not to mention tedious….

Sewing Essentials: A Simple Guide to Notches
I love a notch, so much so that I’ve decided to dedicate this article to these small but important markings. Here, I’ll explain why they’re so helpful, when to use them, and how to add them to your own patterns or adapt them for existing ones. What exactly are notches? Notches are small markings found…

How to Select and Use Interfacing: A Simple Guide
Iron-on or sew-in, woven or non-woven, lightweight or heavyweight. With so many different types, weaves, and weights to choose from, how do you know which interfacing is best for your project? In this article, I will explain the two main types of interfacing before diving into the differences in weave and weight. Hopefully by the…

Sewing Essentials: A Simple Method for Reversible Seams
There are so many ways to finish a seam, from good old overlocking to French seams and binding. I recently stumbled across another method that’s pretty nifty, and honestly, I kind of wish I had known about it sooner. It is a bit like binding, but topstitched in place so it doesn’t move or flap…

An Introduction to Common Crotch Adjustments
Recently, I drafted a pattern and made a toile of a pair of drop-crotch pants. When I tried them on, I straight away noticed (and felt) they weren’t quite right. The most obvious issue was that the back crotch felt tight and pulled uncomfortably, especially when bending over. Walking also felt a little restricted, with…


SEW THIS LOOK


Latest Posts


5 Comments
AmyCat
I agree with Connie and BeachMama: why not do the mitered corners from the other tutorial for these? They look much neater!
Connie
There has to be a better way to finish those corners.
beachmama
I thought the same thing . . . pretty horrendous looking : (
I can’t figure out why mitered corners weren’t done with this https://blog.fabrics-store.com/2014/04/30/mitered-corners-napkin-tutorial/?utm_source=newsletter&utm_medium=email&utm_term=Patrons&utm_content=BTutorials&utm_campaign=Thread tutorial posted by ‘the thread’. I’ve done mitered corners a few different ways but I really like this method.
Diane
This does NOT make “a set of 12 napkins,” as the instructions say, it only makes 6.
Masha Karpushina
Thank you. You are right. It was meant to say six.