Cross over, be original- a hand Painting simple Pattern Tutorial
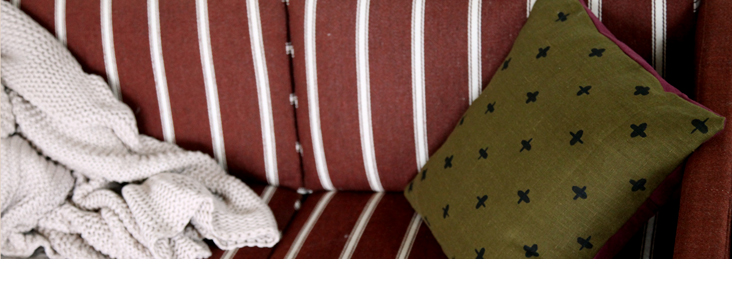
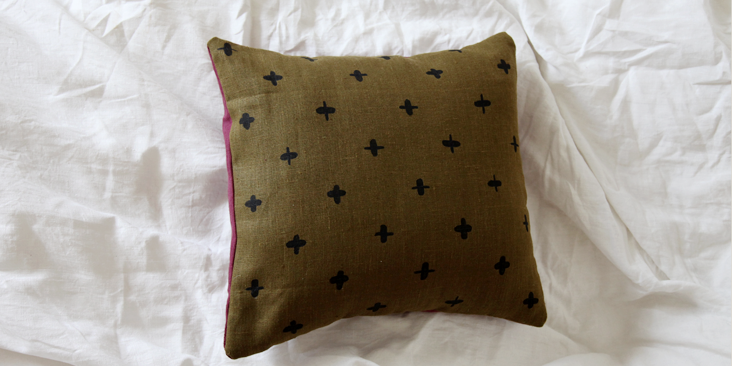
This week we are again going to take a look at painted fabric, but this time making a very simple pattern that follows a definite structure. I have made another pillow, but you can make anything out of this pattern, a dress, some curtains, a duvet cover etc. The idea is to realise that you don’t need to search for nice patterns online or in shops, that it is possible to take a clean sheet of any fabric, (preferably something on the heavier side, avoid silks, as they need to be properly stretched and the colours will run) and make a simple design for your desired project. It widens the horizons of possibilities and gives you this really nice confident skill to use and share with others.
Materials
I used two heavier pieces of linen for this project as I was using a thicker brush so the paint wont sieve through as easily as through thinner fabrics.
4c22 Softened in Laurel (you could get Vineyard Green instead) and Wildcherry
A round brush (you can experiment with thicker and thinner brushes)
Textile Paint (I used Marabu)
Pins
An old cloth to put underneath
A ruler
A pencil
Time: About 45 minutes
Difficulty: Beginner
1. If you are making a pillow, you could follow this or this tutorial. I made an envelope pillow. Lay out the front panel on your old cloth, straighten out and pin it to the cloth.
2. Using a ruler, divide your panel by making marks every two inches on all four sides.
3. You will be making a cross on every other inch mark, so take the first row, lay your ruler horizontally and make a mark on every 4 inches. So you will have a mark on 4, 8, 12 inches etc.’ Move your ruler down one row and make the first mark at 2 inches, then every 4 inches. (2, 6, 10 inches etc) Continue down every row until you reach the end of your fabric panel.
4. Make some test marks on another piece of fabric. Get used to the paint and the brush.
6. Now that you have a marked out pattern start to carefully paint your crosses. Draw out alternating vertical and horizontal lines on every row (to later create a pattern of thick and thin crosses). Otherwise if you would like all your crosses alike start by painting them one at a time starting from the left (this way you wont smudge the paint, if you are right handed, and from the right if you are left handed). Start at the top for each cross and draw a vertical line (about an inch in length) from top to bottom. Then take some more paint and go over your line from bottom to top. Repeat both steps for the horizontal line starting on the left and then going over the same line from the right. That way your crosses will have round edges.
7. Once you have a pattern that looks like the image above, start by painting the perpendicular lines to some of the existing lines. Take a different size brush, a smaller one in my case, and paint on some thinner lines to other lines at random. Fill in the whole design.
8. Once you are done, follow instructions on how to secure the paint. Make sure to let the paint dry before you iron it. Enjoy your new fabric!











Leave a comment