DIY Linen Seat Cushion
Does your chair need a cushion to make it more comfy? An easy-to-sew seat cushion is just the answer!
I made my seat cushion with natural linen so it will match any chair. I plan on making a set for all the chairs at my table. I love how the natural linen will go great with vintage wrought-iron chairs and wood chairs.
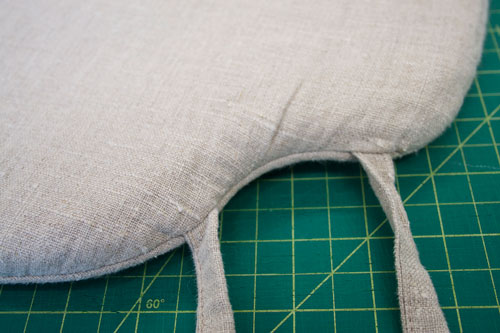
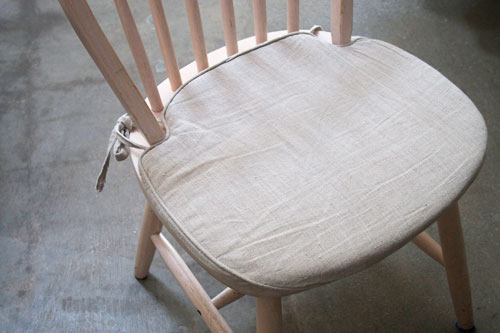
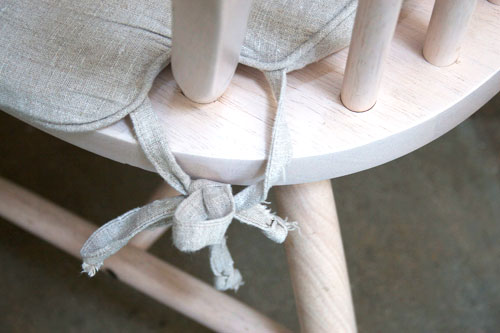
The sturdy weave of the linen helps these seat cushions withstand the test of time. You won’t need to replace these after a year! They will last you for years and years to come. The ties help keep these cushions in place and the bows add a lovely detail!
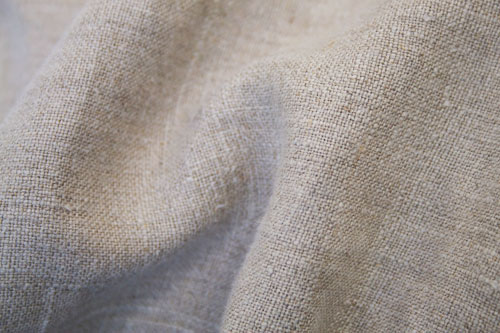
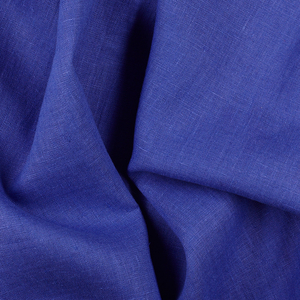
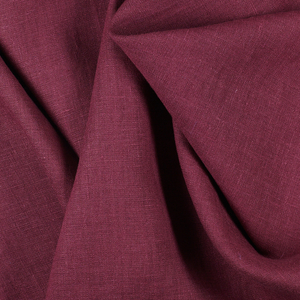
I went with natural linen, but you can select the color you like. I suggest using a heavy weight 100% linen such as 4C22 for this project because it’s more fit for heavy use. You can view our colors of 4C22 by clicking on the button below:
|Materials:
- 1/2 yard of 100% linen 4C22 (prewashed)
- craft paper
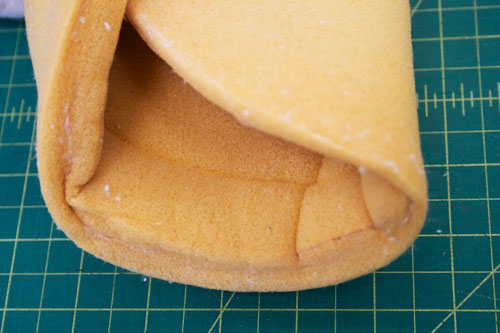
- 20" sqaure piece of 1/2" thick foam padding
- pencil
- scissors
- measuring tape
- pins
- sewing machine
- cotton cord
You can find foam padding at a craft or sewing store. Try to find some that is 1/2 inch thick so your cushion will be comfy.
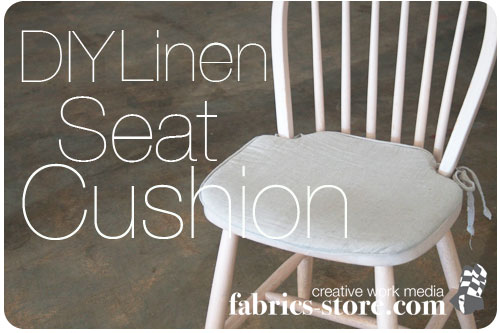
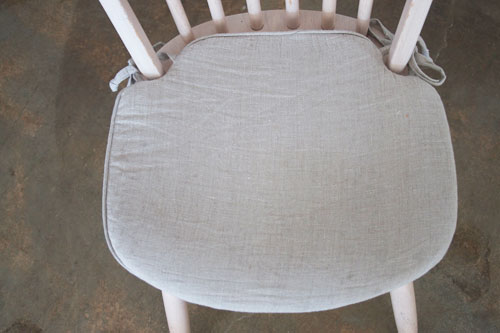
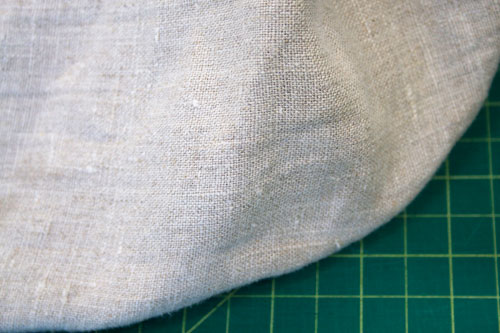
I took a photo of the finished seat cushion to give you an idea of the shape you should trace for the pattern.
On the craft paper, trace the shape of the chair’s seat. march on your paper where the back of the chair attaches to the seat. Then, cut out the paper shape.
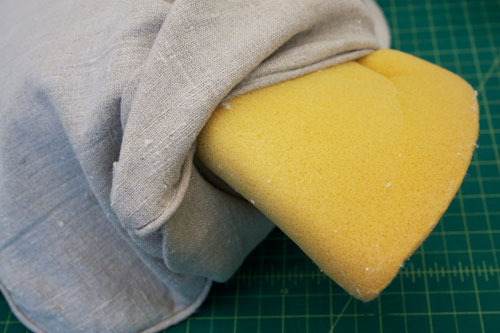
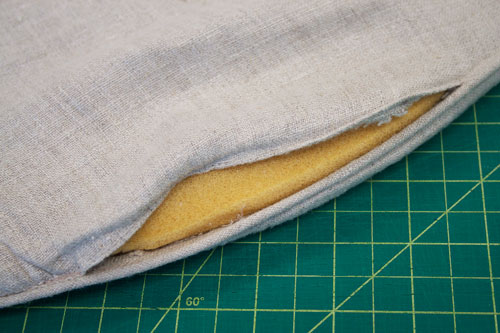
Trace the shape onto another piece of paper. The first paper pattern will be your foam shape. The second paper pattern will be your cover shape.
Using a measuring tape or ruler, mark 1/2" all the way around the outside of your cover shape. Cut out the paper on this line. Cut two of these cover pieces out of the linen fabric. Transfer the marks where the back attaches to the seat onto the "wrong" side of the fabric.
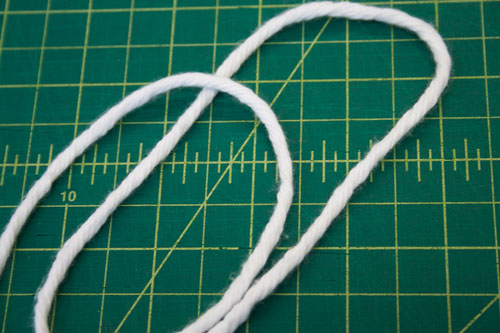
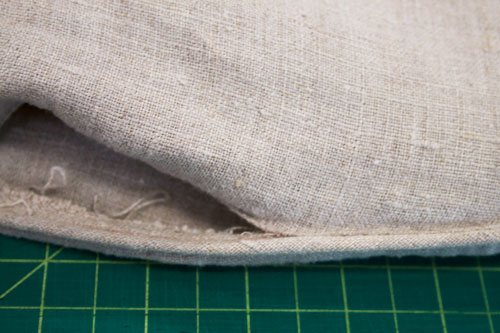
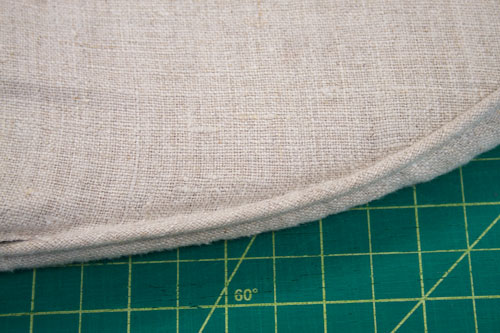
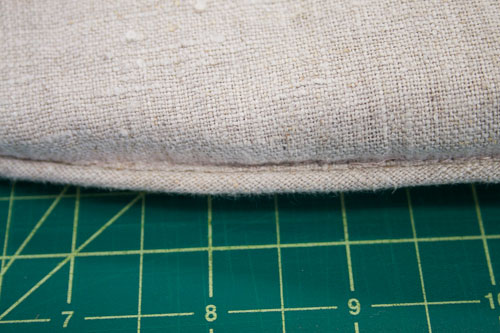
This is the cotton cord that will be inserting into the seam that goes around the edge of the seat cushion. This is just for a nice detail and is completely optional. If you prefer, you can seam the top and bottom pieces of linen together with a simple straight stitch.
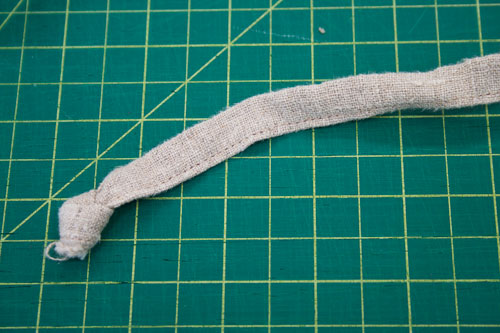
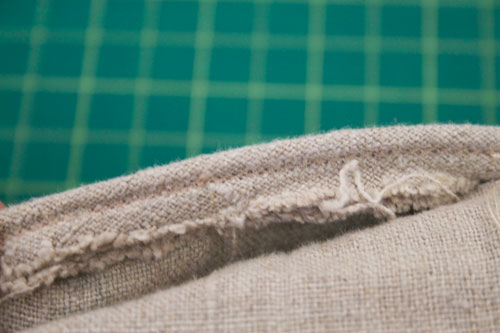
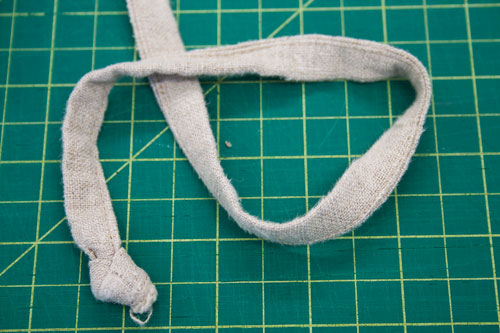
The seam along the top shows your where I placed the cord and then sewed it into place. Just do this to the bottom piece of the linen for the cushion. The other piece of linen will soon be attached to the bottom by making a stitch over the one we just made. Not just yet though….first we need to make the ties.
Let me know what you think about the this DIY Linen Seat Cushion by posting your comments here or on our Facebook page.
Thanks, everyone! Have a great weekend!











4 Comments
Jane
Where can I find 1/2 inch cushion foam? I looked at Joanne’s and online. The thinnest is 1 in. unless I buy a long sheet.
Thanks.
Jane
janice dorsey
I sew for Interior designers so I have made a number of cushions. Just an observation. The cushion would look fuller if you cover the foam with batting so as to give it a fuller look. I cut the batting the shape of the foam, cover it and sew the batting around edges of the foam. Also, I quite often line the main fabric with a lining material so it has a smoother look to it and adds body to the cover. If I intend to wash the cover at some point, I will wash the fabric and lining before construction.
Lorie Roe
did you mean wrong sides together?
thanks! I love all of your postings!
Cornelia
Thank You! Your cushion looks wonderful, and …. I’ve been sewing for ages, and never ever thought of just attaching the cording to the seam allowance! And I’d been avoiding sewing cushion covers because I HATE attaching the cording separately – so thank you again!!!